
AI Generated Images with Openjourney and Vultr Cloud GPU

Introduction
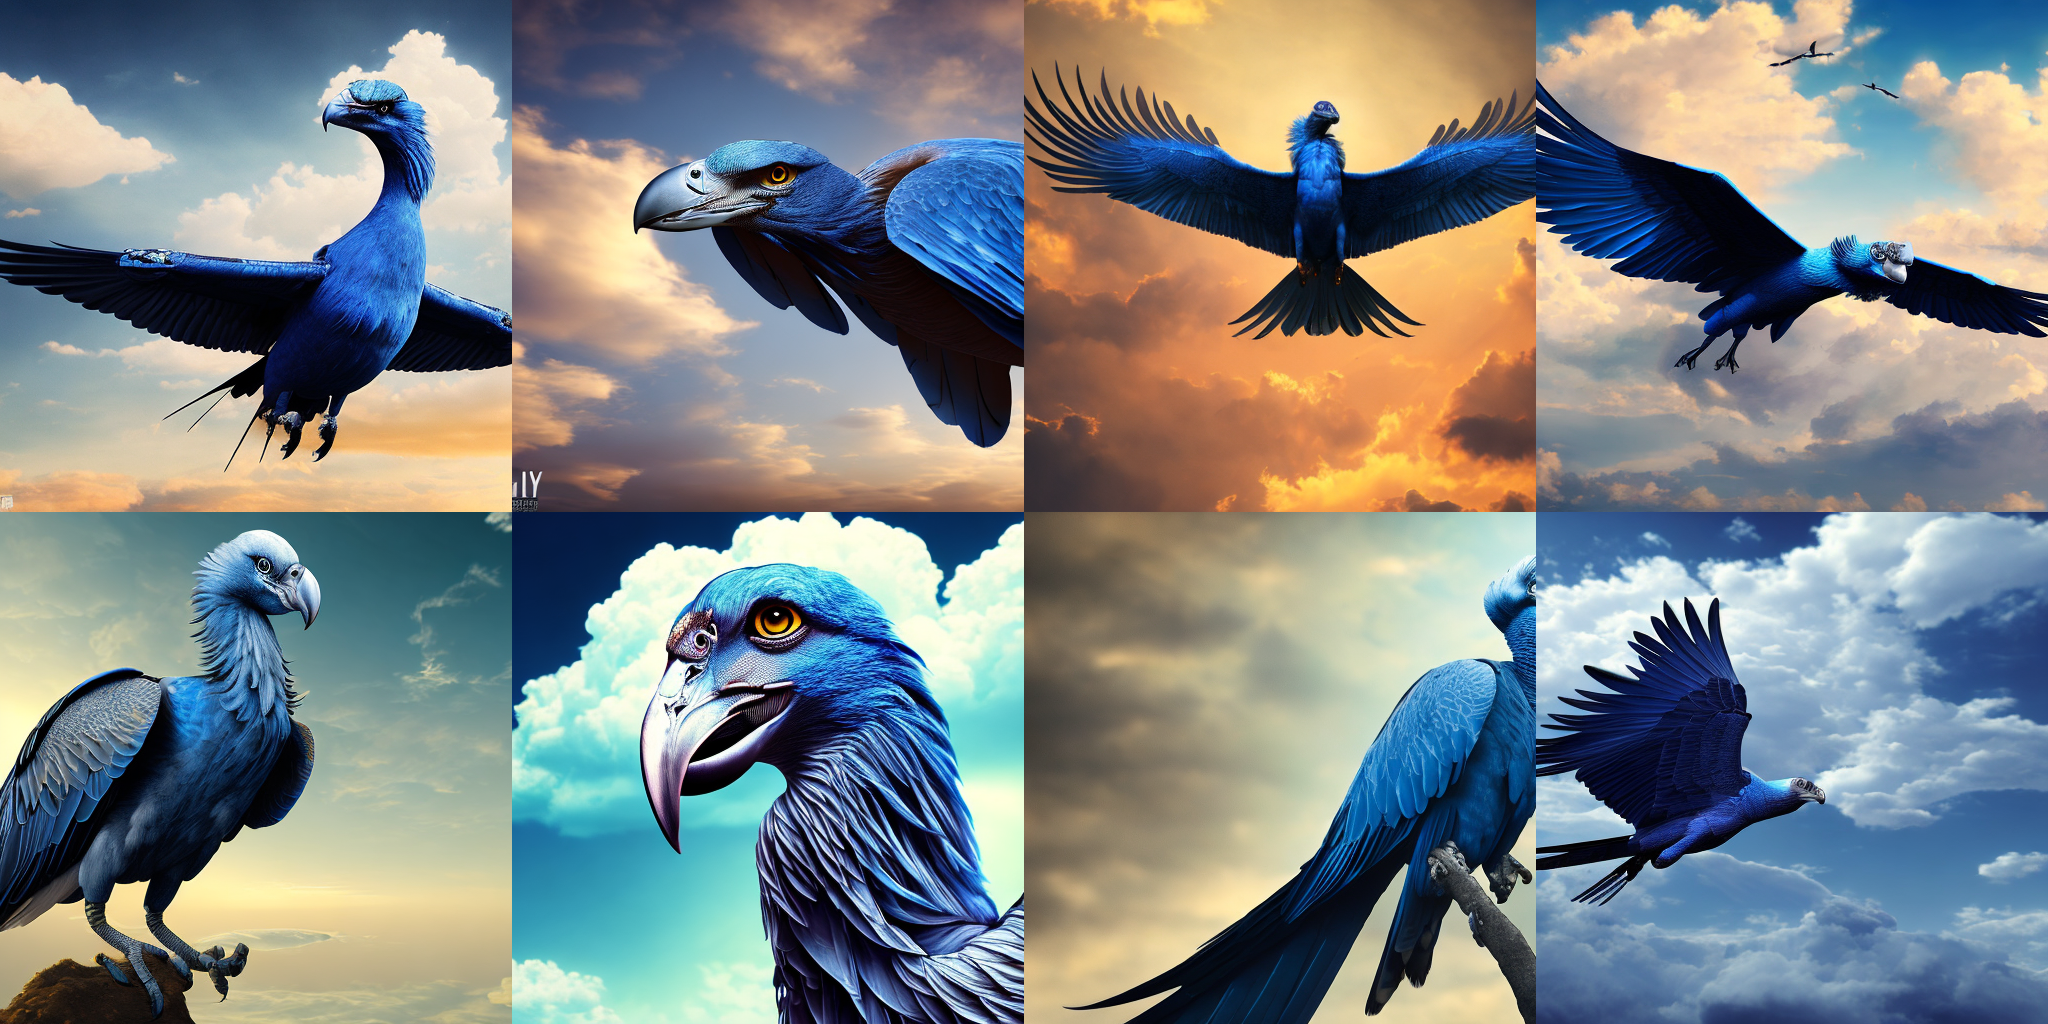
Openjourney is an image generation model based on Stable Diffusion under the OpenRAIL license and offers solutions similar to Midjourney. By harnessing the power of artificial intelligence, Openjourney empowers users to create high-quality lifelike artwork effortlessly. The following are some sample images generated by Openjouney on a Vultr Cloud GPU server with an A100 GPU.
This guide explains how to create AI-generated images with OpenJourney using a Vultr Cloud GPU instance. You will install Jupyter Notebook and other essential packages to create an environment to generate images using OpenJourney on the Vultr Cloud GPU server.
Prerequisites
Before you begin:
- Deploy a Ubuntu 22.04 A100 Cloud GPU server.
- Use SSH to access the server and create a non-root sudo user.
- Update the server.
Install Jupyter Notebook
Jupyter Notebook is an open-source application that offers a web-based development environment to create and share documents with live code, visualizations, and equations. Using Jupyter Notebook, you can leverage the power of your Vultr Cloud GPU instance to run high resource models through a web browser. In this section, install Jupyter Notebook as described below.
Install the
python3-pippackage manager.$ sudo apt install python3-pipUsing
pip, install the JupyterLab package.$ sudo pip install -U jupyterlabTo secure the JupyterLab interface, generate a password harsh using the command below.
$ python3 -c "from jupyter_server.auth import passwd; print(passwd('STRONG_PASSWORD'))"Copy the generated password hash to your clipboard.
Create a new JupyterLab configuration file.
$ jupyter lab --generate-configEdit the file.
$ nano ~/.jupyter/jupyter_lab_config.pyFind the following configution lines, and set them as below.
 c.ServerApp.password = 'PASTE_PASSWORD_HASH'
 c.ServerApp.allow_remote_access = True
Save and close the file.
Allow the JupyterLab port
8888through the firewall to enable access to the web interface.$ sudo ufw allow 8888Create a new directory to save OpenJourney generated images.
$ mkdir ~/Generated-ImagesStart the JupyterLab server in the background.
$ jupyter lab --ip 0.0.0.0 &Output:
 [I 2023-07-13 08:51:01.955 ServerApp] nbclassic | extension was successfully loaded.
 [I 2023-07-13 08:51:01.955 ServerApp] Serving notebooks from local directory: /home/user
 [I 2023-07-13 08:51:01.955 ServerApp] Jupyter Server 2.7.0 is running at:
 [I 2023-07-13 08:51:01.955 ServerApp] http://vultr-server:8888/lab
 [I 2023-07-13 08:51:01.955 ServerApp]     http://127.0.0.1:8888/lab
 [I 2023-07-13 08:51:01.955 ServerApp] Use Control-C to stop this server and shut down all kernels (twice to skip confirmation).
In a web browser such as Chrome, load the Jupyter web interface.
http://192.0.2.100:8888Replace the example IP Address
192.0.2.100with your actual server IP Address.When prompted, enter the JupyterLab server password you set during the installation process.
For more information on installing Jupyter in a production environment, set up JupyterLab Environment on Ubuntu 22.04
Set Up the Environment
In this section, set up the image generation environment. Install PyTorch, necessary Hugging Face packages, and matplotlib to display images using the Jupyter Notebook interface as described below.
In your browser, access the Jupyter web interface.
Within the launcher interface, find the Notebook section, and click Python 3 (ipykernel) to create a new file.

To rename your notebook file, right-click on the File name, and select Rename to set a new name.
Within the code field, enter the following commands to install
torchandtorchvision.!pip install torch torchvision --index-url https://download.pytorch.org/whl/cu118Click the play symbol on the file's menu bar to run the commands. Alternatively, use the
Control+Enterkeyboard shortcut to run a command.When the installation is successful, add the following commands to install Hugging Face packages.
 !pip install transformers
 !pip install diffusers
 !pip install accelerate
The above commands install the following packages:
Transformers: Consists of multiple pre-trained models used for Natural Language Processing (NLP), Named Entity Recognition (NER), machine translation, and sentiment analysis.
Diffusers: These are pre-trained diffusion models in the form of prepackaged pipelines. It provides tools for building and training diffusion models. Diffusers also include many different core neural network models, and are used as building blocks to create new pipelines.
Accelerate: Enables PyTorch to run across any distributed configuration. It uses accelerators like GPUs and TPUs to improve efficiency and scalability, speed up natural language processing (NLP) workflows, and enhance performance.
For more information about, Transformers, Diffusers, and Accelerate packages. Refer to the respective documentation pages.
Install the
matplotlibpackage.!pip install matplotlibThe above command installs the
matplotlibpackage, which enables you to display the images in Jupyter Notebook.Install the
ipywidgetspackage.!pip install ipywidgets
Generate Images using OpenJourney
To generate images with OpenJourney, import the required modules such as StableDiffusionPipeline from diffusers, torch, and matplotlib.pyplot. Then, initialize the model using the provided model_id and set it up for GPU acceleration by assigning it to the CUDA device as described below.
Import the required modules.
 from diffusers import StableDiffusionPipeline
 import torch
 import matplotlib.pyplot as plt
The
StableDiffusionPipelineclass provides an interface to the OpenJourney model for generating images, andtorchenables support for tensor computations. In this context, it's used for GPU acceleration, and thematplotliblibrary allows you to display the generated images.Initialize the model.
 model_id = "prompthero/openjourney"
 pipe = StableDiffusionPipeline.from_pretrained(model_id, torch_dtype=torch.float16)
 pipe = pipe.to("cuda")
By calling the
from_pretrainedmethod, the pipeline takes care of the necessary setup to generate images from text.The parameters passed to the
from_pretrained()method are:The
model_idof a pipeline. The function call above loads the"prompthero/openjourney"model. The model ID can also be the path to a local directory containing model weights or a path (local or URL) to a checkpoint file.torch_dtypeis the Torch datatype of the tensors used for pipeline computations.float16is specified explicitly so that the model computations are done in 16-bit floating point numbers (instead of the default 32-bit). This helps systems with limited memory. It is possible to let the system choose the optimal data type usingtorch_dtype = "auto". The default setting istorch_dtype = "full-precision".
Generate an image through a text prompt. For example: "blue vulture with clouds in the background".
 prompt = "YOUR_PROMPT_HERE, mdjrny-v4 style"
 images = pipe(prompt).images
The above code declares and feeds the prompt to the previously declared pipeline and stores the image attribute. A different image is generated each time you run the module. The
mdjrny-v4 stylesuffix instructs the model to create images similar to Midjourney. You can enhance your prompt by using details like the camera lens, environment, and so on. You can include any other relevant information to refine your desired outcome.Render the generated image.
plt.imshow(images[0])The generated image should be similar to the one below depending on your prompt.
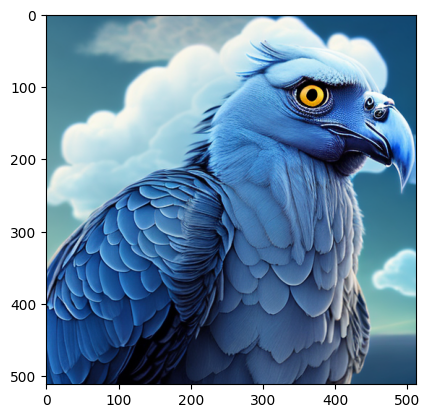
The model prompts an error and outputs a blank image if the generated image contains Not Safe For Work (NSFW) content. Tweak your prompt or use a different seed to finetune your generated image.
To remove the Axis (ruler borders) on the image, run the following command.
 plt.imshow(images[0])
 plt.axis('off')
 plt.show()
Your Axis should be removed as below.

Save Generated Images
Specify the directory you created earlier to save the generated images.
save_directory = "‾/Generated-Images"The defined directory must exist on the disk. Verify that you created it in your user home directory.
Using a
forloop, save the images.for i, image in enumerate(images): image.save(f"{save_directory}/image_{i}.png")The above code saves all generated images to the predefined
save_directorypath. It uses thesave()method to save each image. Saved images are added with filenames in the formatimage_{i}.png, where{i}refers to the index of the image in the list.In your terminal session, verify that the images are successfully saved to the directory.
$ ls ~/Generates-ImagesTo download a copy of the generated images, you can use a secure transfer protocol like SFTP, FTP, or RSync to fetch the files to your computer.
Generate Multiple Images with OpenJourney
By default, the pipeline setting allows you to generate a single image per prompt. To generate multiple unique images using a single prompt, define the number of images as described in this section.
Update the prompt code to configure the number of images.
 num_images = 5
 prompt = ["YOUR_PROMPT_HERE, mdjrny-v4 style"] * num_images
The above code block defines a
num_imagesvariable that contains your desired number of images, and the*operator creates a list with a copy of the same prompt.Retrieve multiple images.
image_list = pipe(prompt).imagesThe
image_listvariable stores the list of images for further processing.Rendering the generated images using the
forloop function. //use active voicefor image in image_list: plt.imshow(image) plt.show()Inside the loop, the
image_listis iterated over, and each image is rendered using theplt.imshow(image)method. This allows you to view all generated images, and you can also call the file savingforloop to save the images to your export directory.
Deterministic Output with OpenJourney
You can input a random seed and pass it to the generator in the pipeline for a deterministic output. Using the same seed value with the generator, you can consistently produce the same image outputs as below.
Create a new generator.
 prompt = "YOUR_PROMPT_HERE, mdjrny-v4 style"
 generator = torch.Generator("cuda").manual_seed(2048)
 images = pipe(prompt, guidance_scale=7.5, generator=generator).images
The above code block defines and passes a new generator to the pipeline. The static number in the
manual_seed()method provides a fixed number of limits to the model and forces it to generate the same output each time you generate images. You can use any integer as the manual seed. By default, the generator creates a new seed on every execution to create a unique image.
Key Terms
The image generation pipeline accepts multiple options, but only the pipe and prompt are mandatory. This section describes optional commands you can run when generating images.
pipe: Refers to the text-to-image generation pipeline function. It takes the prompt as input, along with any additional configuration options.
prompt: Represents the input text prompt that guides the image generation process. You can replace
"YOUR_PROMPT_HERE, mdjrny-v4 style"with your desired prompt text. If you remove themdjrny-v4 stylesuffix, the model will produce generic images that may not match the Midjourney style.generator: An instance of the
torch.Generatorclass that allows you to control the random number generation. Specifying the seed value (2048) ensures that the generator produces consistent and deterministic outputs when used repeatedly with the same seed.guidance_scale: Sets the value of the
guidance_scaleparameter in the pipeline. It improves adherence to text prompts and affects sample quality. It's called classifier-free guidance and prioritizes prompt alignment which impacts image quality and diversity. Values between 7 and 8.5 work well, with the default set at 7.5.images: A list of all the generated image objects.
num_inference_steps: Defines the number of steps involved in the inference process. By default, it's set to 50, balancing generation speed and result quality. A smaller value leads to faster results, while a larger value can enhance quality at the cost of longer generation times.
Conclusion
In this article, you generated images using the Openjourney model and leveraged the power of a Vultr A100 Cloud GPU server to enhance image generation. You also set up a Jupyter Notebook environment and installed the necessary libraries to generate, display, and save the generated images.
More Information
For more information, please visit the following resources.