
How to Add Swap Memory in Ubuntu 26.04
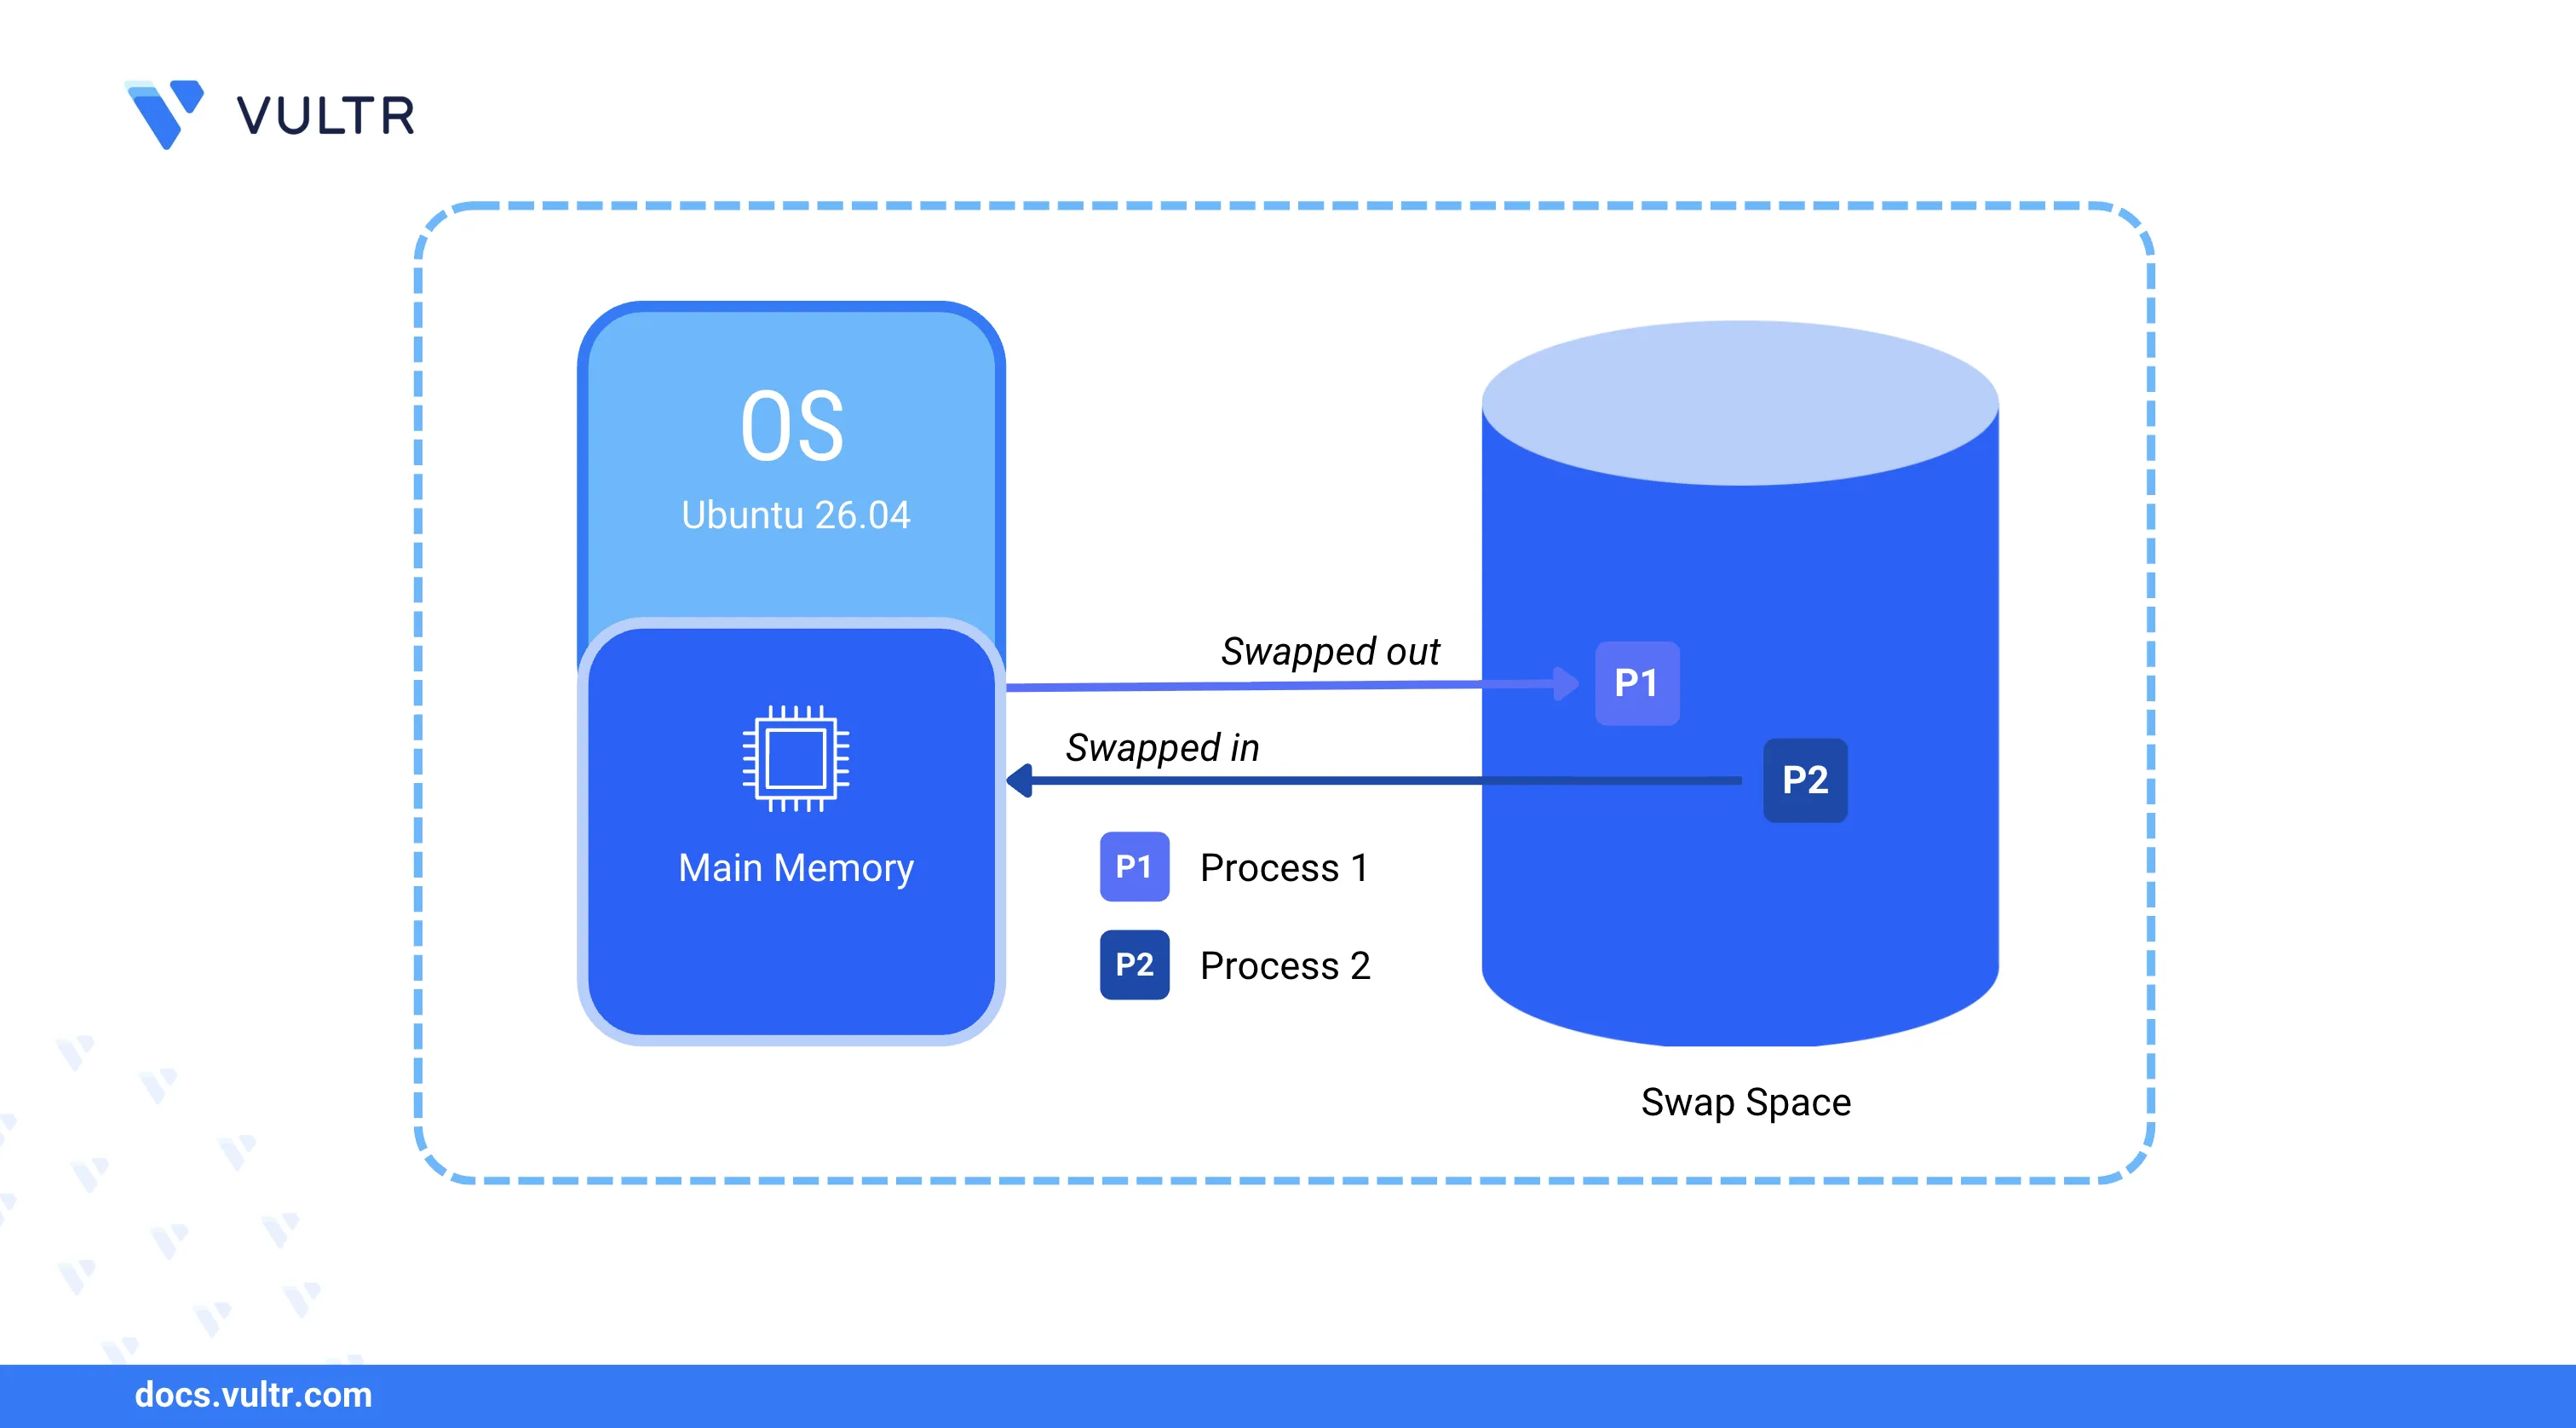
Swap memory is a designated area on a storage device that the operating system uses as virtual memory when the physical RAM is fully utilized. Instead of terminating processes when memory runs out, the system moves less active data from RAM to the swap space, keeping the server stable under high memory pressure.
This article explains how to add swap memory on an Ubuntu 26.04 server using a swap file, configure the system to mount it automatically at boot, and tune the swappiness value to control how aggressively the system uses swap.
Prerequisites
Before you begin, you need to:
- Have access to an Ubuntu 26.04 server instance as a non-root user with sudo privileges.
View Existing Swap Memory
Ubuntu 26.04 servers may include a default swap allocation. Check the current memory status before adding new swap space.
View the available RAM and swap memory on the server.
$ free -h
The output displays the total, used, and free memory for both RAM and swap. Note the current swap size before proceeding.
Create a Swap File
A swap file is a regular file on the server's filesystem that functions as swap space. The following steps create a 2 GB swap file, set the correct permissions, and format it for use as swap.
Create a 2 GB swap file in the root directory. Adjust the size as needed for your workload.
console$ sudo fallocate -l 2G /swapfile
Restrict the file permissions to allow only the root user to read and write.
console$ sudo chmod 600 /swapfile
Format the file as swap space.
console$ sudo mkswap /swapfile
The output displays the swap size and a UUID for the new swap space.
Enable Swap Memory
The swapon command activates swap space for immediate use. The following steps enable the swap file and verify that the system recognizes it.
Enable the swap file.
console$ sudo swapon /swapfile
Verify that the new swap space is active.
console$ sudo swapon --show
The output lists all active swap entries including the new
/swapfilewith its size and type.Confirm the updated memory allocation.
console$ free -h
The swap total should reflect the additional space from the new swap file.
Configure Automatic Mounting at Boot
The File System Table (/etc/fstab) defines which filesystems are mounted automatically when the server starts. Without an fstab entry, the swap file is lost after a reboot.
Back up the current fstab configuration.
console$ sudo cp /etc/fstab /etc/fstab.bak
Append the swap file entry to the fstab configuration.
console$ echo '/swapfile swap swap defaults 0 0' | sudo tee -a /etc/fstab
Within the configuration:
/swapfile: Specifies the path to the swap file.swap swap: Sets the filesystem type and mount point for swap.defaults: Applies the default mount options.0 0: Disables backup and filesystem check for the swap entry.
Configure Swappiness
The swappiness value controls how aggressively the kernel moves data from RAM to swap. The value ranges from 0 to 100:
0: The system avoids swapping unless absolutely necessary.10-30: Low swapping, suitable for servers with sufficient RAM.50: Balanced approach between RAM and swap usage.60: The default value on most Ubuntu systems.100: The system swaps aggressively, moving data to swap even when RAM is available.
View the current swappiness value.
console$ cat /proc/sys/vm/swappiness
Set a custom swappiness value. For example,
10for a server workload that should prioritize RAM.console$ echo "vm.swappiness = 10" | sudo tee -a /etc/sysctl.conf
Apply the configuration change.
console$ sudo sysctl -p
Remove Swap Memory
The swapoff command deactivates swap space. The following steps disable the swap file and remove it from the system.
Disable the swap file.
console$ sudo swapoff /swapfile
Verify that the swap file is no longer active.
console$ sudo swapon --show
Remove the swap file entry from
/etc/fstabto prevent mounting at boot.console$ sudo nano /etc/fstab
Delete the
/swapfile swap swap defaults 0 0line. Save and close the file.Delete the swap file from the filesystem.
console$ sudo rm /swapfile
Conclusion
You have added swap memory on an Ubuntu 26.04 server using a swap file, configured automatic mounting through fstab, and tuned the swappiness value. Swap memory provides a safety net against out-of-memory conditions, though it operates slower than physical RAM. For more options, run man swapon to view the swap management manual.