
How to Deploy Appwrite – Open-Source Backend Server

Appwrite is an open-source Backend-as-a-Service (BaaS) platform that provides developers with a set of core REST and Realtime APIs to build applications faster. It provides authentication, databases, file storage, serverless functions, and realtime APIs through a unified platform. Appwrite is designed to be self-hosted and runs on any operating system that supports Docker.
This article outlines the deployment of Appwrite on a server using the official Docker installer. It demonstrates how to use the automated setup tool to configure your environment, generate SSL certificates, and launch the container stack.
Prerequisites
Before you begin:
- Have access to a Linux based server (with at least 2 CPU cores and 4 GB of RAM) as a non-root user with sudo privileges.
- Ensure the server has at least 2 GB of swap memory configured.
- Install Docker and Docker Compose.
- Configure a domain name, such as
appwrite.example.com, to point to your server’s public IP address.
Deploy Appwrite
The easiest way to install Appwrite is using the official Docker installer. This tool runs interactively, asks for your configuration preferences, and automatically sets up the environment variables and Docker Compose file.
Add your user account to the docker user group. This allows you to run Docker commands without
sudo.console$ sudo usermod -aG docker $USER
Apply the new group membership.
console$ newgrp docker
Generate a secure 32-character hexadecimal secret key. You will need to paste this during the installation.
console$ openssl rand -hex 32
Copy the output to your clipboard.
Create a directory for Appwrite.
console$ mkdir ~/appwrite
Navigate into it.
console$ cd ~/appwrite
Run the Appwrite installer.
console$ docker run -it --rm \ --volume /var/run/docker.sock:/var/run/docker.sock \ --volume "$(pwd)":/usr/src/code/appwrite:rw \ --entrypoint="install" \ appwrite/appwrite:1.8.1
The installer prompts you for configuration details. Enter the following values:
- Choose your server HTTP port: Press Enter to accept the default (
80). - Choose your server HTTPS port: Press Enter to accept the default (
443). - Choose a secret API key: Paste the hexadecimal key you generated in step 3.
- Enter your Appwrite hostname: Enter your domain name (e.g.,
appwrite.example.com). - Enter a DNS A record hostname: Enter your domain name again (e.g.,
appwrite.example.com). - Enter an email: Enter your email address (used for Let's Encrypt SSL generation).
After entering these details, the installer automatically downloads the necessary Docker images and starts the Appwrite stack using
docker compose up -d.- Choose your server HTTP port: Press Enter to accept the default (
Verify that the containers are running.
console$ docker compose ps
You should see a list of containers with the status
Up.
Access and Configure Appwrite
Open your web browser and navigate to your domain (e.g.,
https://appwrite.example.com).Appwrite automatically provisions TLS certificates via Let’s Encrypt. You may encounter a browser security warning upon initial access while the certificate is being generated in the background. Wait a few minutes and refresh the page.NoteThe Sign Up page appears. Enter your email and password to create the root administrator account.
Click Sign Up.
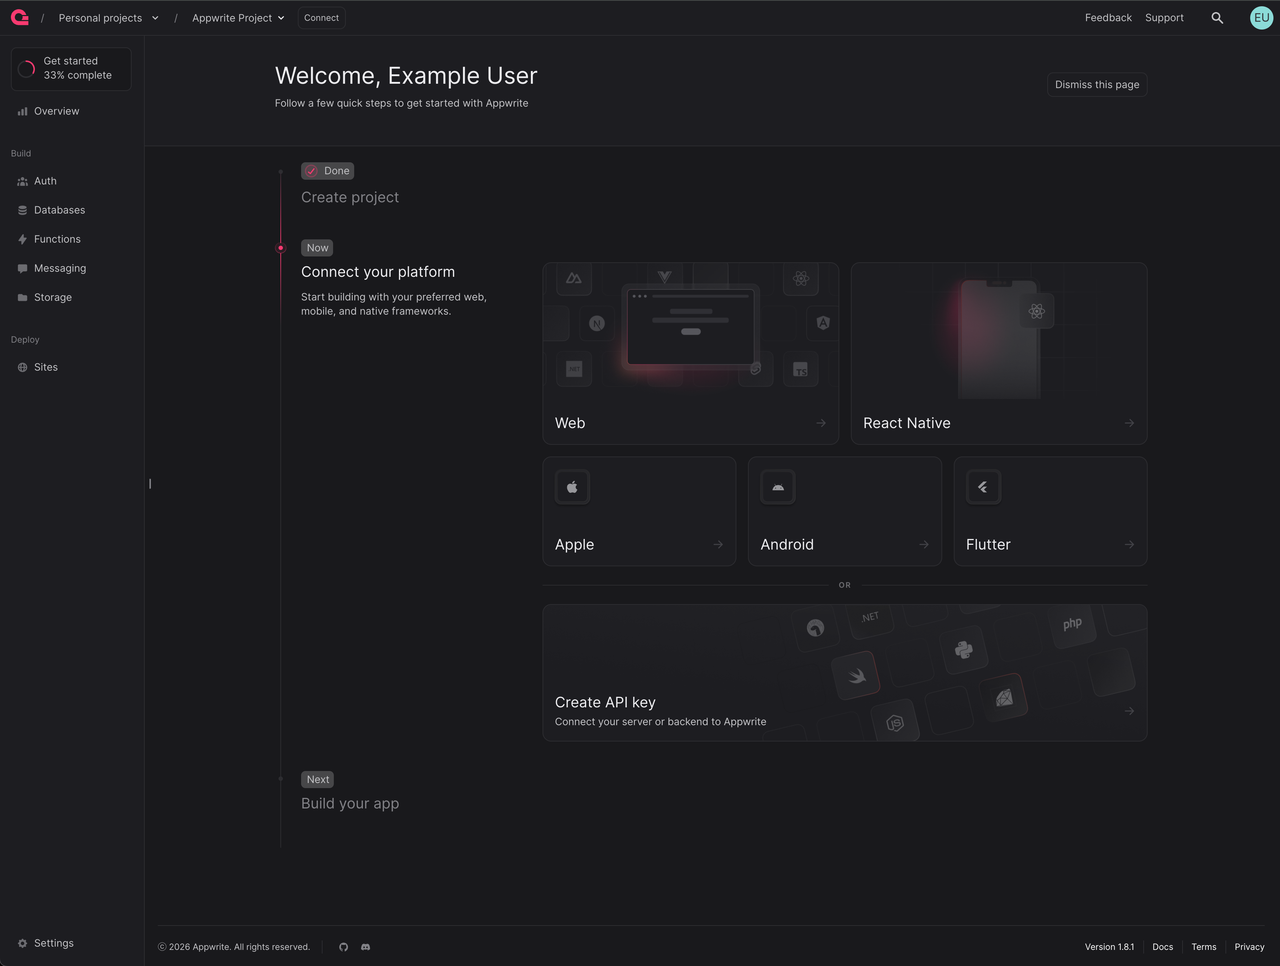
Enter a name for your first project and click Create Project.
The Appwrite Console dashboard appears. You can now add platforms (Web, Flutter, Android, iOS) and begin developing.
Conclusion
You have successfully deployed Appwrite on your server using Docker Compose. Your backend is now ready to handle authentication, databases, and storage for your applications. For more details on API usage and SDK integration, refer to the official Appwrite documentation.