How to Deploy Redpanda – Kafka-Compatible Streaming Platform
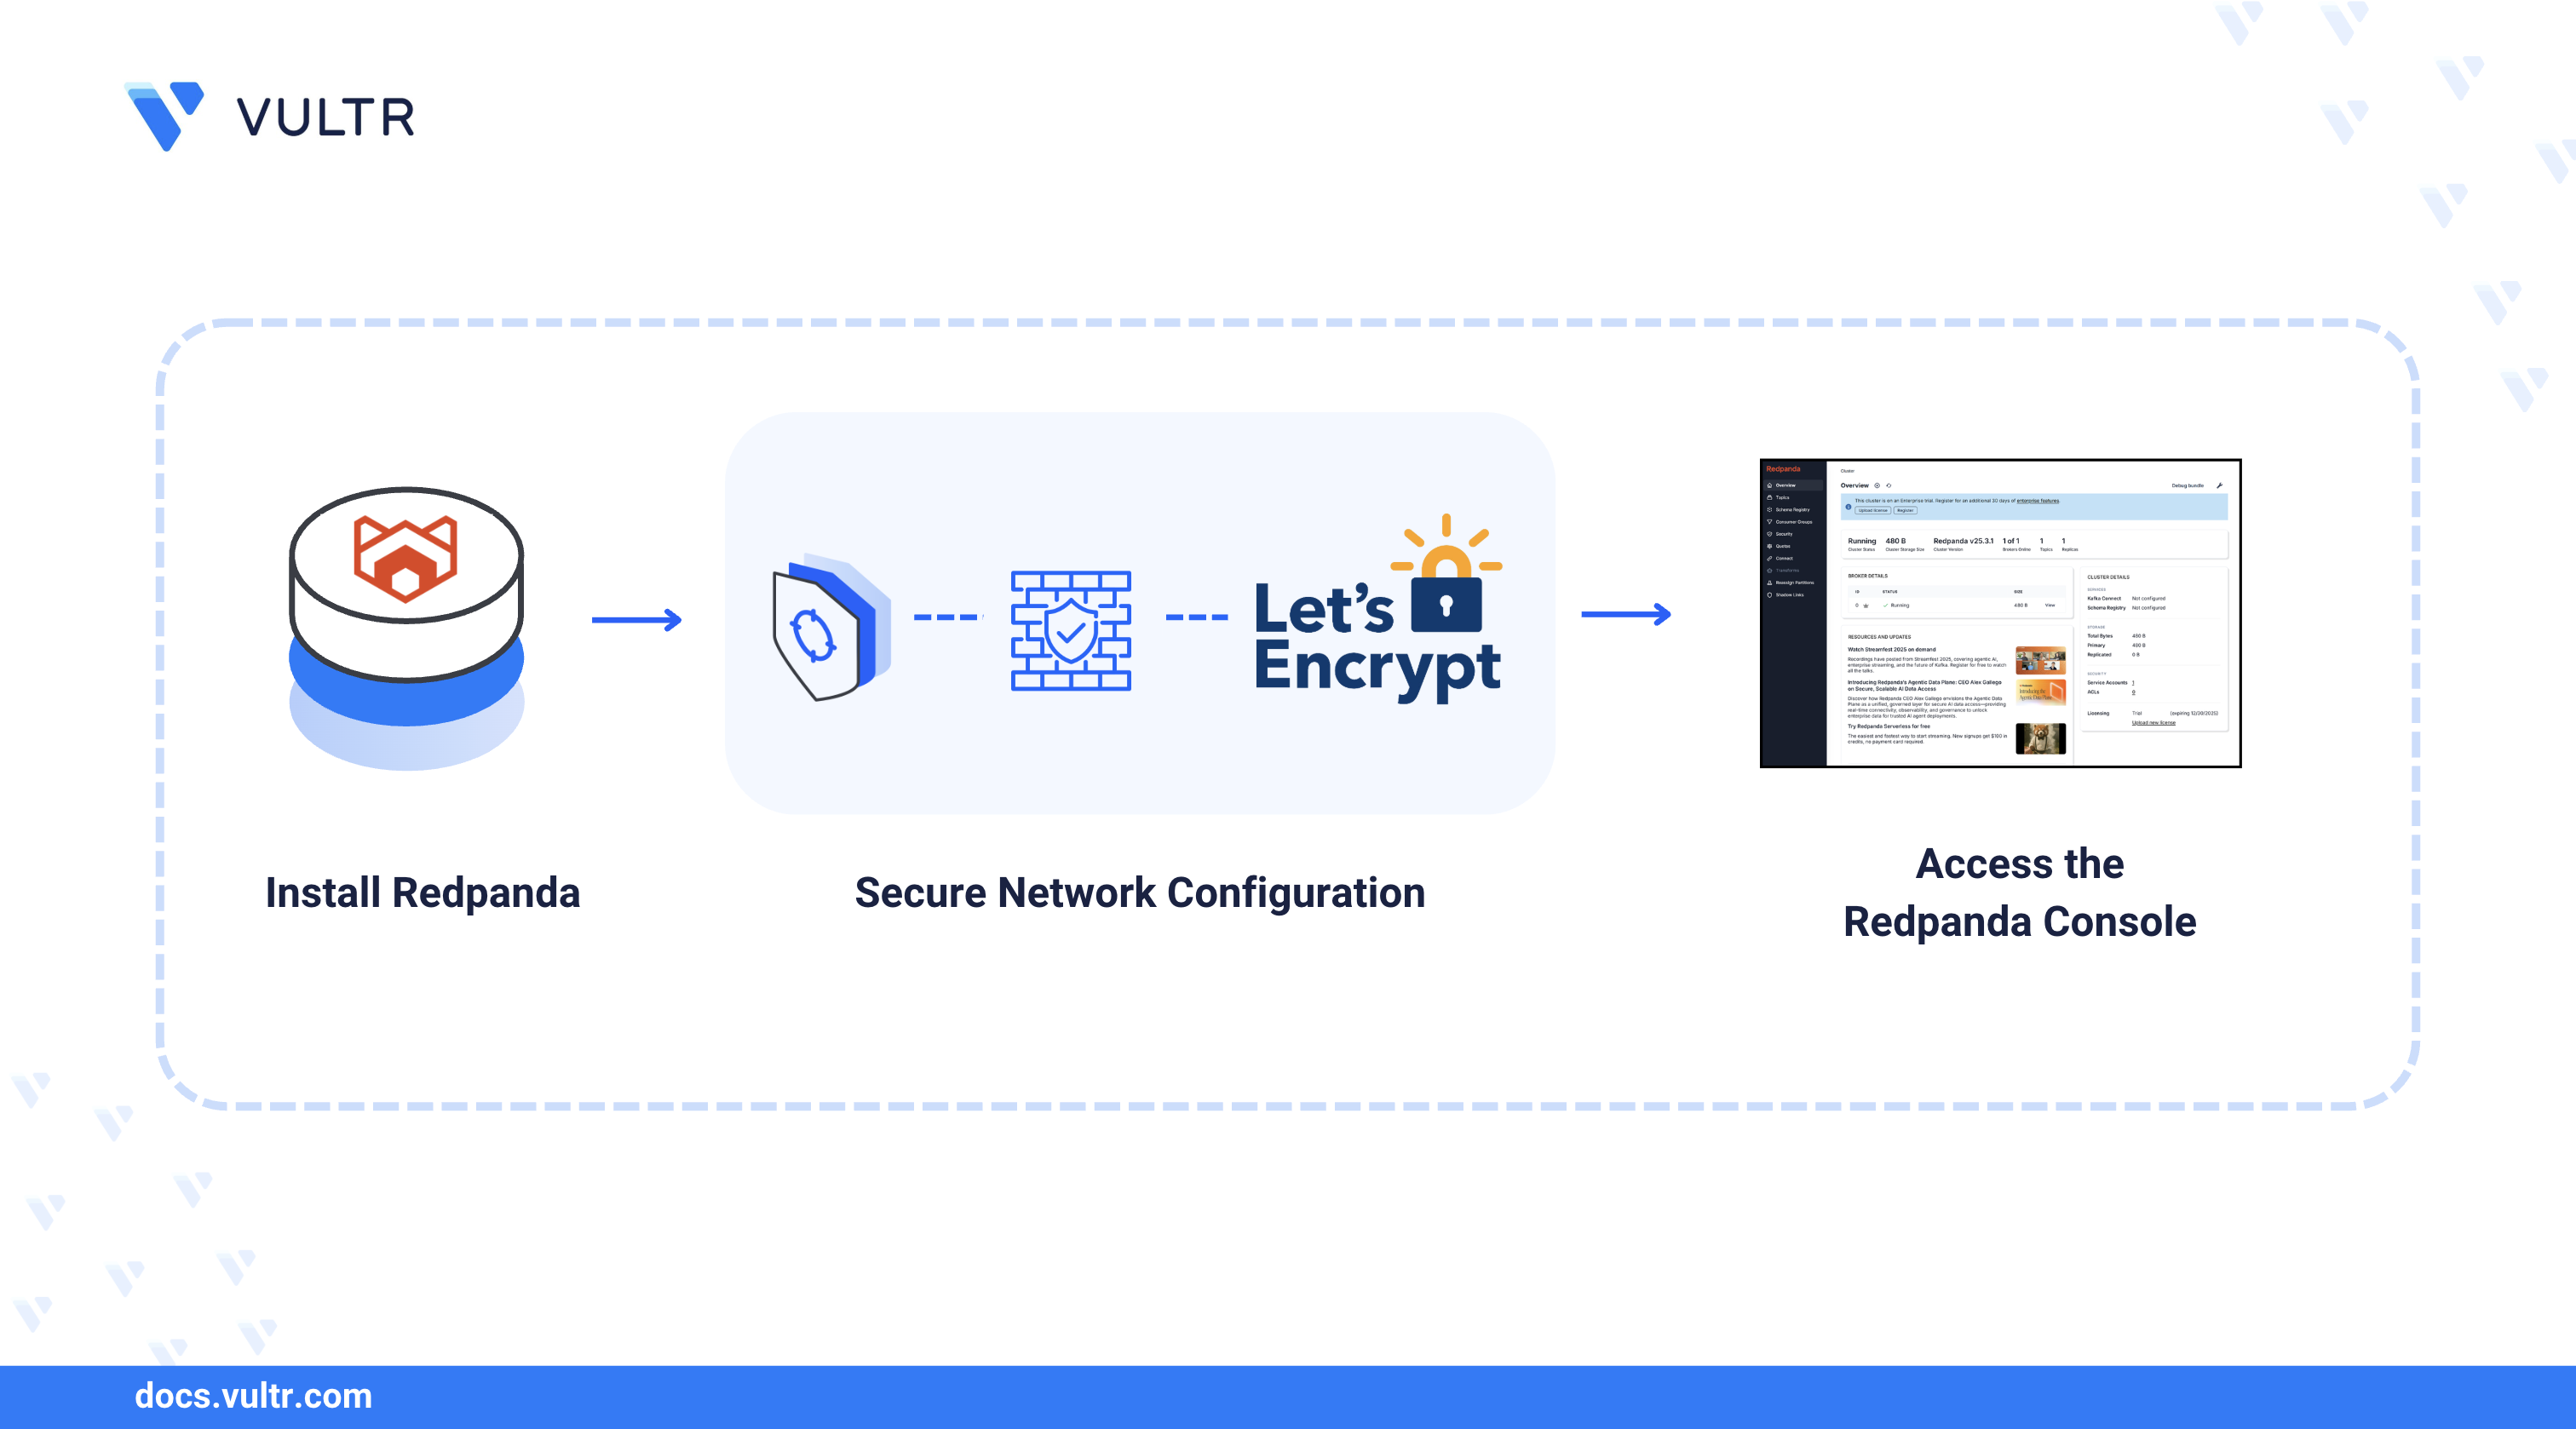
Redpanda is a modern, high-performance streaming platform that supports the Kafka API while using a simpler, more efficient architecture. It runs natively in C++ and eliminates JVM components like ZooKeeper, so you avoid common Kafka maintenance difficulties like memory tuning, GC delays, and coordination overhead. This simplified design reduces latency, operating burden, and increases throughput.
This article shows how to set up and configure Redpanda on Ubuntu 24.04, and make its console accessible over a web interface with HTTPS. It covers system preparation, secure configuration practices, and the use of Redpanda tooling such as bootstrap configuration and rpk profiles.
Prerequisites
Before starting, ensure you:
- Have access to an Ubuntu 24.04 server as a non-root sudo user. The server should meet the memory and CPU requirements as per your use case.
- Configure a domain name, such as
redpanda.example.com, to point to your server’s public IP address.
Install Redpanda
Redpanda provides a setup script that detects the operating system and configures the apt repositories automatically. Follow the steps below to update the APT package manager index and install Redpanda on your server.
Update the APT package index.
CONSOLEDownload and execute the official Redpanda's APT setup script as root.
CONSOLEWarning
If the script or its hosting source is compromised, it can run arbitrary commands and fully take over the system. Only run it if you trust the source, and your network.
Install the Redpanda server binary, the Redpanda tuner, and the Redpanda Keeper (rpk) CLI tool.
CONSOLEVerify the installation by checking the
rpkversion.CONSOLE
Configure Firewall Access
By default, Redpanda services communicate on specific TCP ports. To allow external clients, administrators, and other nodes in the cluster to connect, you must explicitly let traffic through the Uncomplicated Firewall (UFW).
The table below outlines the specific ports used by Redpanda and their functions:
Follow the steps below to open the ports for each specific Redpanda component.
Open all required ports.
CONSOLETo generate and renew TLS certificates with Let's Encrypt, Certbot requires port 80 to be open to perform ACME HTTP-01 challenge validation. Allow port 80 through your firewall.
CONSOLEAllow port 443 through your firewall to access Redpanda web console over HTTPS.
CONSOLEReload the firewall.
CONSOLE
Generate TLS Certificates with Let's Encrypt
By default, Redpanda data is sent unencrypted. This poses a significant security risk in production environments, as sensitive data streams could be intercepted. To secure your cluster, you must enable TLS encryption.
Follow the steps below to install Certbot, get a certificate, and organize the files for Redpanda.
Install Certbot.
CONSOLESet a shell variable for your domain name. Replace
redpanda.example.comwith your domain name.CONSOLESet a shell variable for your email address. Replace
admin@example.comwith your email address.CONSOLERequest a TLS certificate for your domain using Certbot.
CONSOLE- The above command temporarily starts a standalone web server on port 80 to verify domain ownership with Let’s Encrypt.
- Certbot stores certificates under
/etc/letsencrypt/live, which is readable only by therootuser. - Since Redpanda runs as the
redpandauser, you must copy the certificates to a dedicated directory with appropriate permissions.
Create a directory to store Redpanda TLS certificates.
CONSOLECopy the public certificate to the Redpanda certificate directory.
CONSOLECopy the private key to the Redpanda certificate directory.
CONSOLECopy the CA certificate to the Redpanda certificate directory.
CONSOLEGrant the
redpandauser ownership of the certificate directory.CONSOLESet restrictive permissions on the private key so only the owner can read it.
CONSOLEAllow read-only access to the public certificate and CA certificate.
CONSOLE
Set Up and Verify Automatic Certificate Renewal
Let’s Encrypt certificates expire every 90 days. To avoid service outages, Certbot includes an automated renewal system using certbot.timer. You must add a deploy hook so that whenever certificates are renewed, your Redpanda TLS files are updated and the service reloads securely.
Create the renewal script.
CONSOLEAdd the following contents to the file. Replace
redpanda.example.comwith your domain.INIMake the renewal script executable.
CONSOLERun a dry-run renewal to verify that automatic renewal and the deploy hook work correctly.
CONSOLE
Configure Redpanda for Production
Redpanda runs in development mode by default, which disables hardware optimization and leaves the cluster open. To prepare for production, you will enable hardware tuning, then use the Bootstrap File method to initialize security settings and create the superuser before the cluster starts processing traffic.
Note
Production mode enforces stricter resource checks. Ensure your server meets the memory and CPU requirements, otherwise, Redpanda may fail to start.
Enable Production Mode and Tuning
The autotuner identifies your hardware configuration and optimizes the Linux kernel (I/O schedulers, CPU settings) for performance.
Set Redpanda to production mode.
CONSOLETune the Linux kernel.
CONSOLEThis takes about 30 seconds and dramatically increases performance. Changes to the kernel do not always persist across reboots. Enabling the
redpanda-tunerservice guarantees that optimizations are automatically reapplied when the node restarts.Enable the Redpanda tuner service to persist optimizations across reboots.
CONSOLE
Configure Bootstrap File and User
Redpanda allows you to configure cluster settings before the first startup using a .bootstrap.yaml file. This is the cleanest way to set up authentication and security from the beginning.
Create the Redpanda bootstrap configuration file.
CONSOLEAdd the following initial configuration to the file.
YAMLSave and close the file. This configuration ensures authentication and administrative access are enforced from the very first startup.
Note
This file is only read on the first startup of Redpanda. Any later configuration changes must be done through the Admin API or
rpk cluster configcommands.The bootstrap file defines who the superuser is, but it does not create the password. To create the user credentials on the first boot, define an environment variable in the Redpanda system configuration.
Add the
RP_BOOTSTRAP_USERvariable to the bottom of the file. ReplaceSTRONG_PASSWORDwith your actual password.CONSOLEThis creates a user named
adminwith your specified password using the SCRAM-SHA-256 authentication mechanism.
Update Configuration File
Redpanda uses a YAML configuration file located at /etc/redpanda/redpanda.yaml. By default, the service listens on the localhost interface. To allow external connections, configure the advertised addresses. Now configure the main Redpanda settings with your domain name and TLS certificates.
Back up the original configuration.
CONSOLEOpen the configuration file.
CONSOLEReplace the entire configuration file with the following content. Replace
redpanda.example.comwith your actual domain name.YAMLSave and close the file. This configuration defines the core Redpanda node settings:
redpanda
- Configures the local data directory and disables seed servers for a single-node cluster.
- Defines the RPC API used for internal node communication and advertises it using the public hostname.
- Enables the Kafka API with SASL authentication over TLS on port 9092.
- Advertises the Kafka endpoint using the public domain so clients can connect securely.
- Configures TLS certificates for Kafka traffic using the node certificate and cluster CA.
admin API
- Exposes the Redpanda Admin API on port 9644.
- Secures the Admin API with TLS using the same certificate authority.
- Ensures administrative operations require encrypted connections.
rpk tuning
- Applies recommended system tuning for network, disk, CPU, memory, and I/O.
- Improves performance and stability for production workloads.
- Configures a dedicated directory for Redpanda core dumps.
Start the Redpanda service.
CONSOLERedpanda initializes the node, applies the bootstrap configuration, creates the configured superuser, and brings the cluster online with authentication and TLS enforced.
Verify the service is active.
CONSOLE
Create the Profile Configuration File
Run rpk as your regular sudo-capable user (not via sudo) so it can use your profile configuration.
Create a new
rpkprofile file to store your Redpanda credentials.CONSOLEAdd the following configuration to the file. Replace
redpanda.example.comandSTRONG_PASSWORDwith your actual broker address and password.YAMLSave and close the file.
Create and switch to the profile from the file.
CONSOLENow check the cluster health. Thanks to the
rpkprofile, you don't need to specify credentials or TLS flags.CONSOLEOutput:
Test the Installation
Now that the cluster is secured and running, perform a basic producer-consumer test to ensure it processes data accurately.
Create a test topic named
test-topic.CONSOLEOutput should show:
Produce a message to the topic.
CONSOLEOutput should show:
Consume the message from the topic.
CONSOLEThe output should display the message payload and metadata in JSON format.
Access Redpanda Console
Redpanda Console is a modern web interface for managing and monitoring your cluster. It provides visibility into topics, messages, consumer groups, and the schema registry.
Having configured the Redpanda repository earlier, install the console package.
CONSOLEConfigure the Redpanda Console configuration file.
CONSOLEReplace the existing content with the following configuration.
YAMLSave and close the file.
The
redpanda-console-config.yamlfile controls how the console connects to your Redpanda cluster.- Server: Sets the internal port (8080) where the console listens.
- Kafka & Redpanda: Establishes secure TLS connections to your cluster's Kafka API (messaging) and Admin API (management) using the credentials defined earlier.
Enable the Redpanda Console service to start automatically on boot.
CONSOLEStart the Redpanda Console service.
CONSOLE
Set Up Nginx Reverse Proxy with Basic Authentication
Since the open-source version of Redpanda Console does not include built-in login functionality, you must secure it using Nginx Basic Authentication. This setup forces users to enter a username and password before they can access the dashboard.
Install Nginx.
CONSOLEInstall the Apache utilities package.
CONSOLEThis package provides the
htpasswdutility, which is required to generate the password file for Nginx.Run the following command to create a user named
admin. You will be prompted to enter and confirm a password.CONSOLEThe above command prompts you to enter and confirm the password for the
adminuser.Create a new Nginx configuration file for the console.
CONSOLEAdd the following configuration. Replace
redpanda.example.comwith your domain.INISave and close the file.
Enable the new site configuration.
CONSOLETest the Nginx configuration for syntax errors.
CONSOLERestart Nginx to apply the changes.
CONSOLEOpen your web browser and navigate to your domain using HTTPS.
The browser prompts you to enter the username and the password you created earlier. After entering your credentials, you should see the Redpanda Console dashboard secured with a valid TLS certificate.
Conclusion
In this article, you installed a single-binary Redpanda cluster on Ubuntu 24.04, secured external access using TLS encryption with Let's Encrypt, configured automatic certificate renewal, and set up Redpanda Console for observability. For more information, refer to the Redpanda Documentation.
Tags:Ubuntu 24.04


0 Comments
Be the first to comment and share your perspective with the community.