
How to Deploy Vultr's ASP.NET Marketplace Application
ASP.NET is a cross-platform, high-performance framework developed by Microsoft for building web applications, APIs, and microservices. It includes features such as Razor Pages for streamlined server-side rendering, gRPC for fast inter-service communication, and minimal APIs for lightweight endpoints. Vultr's ASP.NET Marketplace Application provides a pre-configured ASP.NET environment, allowing developers to deploy and run .NET applications on Vultr servers.
This article explains deploying and using Vultr's ASP.NET Marketplace Application. You will set up an ASP.NET instance, create and deploy a sample application, configure Nginx as a reverse proxy, and secure the application with TLS certificates.
Deploy ASP.NET from Vultr Marketplace
- Login to your Vultr Console and click the Deploy Server button.
- Select your preferred server type.
- Choose a server location.
- Select a server plan as per your needs.
- Click the Configure Software button to proceed.
- Under Marketplace Apps, search for
ASP.NETand select it as the Marketplace Application. - Select the Limited User Login option under Additional Features to create a non-root user with sudo access.
- Review your configurations and click the Deploy button to start deployment.
Initial Server Setup and Configuration
Create a DNS A record pointing to your server's IP address, such as
app.example.com.Connect to your Vultr server instance via SSH with the credentials from the Server Information page.
Verify the ASP.NET installation by checking the installed .NET SDK version.
console$ dotnet --version
You should see the installed .NET version, such as
8.0.415or similar.
Create and Deploy an ASP.NET Project
This section covers creating an ASP.NET web application.
Create an ASP.NET Application
Create a directory for your application.
console$ mkdir ~/aspnet-app
Navigate to the application directory.
console$ cd ~/aspnet-app
Create a new ASP.NET web application using the .NET CLI.
console$ dotnet new webapp -n MyVultrApp
Navigate to the project directory.
console$ cd MyVultrApp
Publish the Application
Build the application in Release mode.
console$ sudo dotnet publish -c Release -o /var/www/aspnet-app
This command compiles the application and outputs the files to
/var/www/aspnet-app.Set the correct permissions for the application directory.
console$ sudo chown -R www-data:www-data /var/www/aspnet-app
Create a systemd Service
To ensure your ASP.NET application runs continuously and starts automatically on boot, create a systemd service.
Create a new service file.
console$ sudo nano /etc/systemd/system/aspnet-app.service
Add the following configuration.
ini[Unit] Description=ASP.NET Web Application After=network.target [Service] WorkingDirectory=/var/www/aspnet-app ExecStart=/usr/bin/dotnet /var/www/aspnet-app/MyVultrApp.dll Restart=always RestartSec=10 KillSignal=SIGINT SyslogIdentifier=aspnet-app User=www-data Environment=ASPNETCORE_ENVIRONMENT=Production Environment=DOTNET_PRINT_TELEMETRY_MESSAGE=false Environment=ASPNETCORE_URLS=http://localhost:5000 [Install] WantedBy=multi-user.target
Save and exit the file.
Reload the systemd daemon to recognize the new service.
console$ sudo systemctl daemon-reload
Start the ASP.NET application service.
console$ sudo systemctl start aspnet-app
Enable the service to start on boot.
console$ sudo systemctl enable aspnet-app
Check the service status to confirm it's running.
console$ sudo systemctl status aspnet-app
Configure Nginx as a Reverse Proxy
Install and configure Nginx as a reverse proxy to handle web traffic and forward requests to your ASP.NET application.
Install Nginx.
console$ sudo apt install nginx -y
Start the Nginx service.
console$ sudo systemctl start nginx
Enable Nginx to start on boot.
console$ sudo systemctl enable nginx
Allow HTTP traffic through the firewall.
console$ sudo ufw allow 80/tcp
Allow HTTPS traffic through the firewall.
console$ sudo ufw allow 443/tcp
Create a new Nginx configuration file for your ASP.NET application.
console$ sudo nano /etc/nginx/sites-available/aspnet-app
Add the following configuration, replacing
app.example.comwith your domain name.iniserver { listen 80; server_name app.example.com; location / { proxy_pass http://localhost:5000; proxy_http_version 1.1; proxy_set_header Upgrade $http_upgrade; proxy_set_header Connection keep-alive; proxy_set_header Host $host; proxy_cache_bypass $http_upgrade; proxy_set_header X-Forwarded-For $proxy_add_x_forwarded_for; proxy_set_header X-Forwarded-Proto $scheme; } }
Save and exit the file.
Create a symbolic link to enable the site.
console$ sudo ln -s /etc/nginx/sites-available/aspnet-app /etc/nginx/sites-enabled/
Test the Nginx configuration for errors.
console$ sudo nginx -t
Reload Nginx to apply the changes.
console$ sudo systemctl reload nginx
Open a web browser and navigate to
http://app.example.comto verify your application is accessible.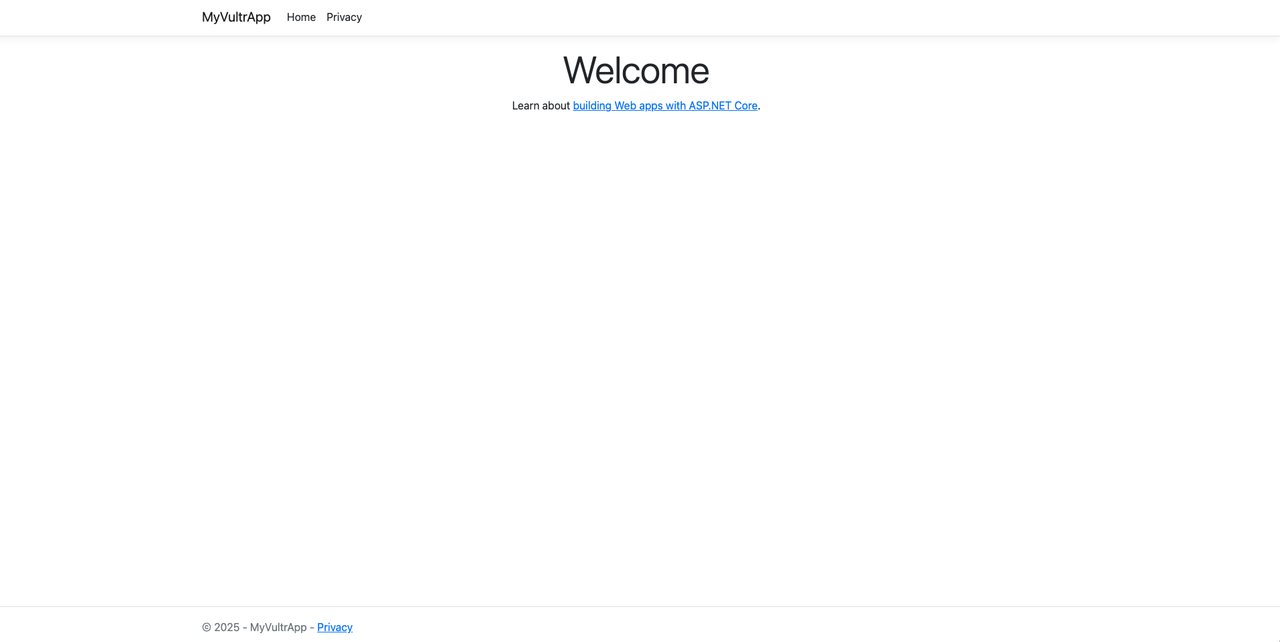
Secure the Application with Let's Encrypt
Secure your ASP.NET application with HTTPS using free TLS certificates from Let's Encrypt, managed by Certbot.
Install Certbot and the Nginx plugin.
console$ sudo apt install certbot python3-certbot-nginx -y
Set up a TLS certificate for your domain. Replace
app.example.comwith your actual domain name andadmin@example.comwith your email address.console$ sudo certbot --nginx -d app.example.com -m admin@example.com --no-eff --agree-tos
Certbot will automatically update your Nginx configuration to use HTTPS and install the TLS certificate.
Verify TLS certificate auto-renewal by running a dry run.
console$ sudo certbot renew --dry-run
Your ASP.NET application should now be accessible via
https://app.example.comwith a valid TLS certificate.
Manage and Update the Application
This section demonstrates how to make updates to your application and redeploy them.
Update and Redeploy the Application
To apply updates, make necessary code changes and redeploy the application.
Navigate to your source code directory.
console$ cd ~/aspnet-app/MyVultrApp
Modify the home page to verify the update process.
console$ nano Pages/Index.cshtml
Replace the content with a simple update.
html@page @model IndexModel @{ ViewData["Title"] = "Home page"; } <div class="text-center"> <h1 class="display-4">Welcome to My Vultr App</h1> <p>Your ASP.NET application is successfully running on Vultr!</p> <p>Version: 2.0</p> </div>Save and exit the file.
Rebuild and republish the application.
console$ sudo dotnet publish -c Release -o /var/www/aspnet-app
Restart the service.
console$ sudo systemctl restart aspnet-app
Verify the update by accessing
https://app.example.comin your browser.
Common Management Commands
Below are common commands for managing your ASP.NET application.
Stop the application.
console$ sudo systemctl stop aspnet-app
View application logs.
console$ sudo journalctl -u aspnet-app
View real-time logs.
console$ sudo journalctl -u aspnet-app -f
Conclusion
In this article, you deployed Vultr's ASP.NET Marketplace Application. You created and deployed an ASP.NET project, configured Nginx as a reverse proxy, secured the application with TLS certificates, and learned how to manage and update the application. With ASP.NET's robust framework and Vultr's optimized infrastructure, you can build and deploy scalable web applications efficiently. The pre-configured Marketplace Application simplifies the initial setup, enabling a faster and more streamlined deployment process.