How to Install Ackee Analytics on Ubuntu 20.04

Ackee is a self-hosted analytics tool built on Node JS. It is a Google Analytics alternative, privacy-focused, and offers a minimal straightforward web interface for analyzing website traffic with helpful insights. This article will teach you how to install and set up Ackee Analytics on a Ubuntu 20.04 Server.
Prerequisites
- Deploy a Ubuntu 20.04 server.
- SSH and Login as a user with Sudo privileges.
- Install MongoDB.
- Install NodeJS.
- Install Nginx.
Installation
Install Yarn.
$ sudo npm install –global yarnCheck the installation.
$ sudo yarn --versionThen, clone the Ackee Analtyics Github Repository.
$ git clone https://github.com/electerious/AckeeSwitch to the new Ackee Directory.
$ cd AckeeSetup a new .env file using your preferred text editor.
$ nano .envPaste the following configurations: Replace example, password with your preferred username and a strong password.
ACKEE_MONGODB=mongodb://localhost:27017/ackee
ACKEE_USERNAME=Example
ACKEE_PASSWORD=password
Save and close the file.
Now, install Ackee using yarn:
$ sudo yarn installSetup Ackee Analytics as a system service
Create a new Systemd service file.
$ sudo nano /etc/systemd/system/ackee.servicePaste the following configurations to the file:
[Unit]
Description=Ackee Analytics
After=network.target

[Service]
Type=simple
User=example
WorkingDirectory=/home/example/Ackee

ExecStart=yarn start

[Install]
WantedBy=multi-user.target
Save and close the file.
Enable the Ackee Analytics Service.
$ sudo systemctl enable ackee.serviceRestart the Systemd daemon to load changes.
$ sudo systemctl daemon-reloadStart Ackee Analytics.
$ sudo systemctl start ackeeSetup Nginx as a reverse proxy
Create a new Nginx configuration file.
$ sudo nano /etc/nginx/sites-available/analytics.example.comPaste the following configurations:
server {
    listen 80;
    listen [::]:80;

     server_name analytics.example.com;

    location / {
        proxy_pass http://localhost:3000;
        proxy_set_header Host $host;
        proxy_set_header X-Real-IP $remote_addr;

    }
}
Save and close the file.
Replace `analytics.example.com with your active domain name pointed to the server.
Enable the configuration file by linking it to /sites-enabled with the following command:
$ sudo ln -s /etc/nginx/sites-available/analytics.example.com /etc/nginx/sites-enabled/Check the Nginx configuration for errors.
$ sudo nginx -tRestart Nginx.
$ sudo systemctl restart nginxSetup Ackee Analytics
Using a web browser, visit your configured domain name.
http://analytics.example.comNow, enter the administrator username and password you configured earlier in the .env file.
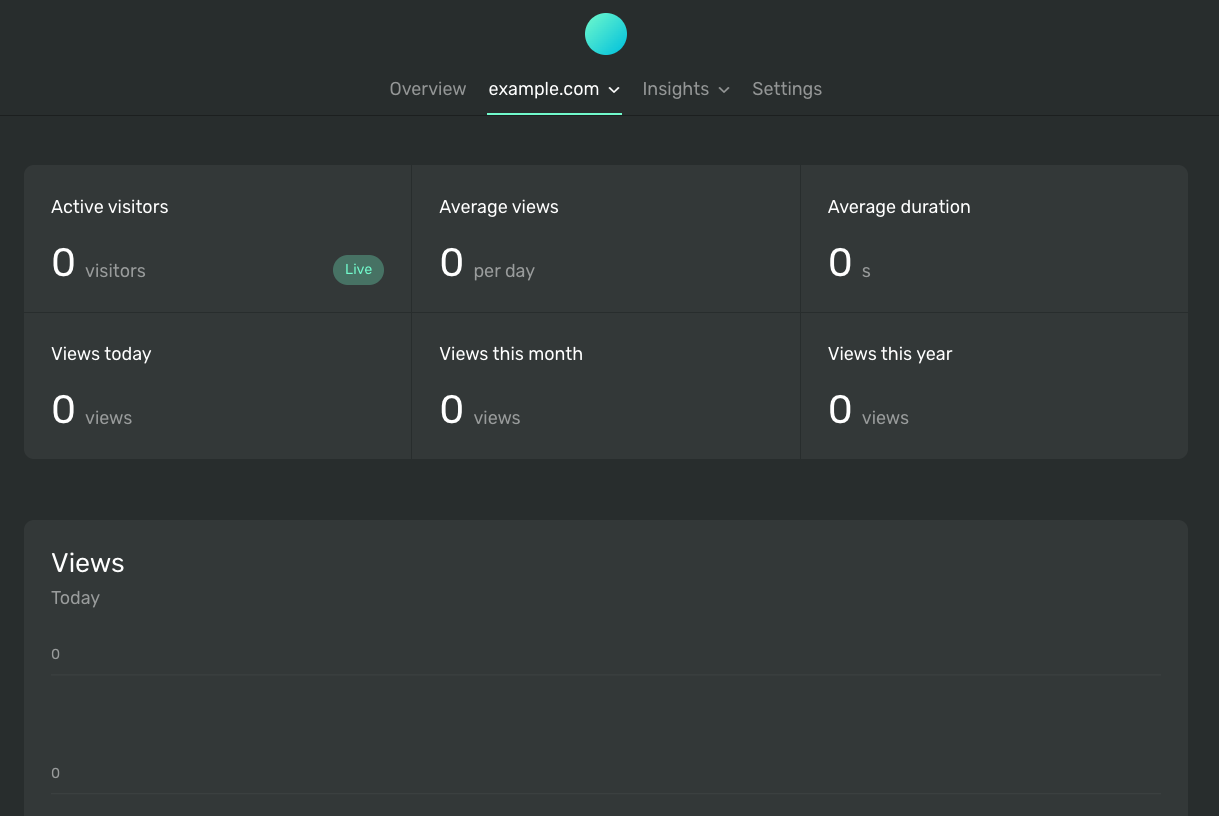
Once successful, navigate to the Settings tab and click New domain to add a new website to track. Next, copy the tracking code, and paste it to your website’s <head> section to track all visitors with Ackee Analytics.

Conclusion
Congratulations, you have successfully installed Ackee Analytics on Ubuntu 20.04. You can add multiple domains to track within the application through the web interface. For further information on using Ackee Analytics, refer to the official documentation page.