
How to Install Harshicorp Vault on Ubuntu 24.04

Modern applications rely on secrets, including API keys, database passwords, TLS certificates, and encryption keys. When hardcoded, stored in plain files, or distributed insecurely, these secrets pose serious security risks. HashiCorp Vault addresses this challenge by providing a secure, centralized solution for managing sensitive information. It delivers secret storage, dynamic credential generation, encryption as a service, and fine-grained access control.
This article shows how to set up a production-ready Vault server on Ubuntu 24.04. It covers installing Vault from HashiCorp's official repository, generating TLS certificates with Let's Encrypt, configuring Vault for secure operation, initializing it with unseal keys, and accessing the CLI and web UI.
Prerequisites
Before you begin, ensure you:
- Have access to an Ubuntu 24.04 server as a non-root sudo user.
- Configure a domain A record pointing to your server's IP address.
Install Vault from HashiCorp Repository
This section covers adding HashiCorp's official APT repository to your system and installing Vault. HashiCorp maintains its own repository which gives you access to the latest stable releases directly from the vendor.
Update your package list.
console$ sudo apt update
Install the required packages.
console$ sudo apt install gnupg curl lsb-release -y
Add HashiCorp's GPG key. This key verifies that packages actually come from HashiCorp.
console$ curl -fsSL https://apt.releases.hashicorp.com/gpg | sudo gpg --dearmor -o /usr/share/keyrings/hashicorp-archive-keyring.gpg
Add the HashiCorp repository to your system sources.
console$ echo "deb [arch=$(dpkg --print-architecture) signed-by=/usr/share/keyrings/hashicorp-archive-keyring.gpg] https://apt.releases.hashicorp.com $(lsb_release -cs) main" | sudo tee /etc/apt/sources.list.d/hashicorp.list
Update the package index.
console$ sudo apt update
Install Vault.
console$ sudo apt install vault -y
Verify the installation.
console$ vault --version
Output:
Vault v1.20.4 (55bd8f18c6c84aa89fdede4850a622c57f03bd7e), built 2025-09-23T13:22:38ZEnable shell autocompletion for vault.
console$ vault -autocomplete-install
Reload your shell to apply the autocompletion.
console$ exec $SHELL
Configure Firewall Access
In this section, open the necessary ports in the firewall for Vault to be accessible. The steps configure UFW to allow HTTPS access to Vault.
Allow HTTPS access on port 8200 where Vault web UI runs.
console$ sudo ufw allow 8200/tcp
Open port 80 temporarily to allow Certbot to issue TLS certificates.
console$ sudo ufw allow 80/tcp
Reload firewall.
console$ sudo ufw reload
Generate TLS Certificates with Let's Encrypt
This section covers obtaining TLS certificates using Certbot. Install and use Certbot to get free certificates from Let's Encrypt.
Install Certbot.
console$ sudo apt install certbot -y
Obtain a certificate for your domain. Replace
vault.example.comwith your actual domain andyour-email@example.comwith your email address.console$ sudo certbot certonly --standalone -d vault.example.com --non-interactive --agree-tos --email your-email@example.com
Remove the port 80 rule from your firewall after obtaining the TLS certificates.
console$ sudo ufw delete allow 80/tcp
Reload the firewall.
console$ sudo ufw reload
Create a directory for Vault certificates.
console$ sudo mkdir -p /opt/vault/tls
Copy the Let's Encrypt certificates to Vault's directory. Replace
vault.example.comwith your domain name.console$ sudo cp /etc/letsencrypt/live/vault.example.com/fullchain.pem /opt/vault/tls/cert.pem
Copy the private key. Replace
vault.example.comwith your domain name.console$ sudo cp /etc/letsencrypt/live/vault.example.com/privkey.pem /opt/vault/tls/key.pem
Set proper ownership for the certificates.
console$ sudo chown -R vault:vault /opt/vault/tls
Set restrictive permissions on the certificate files.
console$ sudo chmod 600 /opt/vault/tls/cert.pem /opt/vault/tls/key.pem
Create an automatic certificate renewal script.
console$ sudo tee /etc/letsencrypt/renewal-hooks/deploy/vault.sh > /dev/null << 'EOF' #!/bin/bash cp /etc/letsencrypt/live/vault.example.com/fullchain.pem /opt/vault/tls/cert.pem cp /etc/letsencrypt/live/vault.example.com/privkey.pem /opt/vault/tls/key.pem chown -R vault:vault /opt/vault/tls chmod 600 /opt/vault/tls/* systemctl reload vault EOF
Make the renewal script executable.
console$ sudo chmod +x /etc/letsencrypt/renewal-hooks/deploy/vault.sh
Configure Vault for Production
This section covers configuring Vault for production use. The configuration file controls how Vault operates, including storage backend, network listeners, and security settings.
Back up the original configuration file.
console$ sudo cp /etc/vault.d/vault.hcl /etc/vault.d/vault.hcl.backup
Create a production configuration. Replace
vault.example.comwith your actual domain.console$ sudo tee /etc/vault.d/vault.hcl > /dev/null << 'EOF' # Vault production configuration # Enable the web UI ui = true # Disable memory locking (set to false if you have limited RAM) disable_mlock = true # Storage backend - uses local filesystem storage "file" { path = "/opt/vault/data" } # HTTPS listener listener "tcp" { address = "0.0.0.0:8200" tls_cert_file = "/opt/vault/tls/cert.pem" tls_key_file = "/opt/vault/tls/key.pem" # Enforce minimum TLS version tls_min_version = "tls12" # Use secure cipher suites tls_cipher_suites = "TLS_ECDHE_RSA_WITH_AES_256_GCM_SHA384,TLS_ECDHE_RSA_WITH_AES_128_GCM_SHA256" # Do NOT require client certificates tls_require_and_verify_client_cert = "false" tls_disable_client_certs = "true" } # Advertise the correct address to other Vault nodes api_addr = "https://vault.example.com:8200" cluster_addr = "https://vault.example.com:8201" EOF
Enable the Vault service to start at boot.
console$ sudo systemctl enable vault
Restart the Vault service with the new configuration.
console$ sudo systemctl restart vault
Check that Vault started successfully.
console$ sudo systemctl status vault
Output should show:
● vault.service - "HashiCorp Vault - A tool for managing secrets"
     Loaded: loaded (/usr/lib/systemd/system/vault.service; enabled; preset: enabled)
     Active: active (running) since Thu 2025-10-02 22:15:08 UTC; 3s ago
...
Set Up Vault Environment
This section shows how to configure environment variables that tell the CLI where to find your Vault server.
Set the Vault address environment variable. Replace
vault.example.comwith your domain.console$ echo 'export VAULT_ADDR="https://vault.example.com:8200"' >> ~/.bashrc
Reload your shell configuration.
console$ source ~/.bashrc
Verify the variable is set correctly.
console$ echo $VAULT_ADDR
Output:
https://vault.example.com:8200Test connectivity to Vault.
console$ vault status
Output:
Key                Value
---                -----
Seal Type          shamir
Initialized        false
Sealed             true
Initialize and Unseal Vault
This section covers initializing Vault to generate encryption keys and unsealing it to make it operational. Vault starts in a sealed state where it knows where its data is stored but can't decrypt it.
Understanding the Unseal Process
When you initialize Vault, it creates:
- Master key: Encrypts all your secrets
- Unseal keys: Parts of the master key split using Shamir's Secret Sharing algorithm
- Root token: Your initial admin access
The default setup creates 5 keys with a threshold of 3. This means you need any 3 of the 5 keys to unseal Vault. This prevents any single person from having complete access.
Initialize Vault with the default configuration.
console$ vault operator init
Output:
Unseal Key 1: nk+b+gZRPzUcTx5yDaY7Rxv26m/JqPuuhlYKVLxqvcLV Unseal Key 2: kXi4dk1pDpTj0efjPekMMEnqMFIGVbbIECyAbYXu4XIi Unseal Key 3: jPyTlTCeKAMHu16+EYHc6FcmqW+hQ8B9ZN02vQ8VnOmd Unseal Key 4: 5rvMMnEvcIQdcAtKd+UxQX7FqsDbMEtuHqRijFlyjR9l Unseal Key 5: igcpq67F04IhxzAFQ/i+VbC5+vPSRNY5Zsg/xHu+qgID Initial Root Token: hvs.4H1RRGrHO8cbu2QumVuXUfOV ...Save these keys in separate, secure locations, as you'll never see them again.NoteStart unsealing Vault with the first key. You need to run this command 3 times with 3 different keys.
console$ vault operator unseal
Paste the first key when prompted. Output shows progress:
...
Unseal Progress    1/3
...
Continue with the second key.
console$ vault operator unseal
Output:
...
Unseal Progress    2/3
...
Use the third key to complete unsealing.
console$ vault operator unseal
When successful, you'll see:
... Sealed false ...If unsealing fails, make sure you're using 3 different keys and not the same ones.NoteLog in with the root token.
console$ vault login
Enter the Initial Root Token when prompted.
Access the Vault Web UI
This section shows how to access Vault's web interface, which provides a visual and intuitive way to manage secrets alongside the CLI.
Open your browser and navigate to your Vault URL:
https://vault.example.com:8200You'll see the Vault login screen. Select Token as the method.
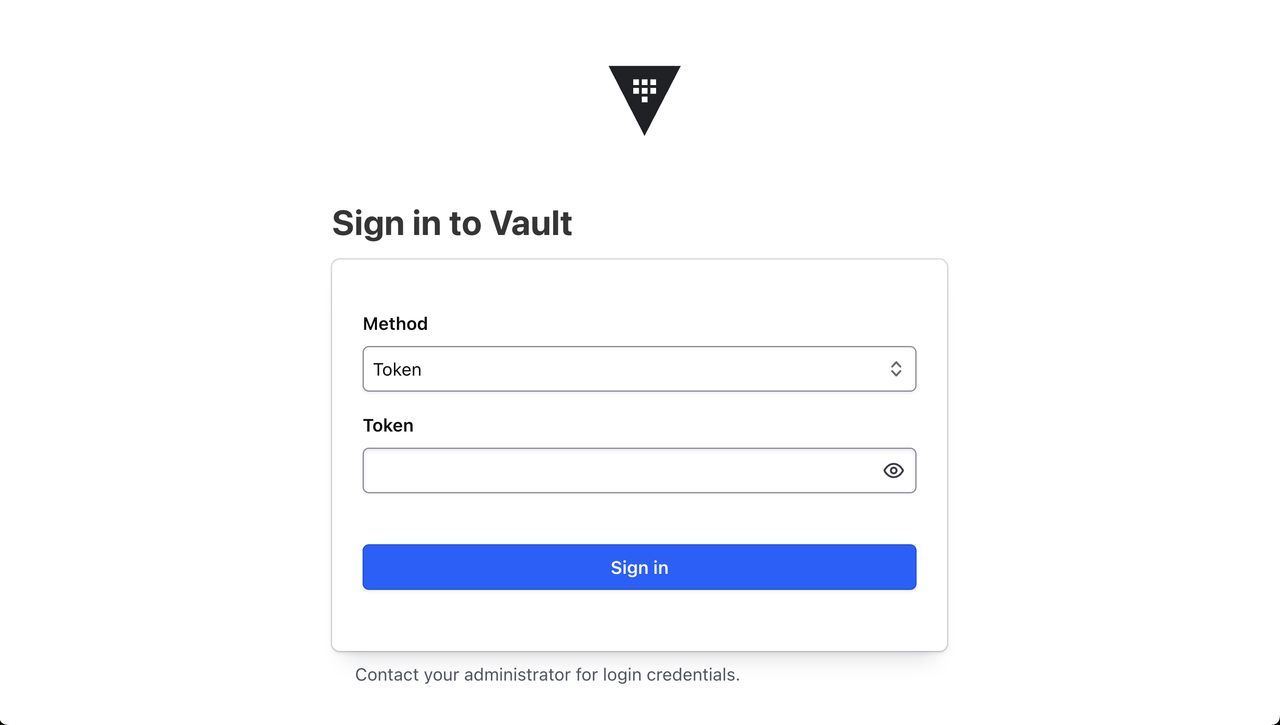
Enter your root token and click Sign In.
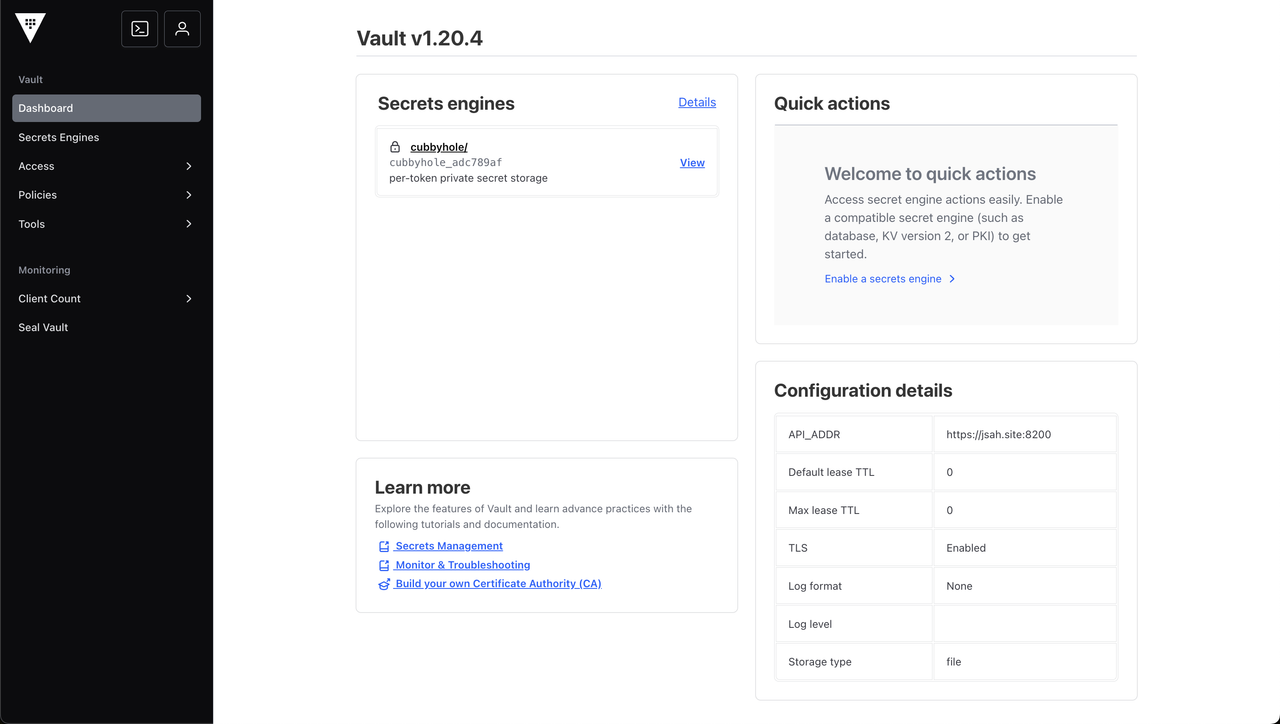
The dashboard shows your Vault's status and available secrets engines.
Conclusion
You now have a production-ready Vault installation on Ubuntu 24.04 with proper TLS encryption and both CLI and web access. Your Vault server is ready to securely store and manage secrets for your infrastructure. Refer to the Vault Documentation for more information.