
How to Install MariaDB on Ubuntu 26.04
MariaDB is an open-source relational database management system built as a drop-in replacement for MySQL. It offers improved performance, additional storage engines, and enhanced security features while maintaining full compatibility with MySQL syntax and tools. MariaDB is commonly used in web application stacks, data analytics platforms, and enterprise environments.
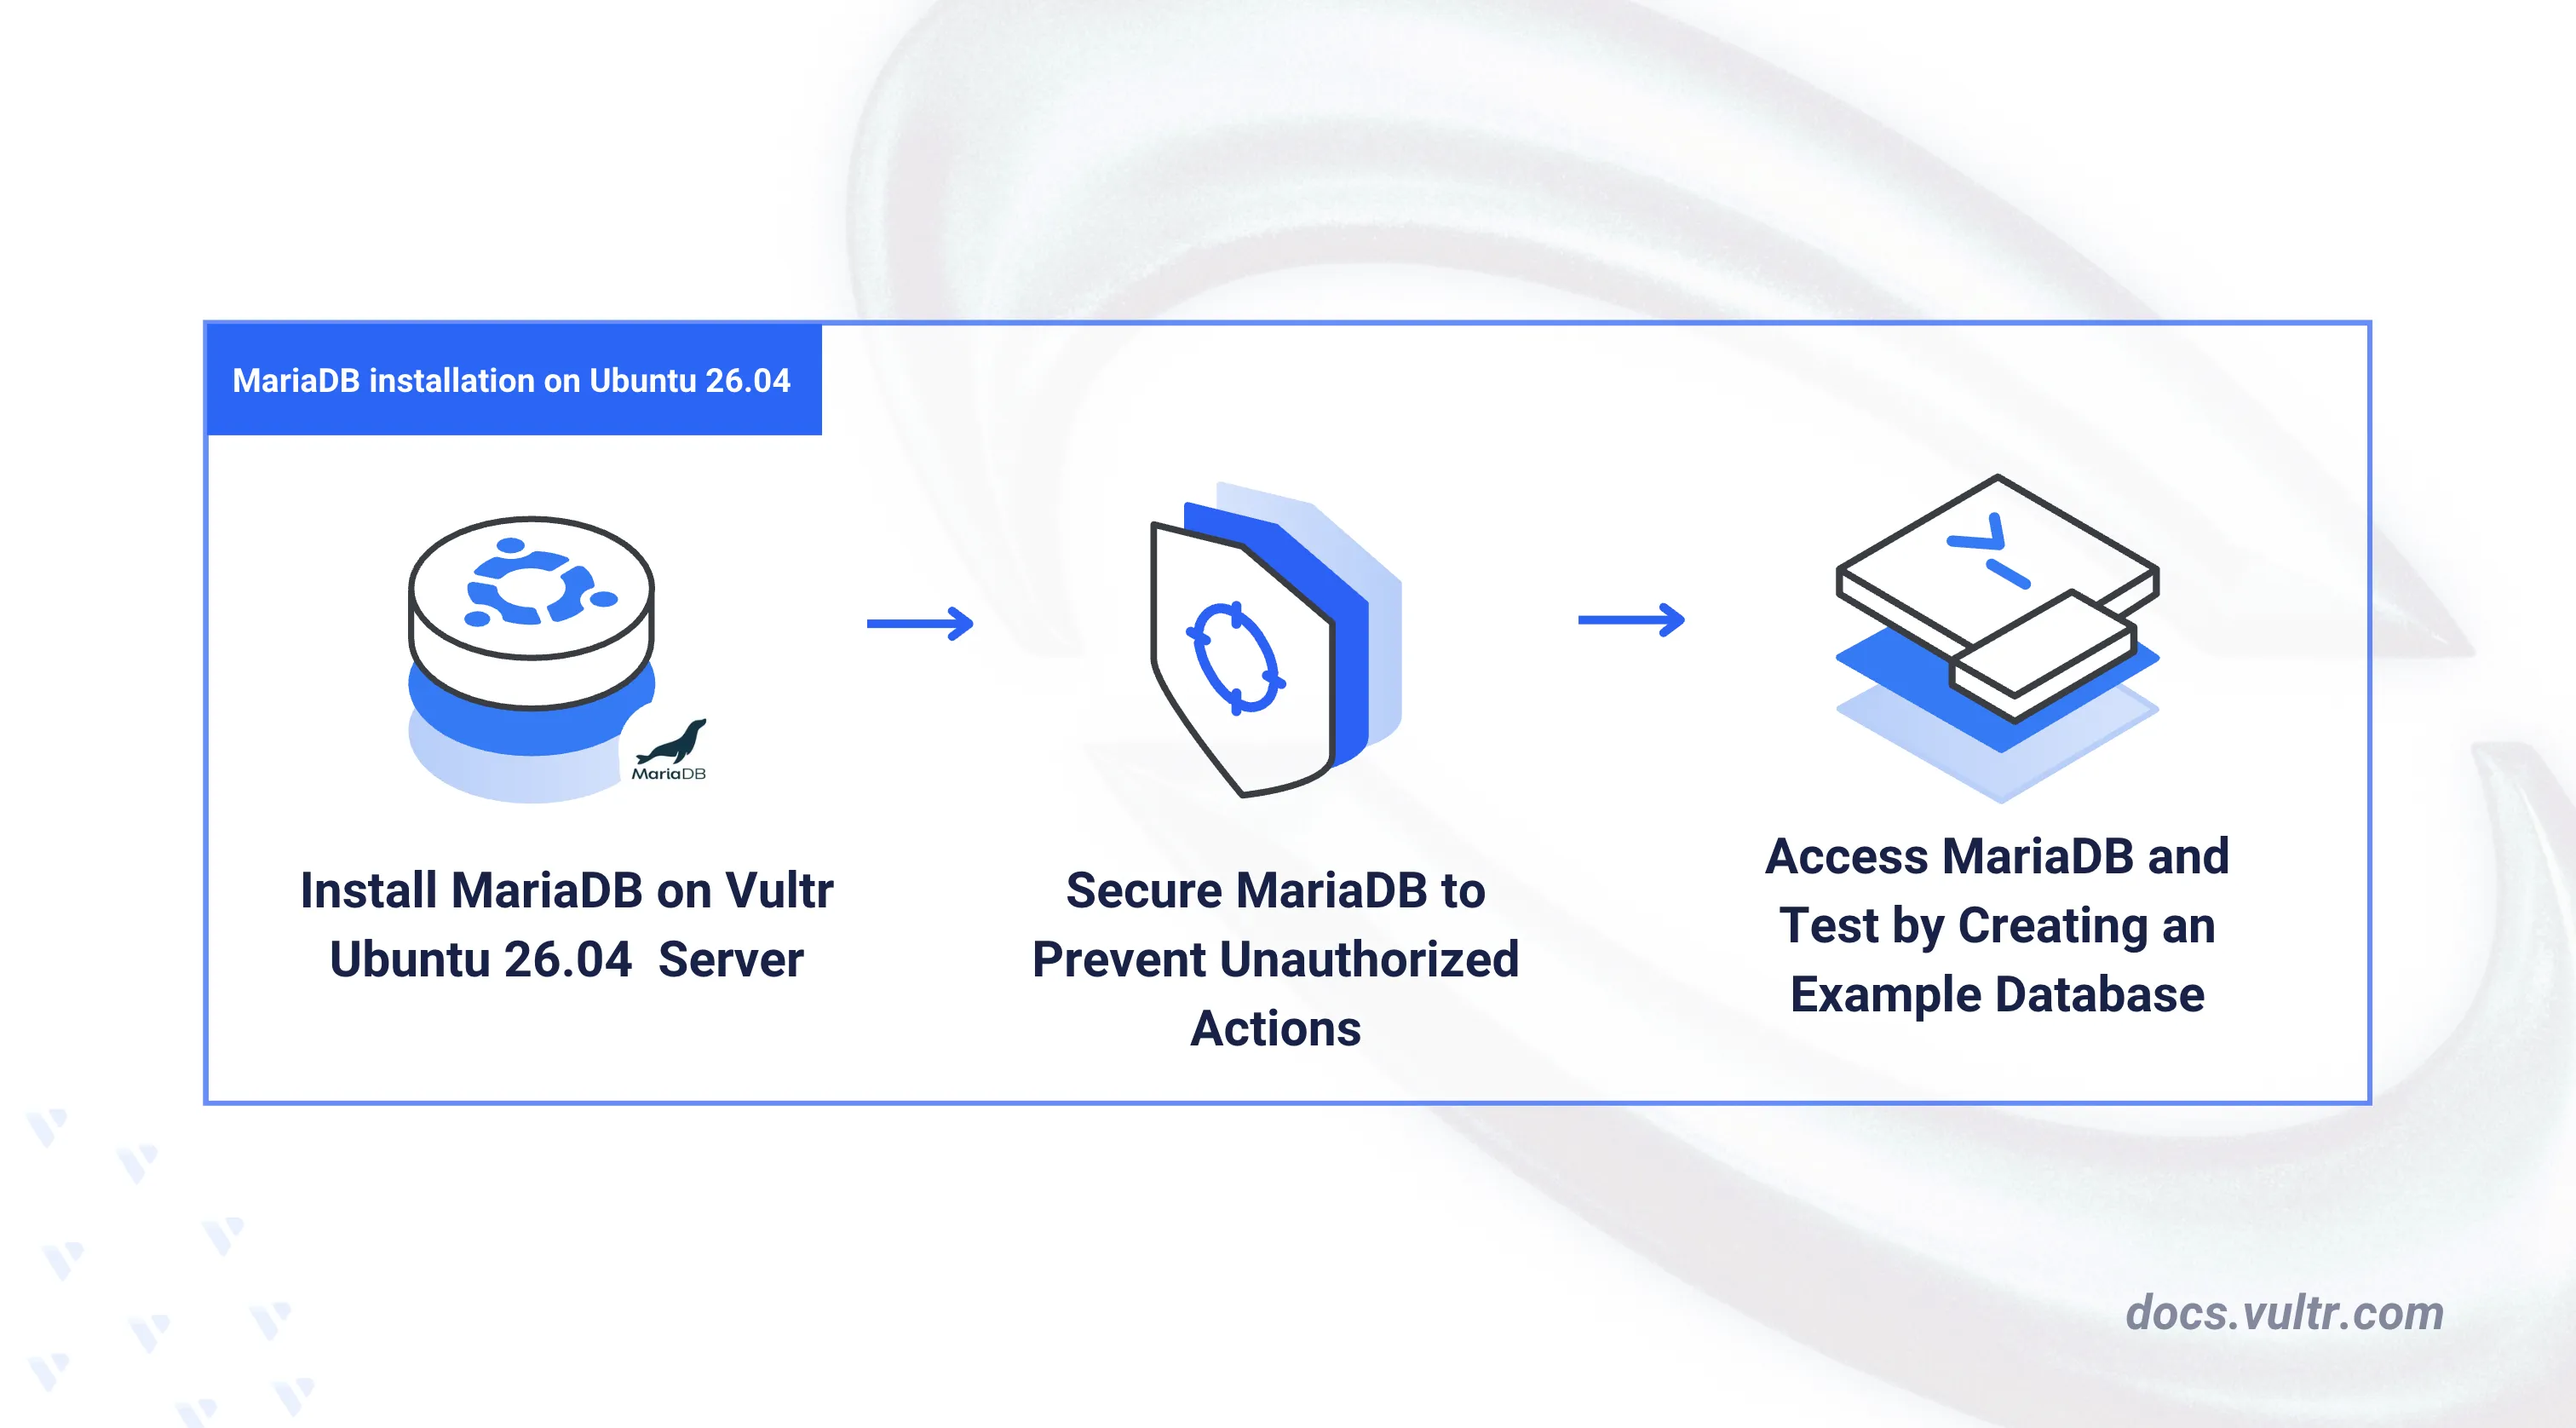
This article explains how to install MariaDB on an Ubuntu 26.04 server. It covers the database server setup, service management, security hardening, and basic database operations including user creation and privilege management.
Prerequisites
Before you begin, you need to:
- Have access to an Ubuntu 26.04 server instance as a non-root user with sudo privileges.
Install MariaDB on Ubuntu 26.04
The default Ubuntu 26.04 APT repositories include the MariaDB server package. The following steps install the database server and verify the service status.
Update the APT package index.
console$ sudo apt update
Install the MariaDB server package.
console$ sudo apt install mariadb-server -y
Confirm the installed MariaDB version.
console$ mariadb --version
Your output should be similar to the one below:
mariadb from 11.8.6-MariaDB, client 15.2 for debian-linux-gnu (x86_64) using EditLine wrapperEnable MariaDB to start automatically at boot time.
console$ sudo systemctl enable mariadb
Start the MariaDB service.
console$ sudo systemctl start mariadb
Verify that MariaDB is active and running.
console$ sudo systemctl status mariadb
The output should display
active (running), confirming that the MariaDB server is operational.
Secure the MariaDB Server
A default MariaDB installation allows the root user to access the database console without a password. The mysql_secure_installation script assigns a root password, removes anonymous accounts, disables remote root login, and drops the test database.
Run the MariaDB security script.
console$ sudo mariadb-secure-installation
Respond to each prompt as described below:
- Enter current password for root: Press Enter to proceed with no current password.
- Switch to unix_socket authentication: Enter N and press Enter to use password-based authentication.
- Change the root password?: Enter Y and press Enter to set a new root password.
- New password: Enter a strong password for the root account.
- Re-enter new password: Re-enter the password to confirm.
- Remove anonymous users?: Enter Y to delete anonymous database accounts.
- Disallow root login remotely?: Enter Y to restrict root access to the local server.
- Remove test database and access to it?: Enter Y to drop the default test database.
- Reload privilege tables now?: Enter Y to refresh the privilege tables and apply all changes.
Restart MariaDB to apply the new security settings.
console$ sudo systemctl restart mariadb
Access MariaDB
The mariadb command-line client provides direct access to the database console. It is also compatible with the mysql command and graphical tools such as phpMyAdmin. The following steps log in as the root user, create a database, and configure a dedicated user with appropriate privileges.
Log in to the MariaDB console as the
rootuser.console$ mariadb -u root -p
Enter the root password you configured in the previous section.
Create a new database named
example_db.sqlMariaDB [(none)]> CREATE DATABASE example_db;
Verify that the database exists.
sqlMariaDB [(none)]> SHOW DATABASES;
Your output should be similar to the one below:
+--------------------+
| Database           |
+--------------------+
| example_db         |
| information_schema |
| mysql              |
| performance_schema |
| sys                |
+--------------------+
5 rows in set (0.001 sec)
Create a database user named
example_userwith a strong password. Replacestrong_passwordwith your desired password.sqlMariaDB [(none)]> CREATE USER 'example_user'@'localhost' IDENTIFIED BY 'strong_password';
Grant the user full privileges on the
example_dbdatabase.sqlMariaDB [(none)]> GRANT ALL PRIVILEGES ON example_db.* TO 'example_user'@'localhost';
Reload the privilege tables to activate the new user permissions.
sqlMariaDB [(none)]> FLUSH PRIVILEGES;
Exit the MariaDB console.
sqlMariaDB [(none)]> EXIT;
Create a Sample Database Table
The example_user account has the privileges required to create and manage tables within the example_db database. The following steps log in as that user, create a table, insert sample records, and query the data.
Log in to MariaDB as the
example_user.console$ mariadb -u example_user -p
Enter the
example_userpassword when prompted.Switch to the
example_dbdatabase.sqlMariaDB [(none)]> USE example_db;
Create a table named
employeeswith columns for an auto-incrementing ID, a name, a department, and a hire date.sqlMariaDB [example_db]> CREATE TABLE employees ( id INT AUTO_INCREMENT PRIMARY KEY, name VARCHAR(100) NOT NULL, department VARCHAR(50), hire_date DATE );
Insert sample records into the
employeestable.sqlMariaDB [example_db]> INSERT INTO employees (name, department, hire_date) VALUES ('Alice Johnson', 'Engineering', '2025-03-15'), ('Bob Carter', 'Marketing', '2024-11-01'), ('Clara Davis', 'Operations', '2026-01-20');
Query the table to verify the inserted data.
sqlMariaDB [example_db]> SELECT * FROM employees;
Your output should be similar to the one below:
+----+---------------+-------------+------------+
| id | name          | department  | hire_date  |
+----+---------------+-------------+------------+
|  1 | Alice Johnson | Engineering | 2025-03-15 |
|  2 | Bob Carter    | Marketing   | 2024-11-01 |
|  3 | Clara Davis   | Operations  | 2026-01-20 |
+----+---------------+-------------+------------+
3 rows in set (0.000 sec)
Exit the MariaDB console.
sqlMariaDB [example_db]> EXIT;
Conclusion
You have installed and secured MariaDB on an Ubuntu 26.04 server, configured password-based authentication, and created a dedicated database user. MariaDB integrates with web application stacks such as LAMP and LEMP, and supports replication for high-availability deployments. For more information, refer to the official MariaDB documentation.