
How to Install Memcached on Ubuntu 26.04
Memcached is an open-source, high-performance distributed memory caching system that stores frequently accessed data such as database query results, API responses, and session tokens in RAM. It reduces the load on backend databases by serving repeated requests directly from memory, improving application response times.
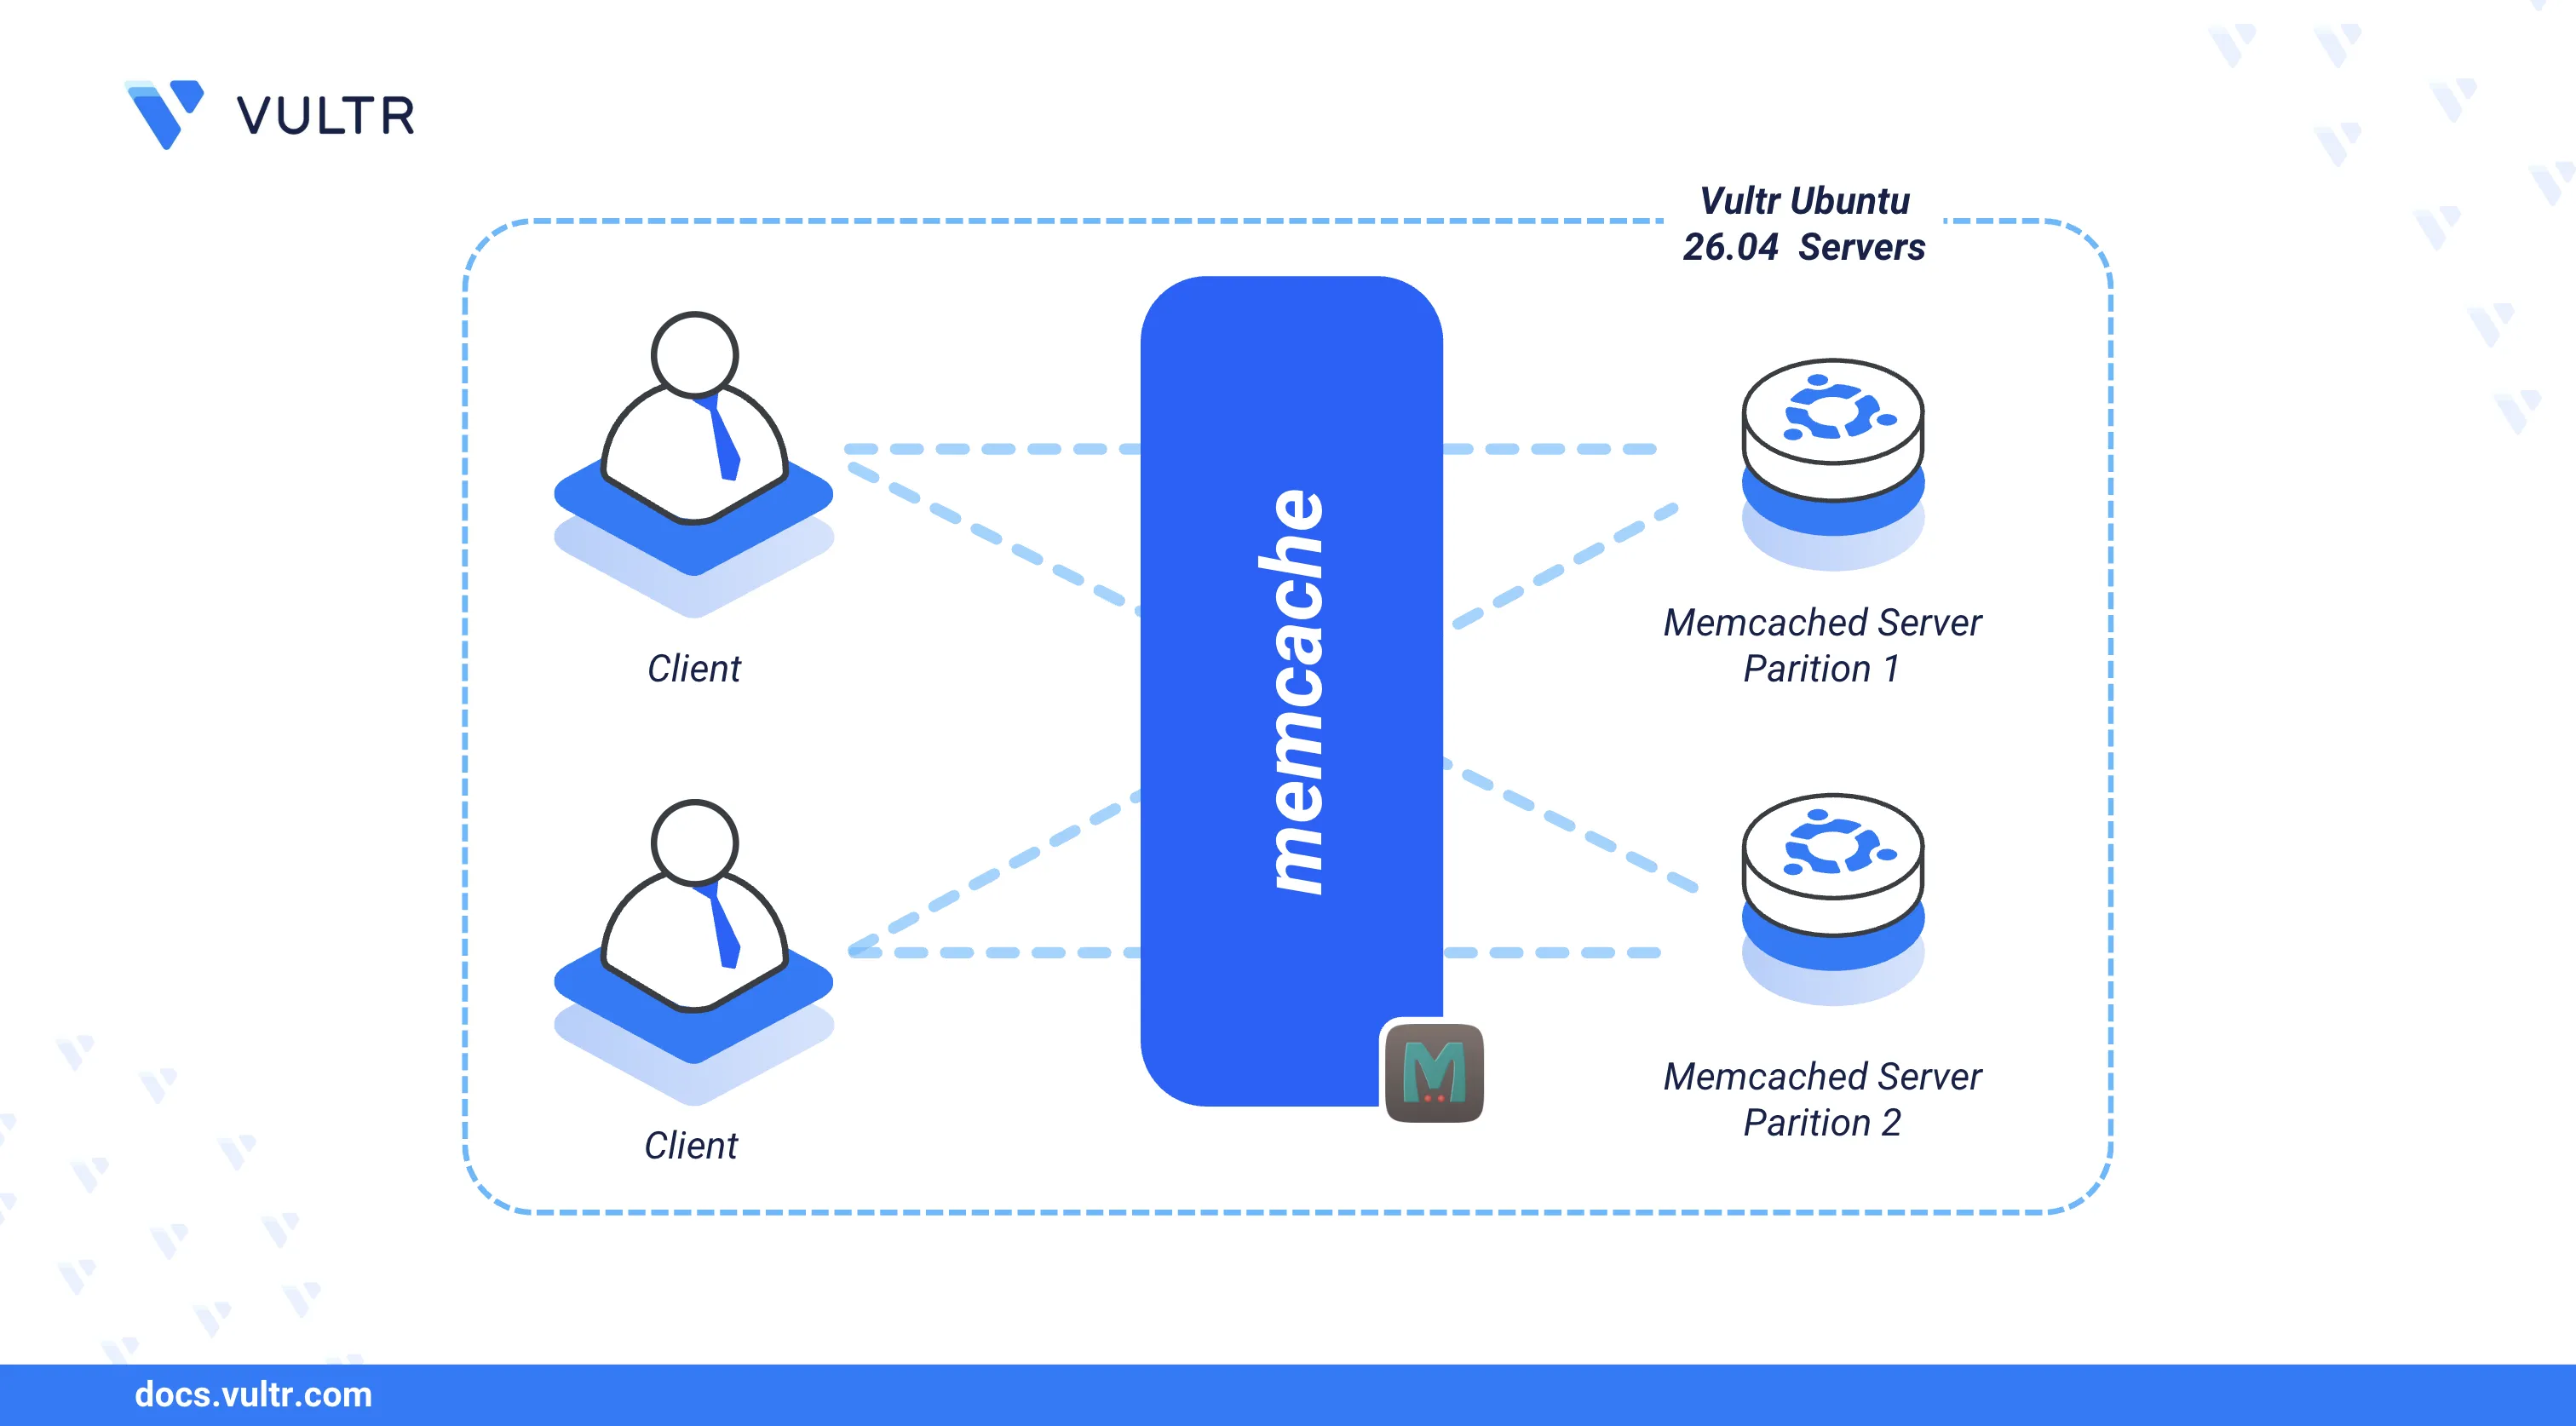
This article explains how to install Memcached on an Ubuntu 26.04 server, configure core settings, enable SASL authentication for secure access, and test the connection using a PHP script.
Prerequisites
Before you begin, you need to:
- Have access to an Ubuntu 26.04 server instance as a non-root user with sudo privileges.
Install Memcached
The default Ubuntu 26.04 APT repositories include the Memcached package. The following steps install Memcached along with its management tools and start the service.
Update the APT package index.
console$ sudo apt update
Install Memcached and the client utilities.
console$ sudo apt install memcached libmemcached-tools -y
Confirm the installed Memcached version.
console$ memcached --version
Your output should be similar to the one below:
memcached 1.6.40Enable Memcached to start automatically at boot time.
console$ sudo systemctl enable memcached
Start the Memcached service.
console$ sudo systemctl start memcached
Verify that Memcached is active and running.
console$ sudo systemctl status memcached
The output should display
active (running), confirming that the Memcached service is operational.
Configure Memcached
Memcached stores its configuration in /etc/memcached.conf. The following directives control the listening address, port, connection limits, and logging behavior.
Open the Memcached configuration file.
$ sudo nano /etc/memcached.conf
Find the
binddirective and verify that Memcached listens on the localhost address only.ini-l 127.0.0.1 -l ::1
Find the port directive and verify the default connection port.
ini-p 11211Uncomment the
-vdirective to enable verbose logging.ini-vUncomment the
-cdirective to set the maximum number of simultaneous connections.ini-c 1024Add
-Sat the end of the file after-P /var/run/memcached/memcached.pidto enable SASL authentication.ini-S
Save and close the file.
Secure Memcached with SASL Authentication
Memcached does not require authentication by default, allowing unrestricted access from any local process. The SASL (Simple Authentication and Security Layer) protocol adds username and password verification to restrict access. The following steps install the SASL package, create an authentication database, and test the secured connection.
Install the SASL authentication package.
console$ sudo apt install sasl2-bin -y
Create the SASL configuration directory.
console$ sudo mkdir -p /etc/sasl2
Create the SASL configuration file for Memcached.
console$ sudo nano /etc/sasl2/memcached.conf
Add the following configuration to the file.
inilog_level: 5 mech_list: plain sasldb_path: /etc/sasl2/memcached-sasldb2
Save and close the file.
Within the configuration:
log_level: Sets the logging detail level. The value5enables detailed diagnostic logs.mech_list: Defines the authentication mechanism. The valueplainuses plain-text username and password.sasldb_path: Specifies the path to the SASL user database file.
Create a SASL user for Memcached authentication. Replace
example_userwith your desired username.console$ sudo saslpasswd2 -a memcached -c -f /etc/sasl2/memcached-sasldb2 example_user
Enter and confirm a strong password when prompted.
Grant the Memcached system user ownership of the SASL database file.
console$ sudo chown memcache:memcache /etc/sasl2/memcached-sasldb2
Restart Memcached to activate SASL authentication.
console$ sudo systemctl restart memcached
Verify that Memcached is active after the restart.
console$ sudo systemctl status memcached
The output should display
active (running), confirming that SASL authentication is enabled.List all users in the SASL authentication database.
console$ sudo sasldblistusers2 -f /etc/sasl2/memcached-sasldb2
Your output should be similar to the one below:
example_user@ubuntu2604: userPasswordTest the authenticated connection using
memcstat. Replaceexample_user@ubuntu2604andstrong_passwordwith your actual credentials from the output above.console$ memcstat --binary --servers="127.0.0.1" --username='example_user@ubuntu2604' --password=strong_password
A successful connection displays server statistics including the version, uptime, and connection count.
Test Memcached with PHP
Memcached integrates with application frameworks such as PHP, Python, Ruby, and Java. The following steps install the PHP Memcached extension and verify the connection using a sample script.
Install PHP and the Memcached extension.
console$ sudo apt install php php-memcached -y
Create a sample PHP script.
console$ nano memcached_test.php
Add the following code to the file. Replace
example_user@ubuntu2604andstrong_passwordwith your actual SASL credentials.php<?php $memcached = new Memcached(); $memcached->setOption(Memcached::OPT_BINARY_PROTOCOL, true); $memcached->addServer('127.0.0.1', 11211); $memcached->setSaslAuthData('example_user@ubuntu2604', 'strong_password'); $memcached->set('test_key', 'Hello World from Memcached'); echo $memcached->get('test_key'); ?>
Save and close the file.
Run the script using the PHP CLI.
console$ php memcached_test.php
A successful connection returns:
Hello World from Memcached
Conclusion
You have installed and secured Memcached on an Ubuntu 26.04 server with SASL authentication and verified the connection using PHP. Memcached integrates with dynamic web applications as a caching layer to reduce database load and improve response times. For more information, refer to the Memcached wiki.