
How to Install Nginx Web Server on Ubuntu 26.04
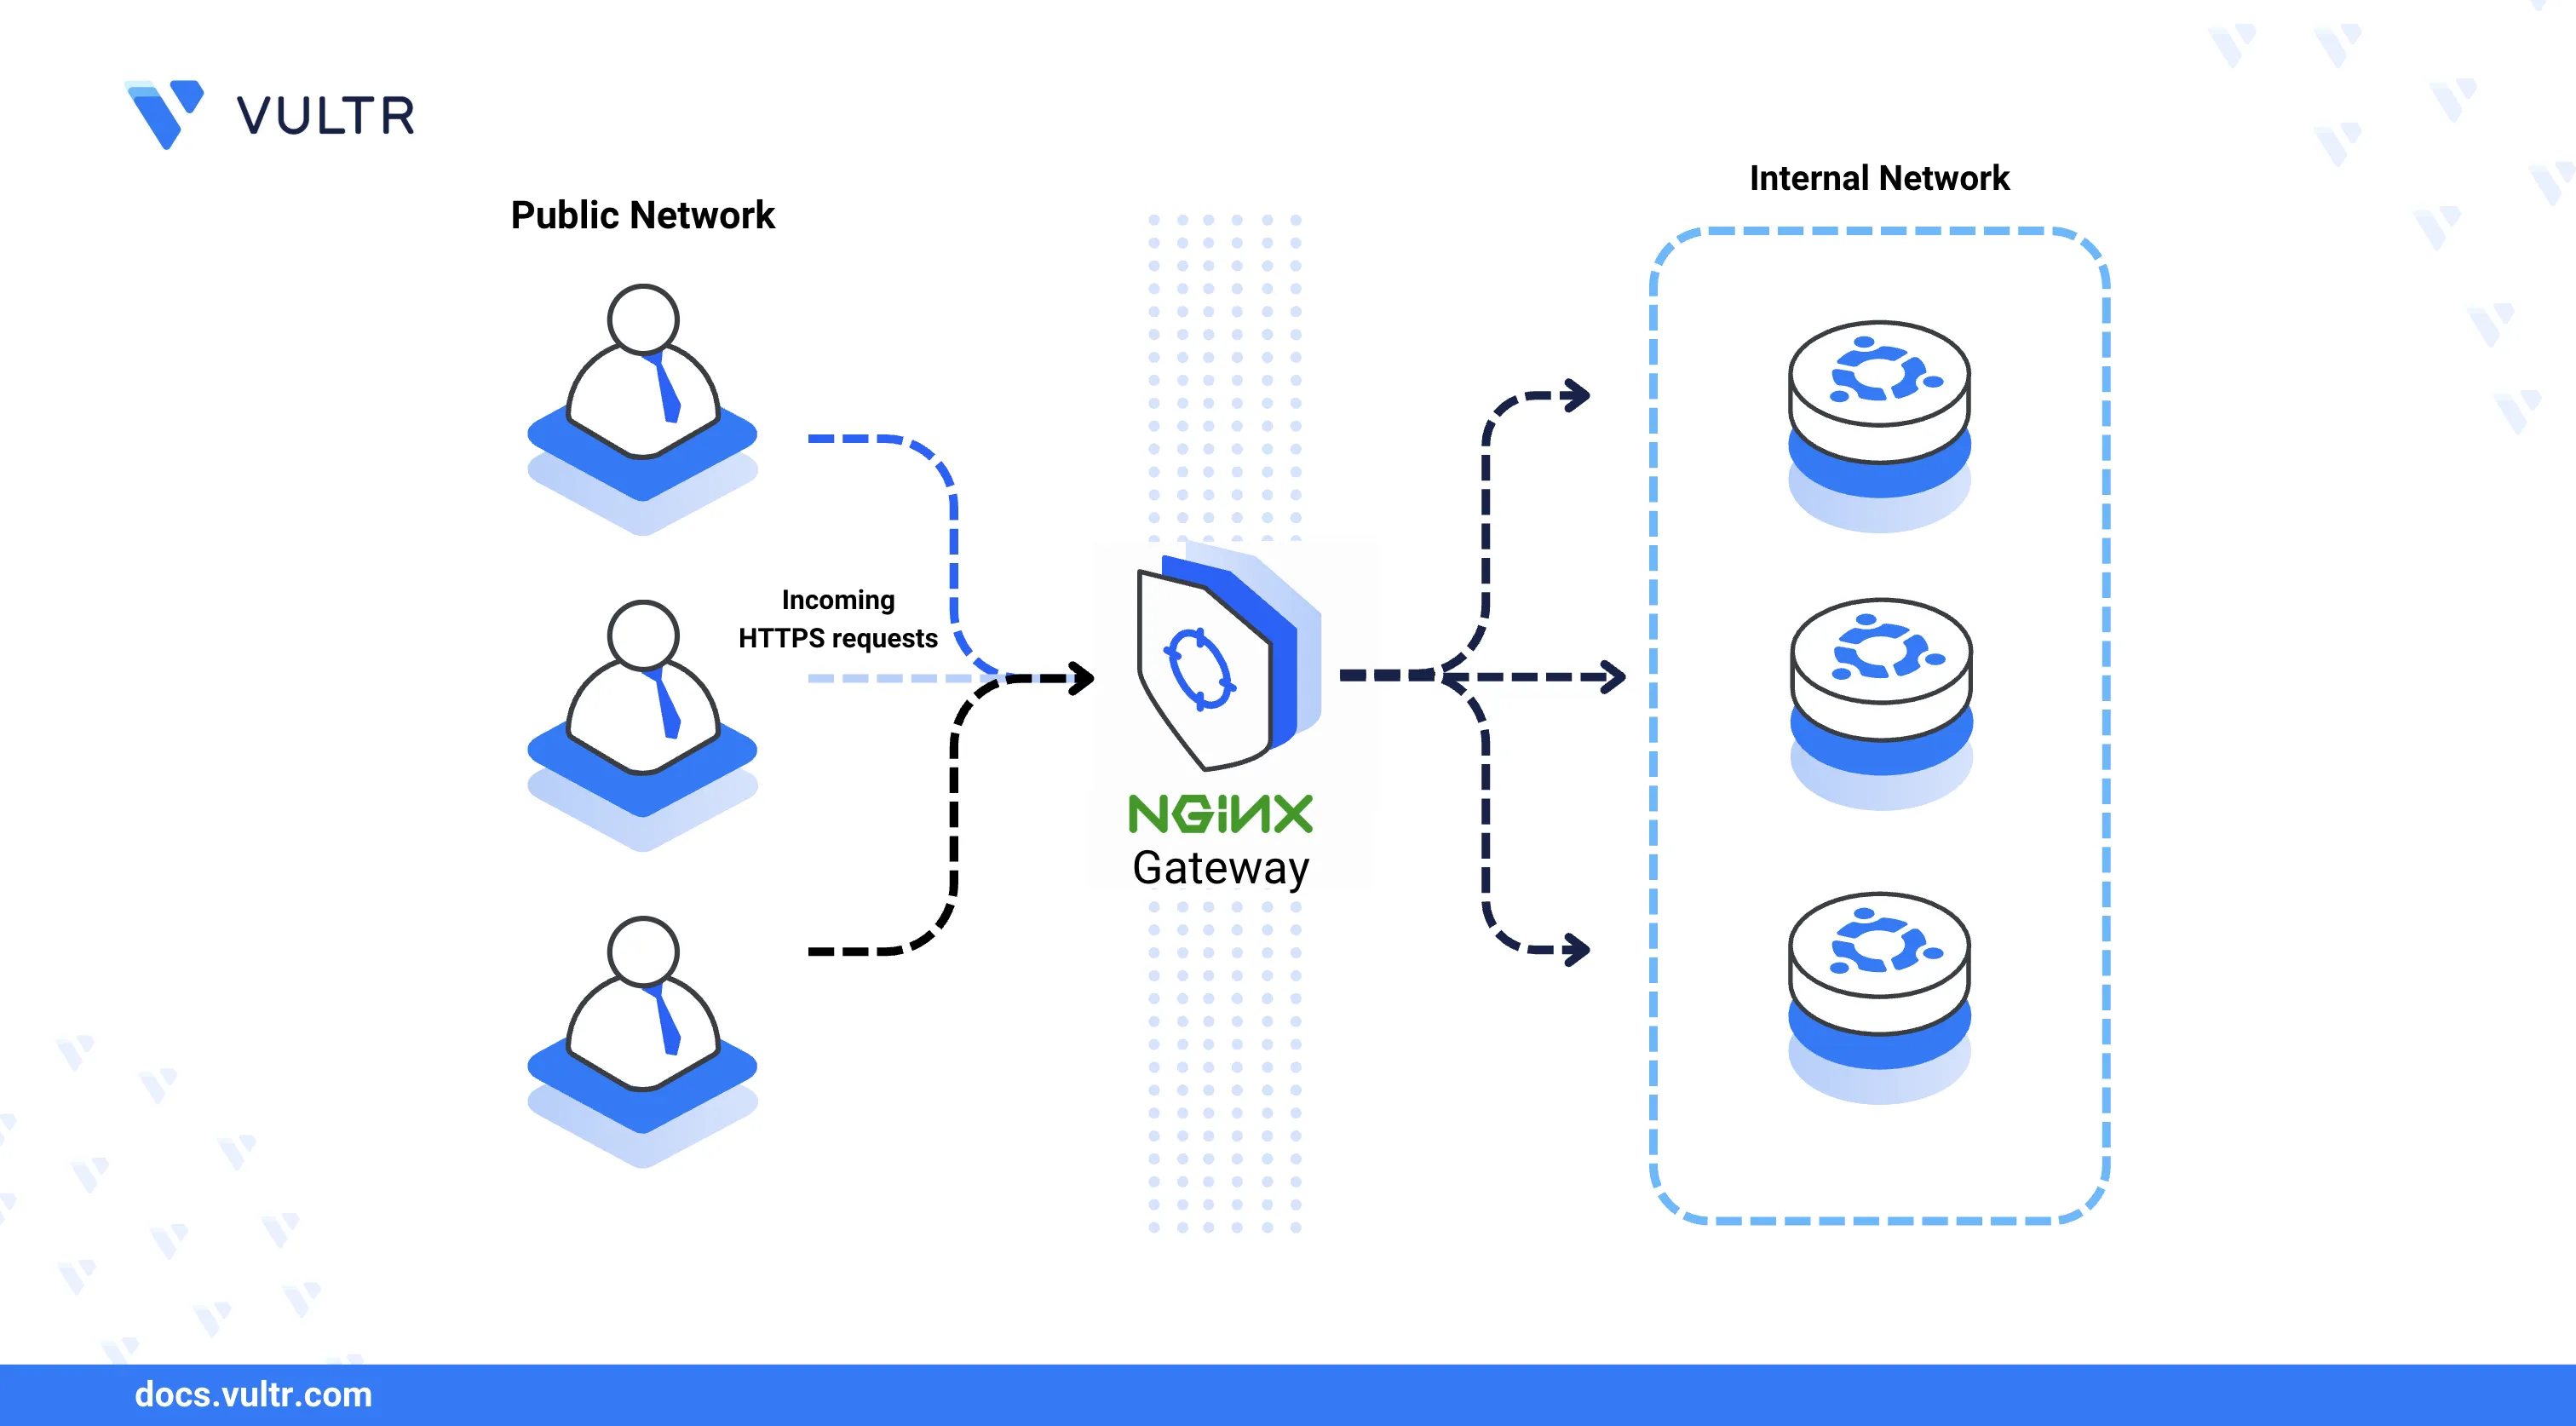
Nginx is a high-performance, open-source web server that serves static and dynamic content, and also functions as a reverse proxy, load balancer, and HTTP cache. Its event-driven architecture handles thousands of concurrent connections efficiently, making it a popular choice for production deployments and application delivery.
This article explains how to install Nginx on an Ubuntu 26.04 server, configure a virtual host to serve a sample web application, secure the server with a trusted SSL certificate from Let's Encrypt, and set up firewall rules for HTTP and HTTPS traffic.
Prerequisites
Before you begin, you need to:
- Have access to an Ubuntu 26.04 server instance as a non-root user with sudo privileges.
- Have a domain A record pointing to the server's public IP address. For example,
app.example.com.
Install Nginx on Ubuntu 26.04
The default Ubuntu 26.04 APT repositories include the Nginx package. The following steps update the package index and install the web server.
Update the APT package index.
console$ sudo apt update
Install Nginx.
console$ sudo apt install nginx -y
Confirm the installed Nginx version.
console$ nginx -version
Your output should be similar to the one below:
nginx version: nginx/1.28.2 (Ubuntu)
Manage the Nginx System Service
Nginx runs as a systemd service on Ubuntu, providing standard controls for starting, stopping, and restarting the web server process. The following steps enable automatic startup on boot and demonstrate the core service management commands.
Enable Nginx to start automatically at boot time.
console$ sudo systemctl enable nginx
Start the Nginx service.
console$ sudo systemctl start nginx
Stop the Nginx service.
console$ sudo systemctl stop nginx
Restart the Nginx service.
console$ sudo systemctl restart nginx
Verify that Nginx is active and running.
console$ sudo systemctl status nginx
Your output should be similar to the one below:
● nginx.service - A high performance web server and a reverse proxy server
     Loaded: loaded (/usr/lib/systemd/system/nginx.service; enabled; preset: enabled)
     Active: active (running) since Wed 2026-03-25 18:48:49 UTC; 6s ago
The
Active: active (running)status confirms that Nginx is operational. If the status showsactive (failed), stop any process occupying HTTP port80and restart the Nginx service.
Set Up Firewall Rules
Uncomplicated Firewall (UFW) is active by default on Ubuntu 26.04. Nginx requires open ports for HTTP and HTTPS traffic. The following steps configure the firewall to allow incoming connections on both ports.
Allow HTTP traffic on port
80.console$ sudo ufw allow 80/tcp
Allow HTTPS traffic on port
443.console$ sudo ufw allow 443/tcp
Verify the active firewall rules.
console$ sudo ufw status
Your output should be similar to the one below:
Status: active

To                         Action      From
--                         ------      ----
80/tcp                     ALLOW       Anywhere
443/tcp                    ALLOW       Anywhere
22                         ALLOW       Anywhere
80/tcp (v6)                ALLOW       Anywhere (v6)
443/tcp (v6)               ALLOW       Anywhere (v6)
22 (v6)                    ALLOW       Anywhere (v6)
Create a Web Root Directory
The web root directory stores the files that Nginx serves when a client requests the domain. The following steps create the directory structure and a sample HTML page.
Create the web root directory for the virtual host.
console$ sudo mkdir -p /var/www/app.example.com
Create a sample
index.htmlfile in the web root directory.console$ sudo nano /var/www/app.example.com/index.html
Add the following HTML content to the file.
html<html> <head></head> <body> <h1>Hello World</h1> </body> </html>
Save and close the file.
Create a New Nginx Virtual Host
Virtual host configurations direct Nginx to serve specific content based on the requested domain name and the corresponding document root directory. The following steps define a server block for the sample domain, enable it, and verify that Nginx serves the expected content.
Create a new virtual host configuration file.
console$ sudo nano /etc/nginx/sites-available/app.example.com.conf
Add the following server block configuration.
iniserver { listen 80; listen [::]:80; server_name app.example.com; root /var/www/app.example.com; index index.html; location / { try_files $uri $uri/ =404; } }
Save and close the file.
This configuration instructs Nginx to listen on port
80for requests matching theapp.example.comdomain and serve files from the/var/www/app.example.comdirectory.Enable the virtual host by creating a symbolic link in the
sites-enableddirectory.console$ sudo ln -s /etc/nginx/sites-available/app.example.com.conf /etc/nginx/sites-enabled/
Test the Nginx configuration for syntax errors.
console$ sudo nginx -t
Restart Nginx to activate the new virtual host.
console$ sudo systemctl restart nginx
Verify the virtual host by sending a request to the domain using
curl.console$ curl http://app.example.com
A successful response returns the HTML content:
<html>
    <head></head>
    <body>
        <h1>Hello World</h1>
    </body>
</html>
Secure the Nginx Web Server
SSL certificates encrypt traffic between a client browser and the Nginx web server over HTTPS. By default, Nginx listens on the unencrypted HTTP port 80. The following steps install Certbot and generate a trusted Let's Encrypt SSL certificate to enable HTTPS on your virtual host.
Install the Certbot Let's Encrypt client and the Nginx plugin.
console$ sudo apt install certbot python3-certbot-nginx -y
Verify the installed Certbot version.
console$ certbot --version
Your output should be similar to the one below:
certbot 5.4.0Generate an SSL certificate for your domain. Replace
app.example.comwith your actual domain name.console$ sudo certbot --nginx -d app.example.com --agree-tos
Follow the on-screen prompts to complete the certificate generation. Certbot automatically configures the Nginx virtual host to use the new SSL certificate.
Verify that HTTPS is active by sending a request to your domain. Replace
app.example.comwith your actual domain name.console$ curl https://app.example.com
A successful response returns the HTML content served over HTTPS:
<html>
    <head></head>
    <body>
        <h1>Hello World</h1>
    </body>
</html>
Conclusion
You have installed and configured Nginx on an Ubuntu 26.04 server with a virtual host, secured it with a Let's Encrypt SSL certificate, and configured firewall rules for HTTP and HTTPS traffic. Nginx supports multiple virtual hosts and integrates with backend services such as PHP-FPM and database servers for dynamic application delivery. For more configuration options, refer to the official Nginx documentation.