
How to Install Podman on Ubuntu 26.04
Podman is an open-source container engine that builds, runs, and manages Open Container Initiative (OCI) containers without requiring a background daemon process. Its daemonless architecture improves security by running containers under the user's own privileges, and it provides a Docker-compatible command-line interface for seamless migration from existing container workflows.
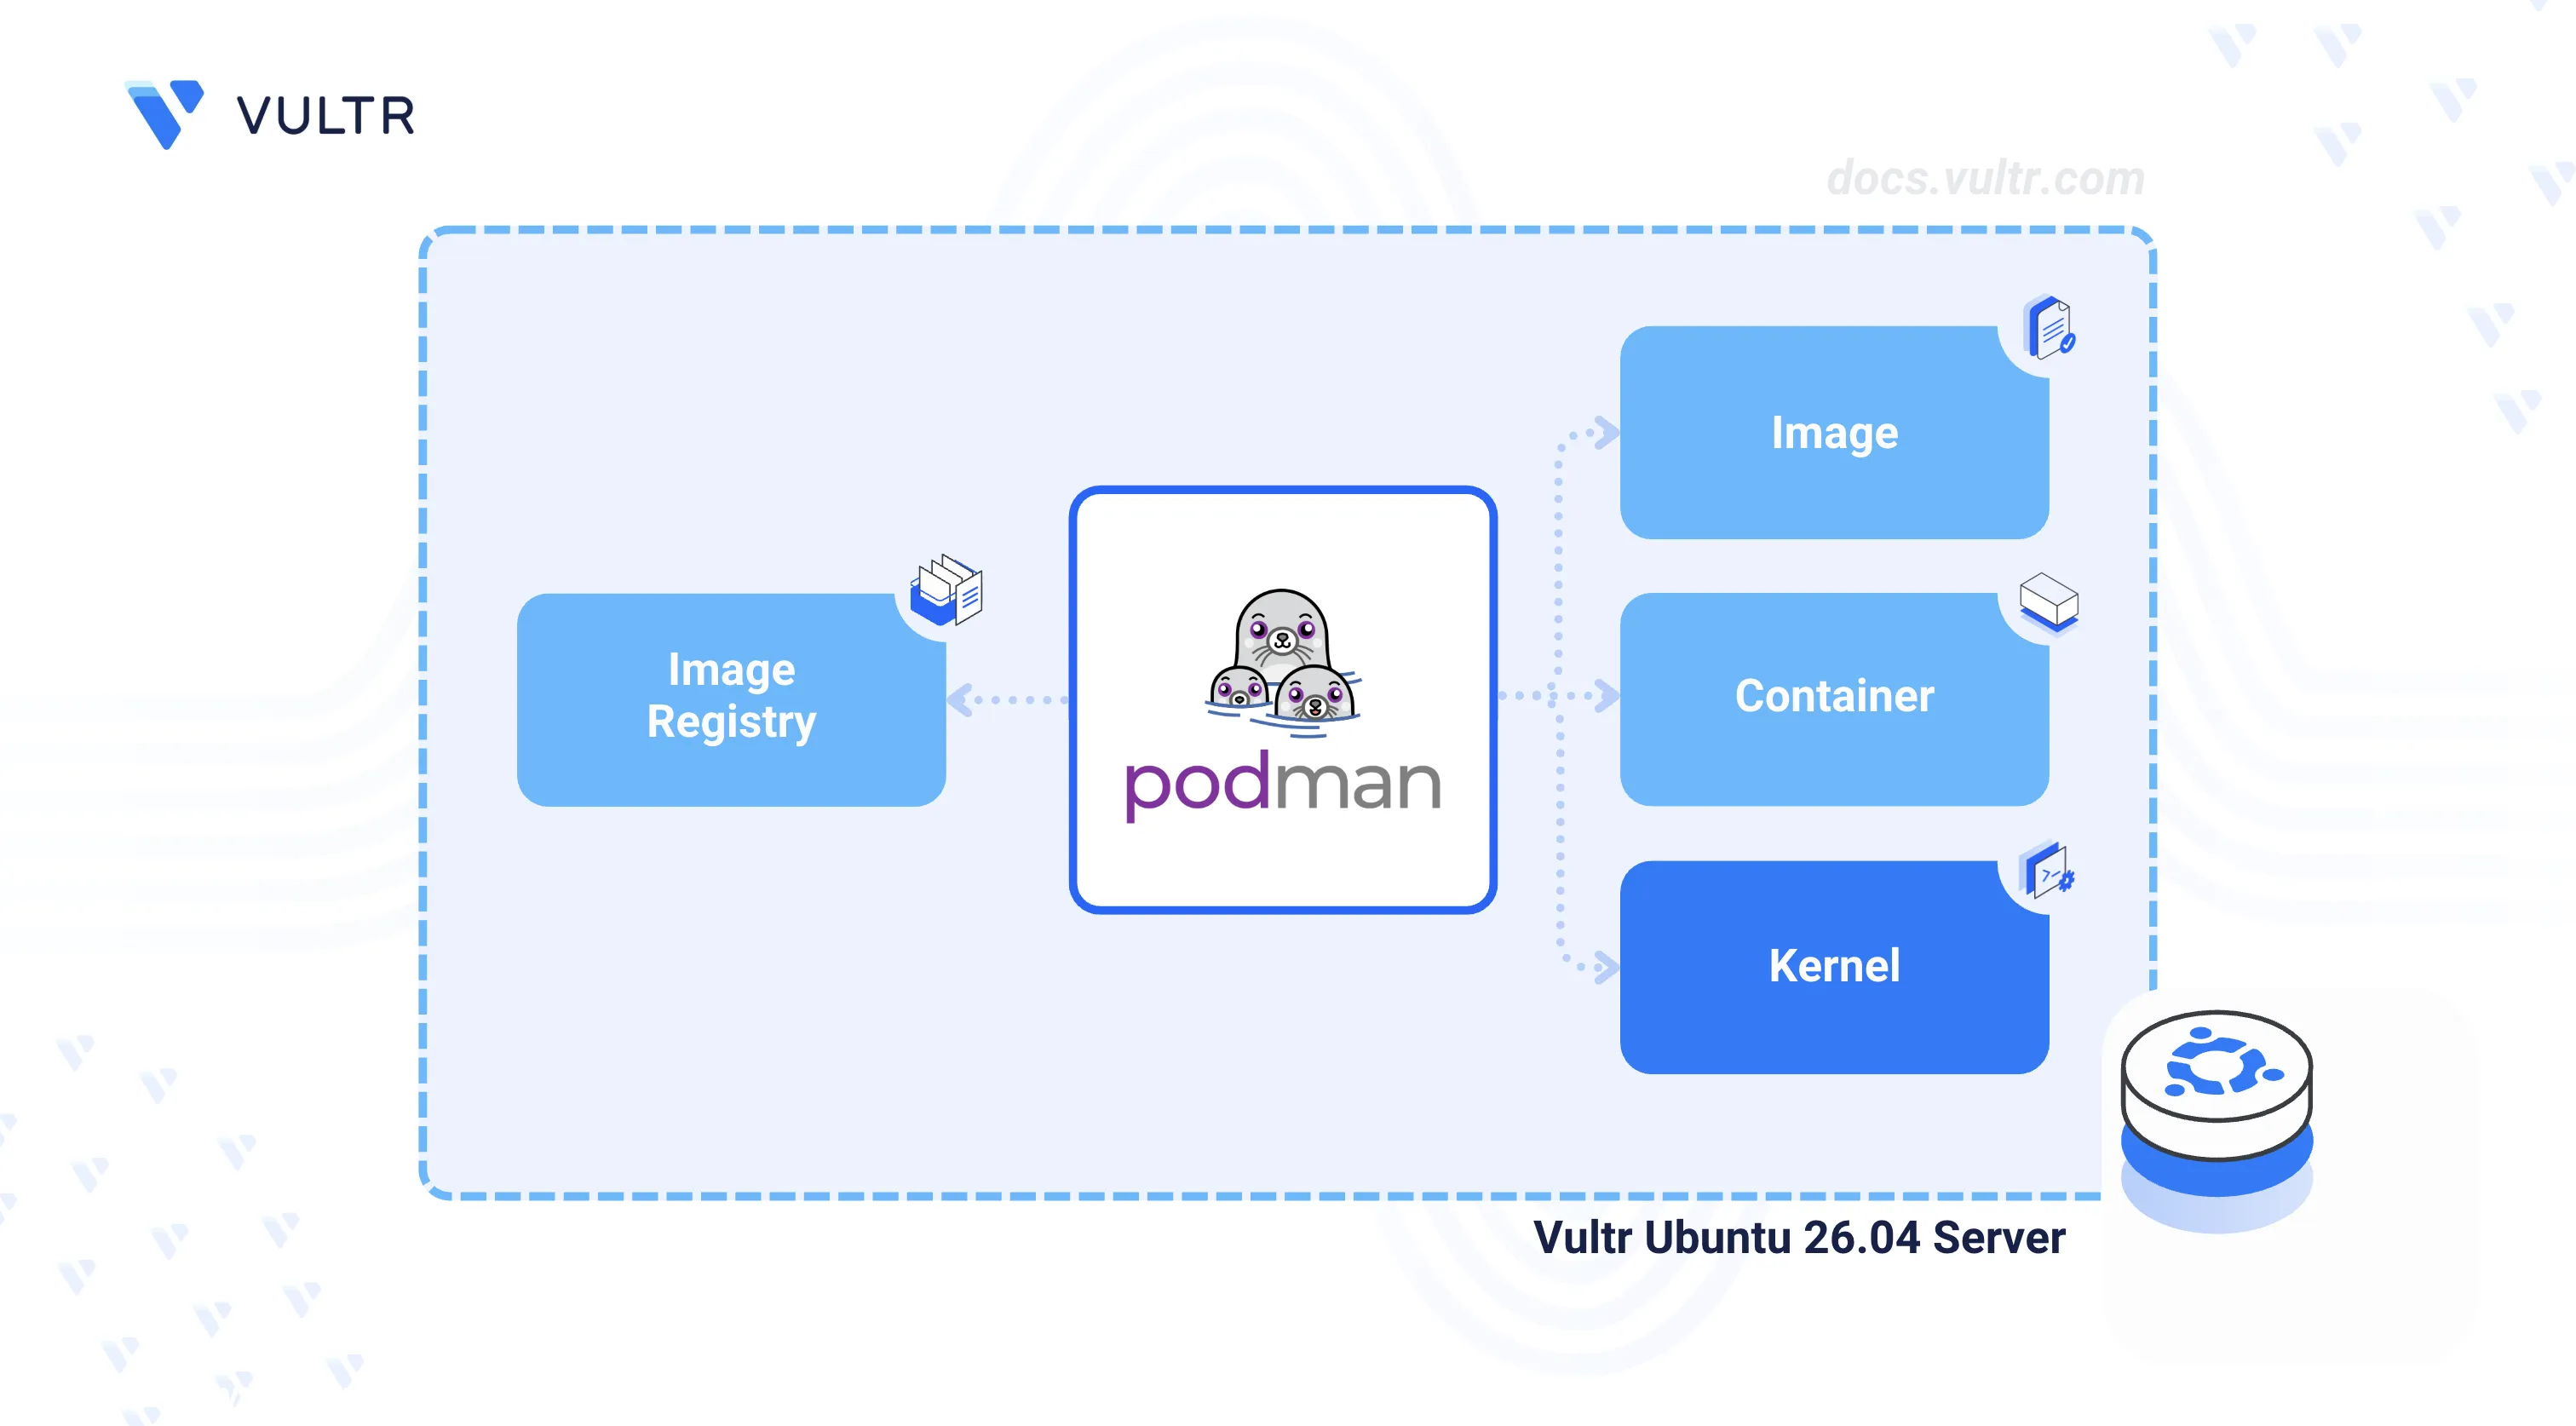
This article explains how to install Podman on an Ubuntu 26.04 server, manage the Podman service, deploy a containerized application, and build a custom container image from a sample Python application.
Prerequisites
Before you begin, you need to:
- Have access to an Ubuntu 26.04 server instance as a non-root user with sudo privileges.
Install Podman
The default Ubuntu 26.04 APT repositories include the Podman package. The following steps install Podman and verify the installed version.
Update the APT package index.
console$ sudo apt update
Install Podman.
console$ sudo apt install podman -y
Confirm the installed Podman version.
console$ podman --version
Your output should be similar to the one below:
podman version 5.7.0
Manage the Podman System Service
Podman provides two systemd components: the podman CLI for direct container management and podman.socket for remote API access through a Unix socket. The following steps enable and manage the socket-based service.
Enable the Podman socket to start automatically at boot time.
console$ sudo systemctl enable podman.socket
Start the Podman socket service.
console$ sudo systemctl start podman.socket
Verify that the Podman socket is active and listening.
console$ sudo systemctl status podman.socket
The output should display
active (listening), confirming that the Podman API socket is operational.
Deploy a Containerized Application
Podman pulls container images from registries defined in /etc/containers/registries.conf, including Docker Hub. The following steps pull an Nginx image, run it as a container, and verify access to the application.
Pull the Nginx Alpine image from Docker Hub.
console$ sudo podman pull docker.io/nginx:alpine
List all container images available on the server.
console$ sudo podman images
Verify that the
docker.io/library/nginximage with thealpinetag is listed in the output.Run a container using the Nginx image and map host port
9090to container port80.console$ sudo podman run -d --name example-nginx -p 9090:80 docker.io/nginx:alpine
List all running containers.
console$ sudo podman ps
Verify that the
example-nginxcontainer is listed with a status ofUp.Test access to the containerized application.
console$ curl http://localhost:9090
A successful response returns the default Nginx welcome page HTML content.
Build a Custom Container Image
Podman builds container images from a Dockerfile using the same syntax as Docker. The following steps create a sample Python web application, define a Dockerfile, build the image, and run it as a container.
Create a new project directory and navigate into it.
console$ mkdir ~/example-app && cd ~/example-app
Create a new Python application file.
console$ nano app.py
Add the following code to the file.
pythonfrom fastapi import FastAPI, Response import uvicorn app = FastAPI() @app.get("/") def hello(): return Response(content="Hello World from Podman", media_type="text/plain") if __name__ == "__main__": uvicorn.run(app, host="0.0.0.0", port=5000)
Save and close the file.
This FastAPI application starts a web server on port
5000that returns a plain text response.Create a
Dockerfilefor the application.console$ nano Dockerfile
Add the following configuration to the file.
dockerfileFROM python:3.13-slim WORKDIR /app COPY . /app RUN pip install fastapi uvicorn EXPOSE 5000 CMD ["python", "app.py"]
Save and close the file.
Build the container image.
console$ sudo podman build -t example-fastapi-app .
Podman builds the image and displays
Successfully tagged localhost/example-fastapi-app:lateston completion.Run a container from the newly built image.
console$ sudo podman run -d --name example-app -p 5000:5000 localhost/example-fastapi-app:latest
Test access to the application.
console$ curl http://localhost:5000
A successful response returns:
Hello World from Podman
Conclusion
You have installed Podman on an Ubuntu 26.04 server, deployed a container from a public registry image, and built a custom container image from a Python application. Podman supports rootless containers, pod management, and integration with container registries for storing and distributing images. For more information, refer to the official Podman documentation.