
How to Install Python and Pip on Debian 12
Introduction
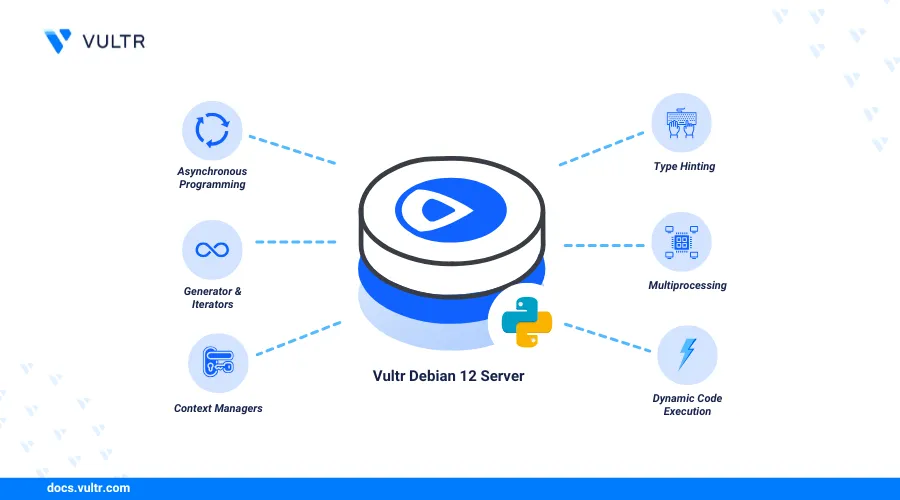
Python is a versatile, high-level programming language widely used for web development, automation, data analysis, and more. Pip is Python’s package installer, allowing you to easily install and manage additional libraries and dependencies not included in the standard library. Installing Python and Pip on Debian 12 sets up a solid foundation for a wide range of development and scripting tasks.
This article explains how to install Python and Pip on Debian 12. You will install multiple Python versions and create a virtual environment to develop applications on your server. If you're using Ubuntu instead, check out how to install Python and Pip on Ubuntu 24.04.
Prerequisites
Before you begin:
- Deploy a Debian 12 instance on Vultr.
- Access the instance using SSH.
- Create a non-root user with sudo privileges and switch to the user.
Install Python on Debian 12
Debian 12 comes with a specific version of Python pre-installed by default. While Python is also available in the official package repositories, it may not be the latest release. For those interested in installing Python on Debian with the most up-to-date features, the recommended approach is to compile it from source. Follow the steps below to install the latest Python version on your server.
View the default Python version on your server.
console$ python3 --version
Output:
Python 3.11.2Install all Python dependency packages.
console$ sudo apt install -y make build-essential libssl-dev zlib1g-dev libbz2-dev libreadline-dev libsqlite3-dev wget curl llvm libncursesw5-dev xz-utils tk-dev libxml2-dev libxmlsec1-dev libffi-dev liblzma-dev
Visit the Python downloads page and verify the latest version. For example, version
3.13.0. Then, download the archive file.console$ wget https://www.python.org/ftp/python/3.13.0/Python-3.13.0.tgz
Extract all files from the archive.
console$ tar xzf Python-3.13.0.tgz
Switch to the new Python directory, such as
Python-3.13.0.console$ cd Python-3.13.0
Run the
configurescript to prepare the Python source code before compiling.console$ ./configureCompile the Python source code into executable binaries using the
makecommand.console$ makeInstall the new Python version as an alternative without replacing the default version on your server.
console$ sudo make altinstall
View the new Python version to verify the installation is successful.
console$ python3.13 --version
Output:
Python 3.13.0
Install Pip on Debian 12
Pip is a Python package manager that installs and manages dependency packages in a development environment. Pip uses Python Package Index (PyPI) third-party libraries and other repositories to install dependencies in a Python environment. Python automatically installs Pip on the server. Follow the steps below to verify the Pip version depending on the Python version on your server.
View the default Pip version on your server.
console$ pip --version
Output:
pip 23.0.1 from /usr/lib/python3/dist-packages/pip (python 3.11)View the new Pip version that matches the Python
3.13version you installed earlier.console$ pip3.13 --version
Output:
pip 24.2 from /usr/local/lib/python3.13/site-packages/pip (python 3.13)To set up Python and streamline package management in Rocky Linux 9, follow this guide to Install Pip on Rocky Linux 9.
Test the Python Installation
Follow the steps below to create a basic web server that listens for HTTP connections on port 5000 and test the Python installation on your server.
Create a new
hello.pyPython file using a text editor likenano.console$ nano hello.py
Add the following contents to the
hello.pyfile.pythonfrom http.server import HTTPServer, BaseHTTPRequestHandler class Serv(BaseHTTPRequestHandler): def do_GET(self): html = '<h1 style="padding:50px">Greetings from Vultr</h1>' self.send_response(200) self.end_headers() self.wfile.write(bytes(html, 'utf-8')) httpd = HTTPServer(('0.0.0.0', 5000), Serv) print("Web server is listening on port 5000\nPress Ctrl+C to stop...") httpd.serve_forever()
Save and close the file.
The above Python application listens for connections on all addresses on the server and outputs the
Greetings from Vultrmessage when you access it using an HTTP client such as Curl or web browser.Allow network connections to port
5000through the firewall.console$ sudo ufw allow 5000
Run the application using your latest Python version as a background process.
console$ python3.13 hello.py &
Output:
Web server is listening on port 5000
Press Ctrl+C to stop...
Access your server's public IP address using a web browser like Chrome on port
5000.http://SERVER-IP:5000
Install Multiple Python Versions
When developing multiple Python projects, you may require different Python versions on your server. The default package repositories on Debian 12 do not include multiple Python versions. Follow the steps below to install and switch between multiple versions using the asdf tool on your server.
Install
asdfdependency packages.console$ sudo apt install -y curl git
Clone the
asdfproject repository. Visit the releases page to verify the latest version.console$ git clone https://github.com/asdf-vm/asdf.git ~/.asdf --branch v0.14.1
Open the
.bashrcfile in your shell environment.console$ nano ~/.bashrc
Add the following configurations at the end of the file.
bash. "$HOME/.asdf/asdf.sh" . "$HOME/.asdf/completions/asdf.bash"
Save and close the file.
Reload the
.bashrcfile to apply changes in your session.console$ source ~/.bashrc
View the new
asdfversion.console$ asdf --version
Output:
v0.14.1-f00f759Install the
asdfplugin for Python.console$ asdf plugin-add python
List all available Python versions available in the
asdfsources.console$ asdf list-all python
Output:
2.1.3
2.2.3
2.3.7
2.4.0
2.4.1

.....

stackless-3.4.2
stackless-3.4.7
stackless-3.5.4
stackless-3.7.5
Install a specific Python version, such as
3.10.0.console$ asdf install python 3.10.0
List all installed Python versions.
console$ asdf list
Output:
python
  3.10.0
Change the default Python version to the new version.
console$ asdf global python 3.10.0
View the active Python version to verify your changes.
console$ python3 --version
Output:
Python 3.10.0Run the following command to switch back to the pre-installed Python version on your server.
console$ asdf global python system
Create a Python Virtual Environment
A virtual environment creates an isolated environment to store Python project files with all necessary dependencies and libraries. You can use the native venv module to manage the Python virtual environments on your server. Follow the steps below to create a new Python virtual environment.
Install the
python3-venvpackage.console$ sudo apt install -y python3-venv
Create a new
myprojectdirectory.console$ mkdir myproject
Switch to the
myprojectdirectory.console$ cd myproject
Create a new
myenvvirtual environment.console$ python3 -m venv .myenv
Activate the virtual environment.
console$ . .myenv/bin/activate
Output:
(.myenv) user@SERVER:~/myproject$Install a specific Python module, such as Flask to use in the environment.
console$ pip install flask
View the Flask version.
console$ flask --version
Output:
Python 3.11.2
Flask 3.0.3
Werkzeug 3.0.4
Run the
deactivatecommand to exit the virtual environment.console$ deactivate
Conclusion
You have installed Python and Pip on a Debian 12. In addition, you've installed and activated multiple Python versions using asdf to meet your project needs. You can integrate Python with other packages like database servers to develop and manage applications. For more information, please visit the Python documentation.