
How to Migrate Azure Database for MySQL to Vultr Managed Databases for MySQL
Azure Database for MySQL is a fully managed relational database service built on the MySQL Community Edition. Migrating from Azure Database for MySQL to Vultr Managed Databases for MySQL offers predictable pricing, automated backups, and seamless integration with Vultr's global infrastructure. Vultr Managed Databases for MySQL provides a cost-effective solution with a developer-friendly interface, allowing you to focus on building applications rather than managing database infrastructure.
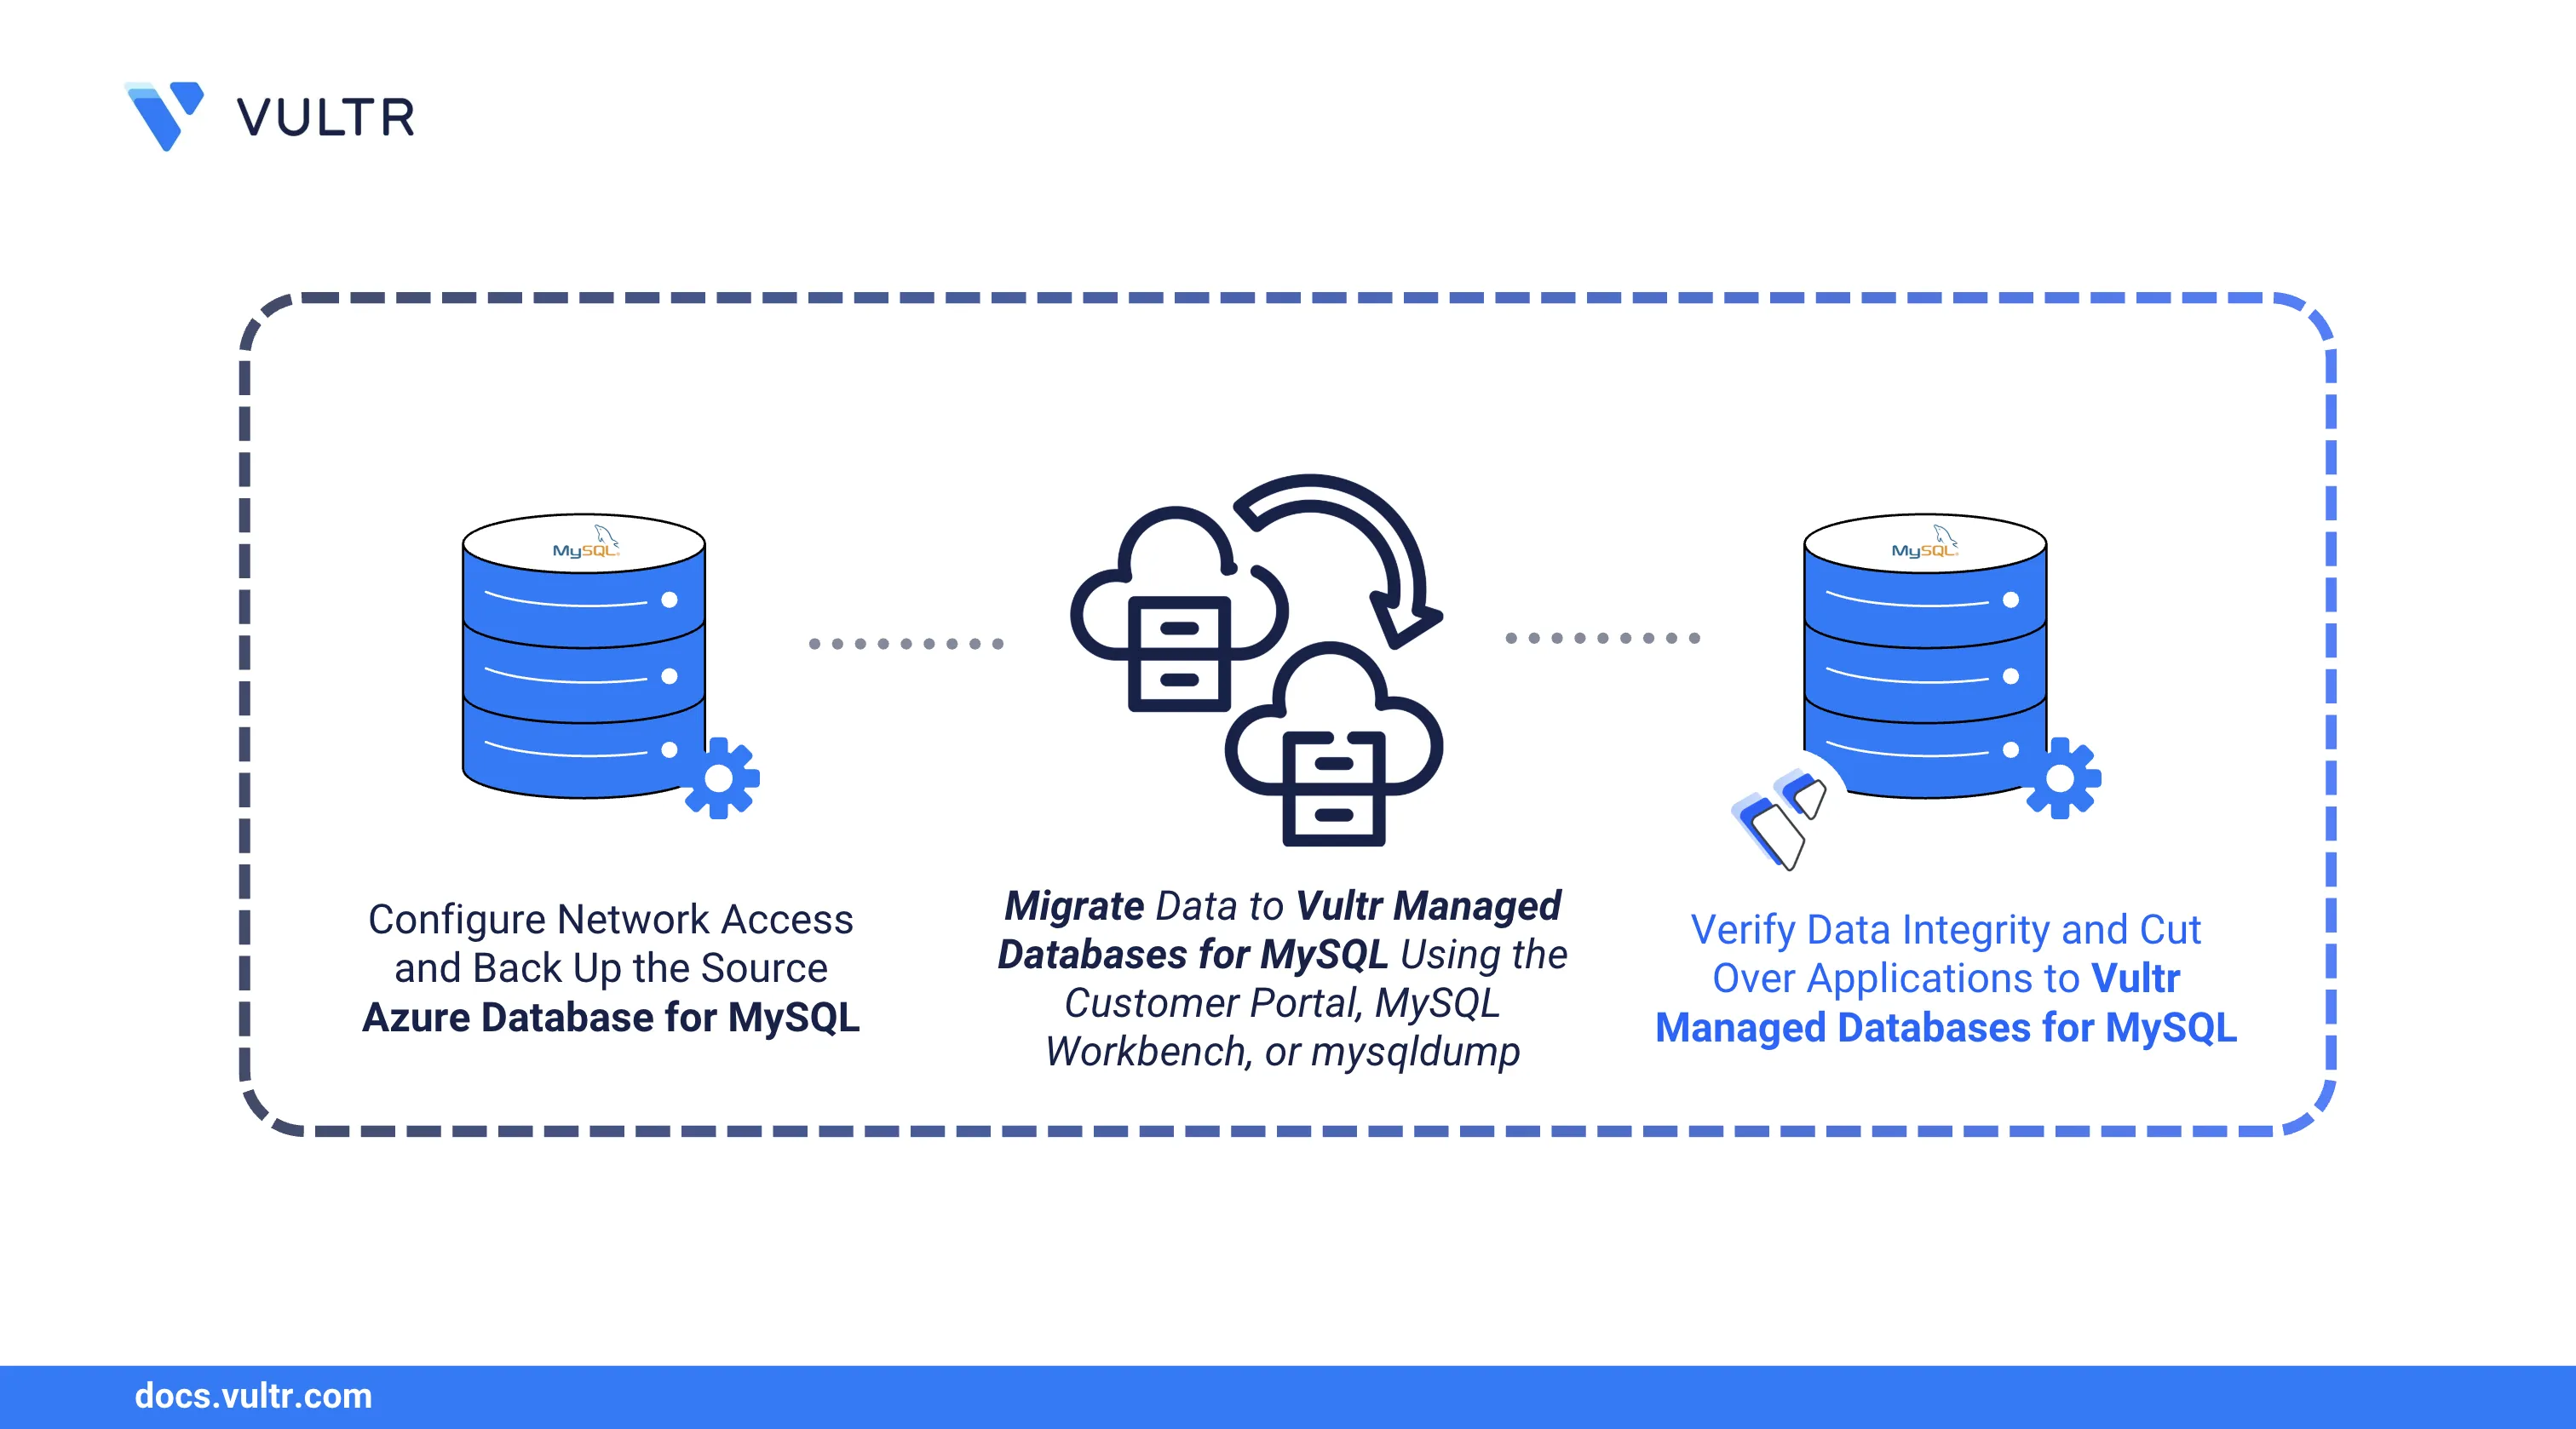
This guide explains how to migrate your Azure Database for MySQL to Vultr Managed Databases for MySQL with minimal downtime. You will configure network access, back up your source database, transfer your data, and verify the migration before cutting over applications.
Prerequisites
Before you begin, you need to:
- Have access to an existing Azure Database for MySQL - Flexible Server.
- Provision a Vultr Managed Databases for MySQL cluster with the same MySQL version and a similar or higher size as your source Azure database.
- Install MySQL Workbench or the
mysqlclient tool on your workstation.
Allow Network Connections to the Source Azure Database for MySQL
Azure Database for MySQL uses firewall rules to restrict access by default. Configure firewall rules to allow connections from your management workstation and the Vultr migration service.
Log in to the Azure Portal.
Navigate to Azure Database for MySQL flexible servers and select your target server.
In the left menu, click Networking under Settings.
Under Firewall rules, click Add current client IP address to allow your workstation.
To allow unrestricted access during migration, add a rule with:
- Rule name:
AllowAll - Start IP address:
0.0.0.0 - End IP address:
255.255.255.255
- Rule name:
Click Save to apply the firewall rules.
Remove theNoteAllowAllrule after completing the migration for security purposes.Verify the connection details on the Overview page. Note the Server name (hostname) which typically follows the format
YOUR-SERVER.mysql.database.azure.com.
Back Up the Source Azure Database for MySQL
Create a backup of your Azure database before migration to ensure you have a recovery option in case of errors.
Connect to your Azure Database for MySQL using the
mysqlclient. ReplaceYOUR-SERVERwith your server name andYOUR-USERNAMEwith your admin username.console$ mysql -h YOUR-SERVER.mysql.database.azure.com -u YOUR-USERNAME -p
Enter your password when prompted.
List all databases to identify which ones to migrate.
sqlmysql> SHOW DATABASES;
Your output should be similar to the one below:
+--------------------+
| Database           |
+--------------------+
| information_schema |
| mysql              |
| performance_schema |
| sys                |
| webapp_production  |
| analytics_db       |
+--------------------+
6 rows in set (0.12 sec)
Exit the MySQL console.
sqlmysql> EXIT;
Back up all databases to a single file. Replace
YOUR-SERVERandYOUR-USERNAMEwith your Azure credentials.console$ mysqldump -h YOUR-SERVER.mysql.database.azure.com \ -u YOUR-USERNAME -p --all-databases \ --set-gtid-purged=OFF --single-transaction \ --triggers --routines > azure_all_databases.sql
To back up a specific database:
console$ mysqldump -h YOUR-SERVER.mysql.database.azure.com \ -u YOUR-USERNAME -p webapp_production \ --set-gtid-purged=OFF --single-transaction \ --triggers --routines > webapp_production.sql
The
--set-gtid-purged=OFFoption prevents MySQL from including Global Transaction Identifiers in the backup, avoiding conflicts when importing to Vultr.Verify the backup file exists.
console$ ls -lh azure_all_databases.sql
Compress the backup for faster transfer.
console$ gzip azure_all_databases.sql
Migrate Azure Database for MySQL to Vultr Managed Databases for MySQL
You can migrate your databases using live replication through the Vultr Console, MySQL Workbench, or backup restoration with mysqldump. Choose the method that best fits your requirements.
Log in to the Vultr Console.
Click Products and select Databases.
Click your target Vultr Managed Databases for MySQL cluster to open its management page.
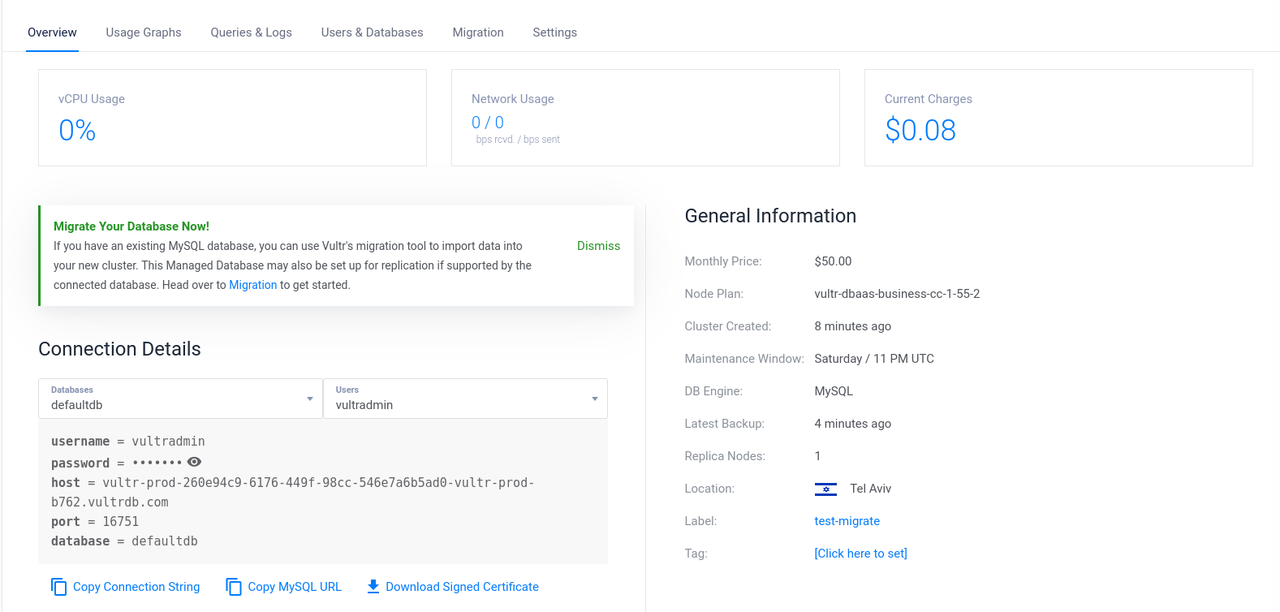
Verify the connection credentials in the Connection Details section.
The Vultr Console provides a migration feature that performs live replication from your source database. This method minimizes downtime by continuously syncing data until you complete the cutover.
Navigate to your Vultr Managed Databases for MySQL cluster's management page.
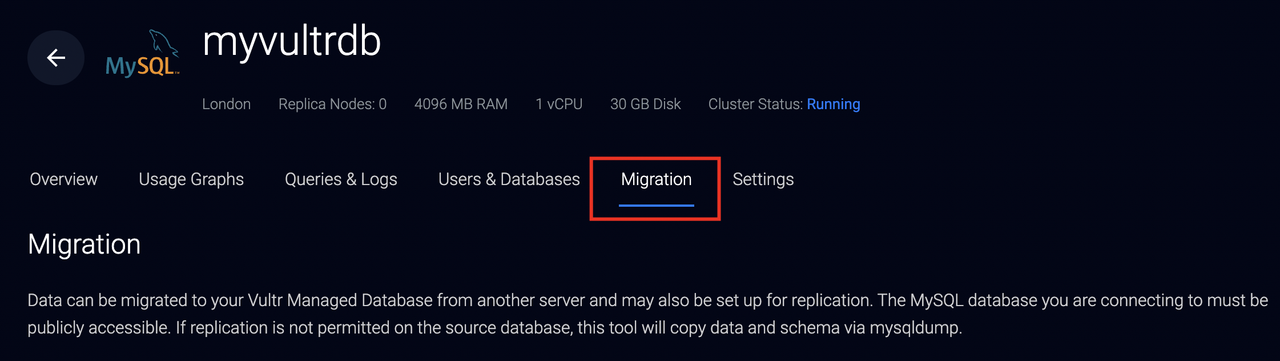
Click the Migration tab.
Enter your Azure Database for MySQL connection details:
- Hostname:
YOUR-SERVER.mysql.database.azure.com - Port:
3306 - Username: Your Azure admin username
- Password: Your Azure admin password
- Hostname:
Enable SSL Required since Azure Database for MySQL requires SSL connections by default.
Click Test Connection to validate the connection.
Click Begin Migration when the connection test succeeds.
Monitor the migration progress on the cluster's management page.
Navigate to the Users and Databases tab to verify your migrated databases appear.
After all data is synchronized, click Detach connection on the Migration tab to complete the migration.
MySQL Workbench provides a graphical interface for database migration with schema mapping and validation features.
Download and install MySQL Workbench if not already installed.
Open MySQL Workbench.
Click Migration on the left navigation menu.
Click Start Migration at the bottom of the Overview section.
Configure the source connection:
- Database System: MySQL
- Connection Method: Standard (TCP/IP)
- Hostname:
YOUR-SERVER.mysql.database.azure.com - Port:
3306 - Username: Your Azure admin username
Click Store in Vault, enter your Azure database password, and click OK.
Click Test Connection to verify connectivity.
Click Next to proceed to target selection.
Configure the destination connection with your Vultr Managed Databases for MySQL credentials:
- Connection Method: Standard (TCP/IP)
- Hostname: Your Vultr database hostname
- Port: Your Vultr database port
- Username:
vultradmin
Click Store in Vault, enter your Vultr database password, and click OK.
Click Test Connection and then Next when successful.
Select the databases to migrate from the Schemas Selection list.
Click Next to review the object mapping.
Keep Migrate Table Objects selected in the Object Migration section.
Click Next through the Manual Editing and Target Creation Options pages.
Check Create schema in target RDBMS and Keep schemas if they already exist.
Click Next to begin the migration.
Keep Online copy of table data to target RDBMS selected and click Next.
Review the migration report and click Finish.
This method uses the backup file created earlier to restore databases to Vultr.
Decompress the backup file if compressed.
console$ gunzip azure_all_databases.sql.gz
Log in to your Vultr Managed Databases for MySQL cluster. Replace the placeholders with your Vultr credentials.
console$ mysql -h VULTR-DATABASE-HOST -P VULTR-DATABASE-PORT -u vultradmin -p
Create the target database if restoring a specific database.
sqlmysql> CREATE DATABASE webapp_production;
Exit the MySQL console.
sqlmysql> EXIT;
Import the backup file to Vultr.
console$ mysql -h VULTR-DATABASE-HOST -P VULTR-DATABASE-PORT \ -u vultradmin -p < azure_all_databases.sql
For a specific database:
console$ mysql -h VULTR-DATABASE-HOST -P VULTR-DATABASE-PORT \ -u vultradmin -p webapp_production < webapp_production.sql
Test the Vultr Managed Databases for MySQL
Verify that all data migrated correctly before cutting over applications.
Log in to your Vultr Managed Databases for MySQL cluster.
console$ mysql -h VULTR-DATABASE-HOST -P VULTR-DATABASE-PORT -u vultradmin -p
Check the MySQL version matches your source Azure database.
sqlmysql> SELECT @@version;
Output:
+-----------+
| @@version |
+-----------+
| 8.0.35    |
+-----------+
1 row in set (0.10 sec)
List all databases and verify your Azure databases are present.
sqlmysql> SHOW DATABASES;
Output:
+--------------------+
| Database           |
+--------------------+
| defaultdb          |
| information_schema |
| mysql              |
| performance_schema |
| sys                |
| webapp_production  |
| analytics_db       |
+--------------------+
7 rows in set (0.08 sec)
Switch to a migrated database.
sqlmysql> USE webapp_production;
List tables and verify the schema structure.
sqlmysql> SHOW TABLES;
Output:
+---------------------------+
| Tables_in_webapp_production |
+---------------------------+
| users                     |
| orders                    |
| products                  |
+---------------------------+
3 rows in set (0.05 sec)
Compare row counts with your source database.
sqlmysql> SELECT COUNT(*) FROM users;
Output:
+----------+
| COUNT(*) |
+----------+
|    15000 |
+----------+
1 row in set (0.03 sec)
Exit the MySQL console.
sqlmysql> EXIT;
Cutover to Vultr Managed Databases for MySQL
After verifying the migration, update your applications to connect to the Vultr database.
Update WordPress Applications
Navigate to your WordPress installation directory.
console$ cd /path/to/wordpress/
Back up the configuration file.
console$ sudo cp wp-config.php wp-config.php.backup
Open the configuration file.
console$ sudo nano wp-config.php
Update the database connection settings with your Vultr credentials.
php/** The name of the database for WordPress */ define('DB_NAME', 'webapp_production'); /** MySQL database username */ define('DB_USER', 'vultradmin'); /** MySQL database password */ define('DB_PASSWORD', 'YOUR-VULTR-PASSWORD'); /** MySQL hostname */ define('DB_HOST', 'VULTR-DATABASE-HOST:VULTR-DATABASE-PORT');
Save and close the file.
Restart your web server.
Apache on Debian/Ubuntu:
console$ sudo systemctl restart apache2
Apache on RHEL/CentOS:
console$ sudo systemctl restart httpd
Nginx:
console$ sudo systemctl restart nginx
Update Docker Applications
Open your Docker Compose file.
console$ nano docker-compose.yml
Update the database environment variables.
yamlservices: app: environment: MYSQL_HOST: "VULTR-DATABASE-HOST" MYSQL_PORT: "VULTR-DATABASE-PORT" MYSQL_USER: "vultradmin" MYSQL_PASSWORD: "YOUR-VULTR-PASSWORD" MYSQL_DATABASE: "webapp_production"
Save and close the file.
Restart the containers.
console$ docker compose down $ docker compose up -d
Conclusion
You have migrated your Azure Database for MySQL to Vultr Managed Databases for MySQL. This guide covered configuring network access, backing up your source database, transferring data using the Vultr Console, MySQL Workbench, or mysqldump, and verifying the migration. Your applications now benefit from Vultr's predictable pricing and global infrastructure. For more information on managing your Vultr Managed Databases for MySQL cluster, visit the product documentation.