
How to Migrate Azure Managed Disks to Vultr Block Storage
Azure Managed Disks are durable block storage volumes designed for Azure Virtual Machines, offering various performance tiers from Standard HDD to Ultra Disk. Organizations migrating away from Azure often need to transfer data from these disks to alternative providers. Vultr Block Storage provides high-performance SSD and NVMe storage options with straightforward pricing, making it an attractive destination for workloads requiring persistent storage.
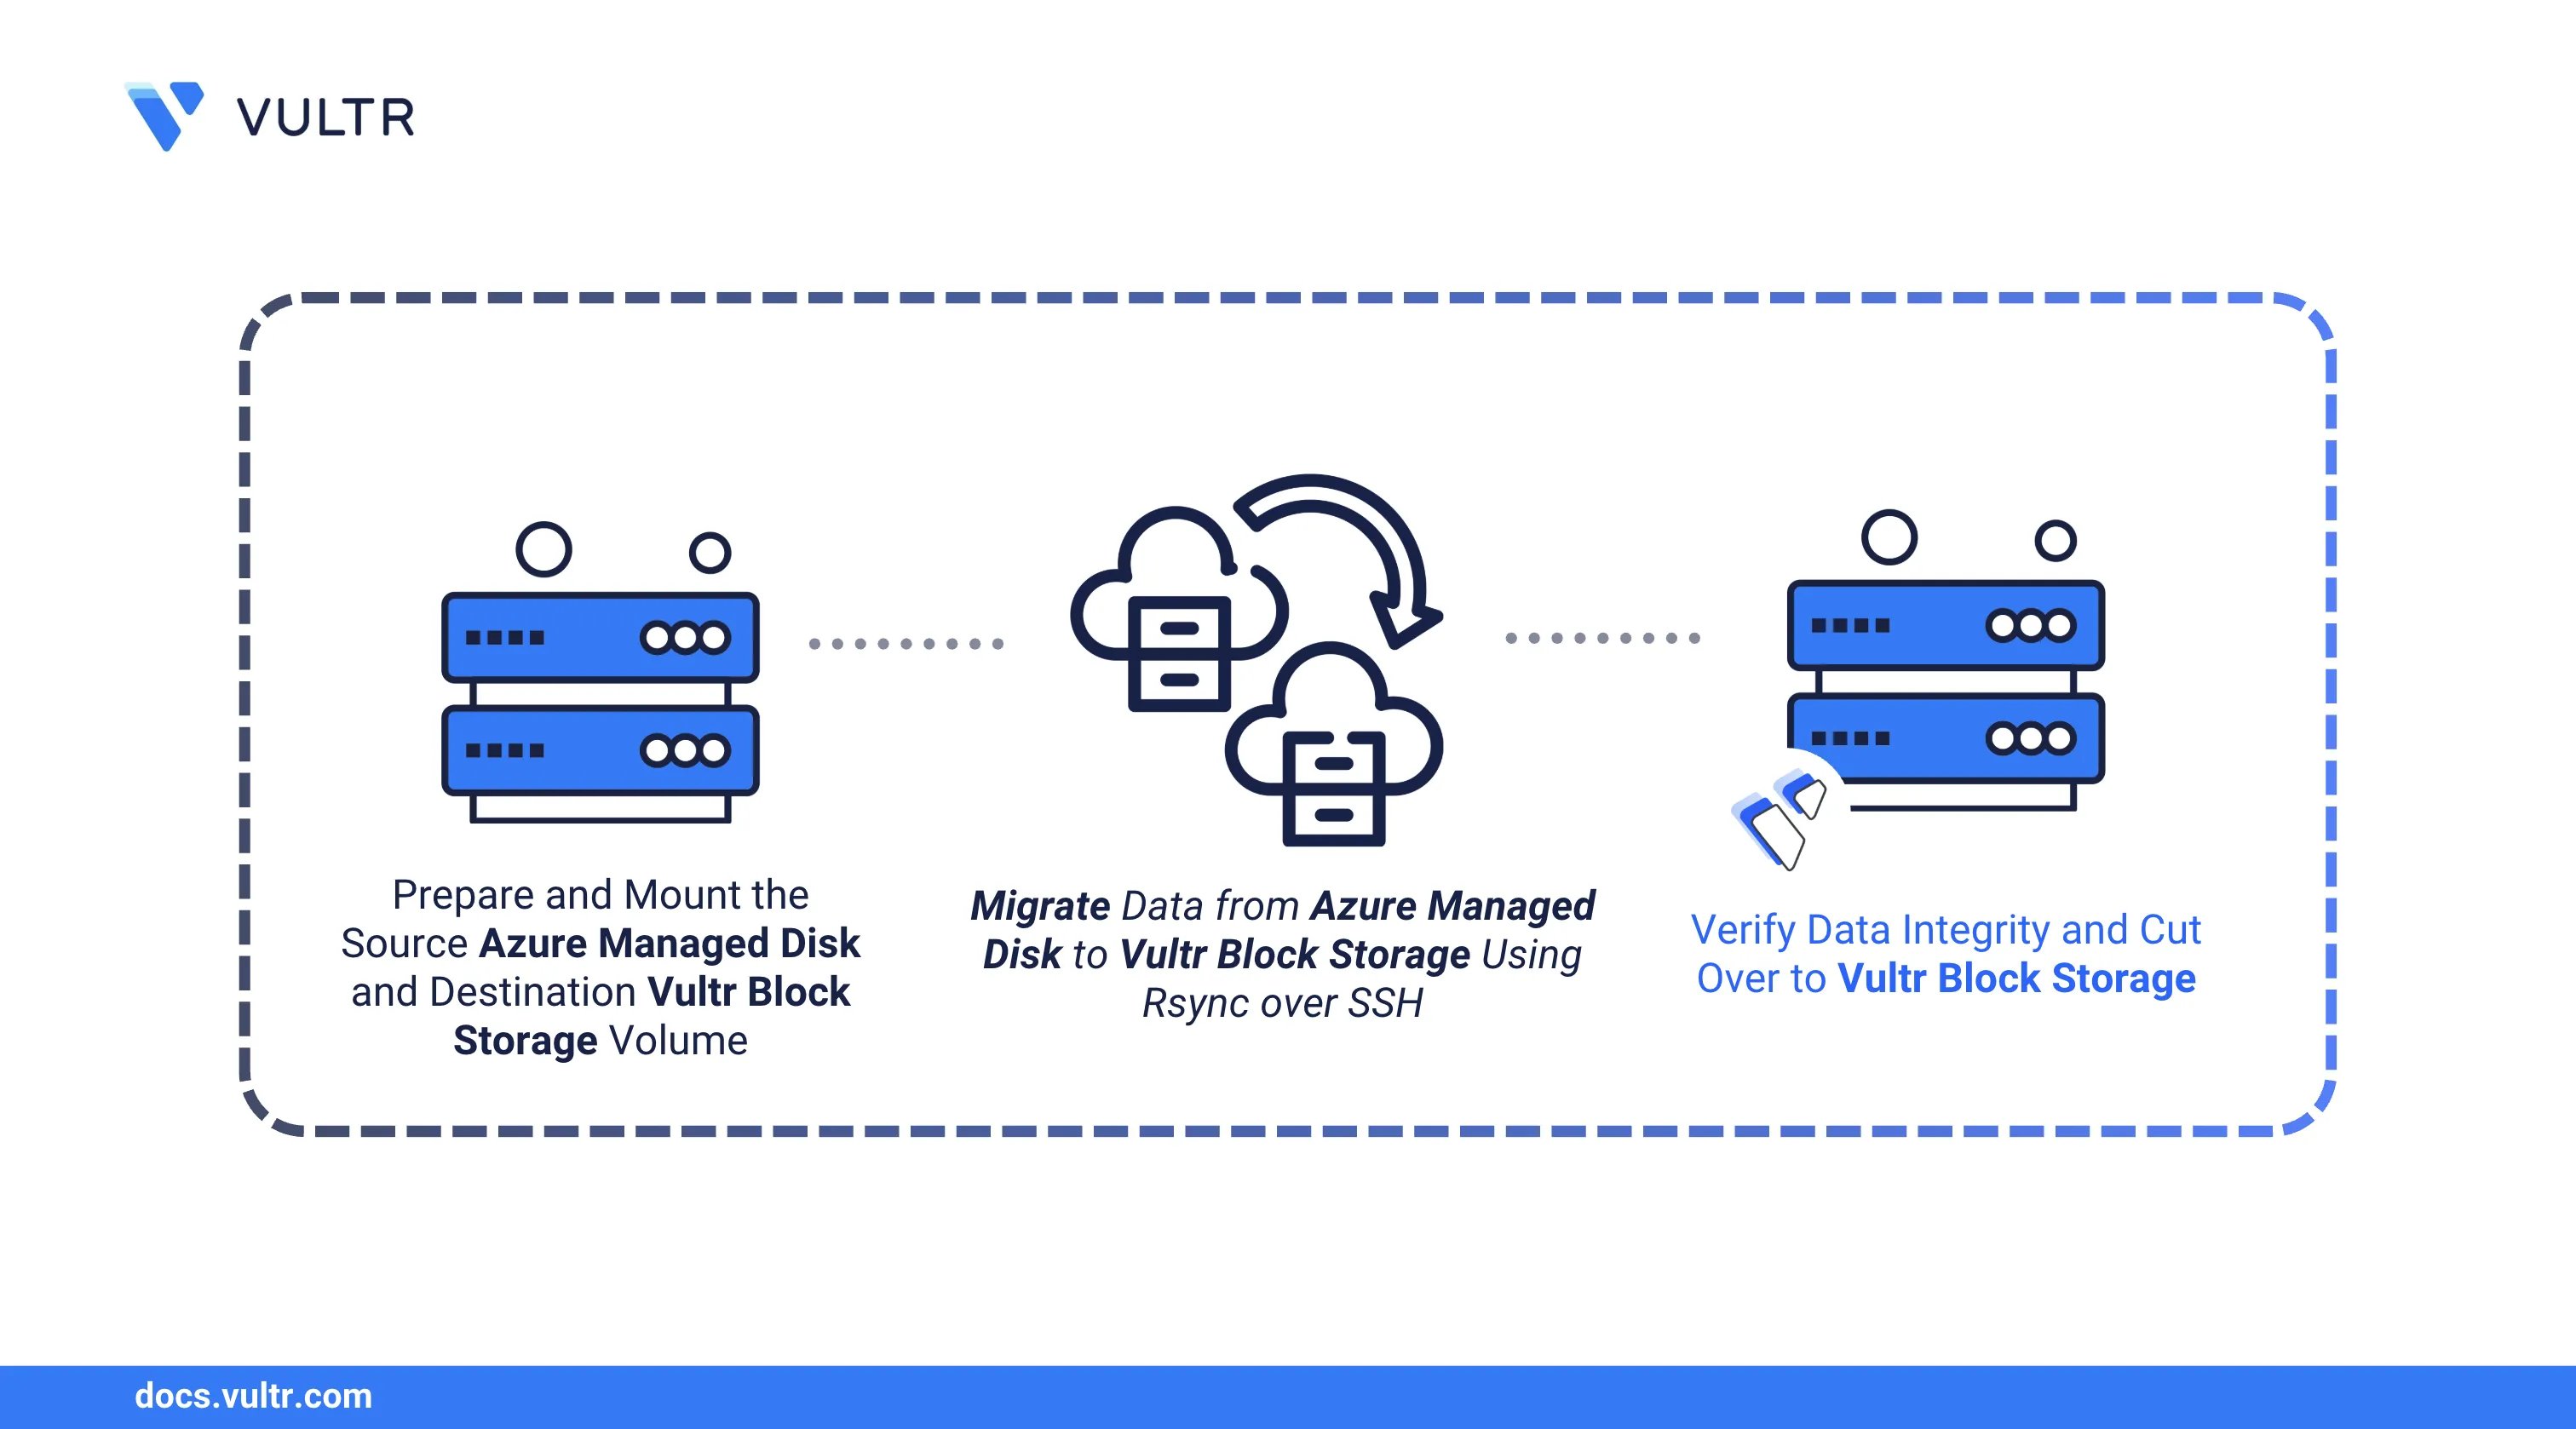
This guide explains how to migrate data from an Azure Managed Disk to Vultr Block Storage using Rsync over SSH, including verification steps to ensure data integrity.
Prerequisites
Before you begin, you need to:
- Have a Linux-based Azure Virtual Machine with an attached Managed Disk containing the data to migrate.
- Deploy an Ubuntu 24.04 Vultr Cloud Compute instance and access it as a non-root user with
sudoprivileges. - Attach a Vultr Block Storage volume to the Vultr instance with capacity equal to or greater than your source disk.
Set Up the Migration Environment
Prepare both the source Azure VM and destination Vultr instance for the data transfer. This involves mounting the disks and ensuring both are ready to send and receive data.
Set Up the Source Azure Managed Disk
Identify and mount your Azure Managed Disk that contains the data to migrate. Azure VMs typically have a temporary disk that should not be confused with your data disk.
Connect to your Azure VM via SSH. Replace
USERNAMEandAZURE-VM-IPwith your credentials.console$ ssh USERNAME@AZURE-VM-IP
List attached block devices to identify your data disk.
console$ lsblkOutput:
NAME MAJ:MIN RM SIZE RO TYPE MOUNTPOINTS sda 8:0 0 30G 0 disk ├─sda1 8:1 0 29.9G 0 part / ├─sda14 8:14 0 4M 0 part └─sda15 8:15 0 106M 0 part /boot/efi sdb 8:16 0 8G 0 disk └─sdb1 8:17 0 8G 0 part /mnt sdc 8:32 0 64G 0 disk /mnt/data_volumesdais the OS disksdbis the Azure temporary disk (mounted at/mntby default. Do not use this for persistent data)sdcis the attached Managed Disk containing your data to migrate
Azure temporary disks (Note/dev/sdb) are ephemeral and lose data on VM deallocation. Always verify you're working with the correct data disk.If your data disk is not already mounted, create a mount point and mount it.
console$ sudo mkdir -p /mnt/azure-data $ sudo mount /dev/sdc /mnt/azure-data
Verify the filesystem and mount.
console$ lsblk -f | grep sdc
Output:
sdc ext4 1.0 a1b2c3d4-e5f6-7890-abcd-ef1234567890 59.2G 0% /mnt/azure-dataNote the filesystem type (
ext4) to use when formatting the destination volume.Check disk usage.
console$ df -h /mnt/azure-data
Output:
Filesystem Size Used Avail Use% Mounted on /dev/sdc 63G 2.1G 58G 4% /mnt/azure-dataIf your Managed Disk has multiple partitions, verify each partition's size and filesystem type. You'll need to repeat the mount and transfer steps for each partition, ensuring the destination Vultr Block Storage volume has sufficient capacity.Note
Set Up the Destination Vultr Block Storage Volume
Format and mount the destination Vultr Block Storage volume to receive the migrated data.
Connect to your Vultr instance via SSH. Replace
VULTR-IPwith your credentials.console$ ssh linuxuser@VULTR-IP
List attached block devices.
console$ lsblkOutput:
NAME MAJ:MIN RM SIZE RO TYPE MOUNTPOINTS vda 253:0 0 55G 0 disk ├─vda1 253:1 0 512M 0 part /boot/efi └─vda2 253:2 0 54.5G 0 part / vdb 253:16 0 80G 0 diskvdbis the attached Vultr Block Storage volume. Additional volumes appear asvdc,vdd, etc.Create a GPT partition table on the volume.
console$ sudo parted -s /dev/vdb mklabel gpt
Create a primary partition that uses the entire disk.
console$ sudo parted -s /dev/vdb unit mib mkpart primary 0% 100%
Format the partition with the same filesystem as the source disk.
console$ sudo mkfs.ext4 /dev/vdb1
Create a mount point and mount the partition.
console$ sudo mkdir -p /mnt/vultr-storage $ sudo mount /dev/vdb1 /mnt/vultr-storage
Set ownership so your user can write to the volume.
console$ sudo chown -R $USER:$USER /mnt/vultr-storage
Verify the mount.
console$ df -h /mnt/vultr-storage
Output:
Filesystem      Size  Used Avail Use% Mounted on
/dev/vdb1        79G   24K   75G   1% /mnt/vultr-storage
(Optional) Add the volume to
/etc/fstabfor persistent mounting across reboots.console$ echo "UUID=$(sudo blkid -s UUID -o value /dev/vdb1) /mnt/vultr-storage ext4 defaults 0 2" | sudo tee -a /etc/fstab
If your source Azure Managed Disk has multiple partitions, configure matching partitions on the Vultr Block Storage volume with the same filesystem format and equal or greater capacity.Note
Migrate Azure Managed Disk Data to Vultr Block Storage
Use Rsync to copy files from the Azure Managed Disk to the Vultr Block Storage volume. Rsync transfers data over SSH, compresses during transit, and can resume interrupted transfers.
Verify Rsync is installed on both instances.
console$ rsync --version
If not installed on either system:
console$ sudo apt install rsync -y
From the Azure VM, start the transfer. Replace
VULTR-IPwith your Vultr instance credentials.console$ sudo rsync -avz --progress --exclude="lost+found" /mnt/azure-data/ linuxuser@VULTR-IP:/mnt/vultr-storage/
-a: Archive mode (preserves permissions, timestamps, symbolic links)-v: Verbose output-z: Compress data during transfer--progress: Show transfer progress--exclude="lost+found": Skip the system recovery directory
Output:
sending incremental file list ./ app-data/ app-data/config.json 1,234 100% 0.00kB/s 0:00:00 (xfr#1, to-chk=42/44) ... sent 2,147,483,648 bytes received 1,024 bytes 15,432,098.76 bytes/sec total size is 2,147,483,648 speedup is 1.00Transfer time depends on data size and network speed. For large volumes, consider running the command in aNotescreenortmuxsession to prevent interruption if your SSH connection drops.If the transfer is interrupted, re-run the same command. Rsync automatically resumes by transferring only the remaining files.
Test the Vultr Block Storage Volume
After migrating the data, verify integrity by comparing checksums between the source and destination volumes to ensure no files were corrupted during transfer.
On the Azure VM, generate checksums for all files.
console$ find /mnt/azure-data -type f ! -path "*/lost+found/*" -exec sha256sum {} \; | sort > ~/azure_checksums.txt
Transfer the checksum file to the Vultr instance.
console$ scp ~/azure_checksums.txt linuxuser@VULTR-IP:~/
On the Vultr instance, generate checksums for the migrated files.
console$ find /mnt/vultr-storage -type f ! -path "*/lost+found/*" -exec sha256sum {} \; | sort > ~/vultr_checksums.txt
Normalize paths in the Azure checksum file to match Vultr paths.
console$ sed 's|/mnt/azure-data|/mnt/vultr-storage|g' ~/azure_checksums.txt > ~/azure_checksums_normalized.txt
Compare the checksum files.
console$ diff ~/azure_checksums_normalized.txt ~/vultr_checksums.txt
No output indicates all files match. If differences appear, re-run Rsync to transfer any missing or corrupted files.
Verify directory sizes match.
On Azure VM:
console$ du -sh /mnt/azure-data
On Vultr instance:
console$ du -sh /mnt/vultr-storage
The sizes should be nearly identical (minor differences may occur due to filesystem overhead).
Cutover to Vultr Block Storage
After you verify data integrity, complete the transition by performing a final sync and updating your application configurations.
Final sync: Capture any changes made since the initial transfer.
console$ sudo rsync -avz --progress --exclude="lost+found" /mnt/azure-data/ linuxuser@VULTR-IP:/mnt/vultr-storage/
Update application configurations to reference the new storage path on the Vultr instance.
Update DNS records to point to the Vultr instance's public IP address if your applications are publicly accessible.
Test thoroughly to ensure applications function correctly with the migrated data.
Conclusion
You have successfully migrated data from an Azure Managed Disk to Vultr Block Storage using Rsync. This guide walked through preparing both storage volumes, transferring data securely over SSH, and validating integrity with checksum comparison. Your data now resides on Vultr's high-performance block storage infrastructure. For more information on managing Vultr Block Storage, including resizing and snapshots, visit the Vultr Block Storage documentation.