
How to Migrate Azure Virtual Machines to Vultr Cloud Compute
Azure Virtual Machines run on Microsoft's cloud infrastructure and support a wide range of Linux and Windows workloads. While Azure offers extensive services, organizations often seek alternatives due to complex billing structures, regional pricing variations, or the desire for a simpler cloud experience. Vultr Cloud Compute delivers high-performance virtual machines with straightforward pricing across 32+ global locations.
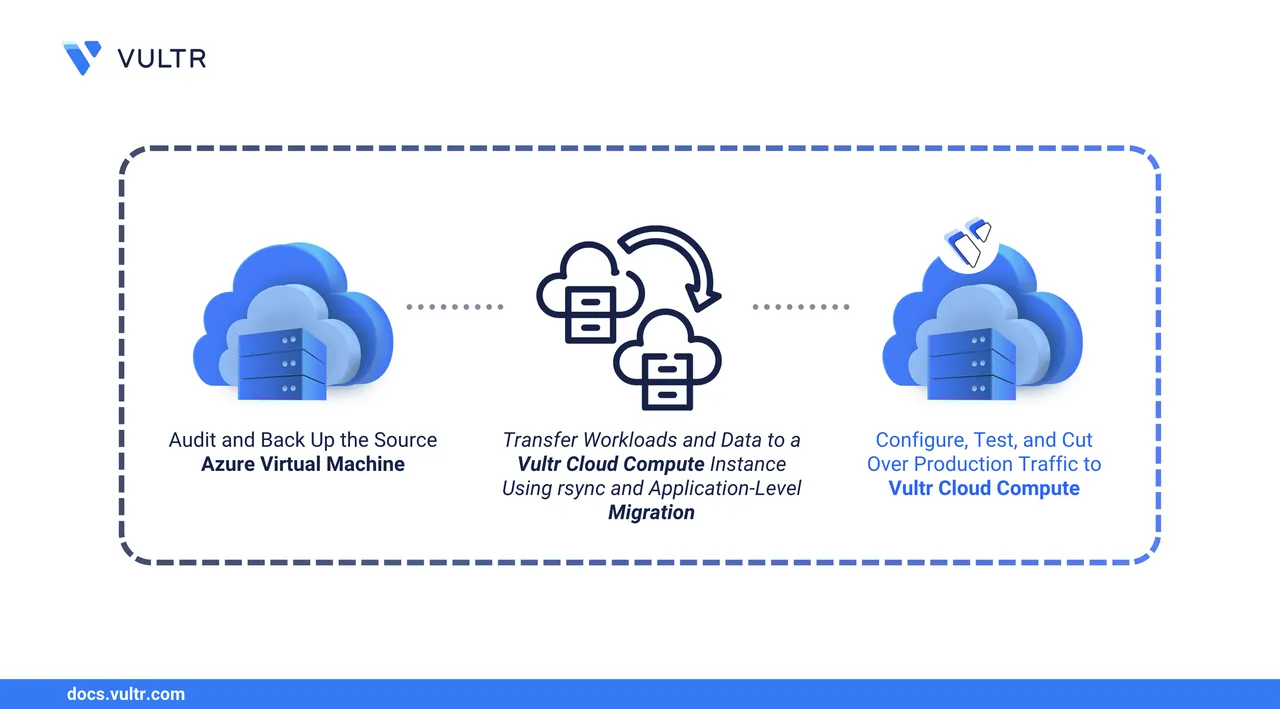
This guide explains how to migrate a Linux-based Azure VM to Vultr Cloud Compute at the application level, ensuring your workloads transition smoothly without carrying over Azure-specific dependencies.
Prerequisites
Before you begin, you need to:
- Have access to the Azure Portal or Azure CLI with permissions to manage your virtual machine.
- Deploy a Vultr Cloud Compute instance running the same or compatible operating system as your Azure VM, with sufficient disk space for your data.
- Confirm you can access both servers via SSH as a non-root user with
sudoprivileges. - Create a snapshot of your Azure VM disk as a safety net before making changes.
Planning the Migration
Before starting the migration, assess what needs to move and how the new environment will differ. Proper planning reduces downtime and prevents missed components.
- Inventory your workloads: Document which applications run on the VM, their configuration file locations, and any scheduled tasks.
- Map network rules: Azure Network Security Groups (NSGs) control traffic flow. Record inbound and outbound rules so you can replicate them using Vultr Firewall or the instance's local firewall.
- Account for Azure-specific components: Services like the Azure Linux Agent (
waagent), Azure Monitor extensions, or managed identity integrations won't function outside Azure. Plan alternatives or remove these dependencies. - Check software versions: Note the versions of critical packages (web servers, databases, runtimes) to ensure compatibility on the destination server.
- Decide on a cutover strategy: Running both environments in parallel allows you to test thoroughly before switching DNS records.
Create a Backup
Before making any changes, create a recovery point on Azure to protect against data loss or mistakes during the migration process. You can create snapshots using either the Azure CLI or the Azure Portal.
Create a snapshot of the OS disk. Replace
RESOURCE-GROUP,SNAPSHOT-NAME, andOS-DISK-NAMEwith your values.console$ az snapshot create \n --resource-group RESOURCE-GROUP \n --name SNAPSHOT-NAME \n --source OS-DISK-NAME
List your snapshots to confirm creation.
console$ az snapshot list --resource-group RESOURCE-GROUP --output table
Audit Your Azure VM
Connect to your Azure VM and gather information about its current state. This inventory serves as a checklist during migration and helps verify that all components work correctly afterward.
Document Running Services
List all active services and export to a file for reference.
$ systemctl list-units --type=service --state=running > ~/services_list.txt
Note application services you need to migrate. Ignore Azure-specific services like walinuxagent.service since these won't be needed on Vultr.
Check Network and Packages
View which ports have active listeners.
console$ ss -tulnp
Document any ports your applications require so you can open them on Vultr.
Export the package list for reference.
Debian/Ubuntu:
console$ dpkg --get-selections > ~/packages.txt
RHEL/CentOS:
console$ rpm -qa > ~/packages.txt
Review User Accounts
Linux systems store user information in /etc/passwd and group information in /etc/group. Regular user accounts typically have UIDs of 1000 or higher.
List non-system user accounts.
console$ awk -F: '$3 >= 1000 && $3 < 65534 {print $1, $3, $6}' /etc/passwd
This displays username, UID, and home directory. Plan to recreate these accounts on Vultr.
List non-system groups.
console$ awk -F: '$3 >= 1000 {print $1, $3}' /etc/group
Check Scheduled Tasks
View cron jobs for the current user and check system-wide cron directories.
$ crontab -l
$ ls /etc/cron.d/
$ cat /etc/crontab
Identify Critical Directories
Document paths containing application data and configurations:
/home: User home directories/var/www: Web server document roots/opt: Third-party applications/etc/nginxor/etc/apache2: Web server configs- Application-specific directories
Prepare the Vultr Instance
Set up the destination environment before transferring data. This includes installing software, creating user accounts, and configuring firewall rules to match your Azure setup.
Install Required Software
Update the package manager and install applications matching your Azure VM.
Debian/Ubuntu:
console$ sudo apt update $ sudo apt install -y PACKAGE-NAMES
RHEL/CentOS:
console$ sudo dnf update -y $ sudo dnf install -y PACKAGE-NAMES
Create User Accounts
Recreate the user accounts identified during your audit. Add each user with matching UID to ensure file ownership transfers correctly. Replace USER-ID, USERNAME, and GROUP with your values.
$ sudo useradd -m -u USER-ID -s /bin/bash USERNAME
$ sudo usermod -aG GROUP USERNAME
Configure Firewall Rules
Replicate the Azure NSG rules using the local firewall.
UFW (Ubuntu/Debian):
console$ sudo ufw allow 22/tcp $ sudo ufw allow 80/tcp $ sudo ufw allow 443/tcp $ sudo ufw enable
firewalld (RHEL/CentOS):
console$ sudo firewall-cmd --permanent --add-service=ssh $ sudo firewall-cmd --permanent --add-service=http $ sudo firewall-cmd --permanent --add-service=https $ sudo firewall-cmd --reload
Transfer Application Data
Use rsync to copy files from the Azure VM to Vultr. Transfer data to /tmp/ first, then move it to the final destination with elevated privileges. This tool efficiently handles large transfers, preserves file permissions and ownership, and can resume interrupted sessions.
On the Azure VM, ensure rsync is installed.
Debian/Ubuntu:
console$ sudo apt install rsync -y
RHEL/CentOS:
console$ sudo dnf install rsync -y
Run a dry-run to preview what will be copied. Replace
SOURCE-PATHwith the directory on the Azure VM you want to transfer,DESTINATION-NAMEwith a descriptive name for the destination directory, andVULTR-IPwith your Vultr instance IP address.console$ rsync -avzn SOURCE-PATH linuxuser@VULTR-IP:/tmp/DESTINATION-NAME/
The
-nflag simulates the transfer without making changes.Transfer the data to
/tmp/on the Vultr instance.console$ rsync -avz --progress SOURCE-PATH linuxuser@VULTR-IP:/tmp/DESTINATION-NAME/
-apreserves permissions, ownership, timestamps, and symbolic links-vprovides verbose output-zcompresses data during transfer--progressdisplays transfer progress
On the Vultr instance, move the transferred files to their final location. Replace
DESTINATION-NAMEwith the name used in the rsync command andFINAL-PATHwith the target directory.console$ sudo mv /tmp/DESTINATION-NAME/* FINAL-PATH/
Repeat these steps for each directory you need to transfer. Common directories to consider include:
- Web files:
/var/www/,/var/www/html/ - User home directories:
/home/ - Application directories:
/opt/,/usr/local/,/srv/(adjust based on your application structure) - Configuration files:
/etc/nginx/,/etc/apache2/,/etc/mysql/(avoid copying/etc/entirely, as it contains system-specific settings)
Migrate Databases
If your Azure VM runs a database server, export the data and import it on Vultr.
pg_dump and pg_restore. For MongoDB migrations, refer to the MongoDB documentation using mongodump and mongorestore.
Verify MySQL versions are compatible on both servers.
console$ mysql --version
Create a database dump on the Azure VM.
console$ mysqldump -u root -p --all-databases --routines --triggers > db_backup.sql
Transfer the dump file.
console$ rsync -avz db_backup.sql linuxuser@VULTR-IP:/tmp/
On the Vultr instance, import the databases.
console$ mysql -u root -p < /tmp/db_backup.sql
Verify the import.
console$ mysql -u root -p -e "SHOW DATABASES;"
Update Configurations and Test
After transferring files, adjust configurations for the new environment and verify that applications function correctly before directing production traffic.
Update any hardcoded IP addresses or hostnames in application configs.
Verify database connection strings point to the correct host.
Test web server configuration and restart services.
Recreate cron jobs documented during the audit.
console$ crontab -e
Check that all services are running.
Review logs for errors.
Ubuntu/Debian:
console$ sudo tail -50 /var/log/syslog
RHEL/CentOS:
console$ sudo tail -50 /var/log/messages
Also check application-specific logs in
/var/log/as needed.Test the application using the Vultr IP address.
console$ curl -I http://VULTR-IP
Compare running services with your original audit to confirm nothing was missed.
Cutover to Vultr Cloud Compute
After testing confirms the Vultr instance is ready for production, follow these steps to switch traffic to Vultr.
Lower DNS TTL in advance to speed propagation when you switch records.
Final sync: Capture any data changes since the initial transfer. Replace
SOURCE-PATHandDESTINATION-NAMEwith the paths used in your initial transfer.console$ rsync -avz SOURCE-PATH linuxuser@VULTR-IP:/tmp/DESTINATION-NAME/
After the sync completes, move the files to their final location on the Vultr instance as done during the initial transfer.
Update DNS: Change your domain's A record to point to the Vultr instance IP.
Monitor closely: Watch application and system logs for the first several hours after cutover. Replace the log paths with those specific to your application and web server.
console$ sudo tail -f /var/log/syslog /var/log/your-application.log
For web server logs, adjust the paths based on your web server:
- NGINX:
/var/log/nginx/access.log,/var/log/nginx/error.log - Apache:
/var/log/apache2/access.log,/var/log/apache2/error.log
- NGINX:
Maintain rollback option: Keep the Azure VM for a few days in case you need to revert.
Conclusion
You have successfully migrated your Azure Virtual Machine to Vultr Cloud Compute. This guide covered backing up your source VM, auditing services and configurations, preparing the Vultr instance, transferring data with rsync, migrating databases, and validating functionality before cutover. Your applications now run on Vultr's infrastructure with predictable pricing and global availability. For more information on managing your Vultr Cloud Compute instances, visit the Vultr Cloud Compute documentation.