
How to Migrate DigitalOcean Managed Databases for MySQL to Vultr Managed Databases for MySQL
Migrating MySQL databases from one host to another allows you to scale existing databases integrate multiple applications. Vultr Managed Databases for MySQL offer a fully-managed cost effective relational database solution and automate most aspects of database administration. Migrating from Digital Ocean Managed Databases for MySQL to Vultr Managed Databases for MySQL enables you to transfer existing databases with minimal downtime and connect with popular client applications.
Follow this guide to migrate DigitalOcean Managed Databases for MySQL to Vultr Managed Databases for MySQL.
Prerequisites
Before you begin, you need to:
- Have an existing DigitalOcean Managed Databases for MySQL subscription to migrate.
- Provision a Vultr Managed Databases for MySQL cluster with the same size or greater than your DigitalOcean Managed Databases for MySQL.
- Install MySQL Client or MySQL Workbench on your local workstation.
Back Up the DigitalOcean Managed Databases for MySQL Cluster
Backing up your source DigitalOcean Managed Databases for MySQL enables you to recover your databases in case of any data corruption or migration failures. Follow the steps below to back up your source DigitalOcean Managed Databases for MySQL cluster using the MySQL client tool on your workstation.
Log in to your DigitalOcean account.
Navigate to Databases and click your target MySQL cluster to open its management page.
Verify the access credentials in the Connection Details section.
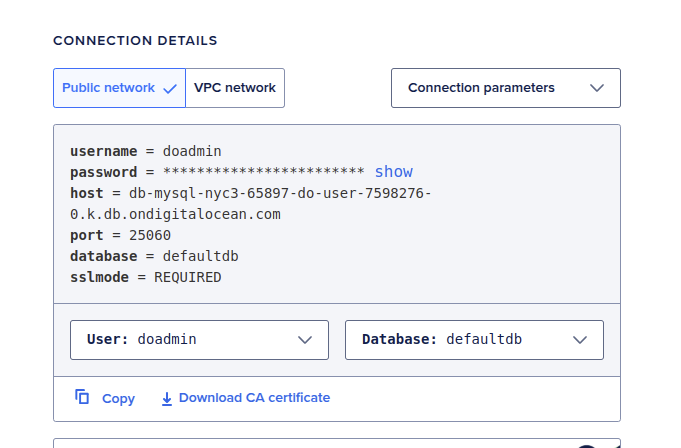
Use the
mysqldumpto export all databases in your source DigitalOcean Managed Databases cluster into a singlemigratetovultr.sqlfile.console$ mysqldump --host=do-hostname --port=25060 --user=doadmin --password=example-password --all-databases > migratetovultr.sql
The above command exports all databases in your source MySQL cluster to a single
migratetovultr.sqlfile, allowing you to keep a backup of all databases before migrating to a new cluster.Use the following command to back up specific databases in your cluster. Replace
exampledbandexampledb2with your actual target databases.console$ mysqldump --host=do-hostname --port=25060 --user=doadmin --password=example-password --databases exampledb exampledb2 --single-transaction --set-gtid-purged=OFF > migratetovultr-db.sql
Migrate the Source DigitalOcean Managed Databases for MySQL to Vultr Managed Databases for MySQL
You can migrate your existing DigitalOcean Managed Databases for MySQL to Vultr Managed Databases for MySQL using live replication or backup and restore methods.
Log in to the Vultr Console.
Click Products and select Databases.
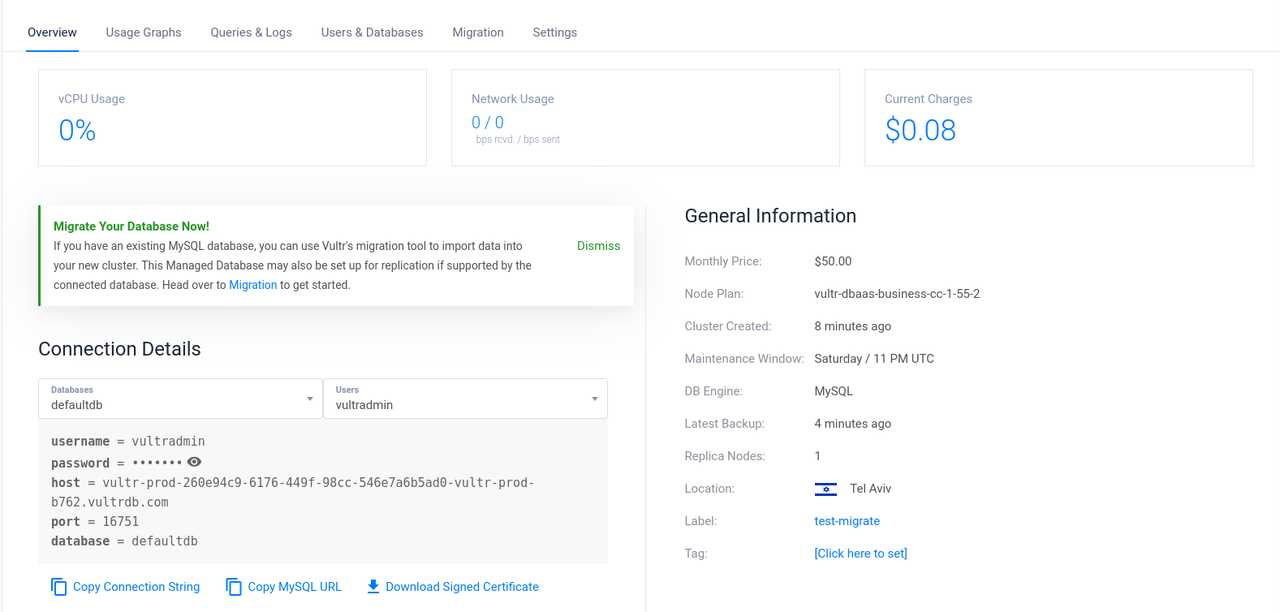
Click your target Vultr Managed Databases for MySQL to open its management page.
Verify the access credentials within the Connection Details section to use when migrating to the Vultr Managed Databases for MySQL cluster.
Follow the steps below to migrate your source DigitalOcean Managed Databases for MySQL using the Vultr Console or MySQL Workbench.
Follow the steps below to use the migration feature in your Vultr Managed Databases for MySQL cluster and transfer your source databases with live replication in the Vultr Console.
Open your target Vultr Managed Databases for MySQL cluster's management page.
Navigate to the Migration tab.
Enter your source Digital Ocean Managed Databases for MySQL details in the respective fields and enable the SSL Required option.
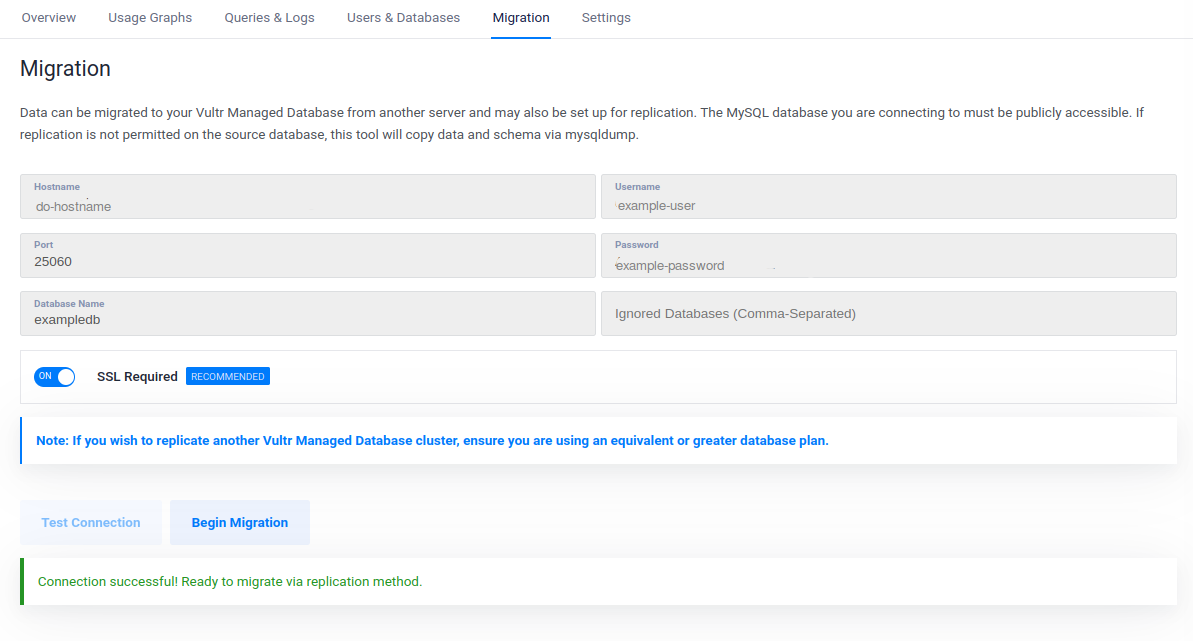
Click Test Connection to validate your database connection information.
Verify that the connection is successful or check your connection details when unsuccessful.
Connection successful! Ready to migrate via replication methodClick Begin migration to migrate your target databases from DigitalOcean to your Vultr Managed Databases for MySQL cluster.
Verify that the migration completes without any errors.

Click Detach connection to disconnect the source DigitalOcean Managed Databases for MySQL.
Migrating your database using MySQL Workbench is a straightforward process. Follow the steps below to migrate your source DigitalOcean Managed Databases for MySQL to the destination Vultr Managed Databases for MySQL using MySQL Workbench.
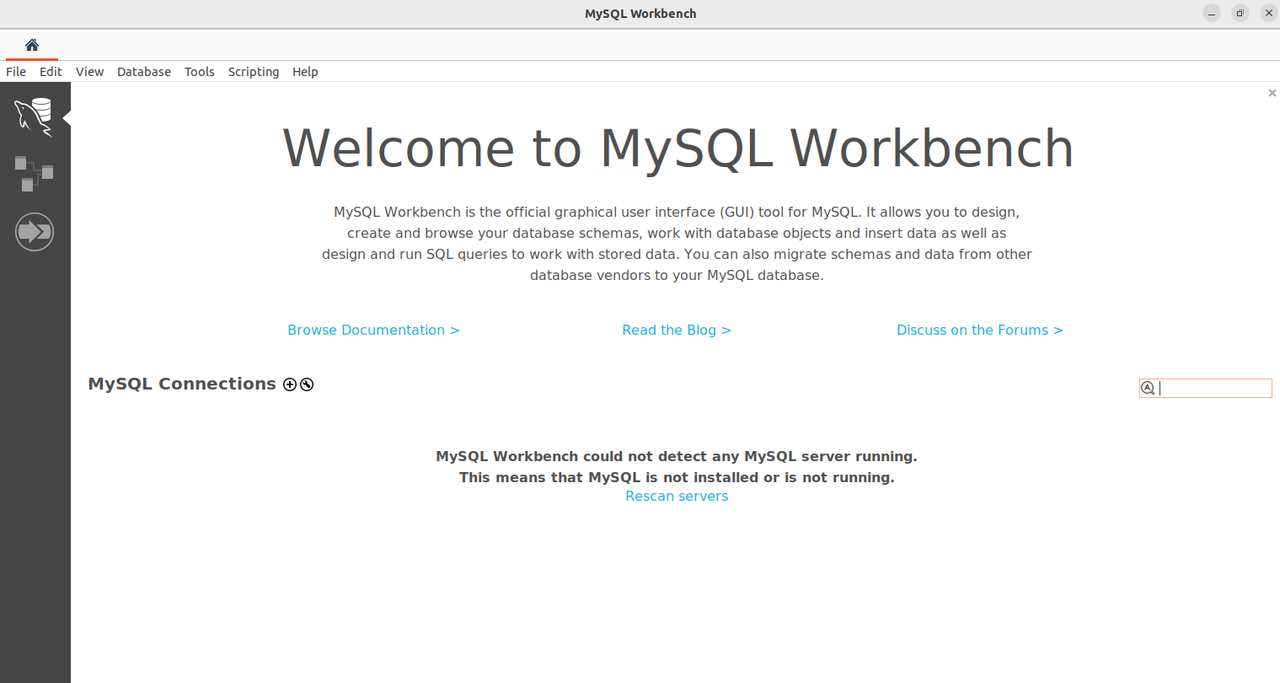
Download and install MySQL Workbench if it's not installed on your workstation.
Open MySQL Workbench from your applications menu.
Click Migration on the left navigation menu.
Keep MySQL as the database system, Standard (TCP/IP) as the connection method, and specify the source DigitalOcean Managed Databases for MySQL connection information.
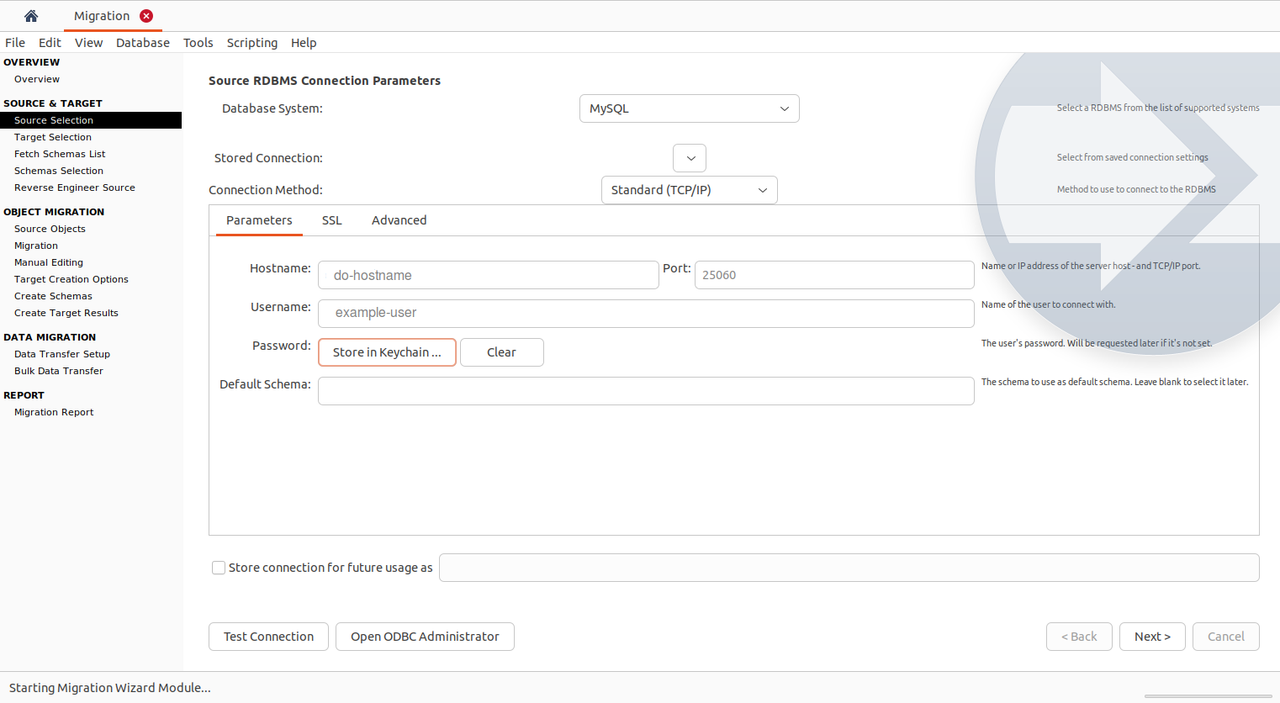
Within the connection parameters section:
- Enter your DigitalOcean Managed Databases for MySQL hostname in the Hostname field.
- Enter the database port, such as
25060in the Port field. - Enter the database administrator username in the Username field.
- Click Store in Keychain to enter the database password and click OK to save it.
- Click Next to save the MySQL connection information.
Set up the target database.
Specify the target Vultr Managed Databases for MySQL connection information.
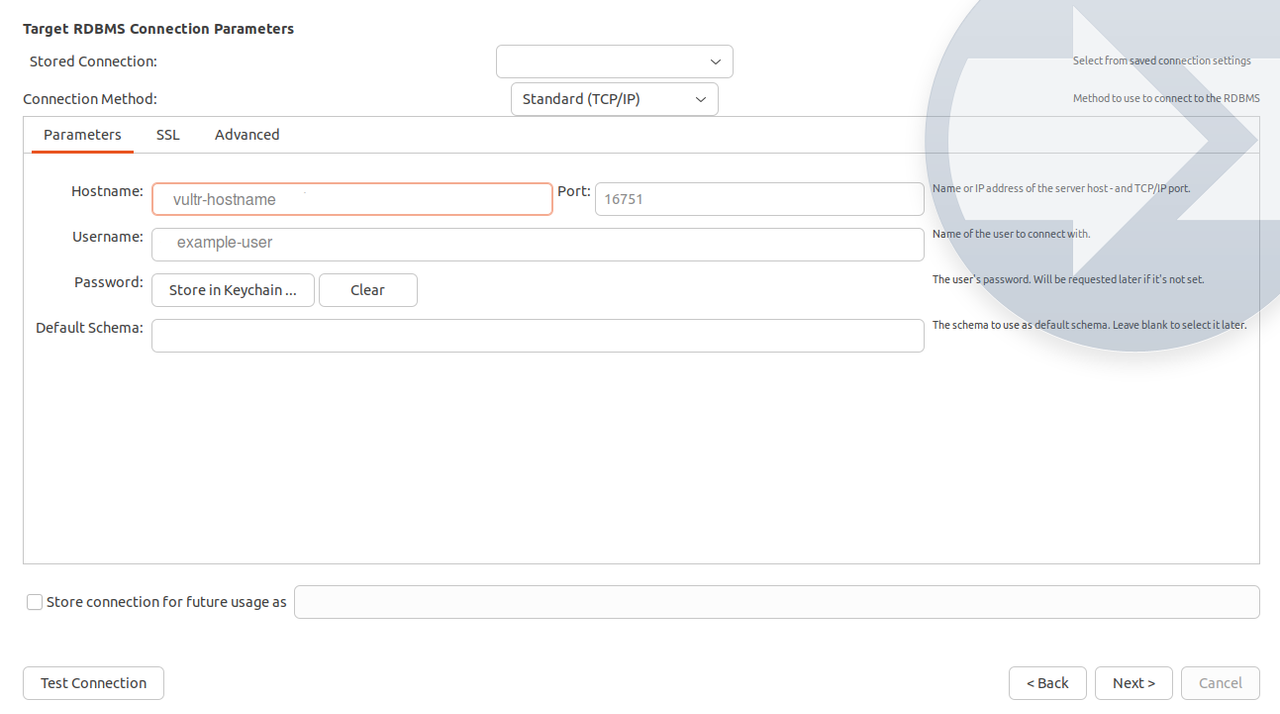
In the target database section, keep Standard (TCP/IP) as the connection method.
Keep
Standard (TCP/IP)as the connection method. Within the connection parameters section:- Enter your Vultr Managed Databases for MySQL hostname in the Hostname field.
- Enter the Vultr Managed Databases for MySQL port, such as
16751in the Port field. - Enter the Vultr database administrator username, such as
vultradminin the Username field. - Click Store in Keychain to enter the password and click OK to save it.
Click Next to test the connection between your source DigitalOcean Managed Databases for MySQL and the destination Vultr Managed Databases for MySQL cluster.
Verify that the connection is successful.
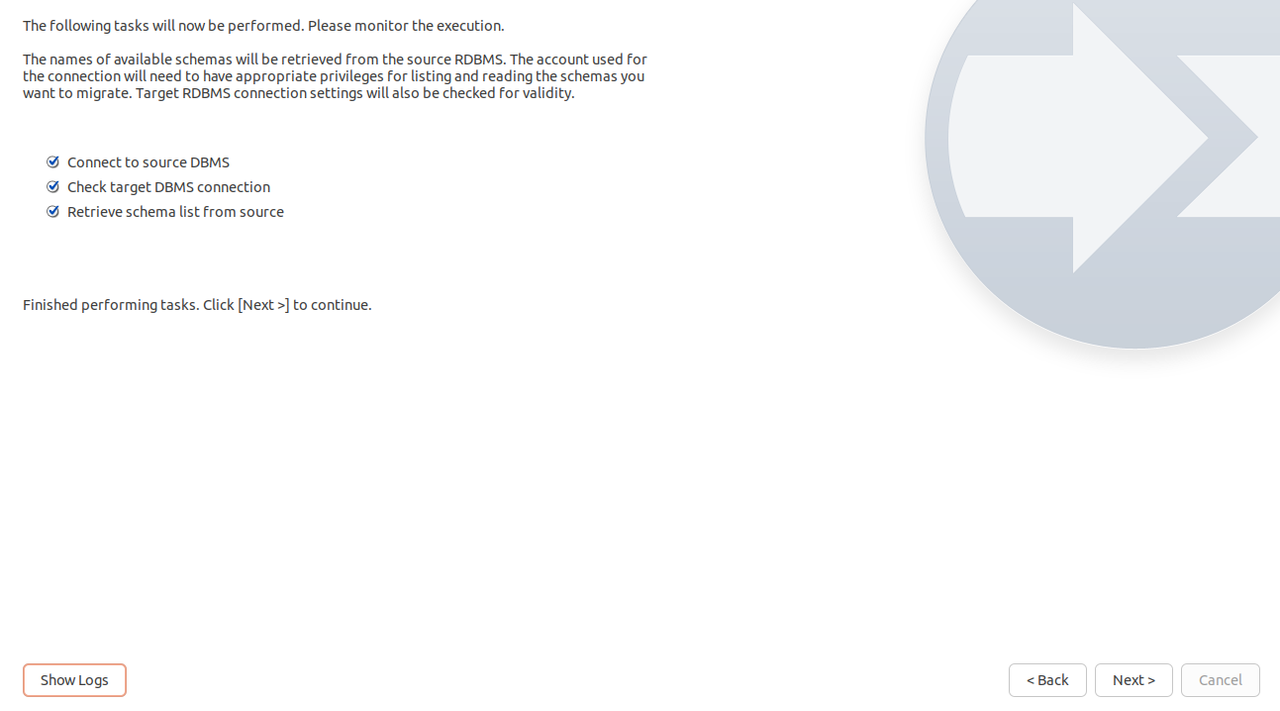
Click Next.
Select all databases to migrate from your source MySQL cluster, or click Select All to choose all available databases.
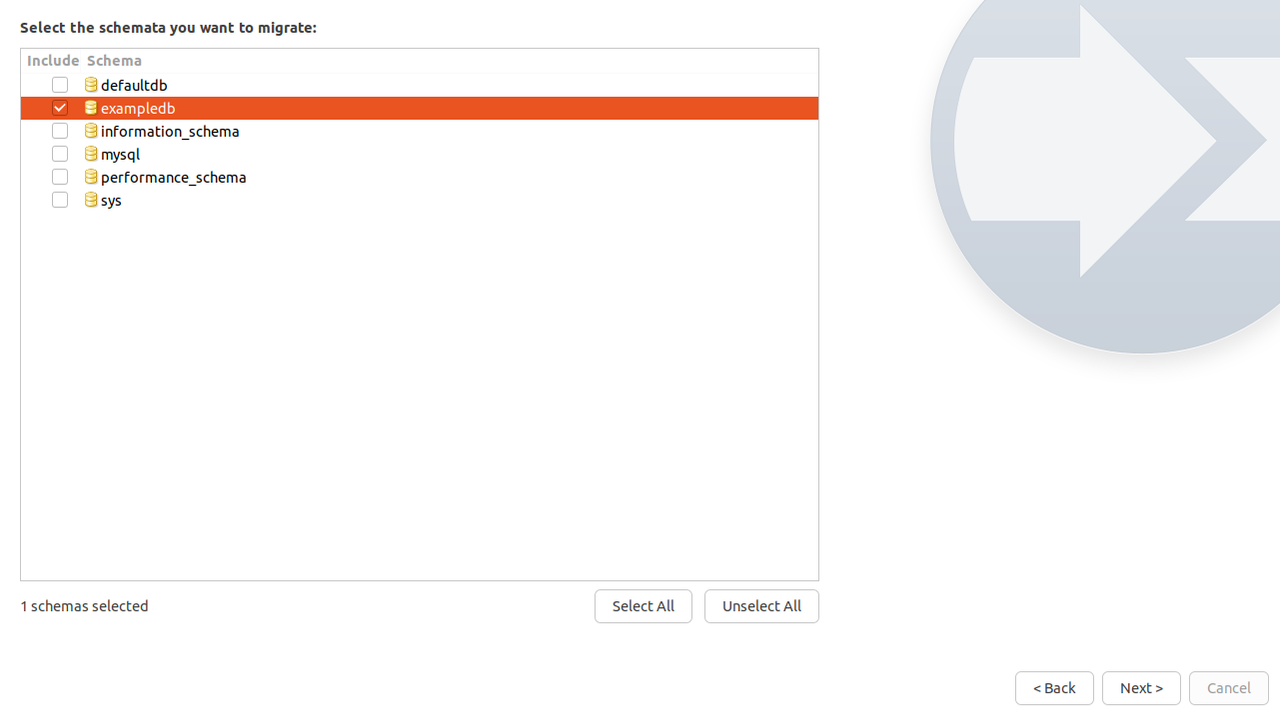
Click Next and prepare the database schema for migration.
Click Next and select the database objects to migrate.
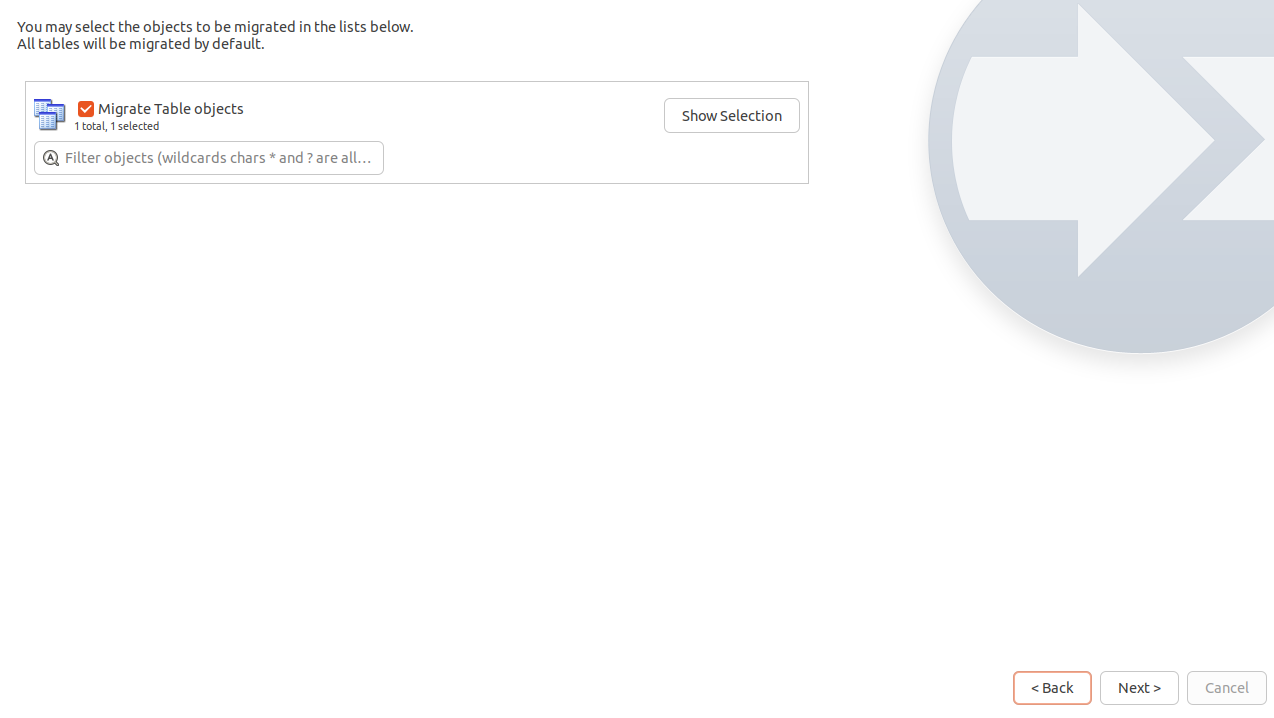
Select Migrate Table objects and click Next to prepare the objects for migration.
Click Next to review the migrated objects.
Review and verify that the objects migration is successful.
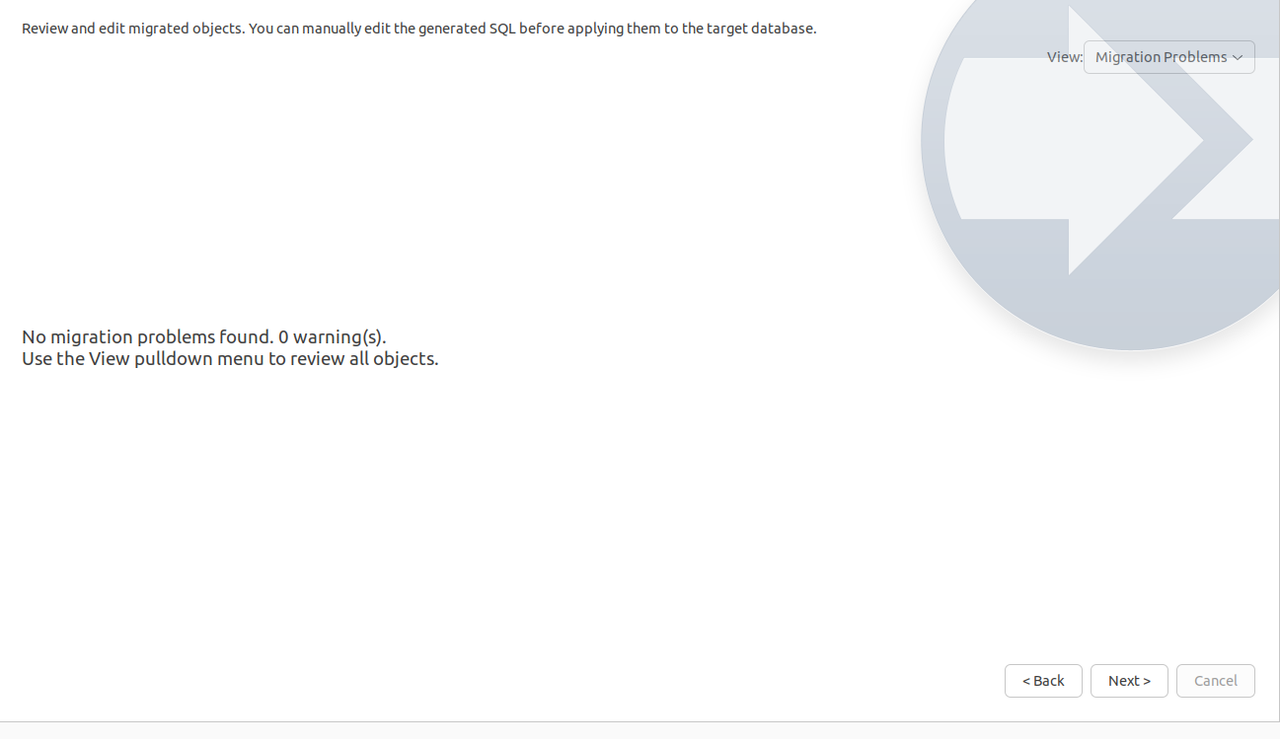
Click Next to proceed if no migration errors appear.
Create schema on the target server.
Keep Create schema in target RDBMS checked and check the Keep schemas if they already exist option.
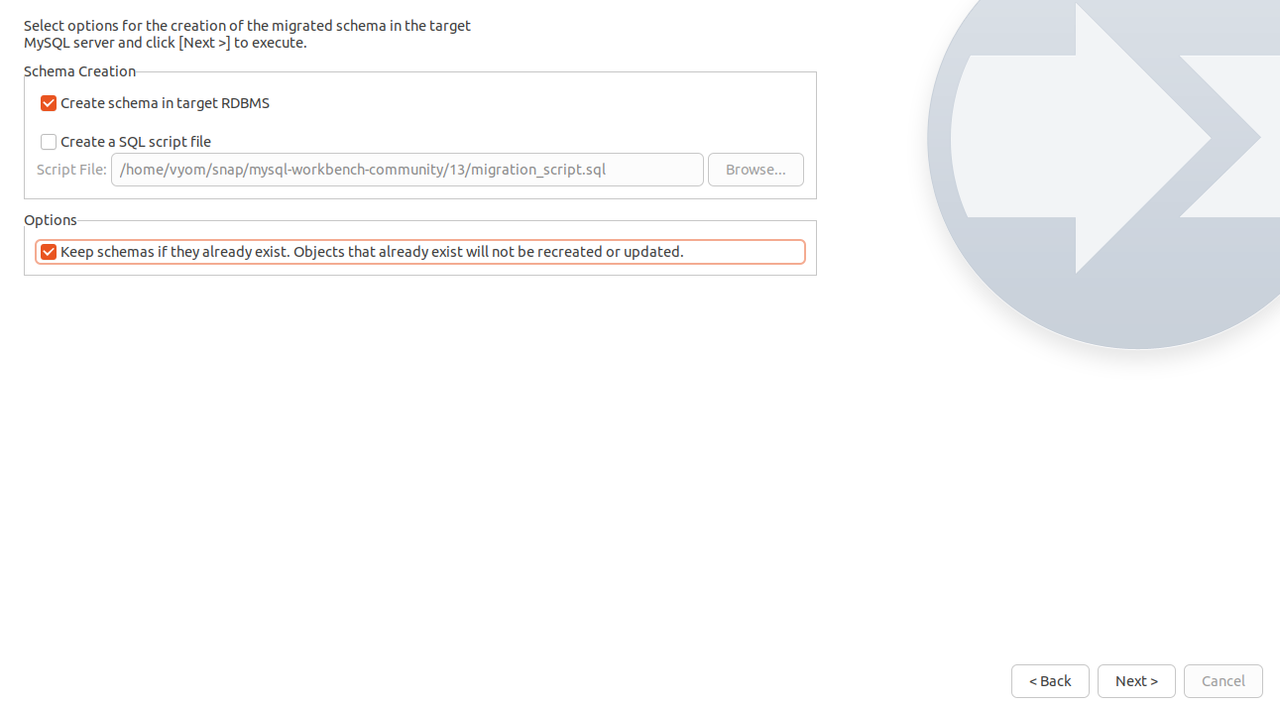
Click Next to start migrating your source DigitalOcean Managed Databases for MySQL to the Vultr Managed Databases for MySQL cluster.
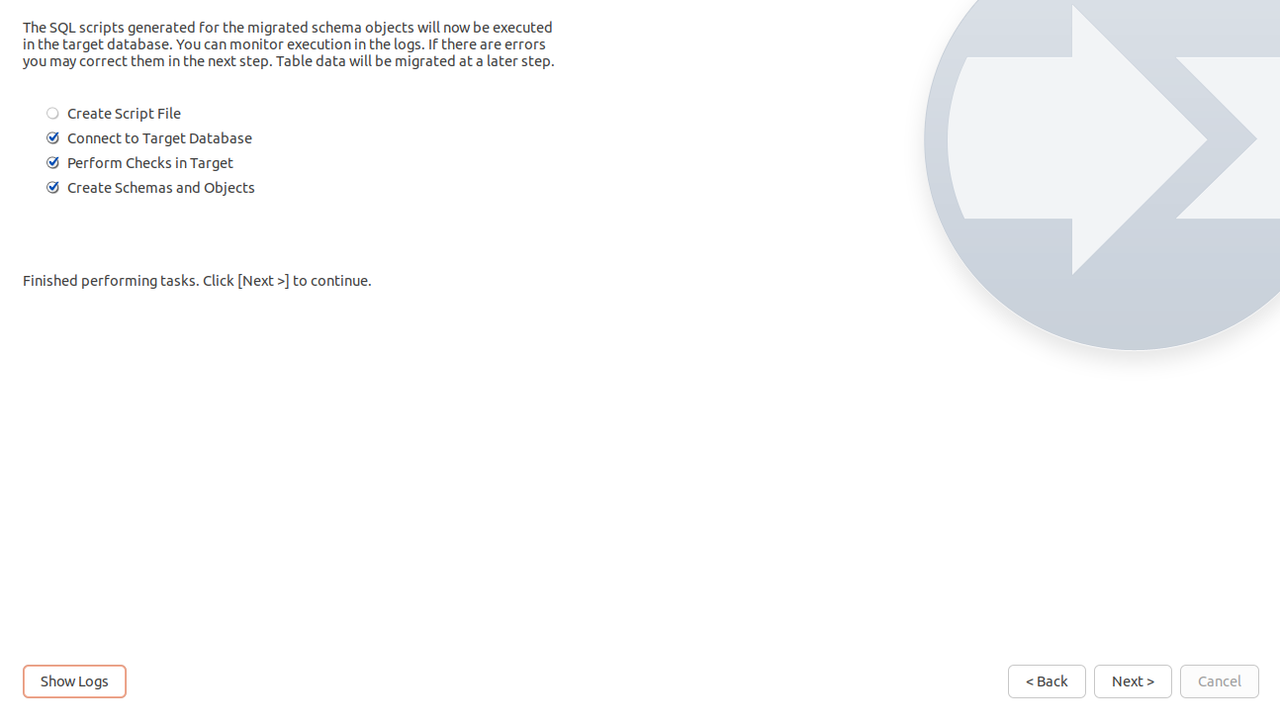
Click Next to review the database migration results when the migration is successful.
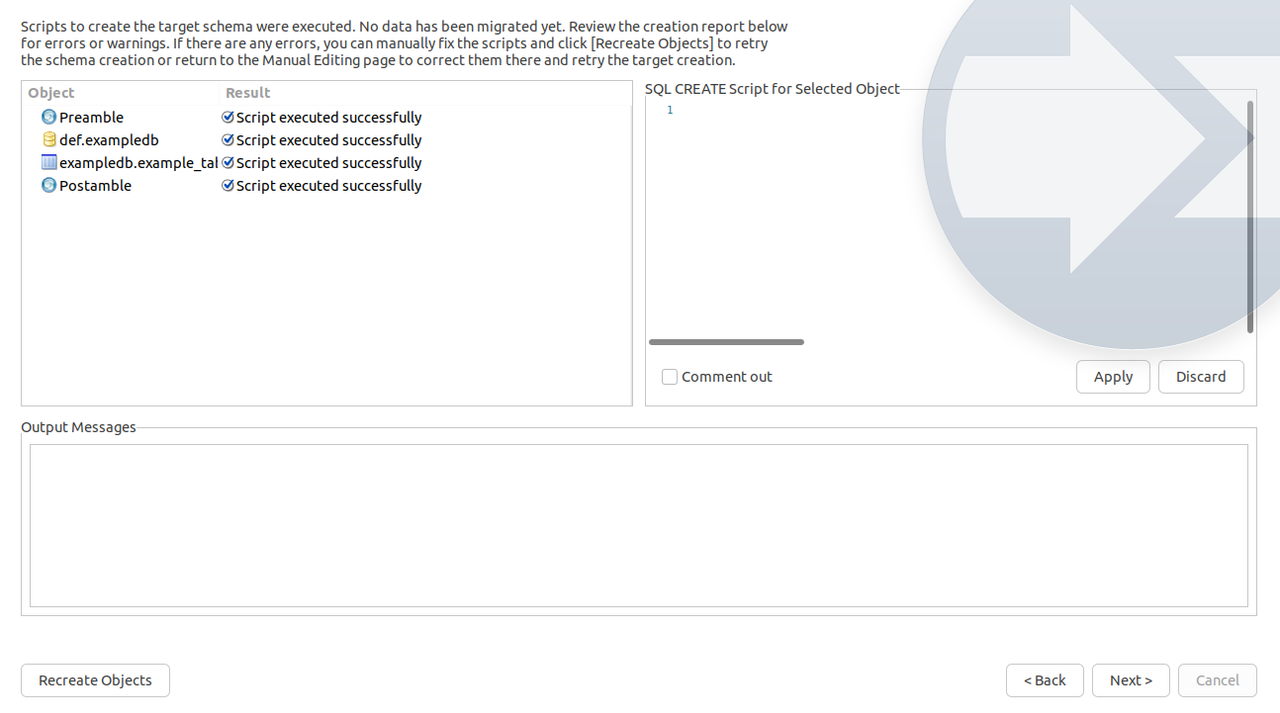
Verify that the schema creation report does not include any migration errors and click Next to set up the data transfer options.
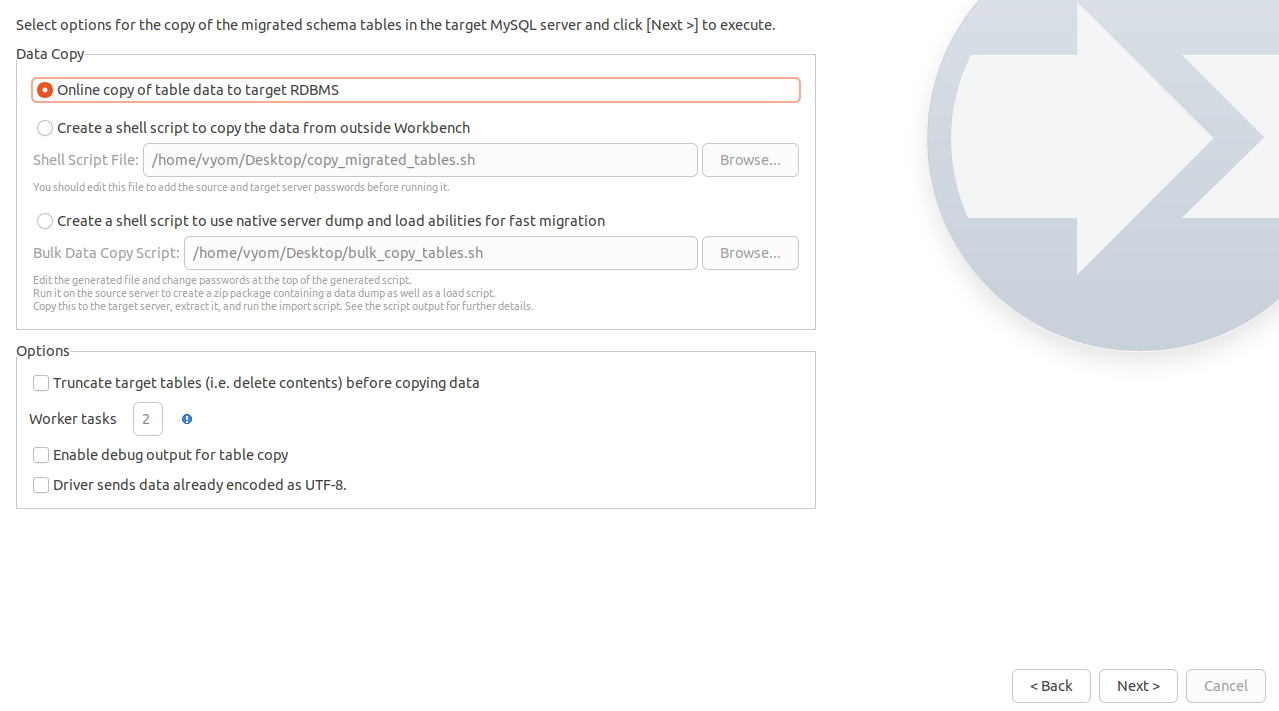
In the Data Copy section,
Keep Online copy of table data to target RDBMS selected and click Next to view the migration report.
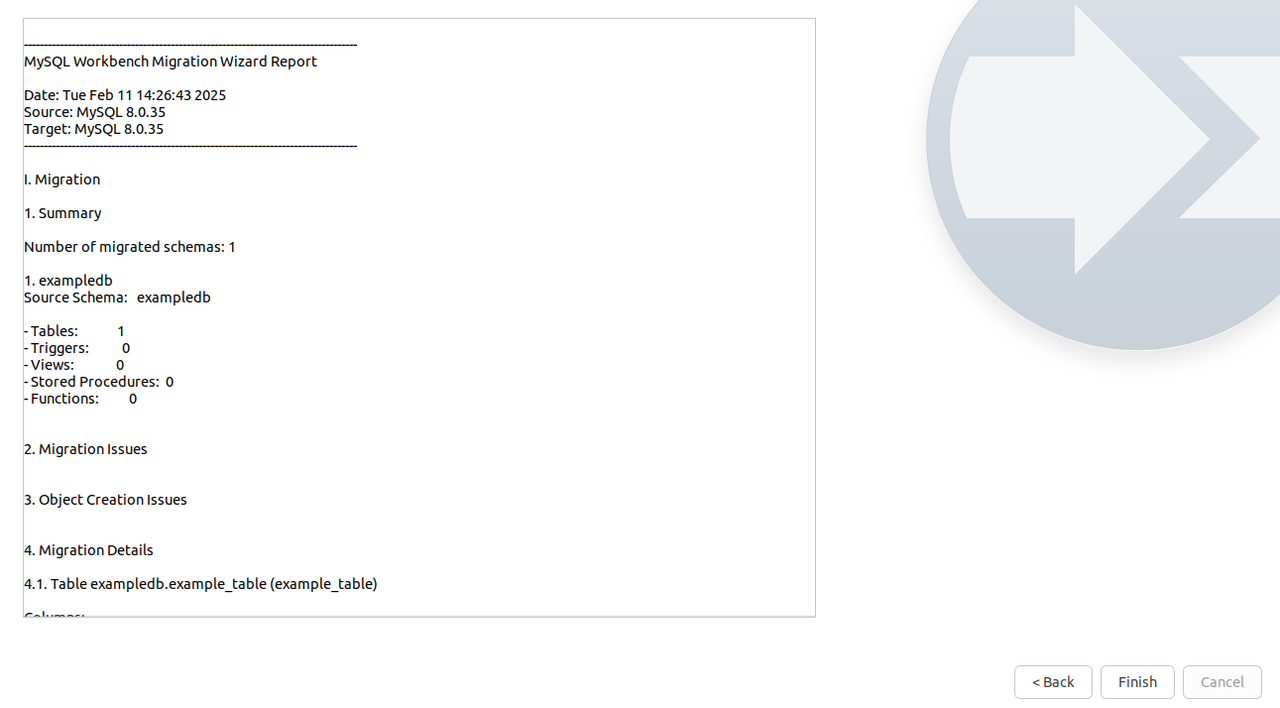
Click Finish to complete the migration.
You can use the MySQL client tool to import the source database files you exported earlier to the target database. Follow the steps below to migrate your source database to Vultr Managed Databases for MySQL using MySQL Dump.
Back up all databases in the source DigitalOcean Managed Databases for MySQL cluster to
migratetovultr.sql.console$ mysqldump --host=do-hostname --port=25060 --user=doadmin --password=example-password --all-databases > migratetovultr.sql
Restore the
migratetovultr.sqlbackup file to your Vultr Managed Databases for MySQL cluster.console$ mysql --host=vultr-hostname --port=16751 --user=example-user --password=example-password < migratetovultr.sql
Test the Vultr Managed Databases for MySQL
Follow the steps below to test the destination Vultr Managed Databases for MySQL when the migration is successful.
Log in to your Vultr Managed Databases for MySQL.
console$ mysql --host=vultr-hostname --port=16751 --user=example-user --password=example-password
List all available databases.
sqlmysql> SHOW DATABASES;
Verify that all migrated databases are available in your output, similar to the one below.
+--------------------+
| Database           |
+--------------------+
| defaultdb          |
| information_schema |
| mysql              |
| exampledb          |
| performance_schema |
| sys                |
+--------------------+
Switch to a migrated database such as
exampledb.sqlmysql> USE exampledb;
List all tables in the database.
sqlmysql> SHOW TABLES;
Your output should be similar to the one below.
+---------------------+
| Tables_in_exampledb |
+---------------------+
| example_table       |
+---------------------+
Verify that the table data matches your source database.
sqlmysql> SELECT * FROM example_table;
Your output should be similar to the one below.
+----+---------+-----+---------------------+
| id | name    | age | created_at          |
+----+---------+-----+---------------------+
|  1 | Alice   |  25 | 2025-02-11 08:22:27 |
|  2 | Bob     |  30 | 2025-02-11 08:22:27 |
|  3 | Charlie |  28 | 2025-02-11 08:22:27 |
+----+---------+-----+---------------------+
Exit the MySQL console.
sqlmysql> EXIT;
Cutover to Vultr Managed Databases for MySQL
After verifying that the migration is successful, follow the recommendations below to cutover to Vultr Managed Databases for MySQL.
- Update your application's database connection settings to point to the Vultr Managed Database.
- Restart your application and monitor it for connection errors or database performance issues after the cutover.
- Verify that all data in your source DigitalOcean Managed Databases for MySQL matches your destination Vultr Managed Databases for MySQL, and decommission the database cluster to avoid any additional charges.
Conclusion
You have migrated from DigitalOcean Managed Databases for MySQL to Vultr Managed Databases for MySQL. You can use multiple migration methods to transfer databases to your destination Vultr Managed Databases for MySQL cluster and cutover your existing applications when ready. Vultr Managed Databases for MySQL are scalable and support additional features you can integrate to improve your database performance. Visit the Vultr Managed Databases for MySQL documentation for more information.