
How to Migrate MySQL from AWS to a Vultr Managed Database
Introduction
This guide explains how you can migrate your AWS Cloud Database to Vultr with minimal downtime to the source database applications. Vultr's Managed Databases for MySQL offer reduced costs, easy management and backups, scheduled updates, quick scaling, straightforward monitoring, and automated failover to replica nodes in case of database failures.
You can migrate your source RDS or Aurora MySQL database to a Vultr Managed Database for MySQL with the mysqldump command line tool or MySQL Workbench for a graphical migration process.
Prerequisites
Before your start, make sure you:
- Verify that your source AWS Cloud Database accepts connections from any source
0.0.0.0/0. - Deploy a fresh Vultr Managed Database for MySQL with the same size as your AWS database.
Migrate with mysqldump
mysqldump is a database backup program pre-installed with the MySQL client. To successfully export your source database for migration, mysqldump uses the following syntax.
$ mysqldump -h [remotehost] -u [username] -p [database-name] > [backup file name]Open a new terminal window, and verify that mysqldump is available on your computer with the following command.
$ mysqldump --versionYour output should look like the one below.
mysqldump Ver 8.0.31-0ubuntu0.22.04.1 for Linux on x86_64 ((Ubuntu))Export your source database to a single file. Replace
examplewith your actual source database details.$ mysqldump -h example.amazonaws.com -u example_user -p exampledb > migratetovultr.sqlEnter your password when prompted.
To export all databases, add the
--all-databasesflag instead of your database name after the password prompt-p.When complete, verify that the file exists in your working directory.
Linux/macOS terminal:
$ lsWindows PowerShell:
> dir *If you are importing a single database, log in to your Vultr MySQL database.
$ mysql -h vultr-prod.vultrdb.com -u example-user -pEnter your password when prompted.
Create the target database with the same name as your source database.
mysql> CREATE DATABASE example-db;Exit the console.
mysql> EXITImport the source database file to your Vultr Managed Database for MySQL.
$ mysql -h vultr-prod.vultrdb.com -u example-user -p < migratetovultr.sqlEnter your password when prompted.
For more information on mysqldump, visit the official documentation.
Migrate with MySQL Workbench
- Download and Install MySQL Workbench on your computer.
Depending on your source database size and internet connection, it's recommended to deploy a temporary Windows Server on Vultr, install MySQL Workbench, and use it to migrate your database with a reliable connection.
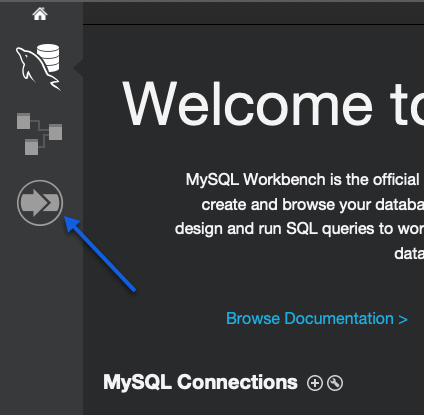
Open the MySQL Workbench application.
Click the Migration button on the left navigation bar in the main Application window.
At the bottom of the Overview section, click Start Migration.
In the Source & Target section, keep MySQL selected as the Database System and
Standard (TCP/IP)as the connection method.Within the Parameters section, enter your source database host in the Hostname: field.
Enter the database port in the Port section, by default, MySQL port
3306.In the Username field, enter the database administrator username, then click Store in keychain to enter the database user password. Click OK to close the popup window.
Click Next to save your source database settings.
On the Target selection step, keep Standard (TCP/IP) as the connection method.
Enter your Vultr database hostname in the Hostname: field.
Fill in your Vultr database port in the Port: field.
Enter the Vultr database administrator username, then click Store in Keychain to paste the Vultr database user password. Click OK to close the popup window.
Click Next to test the connection between your source database and the target Vultr database.
When the fetch schema and connection test tasks are successful, click Next to proceed.
Select all databases (schemata) you intend to migrate. To choose all, click the select all button in the bottom right corner.
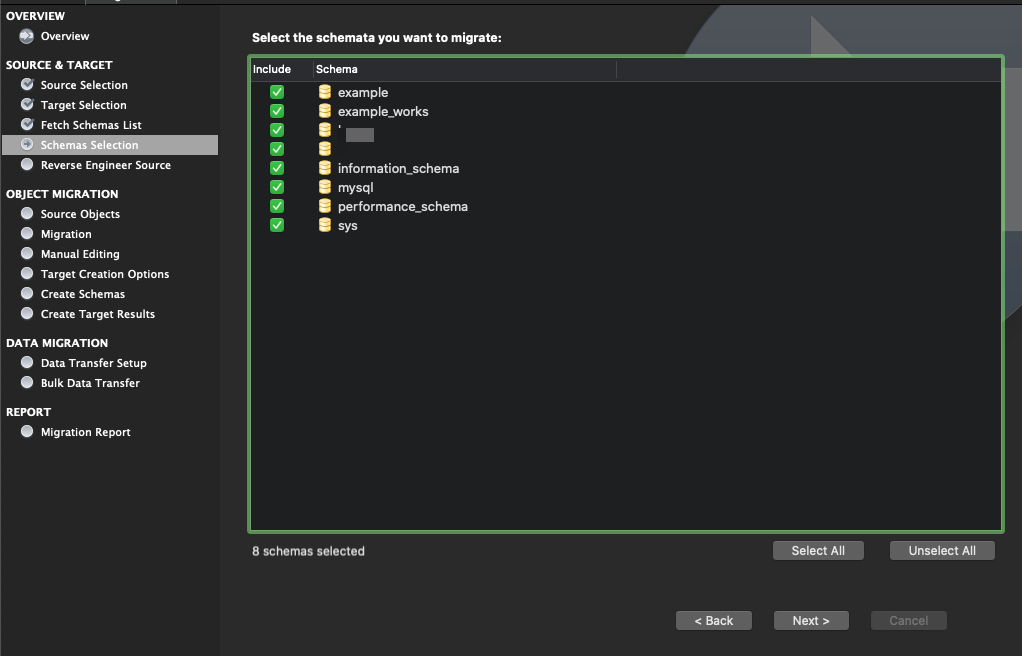
Click Next to start reverse engineering the selected database schema so that it matches the target Vultr database structure.
In the Object Migration section, keep all
Table,View, andRoutineobjects selected.Click Next to prepare objects from the source database.
When the object conversion is successful, click Next to proceed to the Manual Editing step.
If no migration errors display, click Next to proceed to the Target creation options step.
Keep Create schema in target RDMS checked. In the Options section, check the
Keep schemas if they already existoption, then click Next to start migrating your source database to the target Vultr database.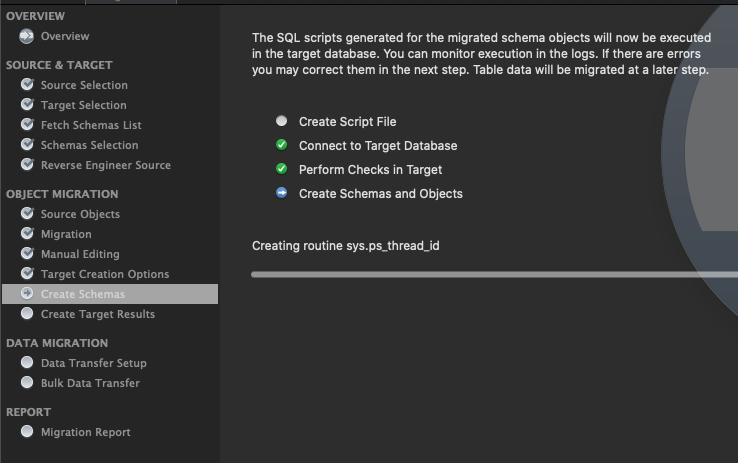
If you receive an
existing tablesprompt, click Yes to proceed. If you receive aThe schemas SYS, INFORMATION_SCHEMA, PERFORMANCE_SCHEMA, MYSQL will be dropped in the target MySQL Serverwarning, click Back and check the Keep schemas if they already exist option, or navigate back to the Schema selection step, and deselectsys,information_schema,performance_schema,mysqldatabases to avoid any database write warning errors.When successful, click Next to review the database migration results.
Verify that the schema creation report is successful, then click Next to set up data transfer options.
In the Data copy section, keep Online copy of table data to target RDBMS selected, then click Next to view the migration report.
Click Finish to complete the migration process.
Test the MySQL Migration
Using the MySQL client, log in to your Vultr database.
$ mysql -h vultr-prod.vultrdb.com -u example-user -pShow available databases.
mysql> SHOW DATABASES;Switch to your imported database.
mysql> USE exampledb;Display database tables.
mysql> SHOW TABLES;Select columns from any of the tables to verify that all data matches your source database.
mysql> SELECT * FROM example-table;Exit the MySQL shell.
mysql> EXIT
Update Applications
Depending on the applications using your source database, cut over requests to your new database by editing the application's configuration files. For example, if you migrated from an RDS MySQL database and have active WordPress installations using the database, follow the instructions below.
Switch to the WordPress application files directory.
$ cd /var/www/html/Make a copy of the
wp-config.phpfile.$ sudo cp wp-config.php wp-config.ORIGEdit the
wp-config.phpfile.$ sudo nano wp-config.phpFind the following section, and replace the values to represent your Vultr MySQL database as below.
  /** The name of the database for WordPress */
  define('DB_NAME', 'exampledb');

  /** MySQL database username */
  define('DB_USER', 'example-user');

  /** MySQL database password */
  define('DB_PASSWORD', 'example-pass');

  /** MySQL hostname */
  define( 'DB_HOST', 'vultr-prod.vultrdb.com' );
Save and close the file.
Restart your Web server for changes to take effect.
  $ sudo systemctl restart apache2

  $ sudo systemctl restart nginx
For any other applications running on platforms such as NodeJS, Python, and PHP, please refer to their official documentation on how to edit your database connection settings.
Conclusion
In this article, you have migrated an AWS MySQL database to a Vultr Managed Database. Depending on your database size, you can choose between the command line or graphical tools to safely migrate your database with no downtime to the applications using your database. For each migrated database, you can access logs and available databases through the Vultr Console. For more information about Vultr Managed Databases for MySQL, see the Reference Guide