
How to Set Up Automatic Backups with Rclone and Vultr Object Storage
Introduction
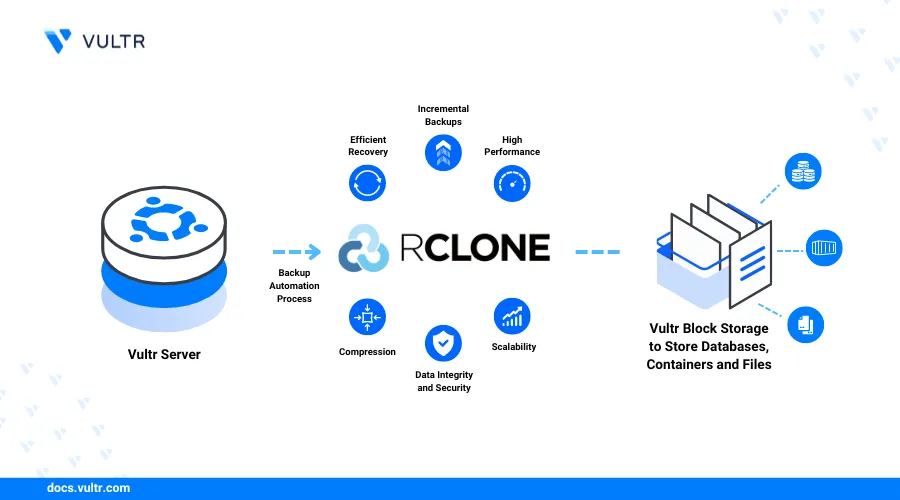
Rclone is an open-source command-line utility for managing files across different cloud storage services. The utility supports over 70 cloud storage products including Vultr Object Storage and is written in the modern Go programming language.
You can use Rclone to sync files between a Vultr Cloud Compute instance and a remote cloud storage service. This approach is ideal for backup solutions because Rclone's feature-rich customizable options allow you to automate the process.
This guide walks you through setting up automatic backups with Rclone and Vultr Object Storage on Ubuntu 24.04.
Prerequisites
Before you begin:
- Deploy Ubuntu 24.04 Cloud Compute Instance.
- SSH to the Cloud Compute instance.
- Create a non-root
sudouser account and switch to the account. - Update the Cloud Compute instance.
- Create a non-root
- Deploy a Vultr Object Storage and copy the S3 credentials.
Install and Configure Rclone
The Rclone developer community maintains an automatic shell script to streamline installing Rclone across different operating systems. After installing Rclone, the config command allows you to set up a remote repository for your backup.
Install Rclone
Install Rclone using the script:
Download the script using the Linux
curlcommand and execute the script using thebashcommand.console$ sudo -v ; curl https://rclone.org/install.sh | sudo bash
Check the version to ensure you've successfully installed Rclone.
console$ rclone version
Output.
- os/version: ubuntu 24.04 (64 bit)
- os/kernel: 6.8.0-31-generic (x86_64)
- os/type: linux
- os/arch: amd64
- go/version: go1.22.1
- go/linking: static
- go/tags: none
Configure Rclone
Rclone keeps the configuration file under your home directory. Locate the file and customize the configurations:
Run the following command to view the default Rclone configuration file location.
console$ rclone config file
Output.
Configuration file doesn't exist, but rclone will use this path:
/home/$USER/.config/rclone/rclone.conf
Copy the above path and open the file with a text editor like Nano.
console$ sudo nano /home/$USER/.config/rclone/rclone.conf
Enter the following configuration information into the file. Replace
your_access_key_id,your_secret_key_id, andyour_endpointwith the correct Vultr Object Storage S3 credentials. Empty values instruct Rclone to run with the default settings.[s3-storage] type = s3 provider = Other env_auth = false access_key_id = your_access_key_id secret_access_key = your_secret_key_id region = endpoint = your_endpoint location_constraint = acl = private server_side_encryption = storage_class =Save and close the file.
The above configuration file contains the following settings:
[s3-storage]: Defines the beginning of a configuration file section and sets a name for the remote storage path.type: Defines a provider type. For instance,s3.provider: Specifies the S3 provider.Otherdefines any S3 compatible provider not defined on the Rclone website.env_auth: Retrieves S3 access credentials from Linux environment variables. This only applies if you've not set theaccess_key_idandsecret_access_key.access_key_id: Defines the S3 Access Key.secret_access_key: Defines the S3 Secret Key.region: Specifies a region to connect to. Leave blank for S3 clone.endpoint: Defines an S3 hostname or API endpoint. For instance,sjc1.vultrobjects.com.location_constraint: Specifies a region when creating a bucket. Leave blank for S3 clones.acl: Sets grants and permissions. APRIVATEvalue means the Object storage owner gets full control and no one else has access rights.By default, Vultr sets Object Storage instancesNoteaclsetting toPRIVATE.server_side_encryption: Specifies the data encryption standard or algorithm for file storage.storage_class: Sets a storage class depending on performance, durability, and cost.
Ensure the Rclone configuration file is active.
console$ rclone config file
Output.
Configuration file is stored at:
/home/$USER/.config/rclone/rclone.conf
Try retrieving the S3 storage bucket name to check if Rclone successfully connects to the Vultr Object Storage.
console$ rclone lsd s3-storage:
Output:
-1 2024-05-27 10:43:58 -1 your-s3-bucket
Run Rclone Manual Backups
Rclone provides two powerful commands for running backups:
rclone copy: This command copies files from a source location to the defined location. The command skips the already copied files allowing you to run incremental backups.console$ rclone copy source destination
rclone sync: This command synchronizes the source and destination locations. The command modifies the destination location only.console$ rclone sync source destination
If you delete a file in the source location and run theNotesynccommand, Rclone also deletes the file in the remote destination. Therefore, to avoid accidentally deleting your backups, use thecopycommand. For best results, always follow the 321 backup rule to ensure data redundancy, diversity, and geographic separation:- Always keep three 3 of your critical data.
- Store the data copies on 2 different media.
- Keep 1 copy of your data offsite.
To run a manual backup and copy files to the S3 Object Storage using the copycommand, follow the steps below:
Create a new
projectdirectory under your home directory. In a production environment, you may skip this step and select an existing directory that you want to back up.console$ mkdir ~/project
Switch to the new
~/projectdirectory.console$ cd ~/project
Create two sample text files under the directory.
console$ touch test1.txt $ touch test2.txt
Use the Rclone
copycommand to upload the two files to the Object Storage. Replaceyour-s3-bucketwith the correct Vultr Object Storage bucket name.console$ rclone copy ~/project s3-storage:your-s3-bucket/project
List all files in the S3 storage.
console$ rclone ls s3-storage:
Output.
0 your-s3-bucket/project/test1.txt
0 your-s3-bucket/project/test2.txt
Check the size of the files.
console$ rclone size s3-storage:
Output:
Total objects: 2
Total size: 0 B (0 Byte)
Modify the
test1.txtfile.console$ nano test1.txt
Enter the following dummy content.
Lorem Ipsum is simply dummy text of the printing and typesetting industry.Save and close the file.
Sync the new changes using the Rclone
copycommand.console$ rclone copy ~/project s3-storage:my-s3-bucket/project
Check the remote S3 storage size.
console$ rclone size s3-storage:
Output:
Total objects: 2
Total size: 75 B (75 Byte)
From the above output, it's clear that the backup works.
Run Rclone Automatic Backups with Cron Jobs
Backups work well when run automatically because you might forget to run manual backups regularly. In this section, set up automatic Rclone backups using Linux Cron jobs.
Open the
crontabconfiguration file.console$ sudo nano /etc/crontab
The following settings detail the basic configurations you should make to schedule a Cron Job that runs at a specific time.
.---------------- minute (0 - 59)
|  .------------- hour (0 - 23)
|  |  .---------- day of month (1 - 31)
|  |  |  .------- month (1 - 12) OR jan,feb,mar,apr ...
|  |  |  |  .---- day of week (0 - 6) (Sunday=0 or 7) OR sun,mon,tue,wed,thu,fri,sat
|  |  |  |  |
*  *  *  *  * user-name command to be executed
Linux Cron job provides flexible timings that you can use. Here are some ideal settings for backups.
* * * * * your_user_name rclone command: Runs every minute.0 0 * * * your_user_name rclone command: Runs every day at midnight.0 0 * * 0 your_user_name rclone command: Runs every Sunday at midnight.0 0 1 * * your_user_name rclone command: Runs every first day of the month at midnight.
Refer to the guide on How to Use the Cron Task Scheduler to learn more about customizing the Cron job timings.
Set a Cron Job that runs every minute by adding the following configuration information to the end of the
/etc/crontabfile. Replaceyour_user_namewith your correct Linux username andyour-s3-bucketwith the correct Vultr Object Storage bucket name.* * * * * your_user_name /usr/bin/rclone copy ~/project s3-storage:your-s3-bucket/projectSave and close the file.
Add a new file to the local
~/projectdirectory.console$ touch ~/project/test3.txt
Watch the
crontablog file continuously using the Linuxtailandgrepcommands.console$ sudo tail -f /var/log/syslog | grep CRON
Output:
May 28 07:17:01...CMD (/usr/bin/rclone copy ~/project s3-storage:your-s3-bucket/project)
May 28 07:18:01 ... CMD (/usr/bin/rclone copy ~/project s3-storage:your-s3-bucket/project)
Press Ctrl + C to exit the previous command. Then, list the S3 storage files after the cron Job runs at least once.
console$ rclone ls s3-storage:
Output.
75 your-s3-bucket/project/test1.txt
0 your-s3-bucket/project/test2.txt
0 your-s3-bucket/project/test3.txt
The Cron Job is now running as expected and Rclone successfully uploaded the new
test3.txtto the S3 storage.
Restore Backups
You can restore backups from the remote S3 storage to your Cloud Compute instance in case you accidentally delete files. Use the following syntax.
$ rclone copy remote_s3_storage local_storage
You can directly restore the backup files to the original source directory or download them to a temporary directory for review.
Delete the original files from the local storage.
console$ rm ~/project/test1.txt ~/project/test2.txt ~/project/test3.txt
Ensure the local storage directory is empty.
console$ ls -ls ~/project
Output
total 0Run the following Rclone
copycommand to download the files from the S3 storage to the local directory. Replaceyour-s3-bucketwith the correct Vultr Object Storage bucket name.console$ rclone copy s3-storage:your-s3-bucket/project ~/project
Review the content of the local storage directory.
console$ ls -ls ~/project
Output
4 -rw-rw-r-- 1 ... 75 May 27 11:18 test1.txt
0 -rw-rw-r-- 1 ...  0 May 27 11:09 test2.txt
0 -rw-rw-r-- 1 ...  0 May 27 11:43 test3.txt
Conclusion
This guide took you through setting up automatic backups with Rclone and Vultr Object Storage. You have installed and configured Rclone in a Vultr Cloud Compute instance. Then, you have used the Rclone copy command to run manual backups. In the end, you have automated backups using the Linux crontab Jobs and restored backup files.