
How to Take a Snapshot and Redeploy a Vultr Compute Instance
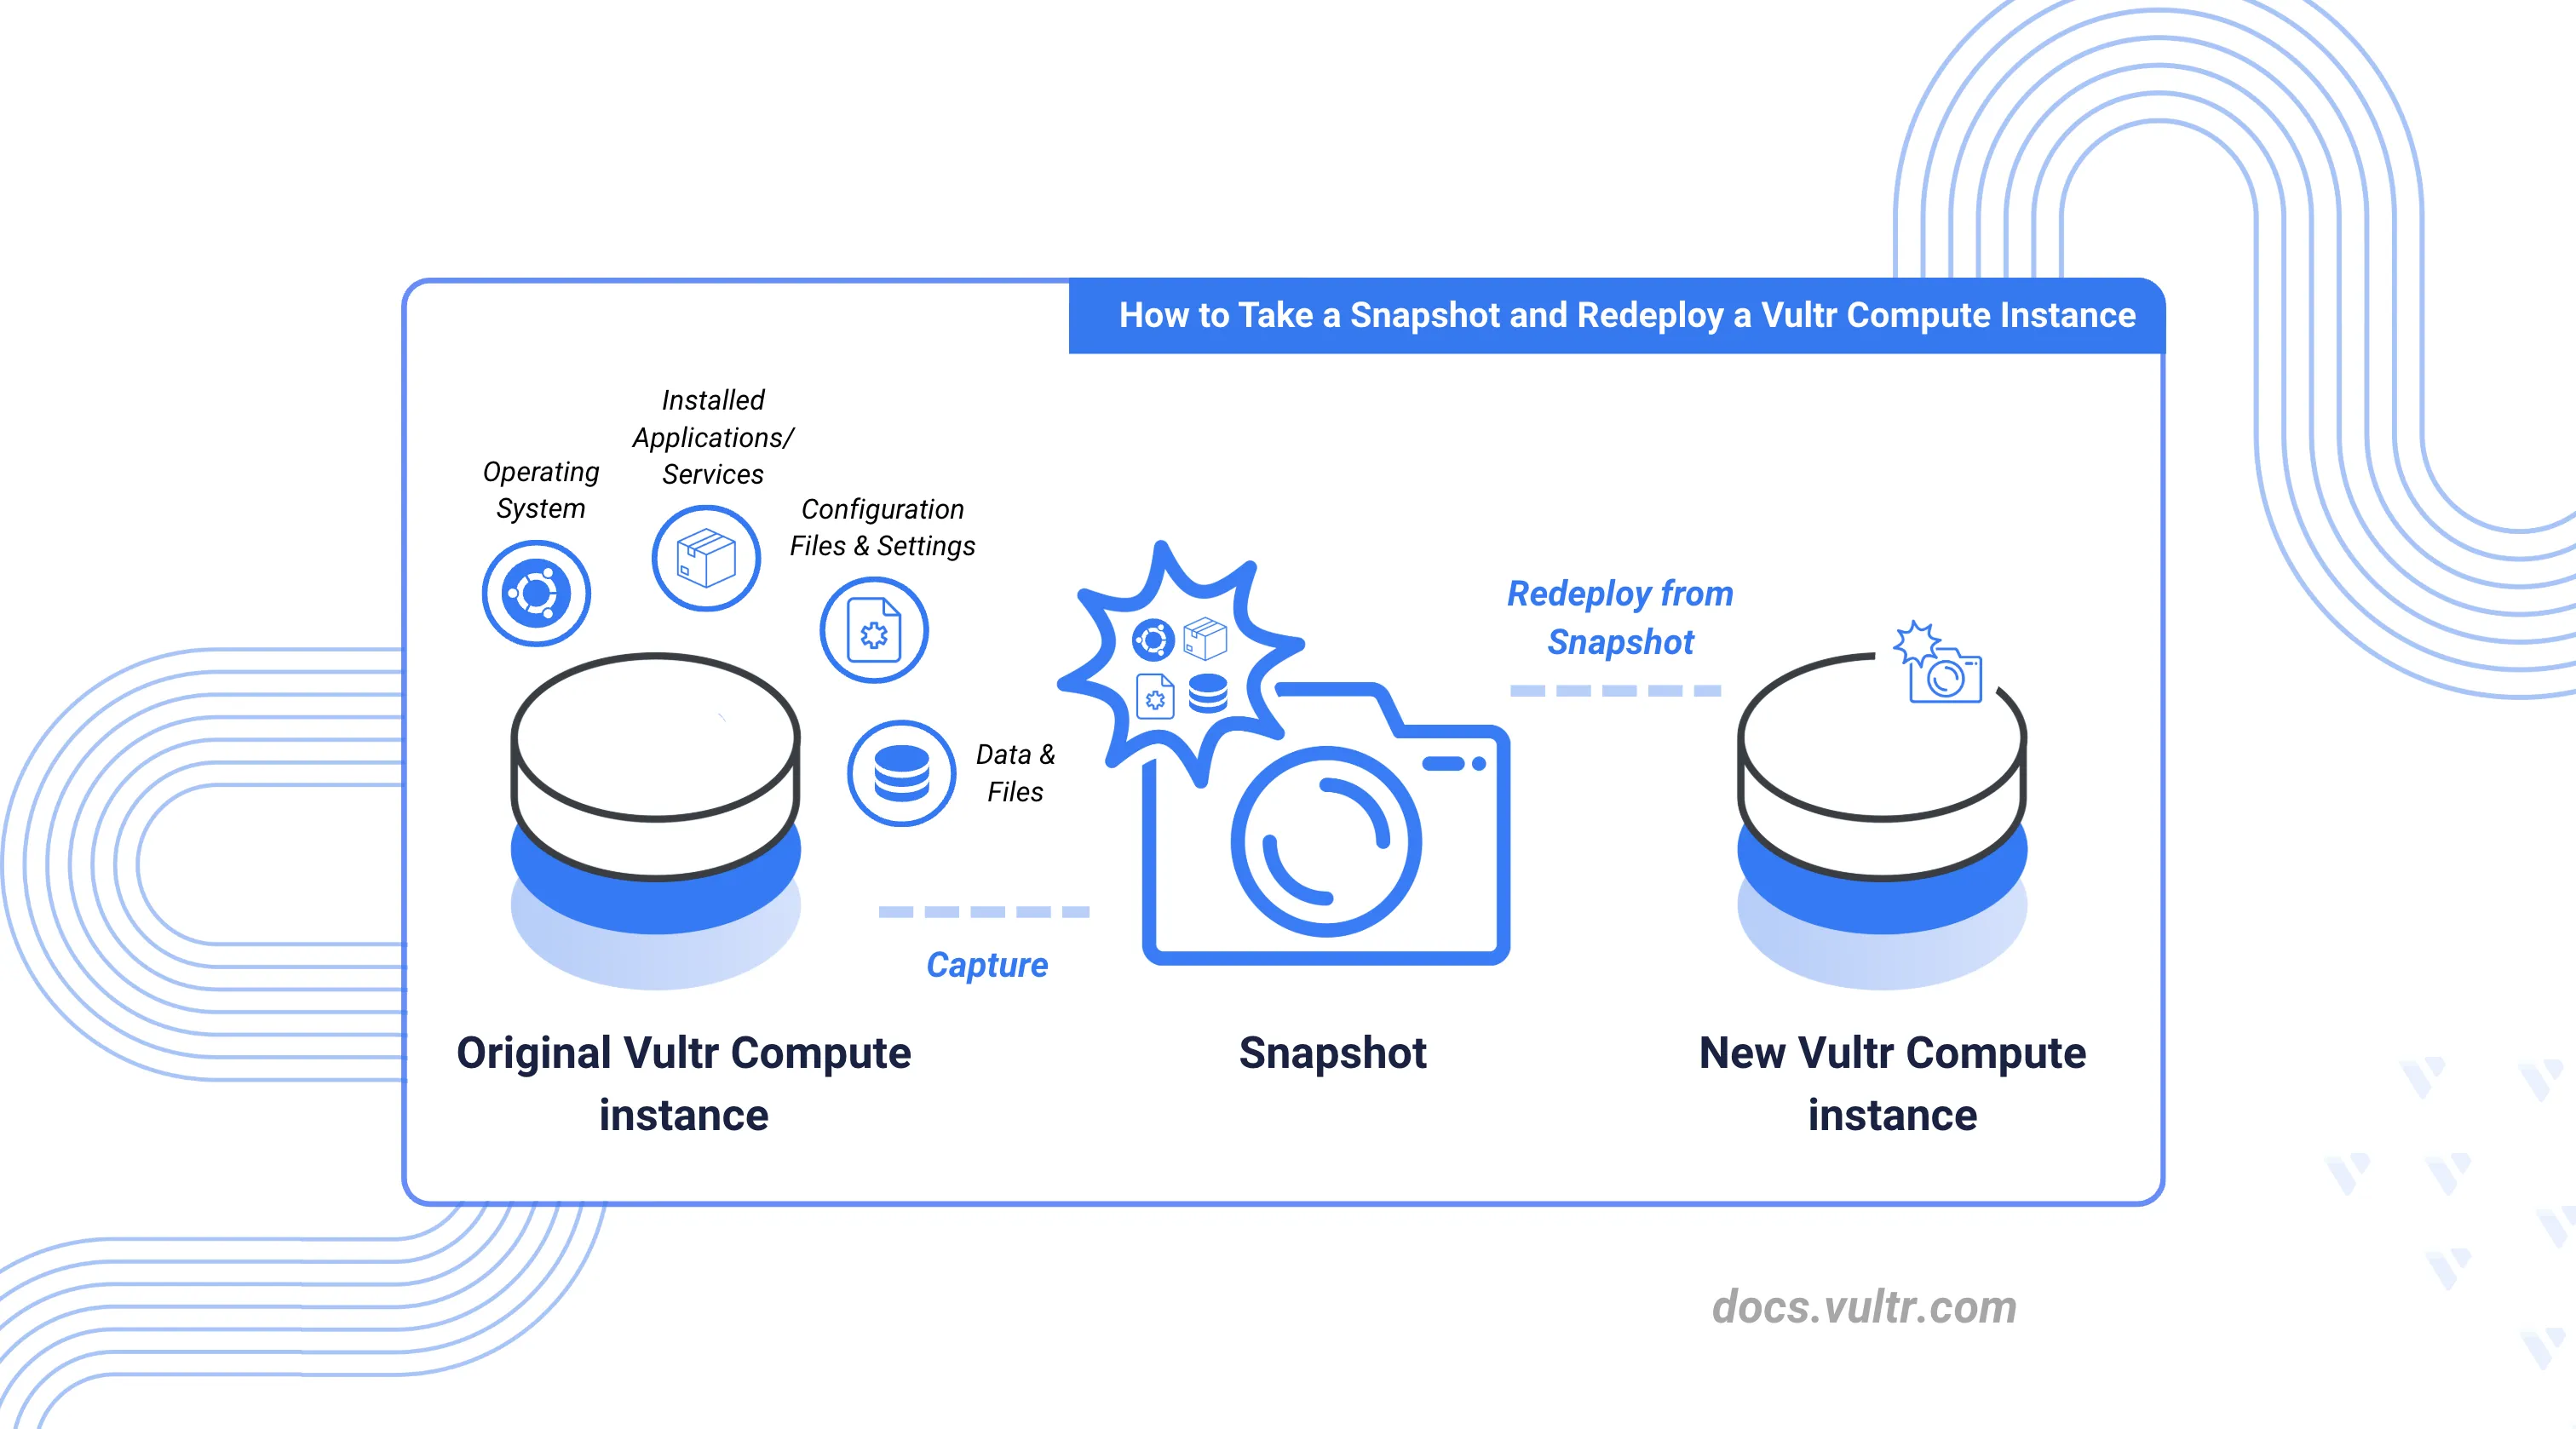
When a Vultr Compute instance experiences issues such as operating system corruption, failed updates, misconfigurations, or boot failures that cannot be resolved through standard troubleshooting, or when you need to perform migration, scaling, or testing, taking a snapshot and redeploying the instance provides a reliable way to restore functionality while preserving data.
This guide explains how to take a snapshot of a Vultr Compute instance and redeploy it, enabling a controlled recovery or migration process.
Prerequisites
Before you begin, you need to:
- Have a Vultr account with active billing.
- Run at least one active Vultr Compute instance.
- Have access to the Vultr Console, Vultr API with a valid API key, or Vultr CLI installed and configured.
Creating a Snapshot of a Vultr Compute Instance
A Snapshot is a point-in-time copy of the instance’s disk, including all files, system configurations, and settings. Follow the steps below to create a snapshot using the Vultr Console, API, or CLI.
Using Vultr Console
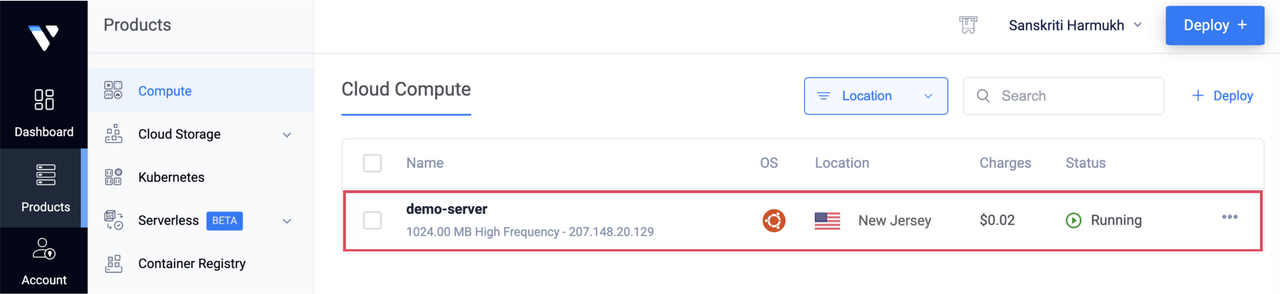
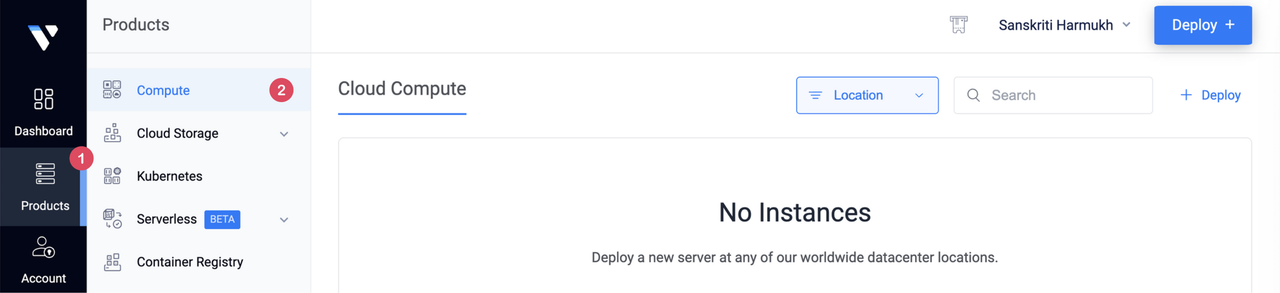
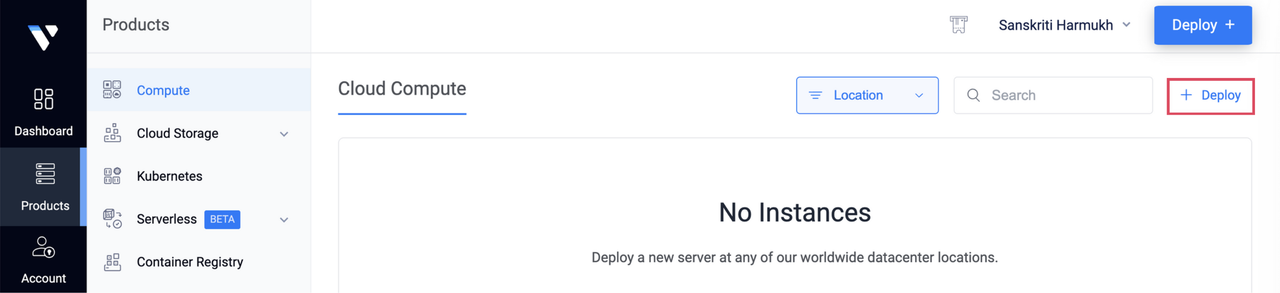
Navigate to Products and select Compute.
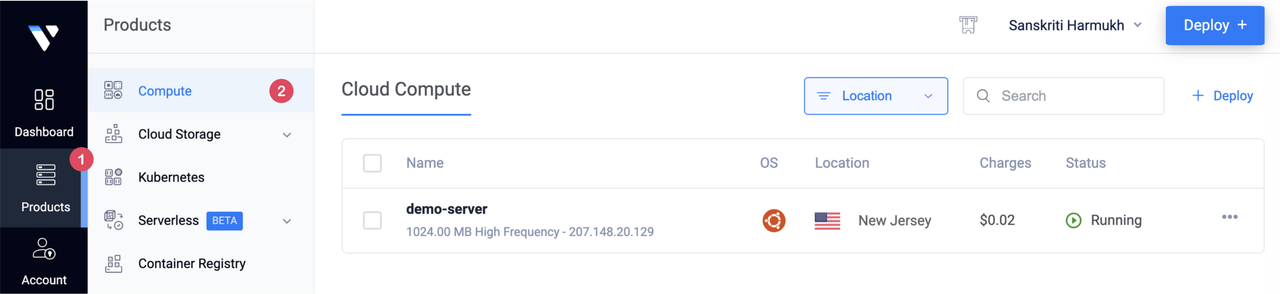
Click the target Vultr Compute instance to open its management page.
Go to the Snapshots tab.
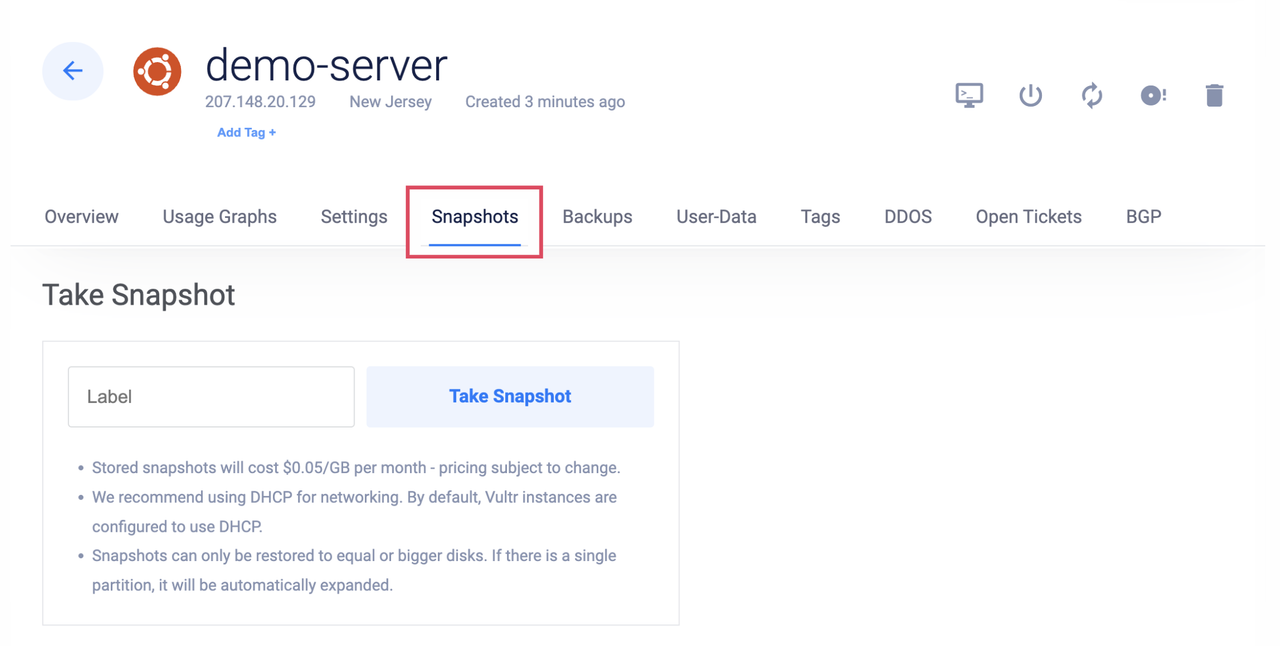
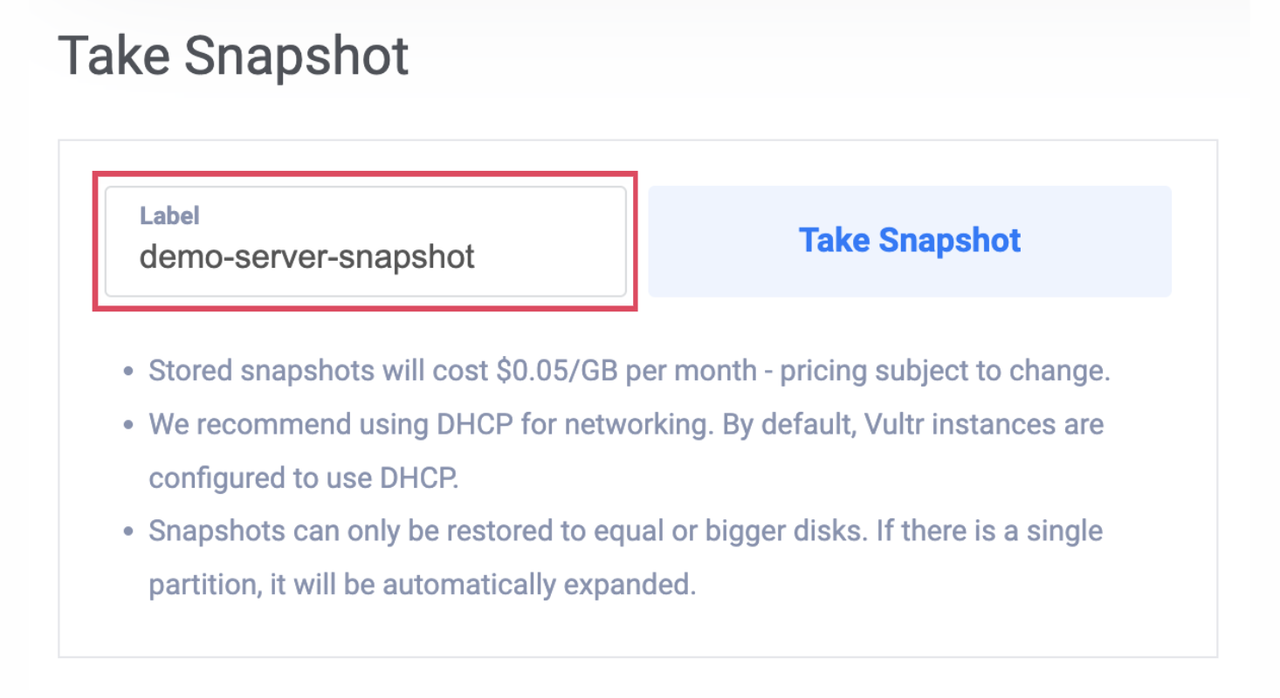
Enter a descriptive name in the Label field.
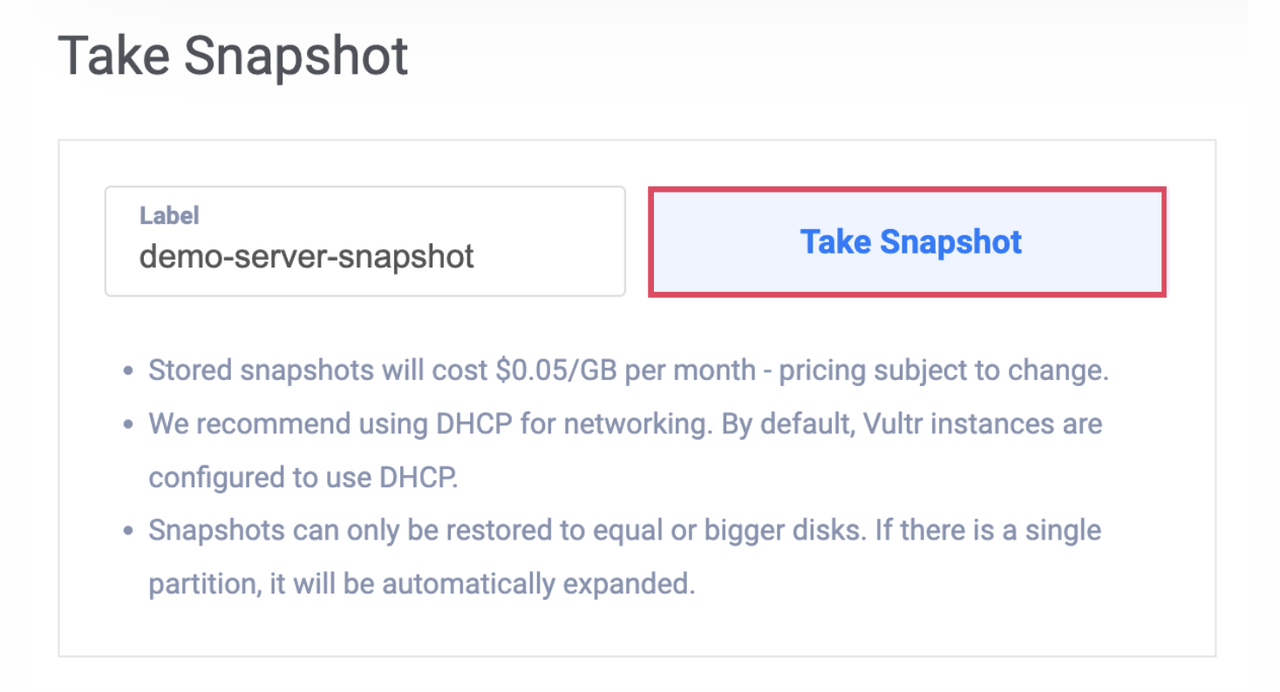
Click Create Snapshot to take a new snapshot of your instance. Snapshot creation can take up to 30 minutes depending on the instance size.
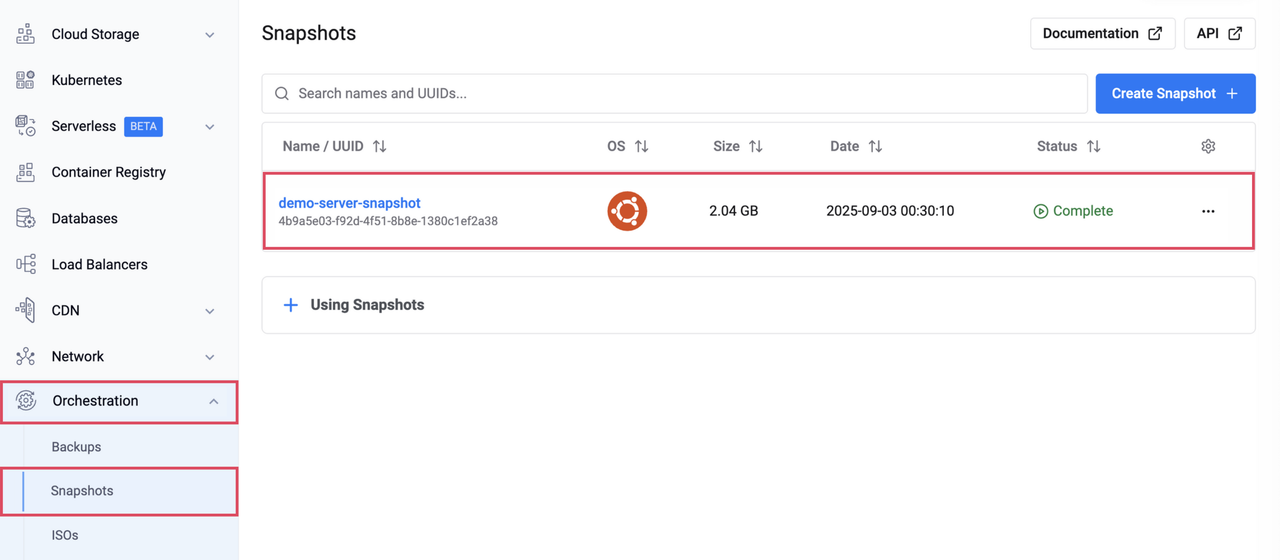
Once completed, the snapshot appears in Orchestration > Snapshots, where it can be managed and monitored.
Using Vultr API
Send a
GETrequest to the List Instances endpoint and note your target instance's ID.console$ curl "https://api.vultr.com/v2/instances" \ -X GET \ -H "Authorization: Bearer ${VULTR_API_KEY}"
Send a
POSTrequest to the Create Snapshot endpoint to create a new snapshot of the instance.console$ curl "https://api.vultr.com/v2/snapshots" \ -X POST \ -H "Authorization: Bearer ${VULTR_API_KEY}" \ -H "Content-Type: application/json" \ --data '{ "instance_id" : "<instance-id>", "description" : "<label>" }'
Send a
GETrequest to the List Snapshots endpoint to verify the newly created snapshot and note its ID.console$ curl "https://api.vultr.com/v2/snapshots" \ -X GET \ -H "Authorization: Bearer ${VULTR_API_KEY}"
Using Vultr CLI
List all available instances and note your target instance's ID.
console$ vultr-cli instance list
Create a new snapshot of the instance.
console$ vultr-cli snapshot create --id <instance-id>
Verify that the new snapshot has been created and note its ID.
console$ vultr-cli snapshot list
Redeploying a Vultr Compute Instance from a Snapshot
Redeploying an instance from a snapshot creates a new instance using the captured disk state. This process provisions the instance on new underlying hardware, preserving data, configurations, and installed applications. Follow the steps below to redeploy a Vultr Compute instance from a Snapshot using the Vultr Console, API, or CLI.
Using Vultr Console
Navigate to Products and select Compute.
Click Deploy.
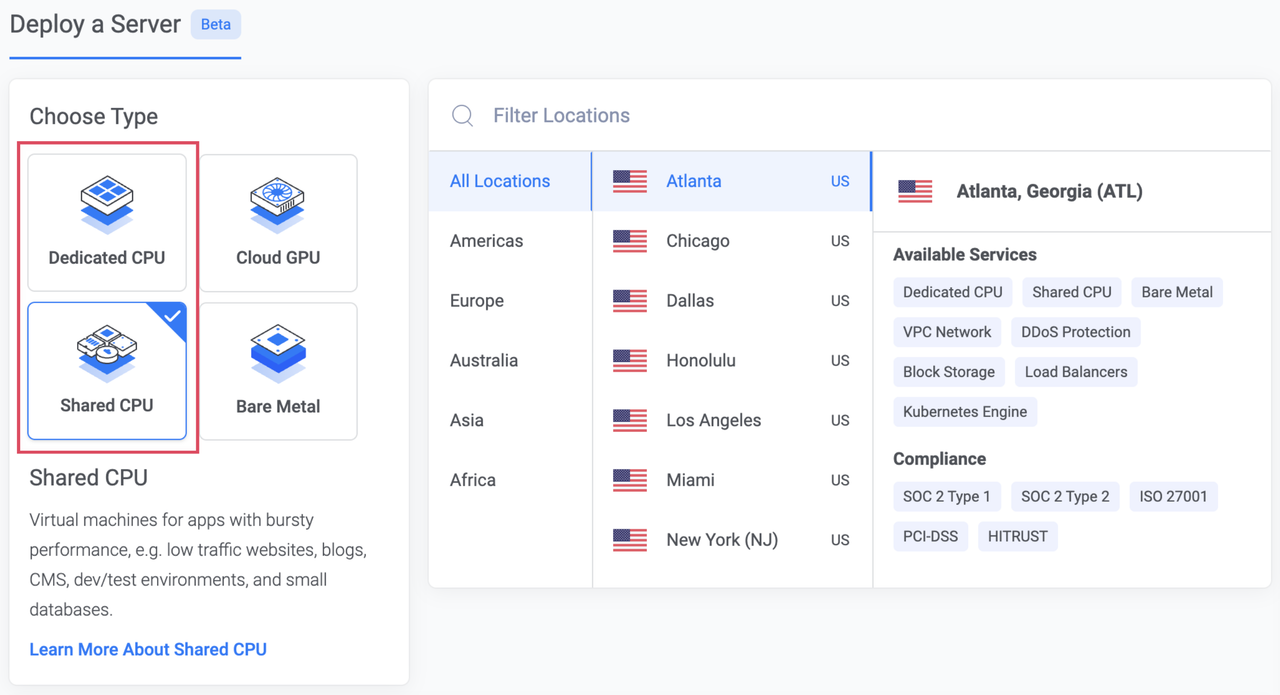
Choose the instance Type, either Shared CPU or Dedicated CPU.
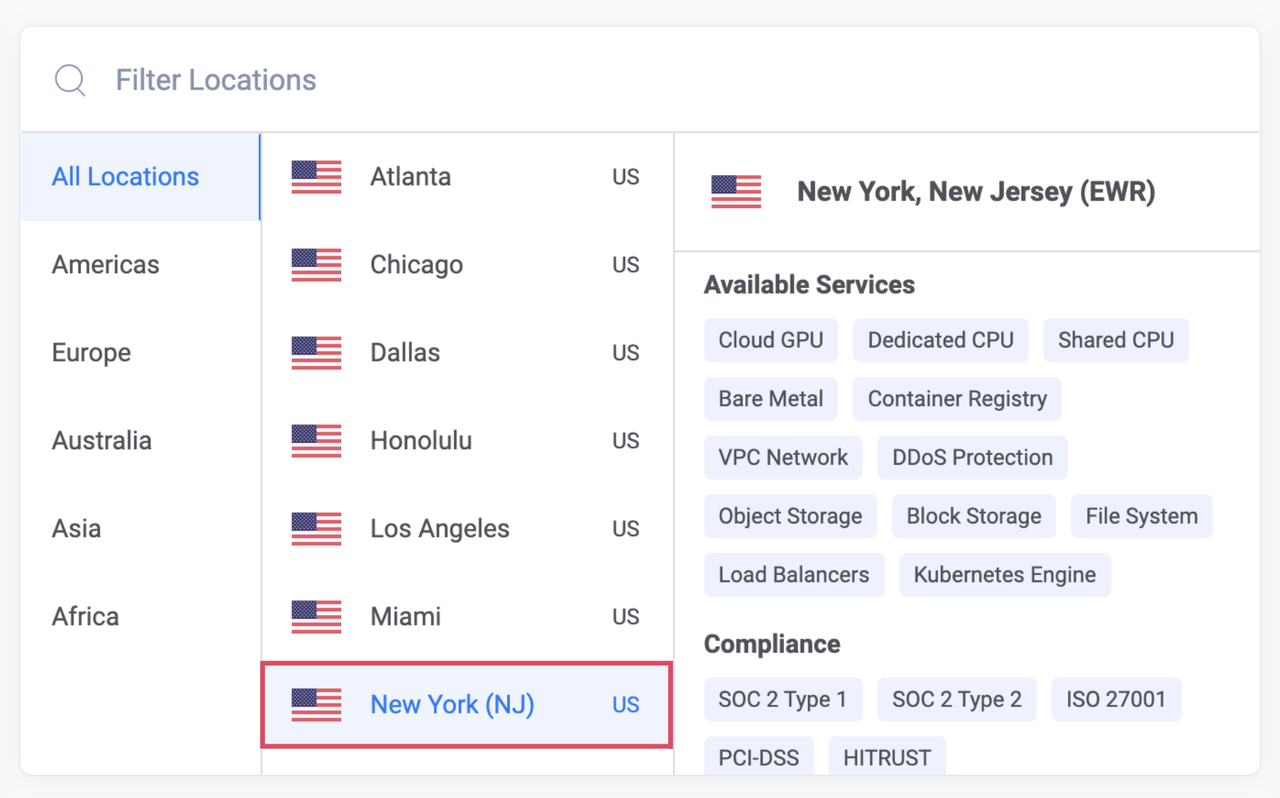
Select your desired Vultr Location to deploy the instance to.
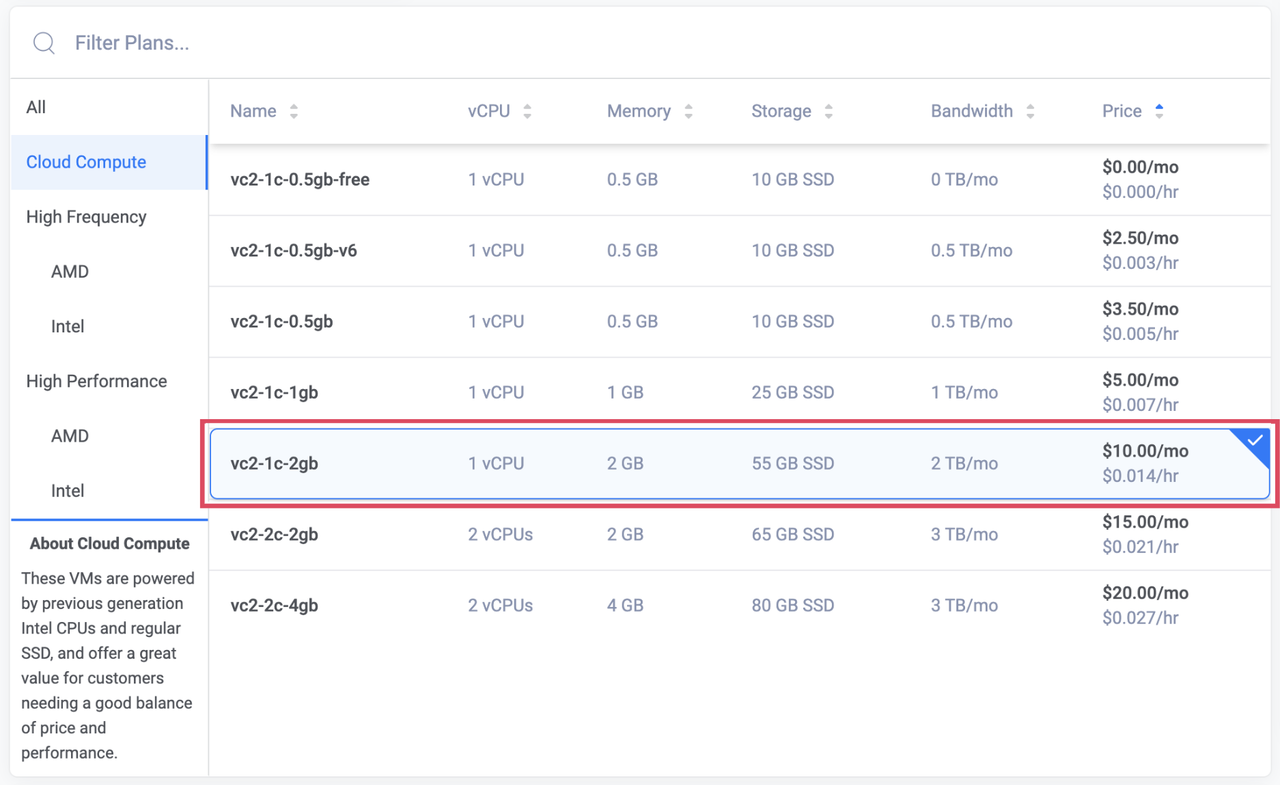
Pick an instance Plan that meets your workload requirements.
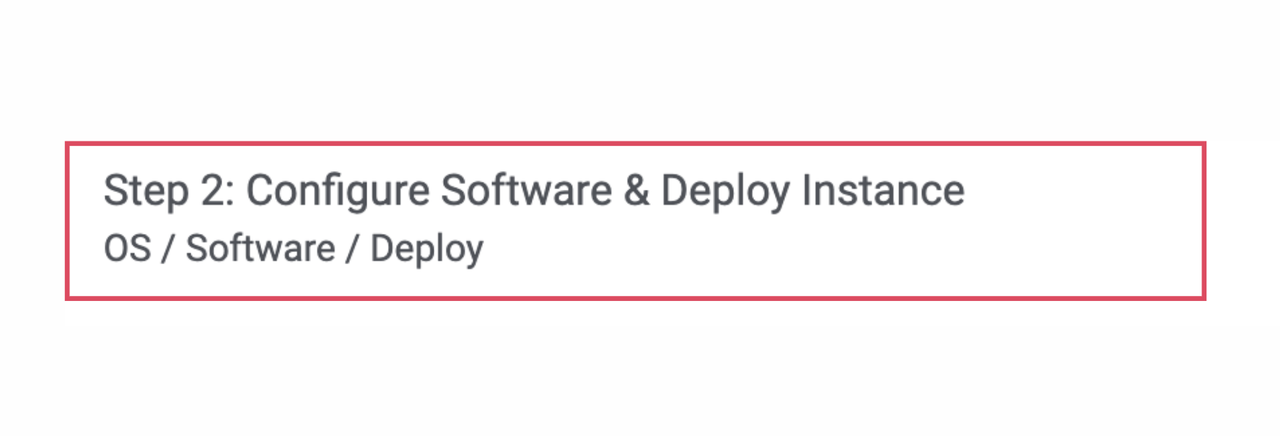
Click Configure Software to set up the instance configuration.
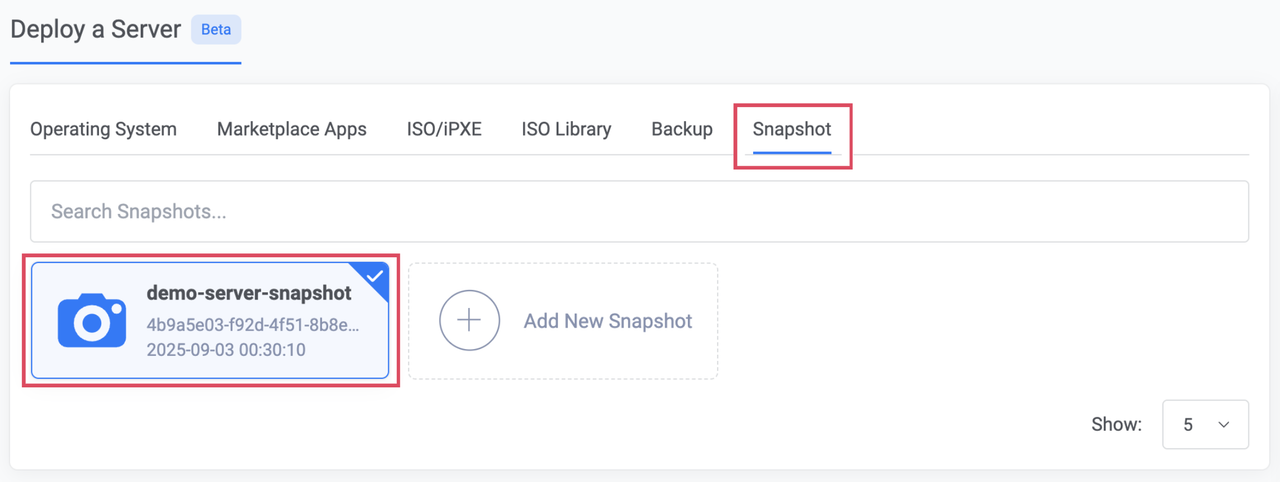
Go to the Snapshot tab and select the snapshot to use for redeployment.
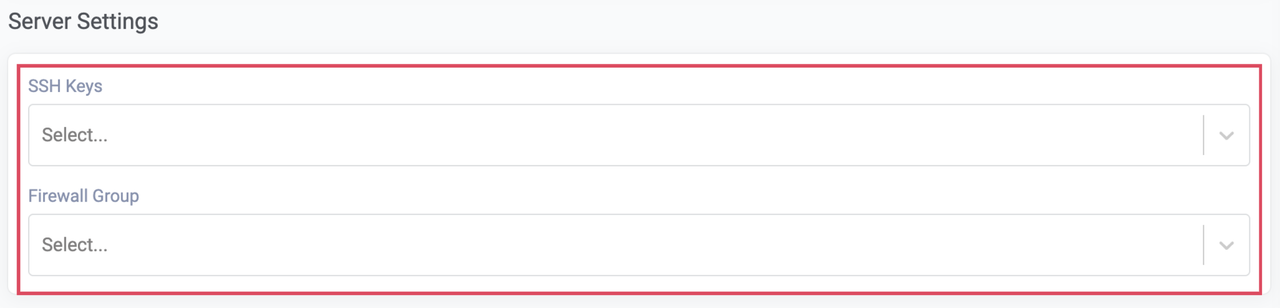
Select optional Server Settings such as SSH Keys or a Firewall Group.
Enter a new hostname in the Server Hostname field and a descriptive label in the Server Label field to identify the instance.

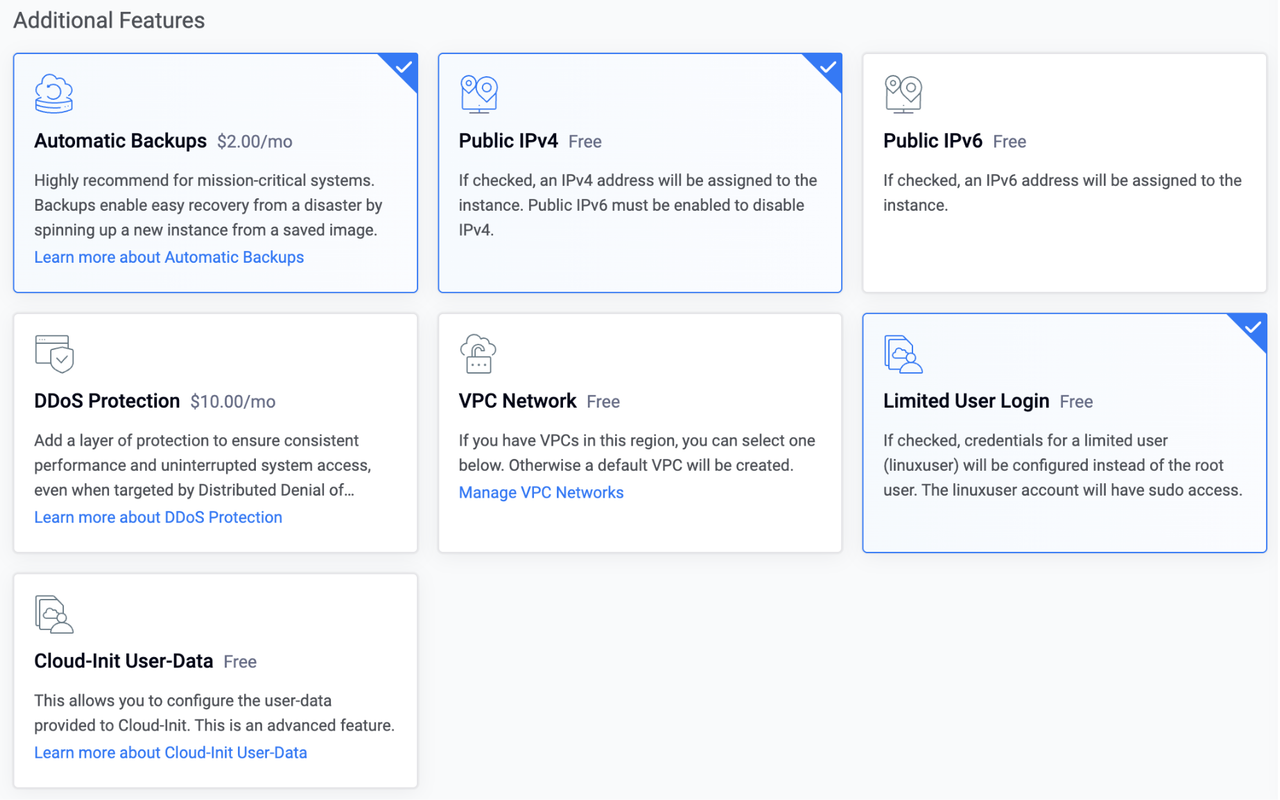
Select optional Additional Features to enable on the instance.
Review the Deploy Summary to confirm the instance configuration, then click Deploy to provision the instance.
Using Vultr API
Send a
POSTrequest to the Create Instance endpoint to deploy a new Vultr Compute instance from a Snapshot.console$ curl "https://api.vultr.com/v2/instances" \ -X POST \ -H "Authorization: Bearer ${VULTR_API_KEY}" \ -H "Content-Type: application/json" \ --data '{ "region" : "<vultr-location>", "plan" : "<instance-plan>", "snapshot_id": "<snapshot-id>", "label" : "<instance-label>", "hostname": "<hostname>", }'
Visit the Create Instance API page to view additional attributes you can apply on the Vultr Compute instance.
Send a
GETrequest to the List Instances endpoint to verify the instance creation.console$ curl "https://api.vultr.com/v2/instances" \ -X GET \ -H "Authorization: Bearer ${VULTR_API_KEY}"
Using Vultr CLI
Create a new Vultr Compute instance from the captured snapshot.
console$ vultr-cli instance create --region <vultr-location> --plan <instance-plan> --snapshot <snapshot-id> --label <instance-label> --host <hostname>
Run
vultr-cli instance create --helpto view additional options you can apply on the Vultr Compute instance.Verify that the instance has been successfully created.
console$ vultr-cli instance list
Conclusion
By following this guide, you created a snapshot of a Vultr Compute instance and redeployed it to restore the system on new infrastructure while preserving data, configurations, and applications. Beyond recovery, snapshots are also useful for scaling workloads, migrating to new regions, or testing changes in a controlled environment. For more details, refer to the Vultr Snapshots documentation.