
How to Use Vultr's Coolify Marketplace Application

Coolify is an open-source platform designed to simplify the deployment and management of applications, databases, and services. It offers streamlined application deployment, automated SSL certificate management, and seamless integration with popular databases and storage solutions. Coolify supports managing multiple applications, handling different environments like staging and production, and automating deployments through Git integrations.
Follow this guide to use Vultr's Coolify Marketplace Application. You will deploy a Coolify marketplace application on Vultr, explore its dashboard, and deploy a sample application.
Deploy the Vultr Marketplace Application for Coolify
The Vultr Marketplace application for Coolify provides a quick way to deploy Coolify on a Vultr server. It’s preconfigured setup allows you to deploy a self-hosted platform without manual installation. Follow the steps below to deploy the Vultr Marketplace application for Coolify.
Log in to the Vultr Console.
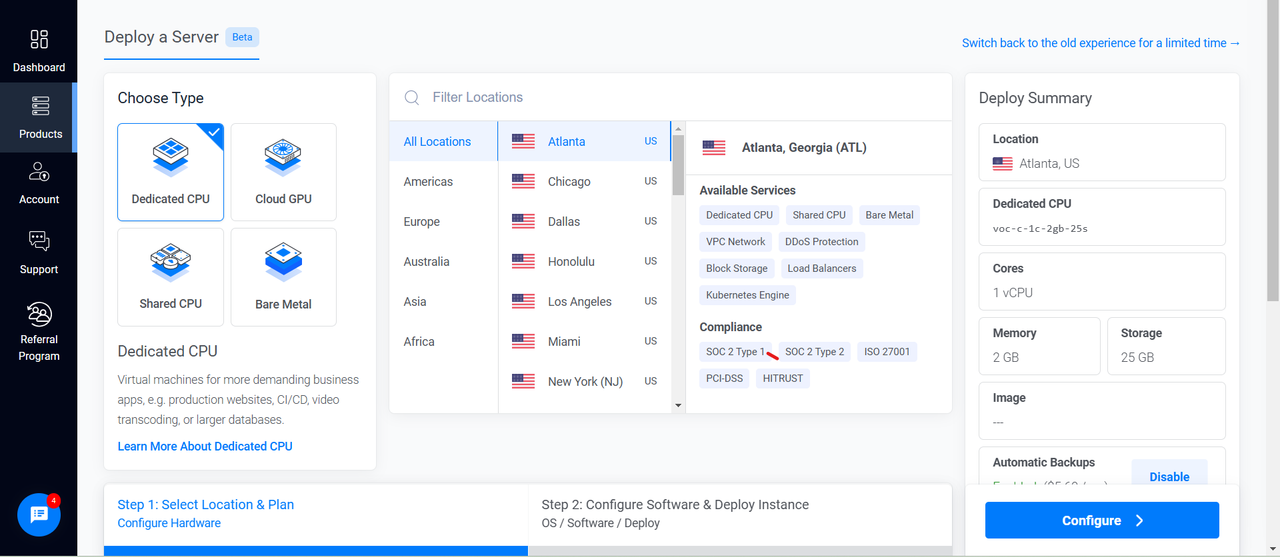
Navigate to the Products section, click Compute, and then click the Deploy Server button.
Select Dedicated CPU as the server type.
Select a server location closest to your target audience from Vultr’s 33 global locations.
Select a server plan according to your application requirements.
Click the Configure button to proceed.
Under Marketplace Apps, search and select Coolify as the marketplace application image.
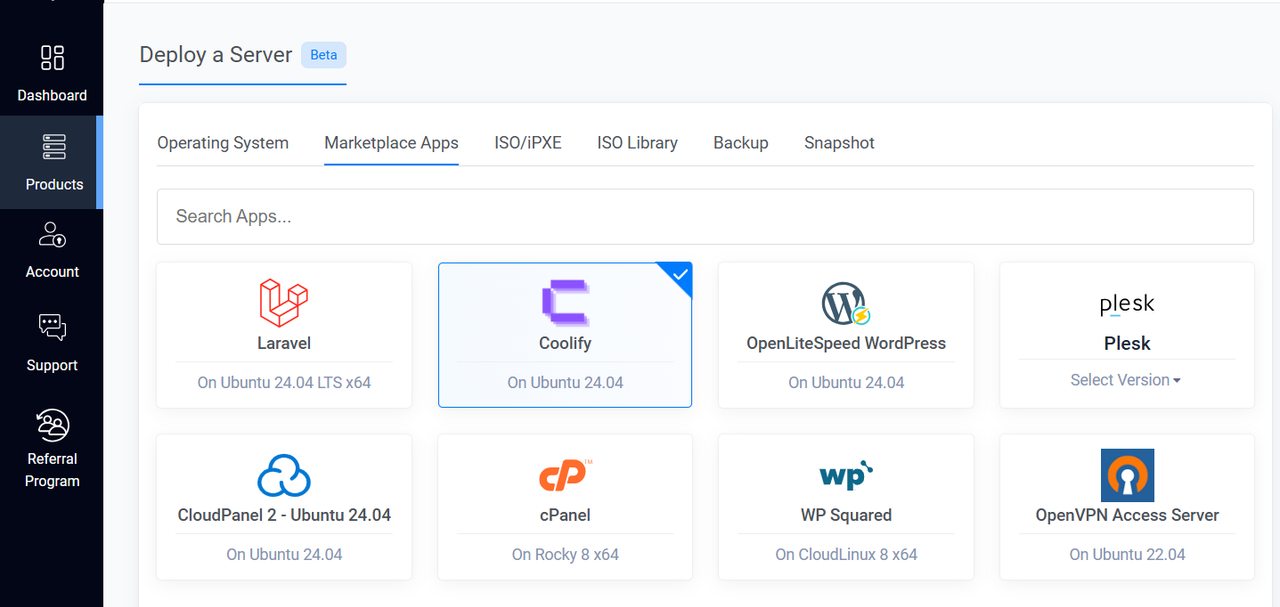
Add other additional features as required.

Review your configurations and click the Deploy button to provision the instance.
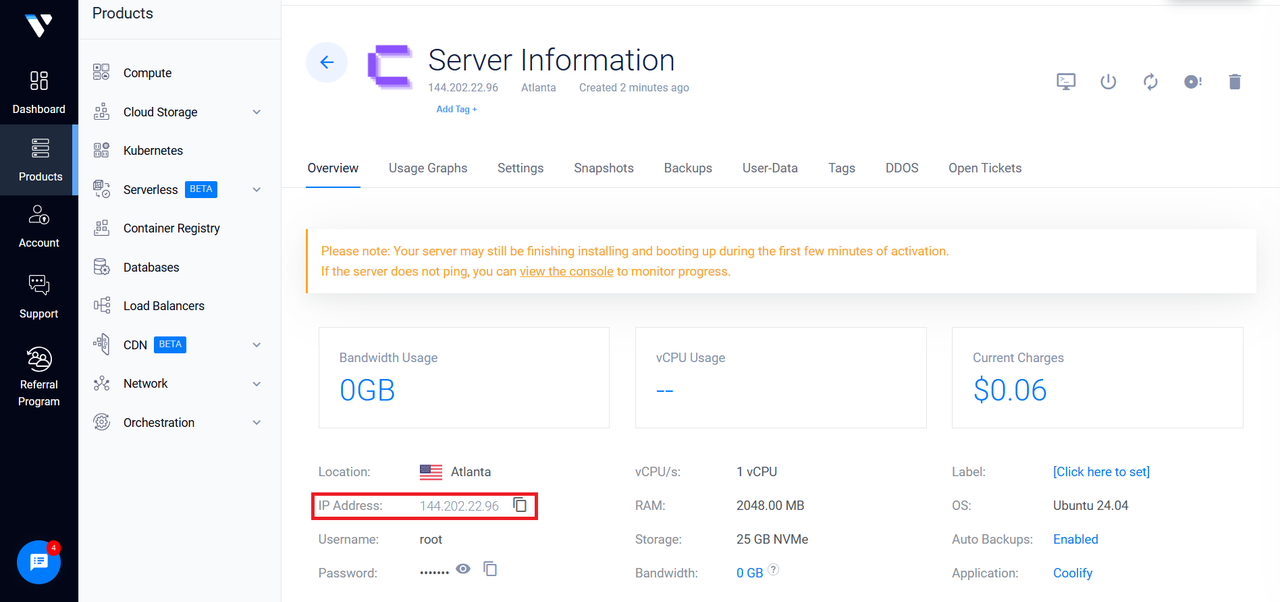
After the deployment is completed, go to the Compute section under Products to view your instance.
Click the instance to view the server information. Take note of the IP address as this will be used to access Coolify dashboard in the next section.
Coolify Features
Coolify provides various functionalities that simplify application hosting without vendor lock-in. The following are some key features that make Coolify a powerful tool for developers.
Multi-Language & Framework Support: Coolify allows the deployment of applications built with various programming languages and frameworks. This includes static websites, APIs, backends, databases, services, and other types of applications.
Flexible Deployment Options: Coolify deploys to any server with an SSH connection, including personal servers, and cloud servers without vendor lock-in.
Push-to-Deploy with Git Integration and CI/CD: Seamless deployment of applications from GitHub, GitLab, Bitbucket, and other Git platforms. It also provides an API for automation and integrations with CI/CD pipelines.
Automatic SSL & Database Backups: With Coolify, free SSL certificates from Let’s Encrypt are set up automatically, and database backups can be stored in any S3-compatible storage.
Real-Time Terminal: Coolify provides a browser-based real-time terminal for managing and interacting with servers directly via the Coolify dashboard.
Monitoring & Notifications: Coolify provides monitoring for servers' health, disk usage, and deployments. It can send alerts to users via Discord, Telegram, or email in case of failures or critical issues.
One-Click Services & Custom Deployments: Coolify allows the deployment of pre-configured services with one click and also enables users to create and manage custom services compatible with Docker.
Access the Coolify Dashboard
In this section, you will access the Coolify dashboard, create a root user account that will serve as the administrator, create a new project, and deploy a sample application on Coolify.
Create an Administrator Account
Open a new tab on your browser, and enter the following URL
http://<ip-address>:8000. Replaceip-addresswith your Coolify instance IP address.You should see the interface shown in the image below. This shows the registration form to create the root user account, which has admin access to your Coolify account.
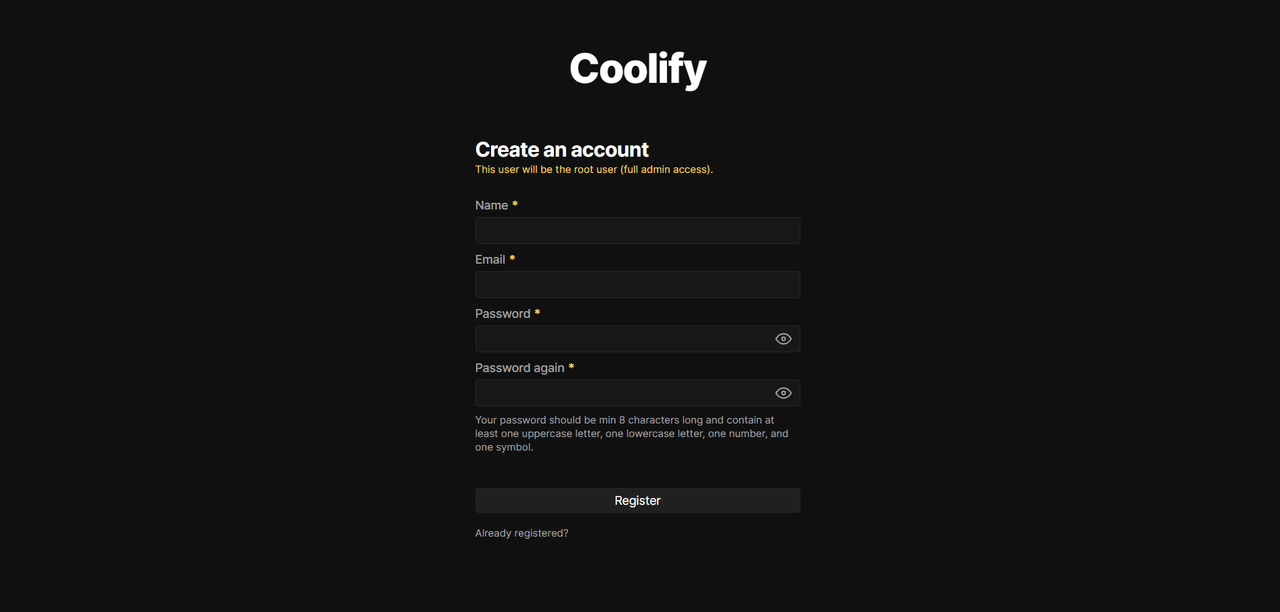
To register:
- Type in your preferred name in the Name field.
- Type in your email address into the Email field.
- Type in your preferred password into the Password field.
- Retype your password into the Password Again field.
- Click the Register button to create your account.
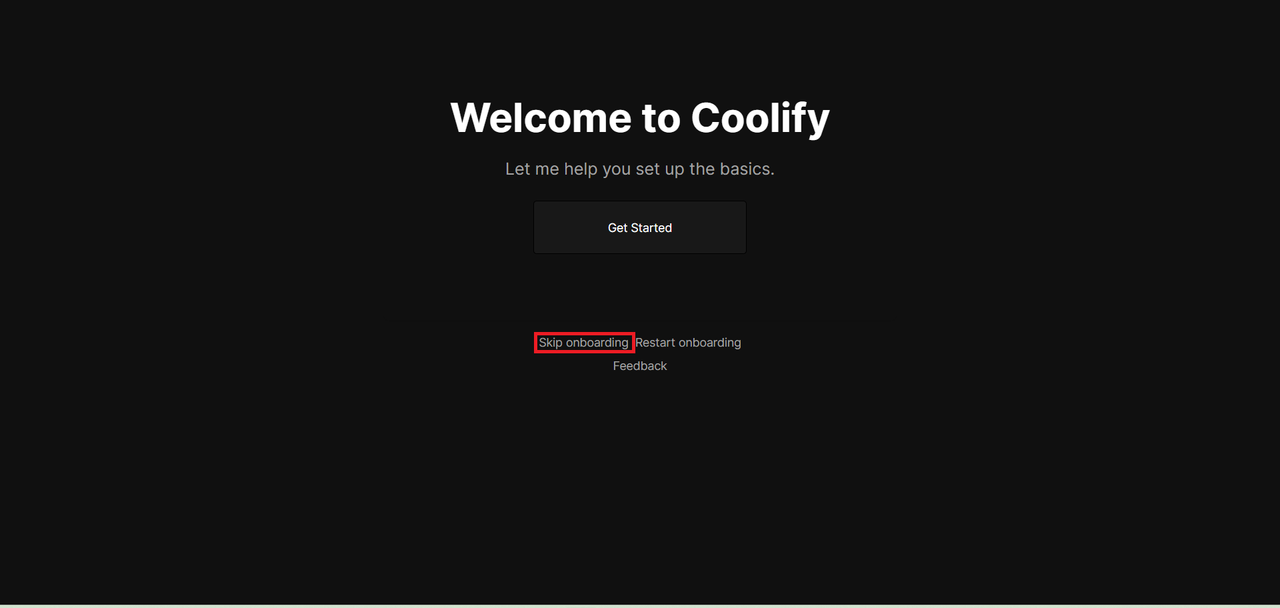
After you register, Coolify redirects you to the onboarding page shown below. Click the Skip onboarding link to navigate to the main dashboard.
Create a new Project
In Coolify, a project is a collection of deployments, services, and configurations managed together. It allows you to organize applications by grouping related resources, such as frontend and backend services, databases, and environment settings, under one unified structure. Follow the steps below to create a new project.
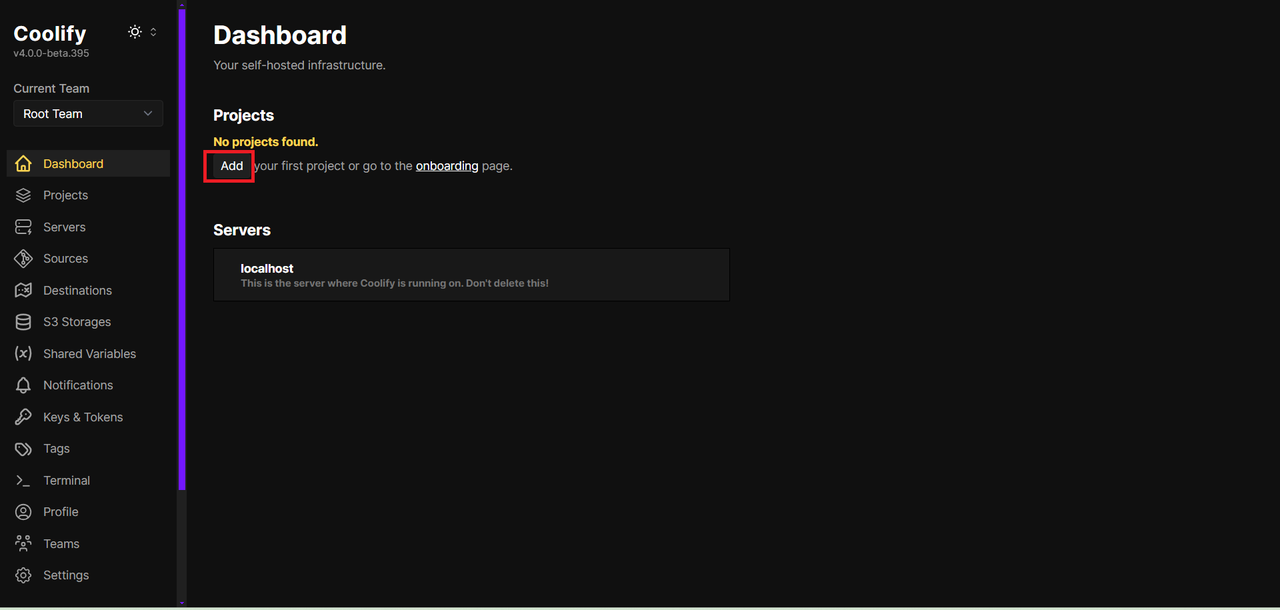
On the dashboard, click the Add button under the Projects subsection.
To create a new project, type in your preferred Name for example
Vultr Project, and Description such asA sample project, and click the Continue button.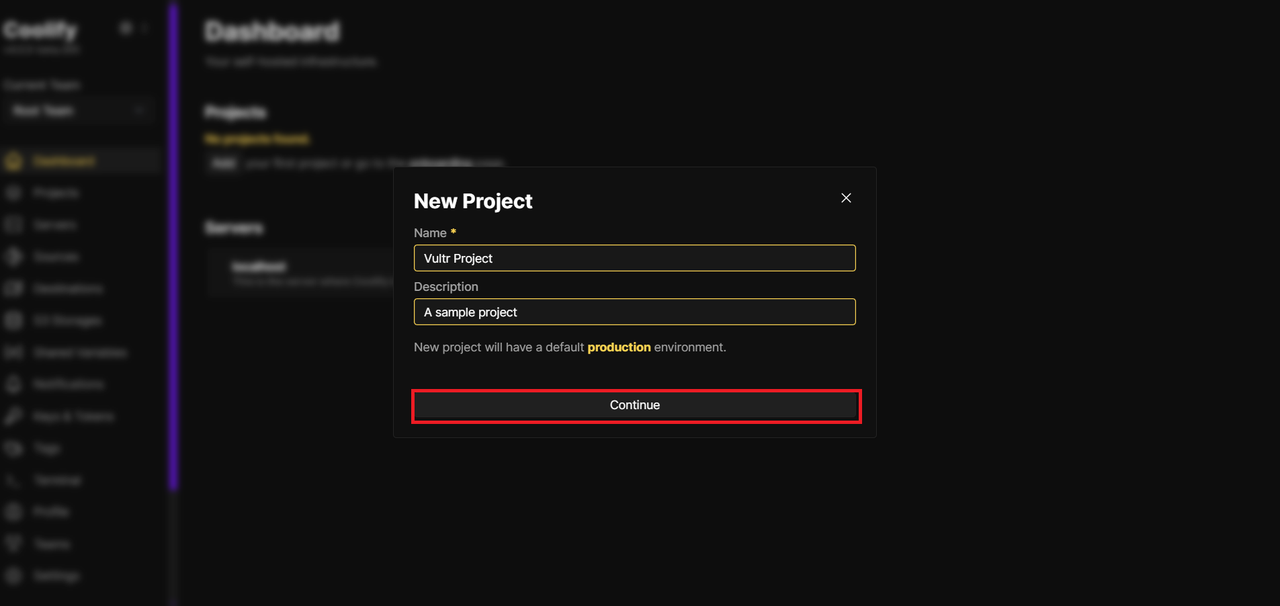
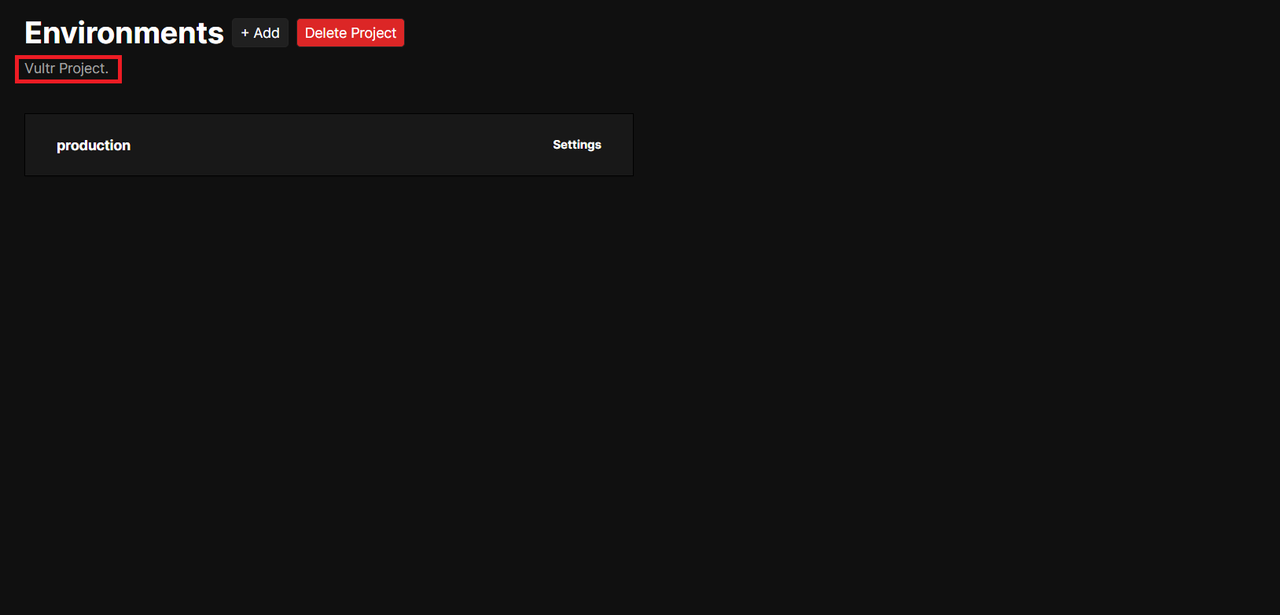
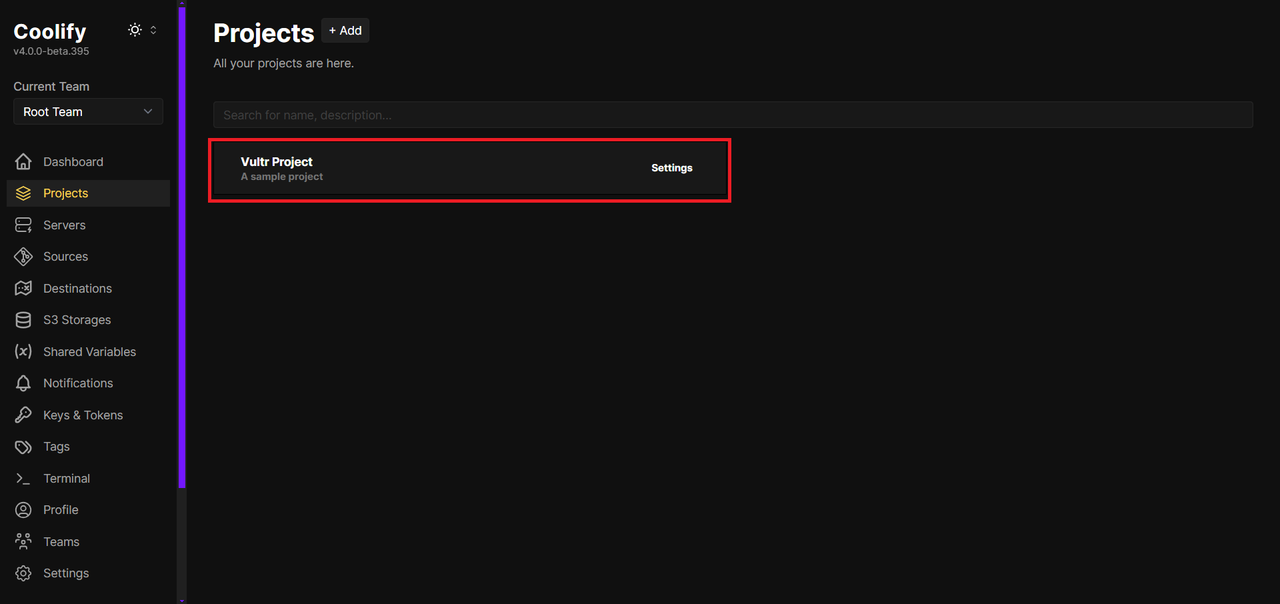
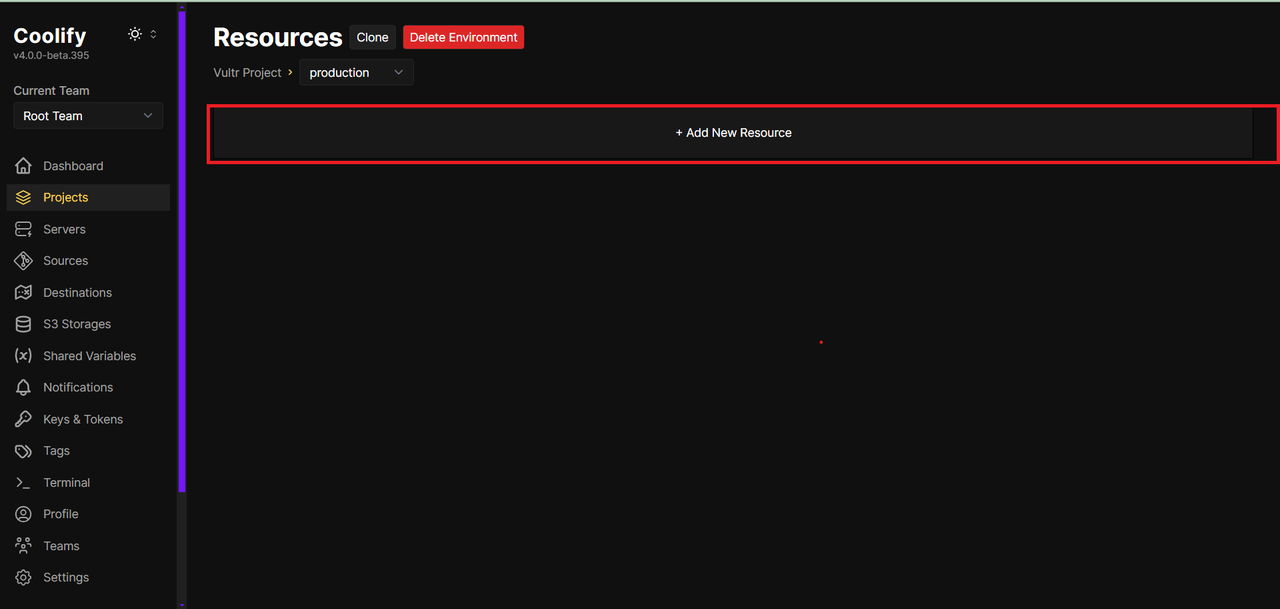
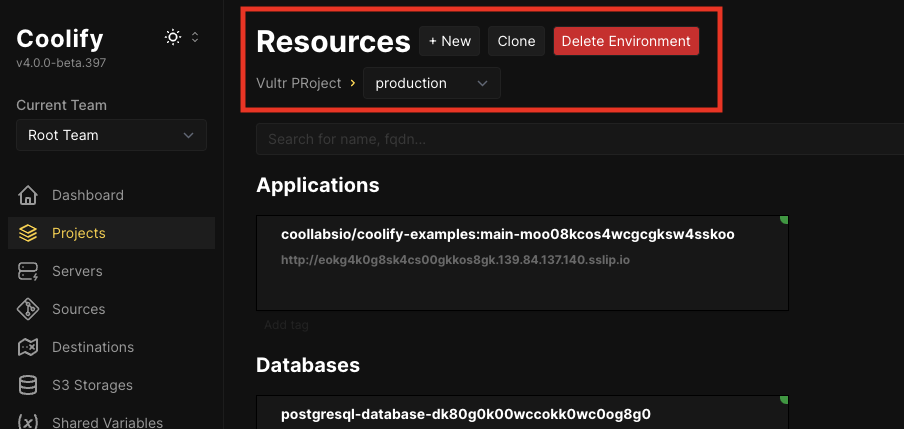
If the creation was successful, you should see the Environment page of the project, as shown in the image below.
Deploy Sample Applications
In this section, you will deploy two sample applications within the project created earlier:
- A static website using a public GitHub repository.
- A NextCloud instance using Coolify's One-Click Service.
Deploy a Static Site from a Public GitHub Repository
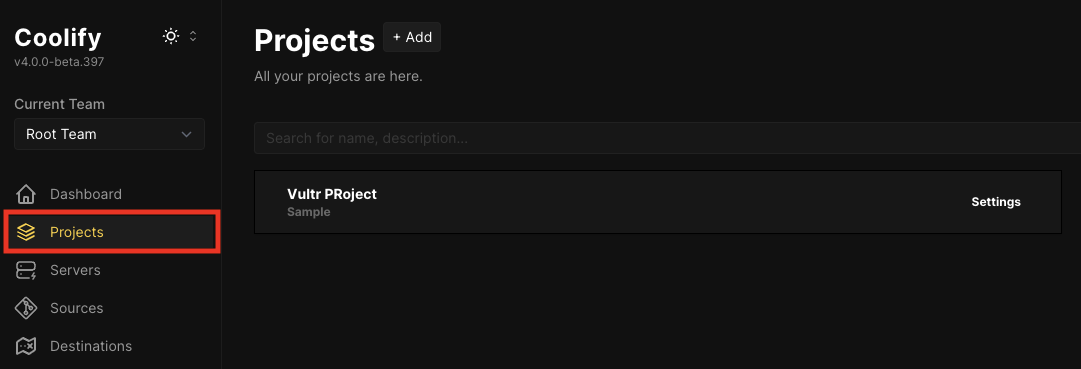
Navigate to the Projects section on the side menu bar, and click your newly created project.
Click the Add New Resource button to create a new resource.
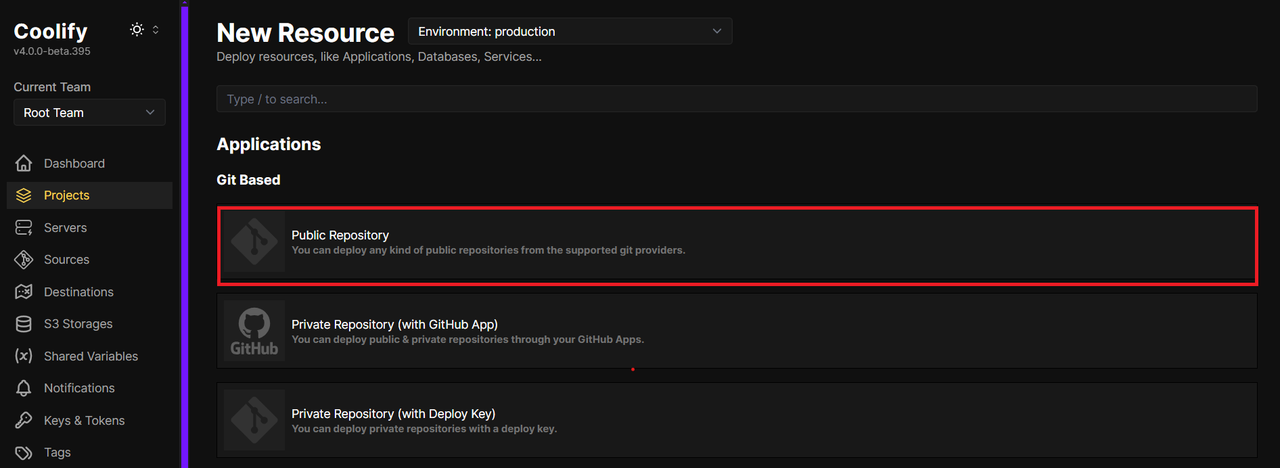
Select Public Repository under the Git Based section.
Enter the Git repository URL
https://github.com/coollabsio/coolify-examples.git. Coolify provides this repository, which contains various example applications. Then, click the Check repository button.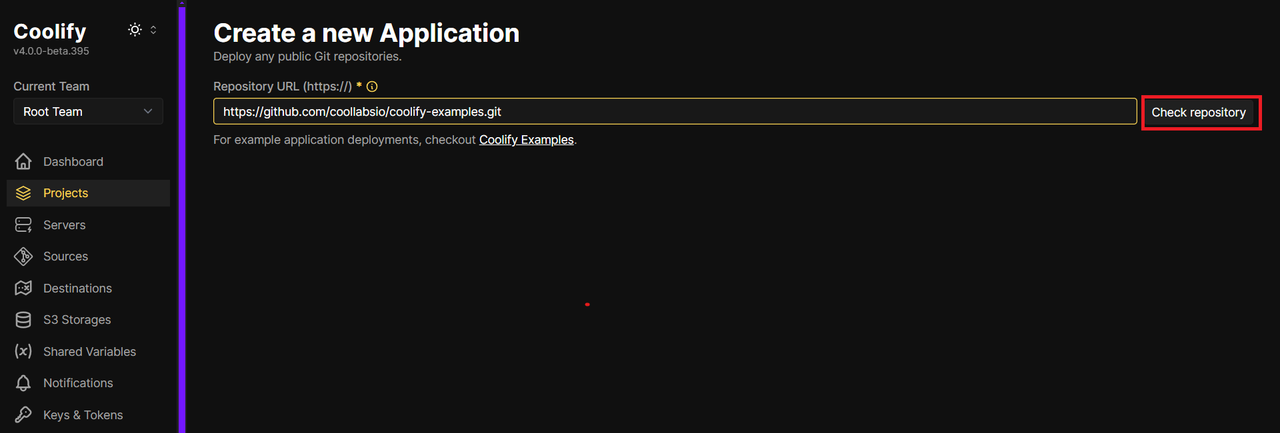
In the Build Pack field, select Static, which configures the deployment to serve static files like HTML, CSS, and JavaScript without requiring a backend runtime. Then, change the default value of the Base Directory to
/staticto ensure only files within this directory are served.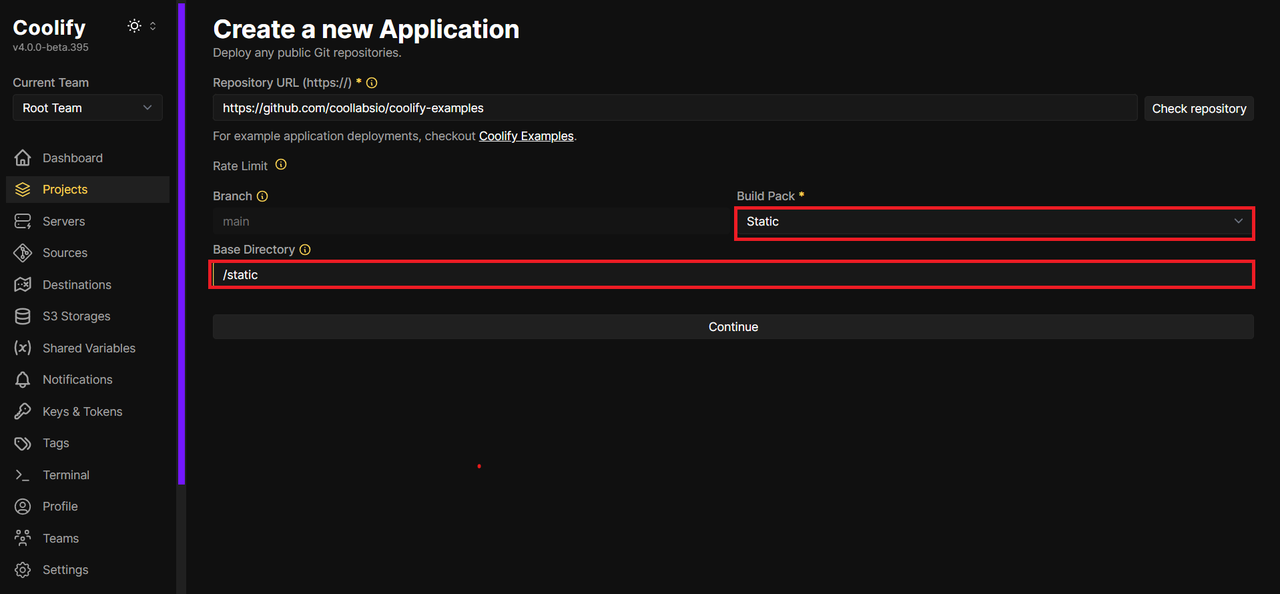
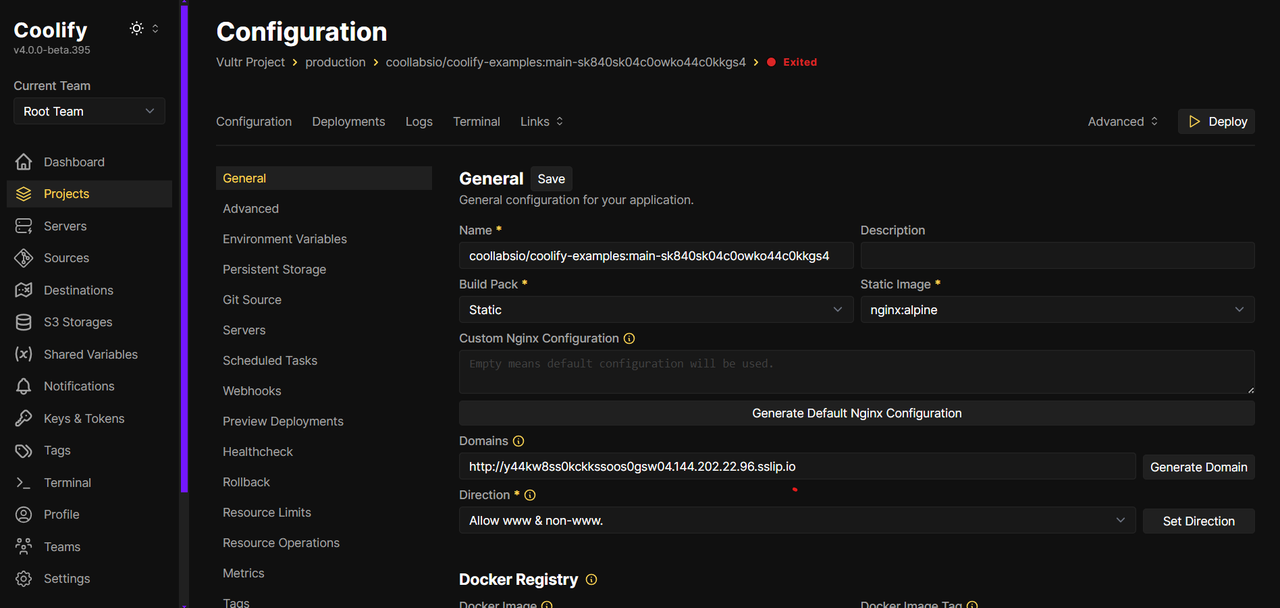
Review and adjust the configurations such as advanced settings, environment variables, servers, webhooks,metrics, before deploying your application.
Scroll down to Networks, and in the Port Mappings field, enter
80:80. This maps port 80 of the container to port 80 on the host, making the application publicly accessible over HTTP.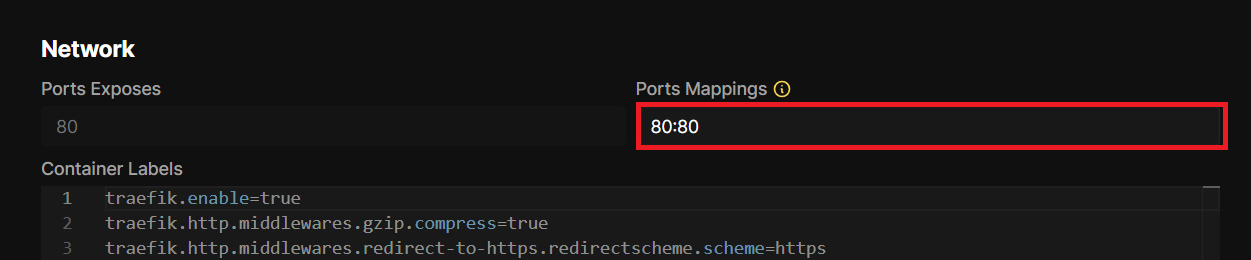
Navigate to the Healthcheck section of the configuration and click the
Enabledcheckbox to enable healthcheck. Click the Save button to apply the changes.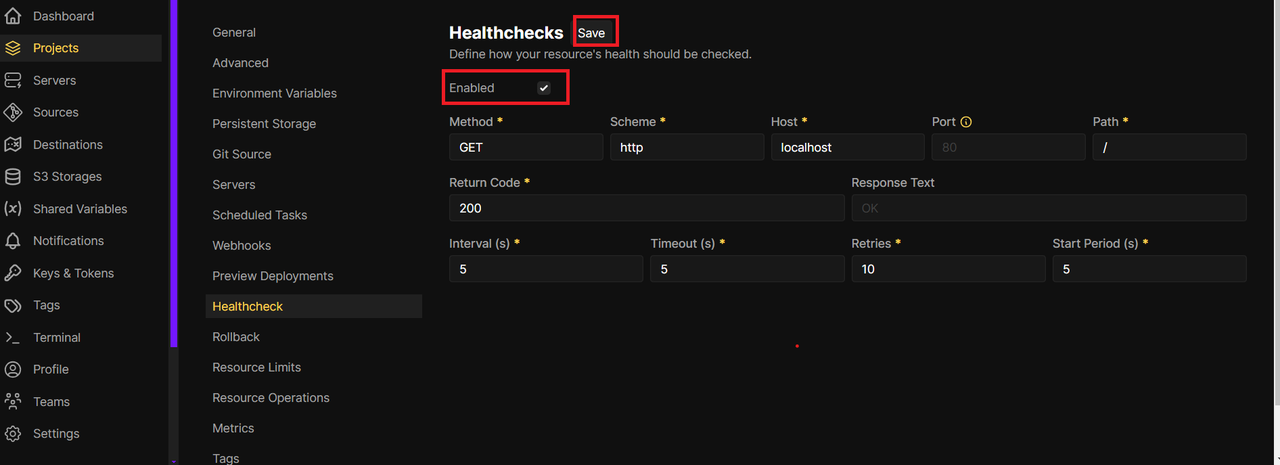
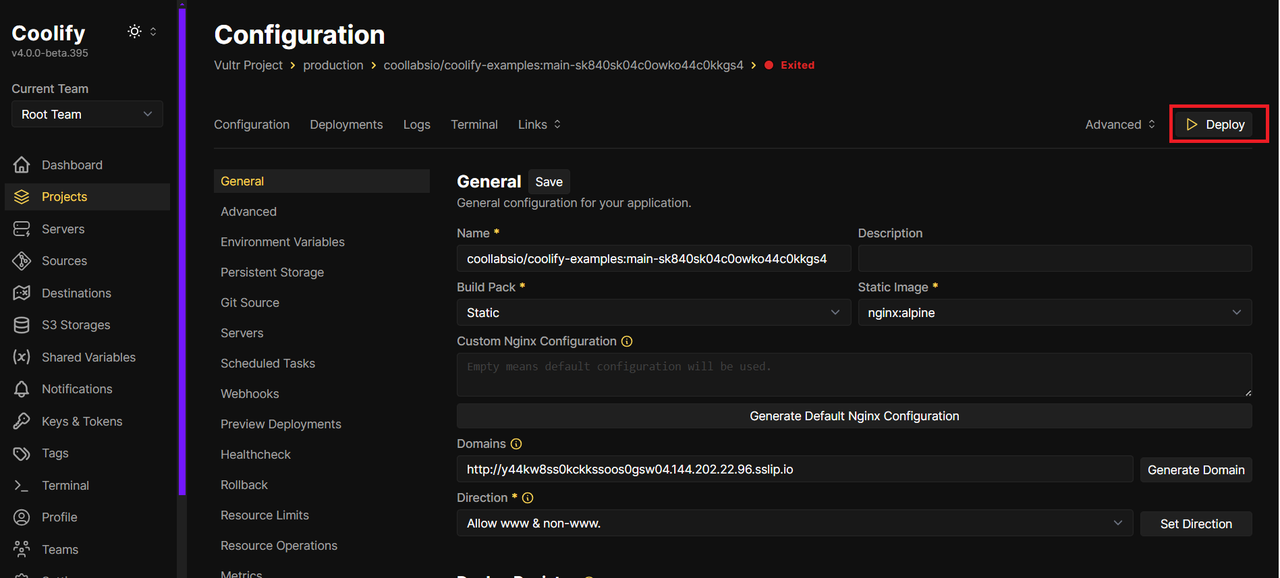
Navigate to the General section, and click the Deploy button to deploy your application. This action takes you to the Deployment Log where you can view the logs in real-time as your application gets deployed.
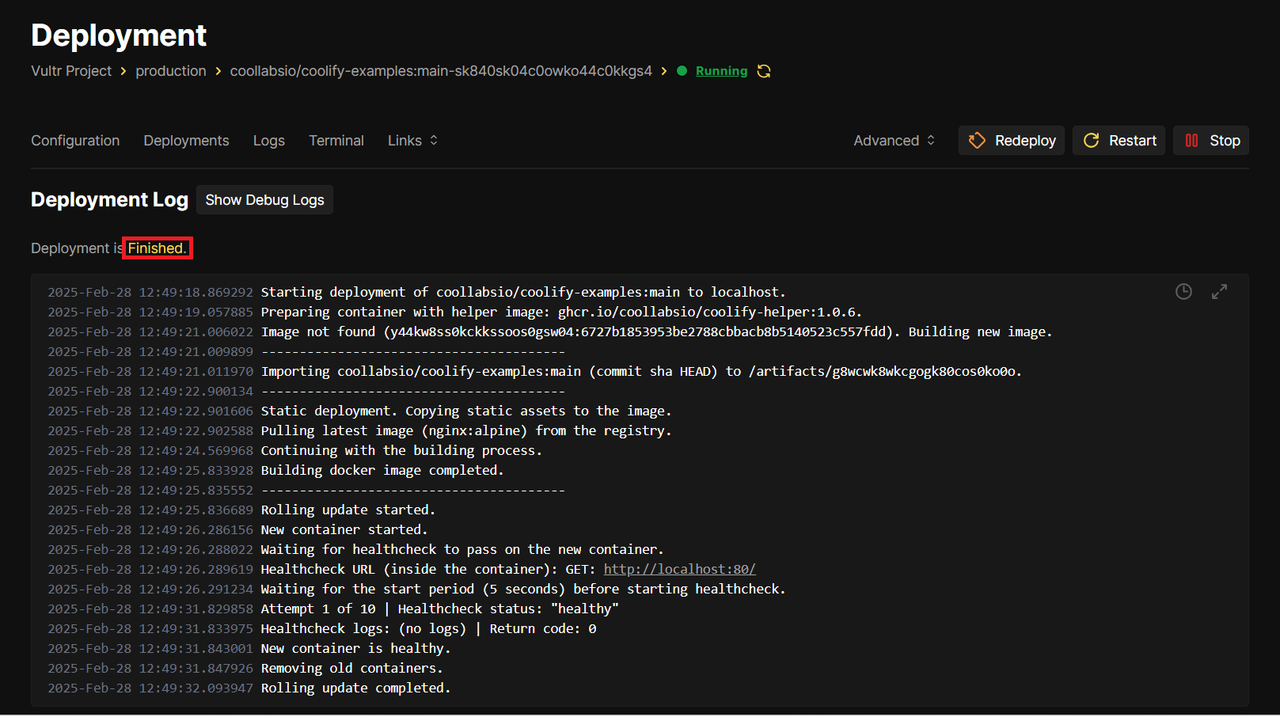
After the application is deployed, the deployment status changes to Finished as shown in the image below.
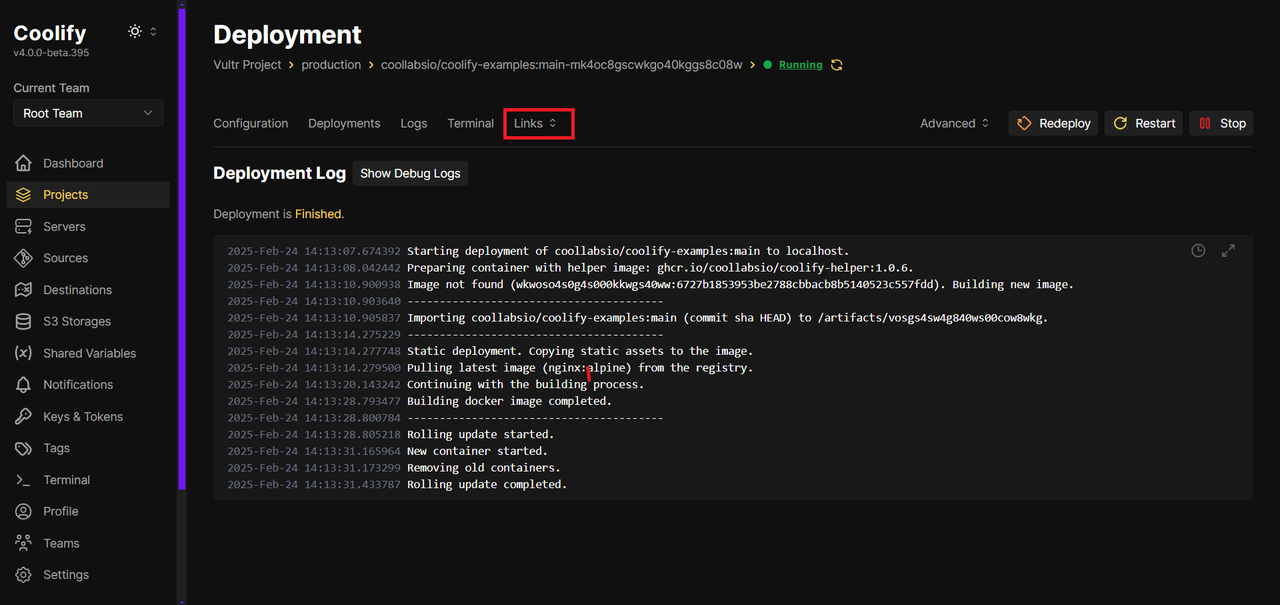
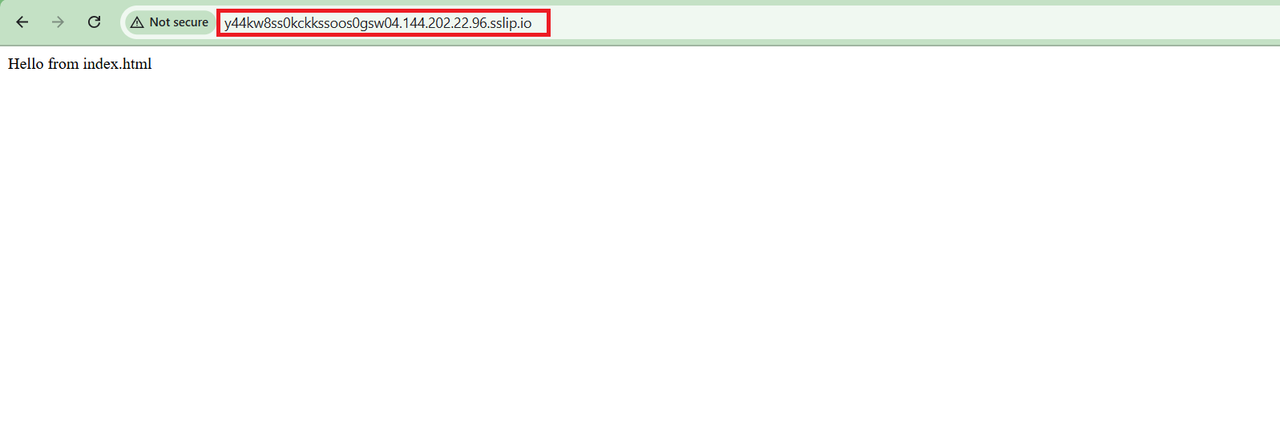
Click Links to copy the URL of your deployed application.
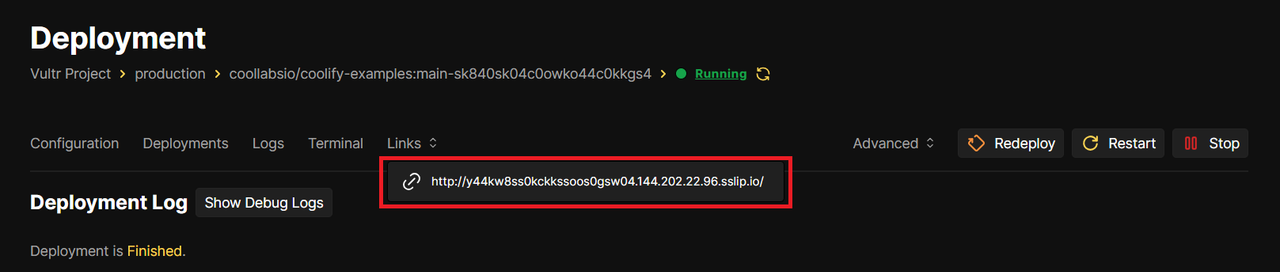
Open a new tab on your browser, and paste the copied link. You should be able to view the website as shown in the image below.
You can also view the website using your server's IP address. Open another tab on your browser and enter the URL
http://<server-ip>. Replaceserver-ipwith your Coolify instance IP address.
Deploy NextCloud
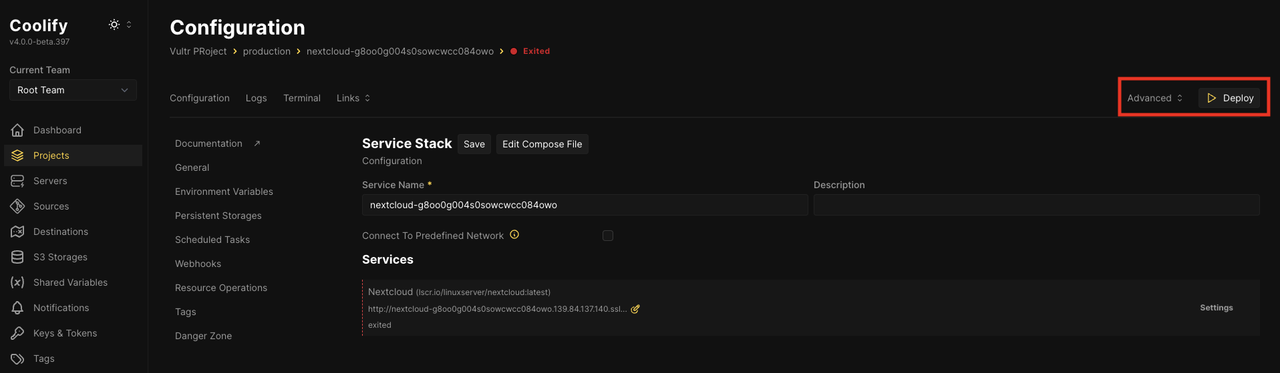
Navigate to the Projects section on the Coolify dashboard and select the project where you want to deploy NextCloud.
In the Resources section, click the + New button to add a new resource.
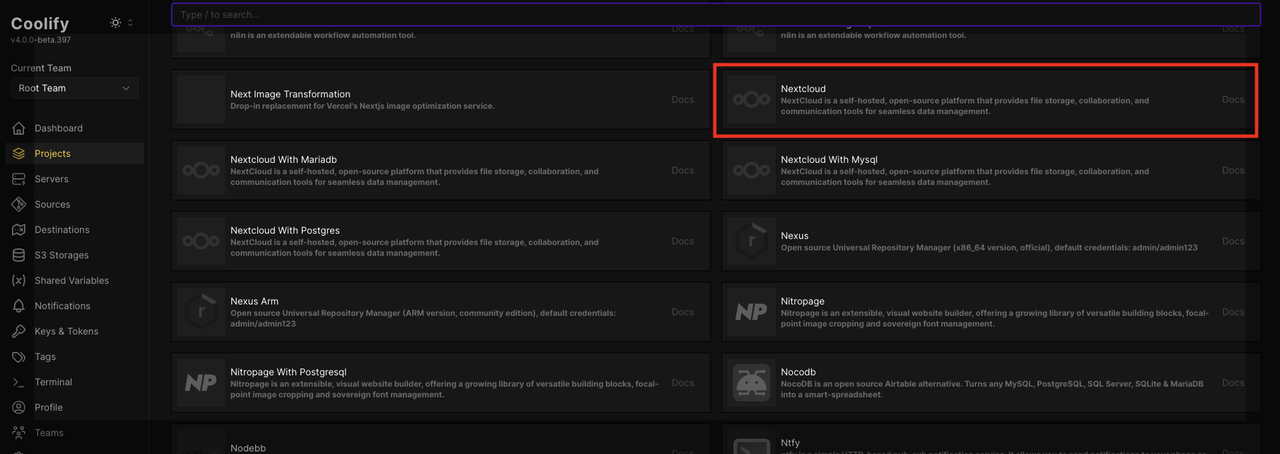
Choose NextCloud from the list of available services.
Click Deploy to start the deployment process. Monitor the deployment progress in the Deployment Log.
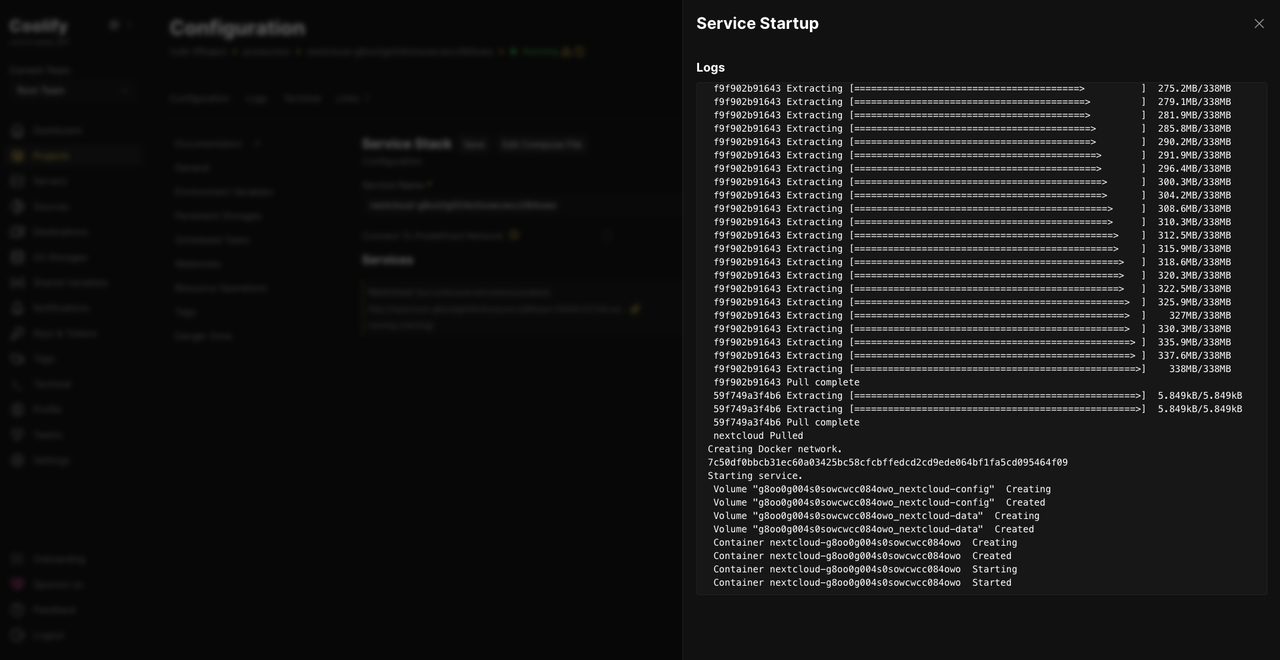
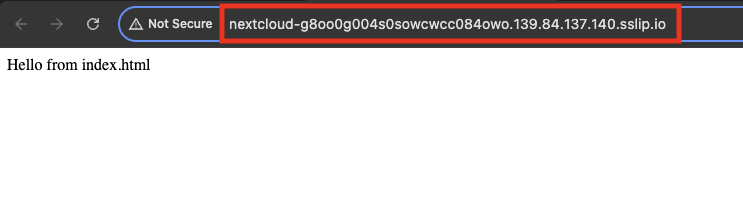
When the deployment is complete, click Links to obtain the URL for the NextCloud instance.

Open the URL in a web browser to verify that NextCloud is running correctly.
Optional: Configure Coolify to use Vultr Object Storage
Coolify supports S3-compatible storage for database backups, which ensures application data remains secure and recoverable in case of failures. Vultr Object Storage provides a reliable and scalable backup solution that allows you to store and restore your database backups. Follow the steps below to configure Coolify to use Vultr Object Storage.
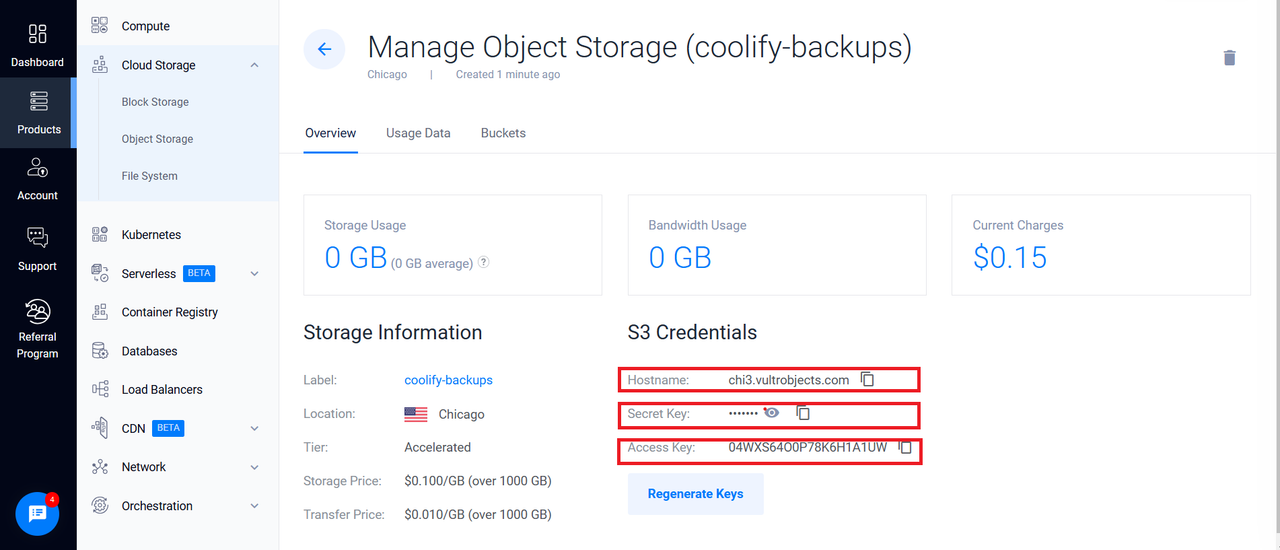
Provision a new Vultr Object Storage on your Vultr Console.
Navigate to the created object storage to view the details. Locate and take note of the Hostname, Access Key, and Secret Key. These credentials will be used to configure Coolify.
Navigate to the Buckets section of the object storage dashboard, and click the
Create Bucketbutton to create a new bucket.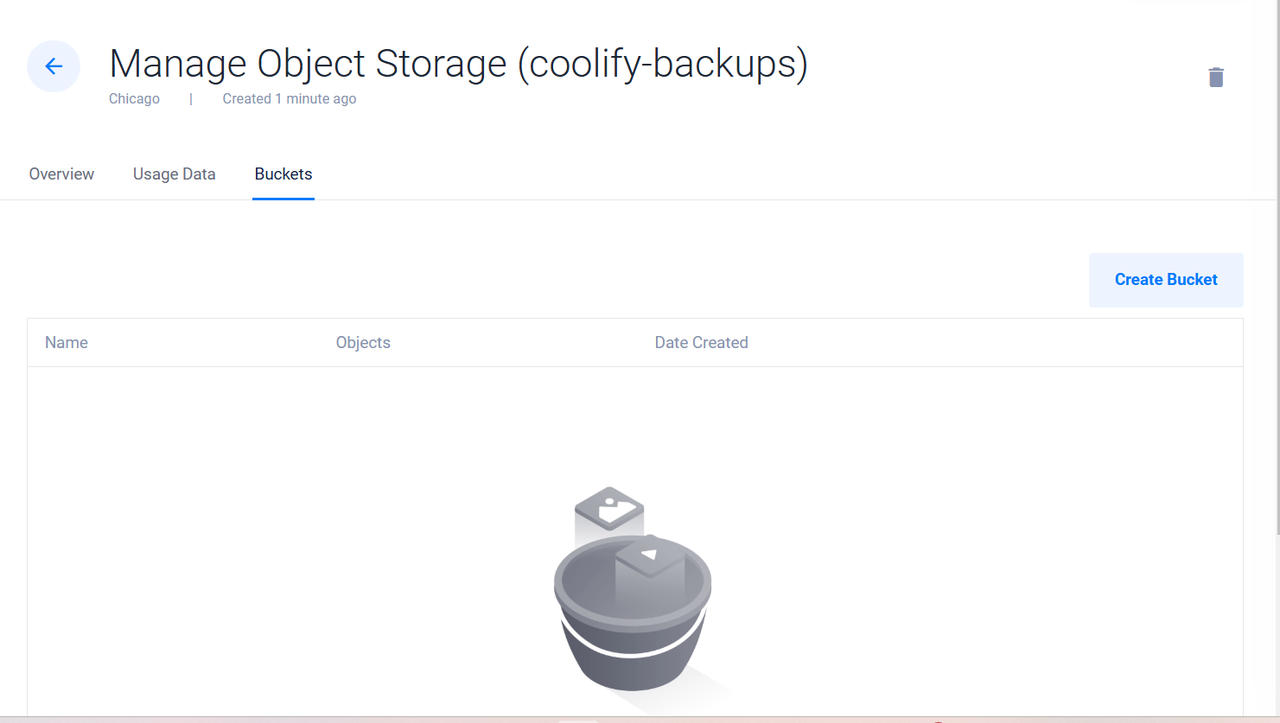
Enter your preferred bucket name, for example,
my-vultr-coolify-bucket, and ensure it meets Vultr's bucket naming criteria.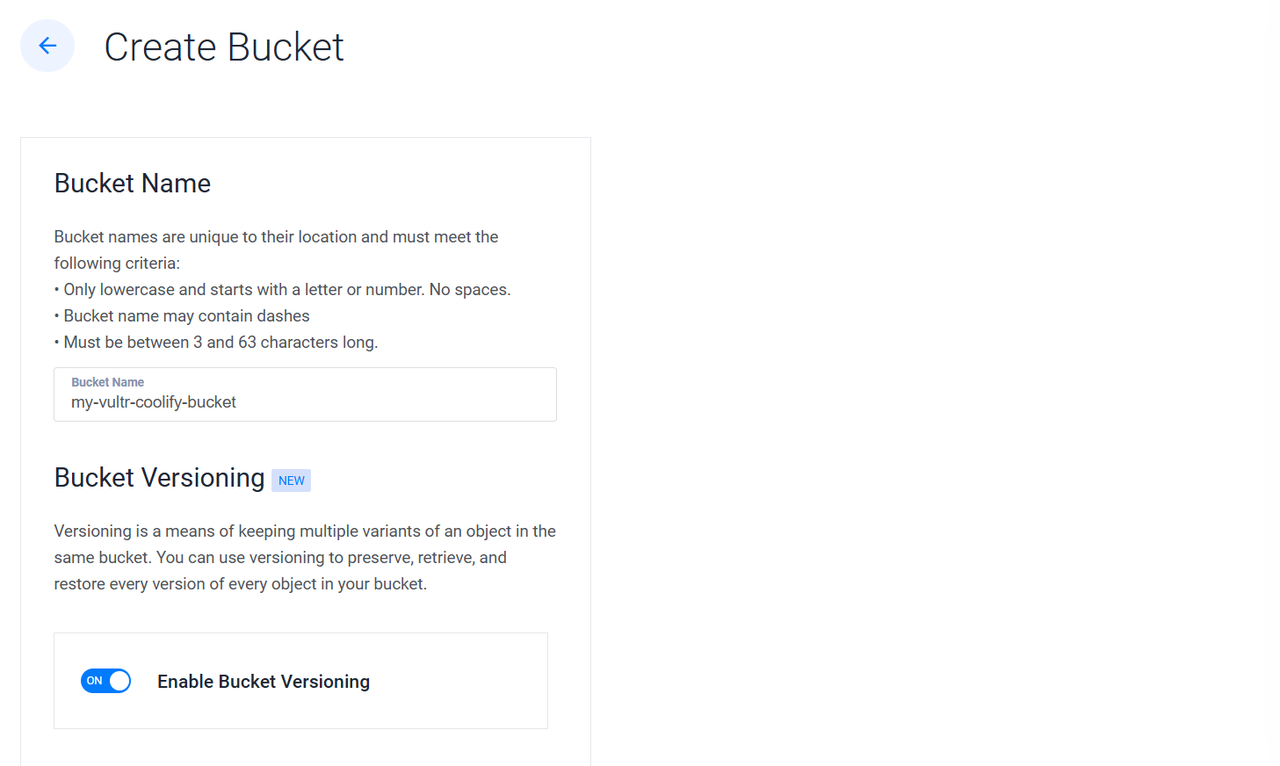
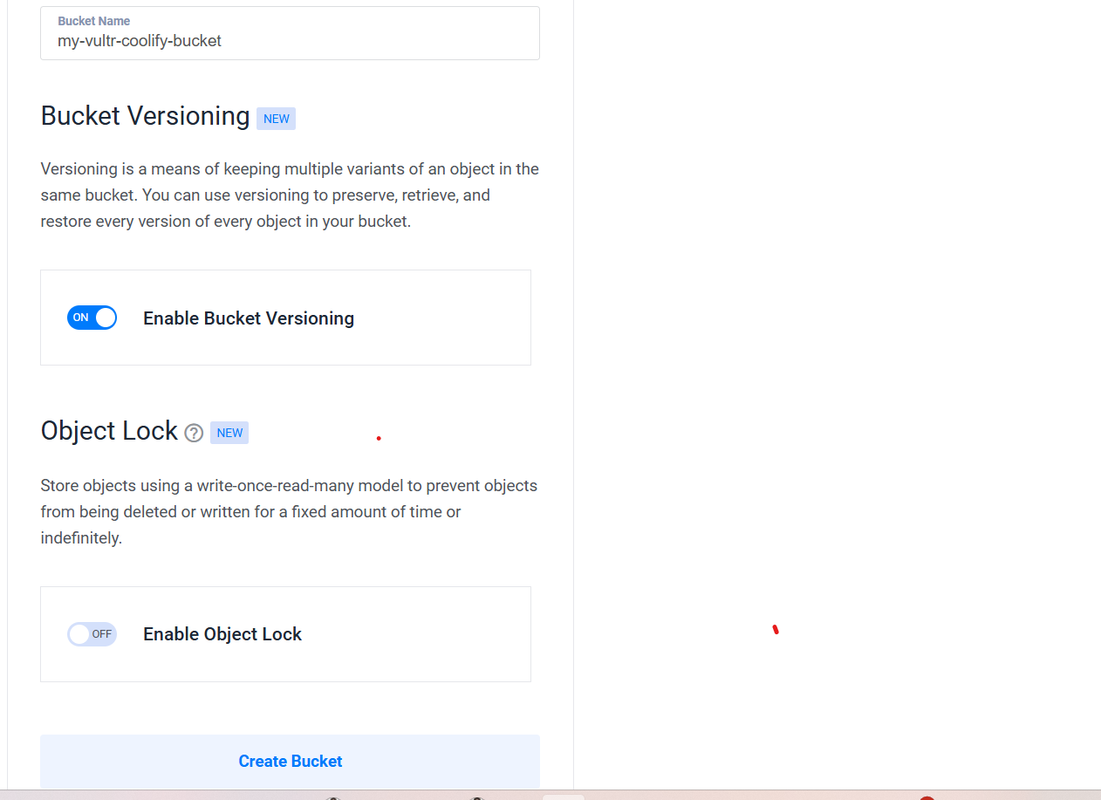
Enable Bucket Versioning, and click the Create Bucket button to apply the changes
On your Coolify dashboard, go to the S3 Storages section on the side menu. Click the Add button to set up a new storage.
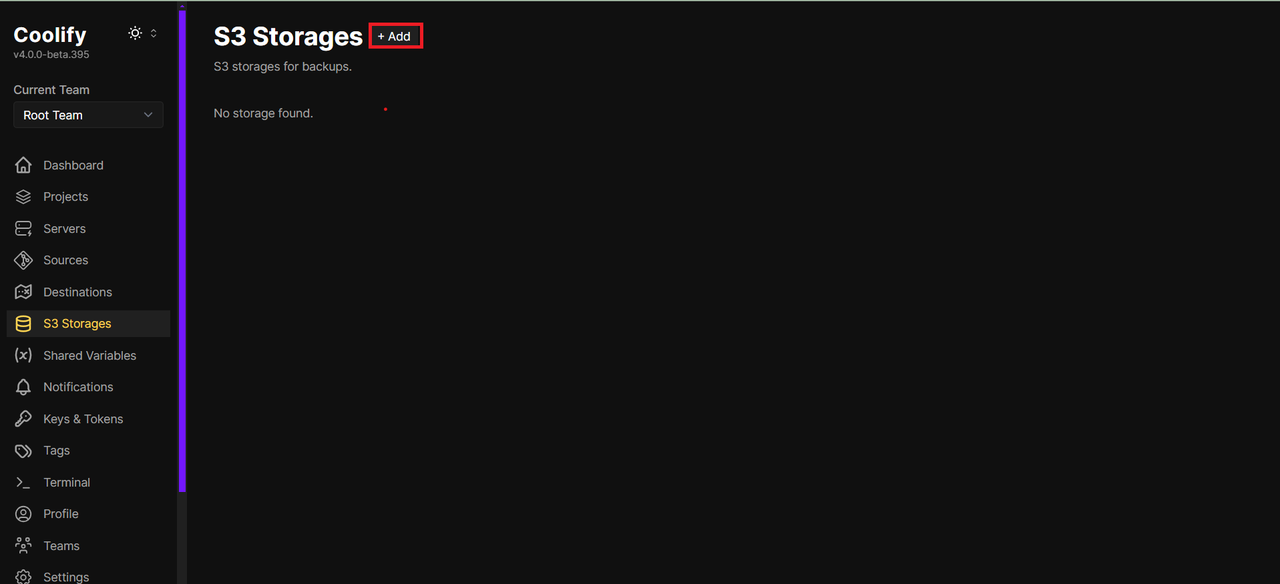
Add the Vultr Object Storage bucket to Coolify as a new storage option.
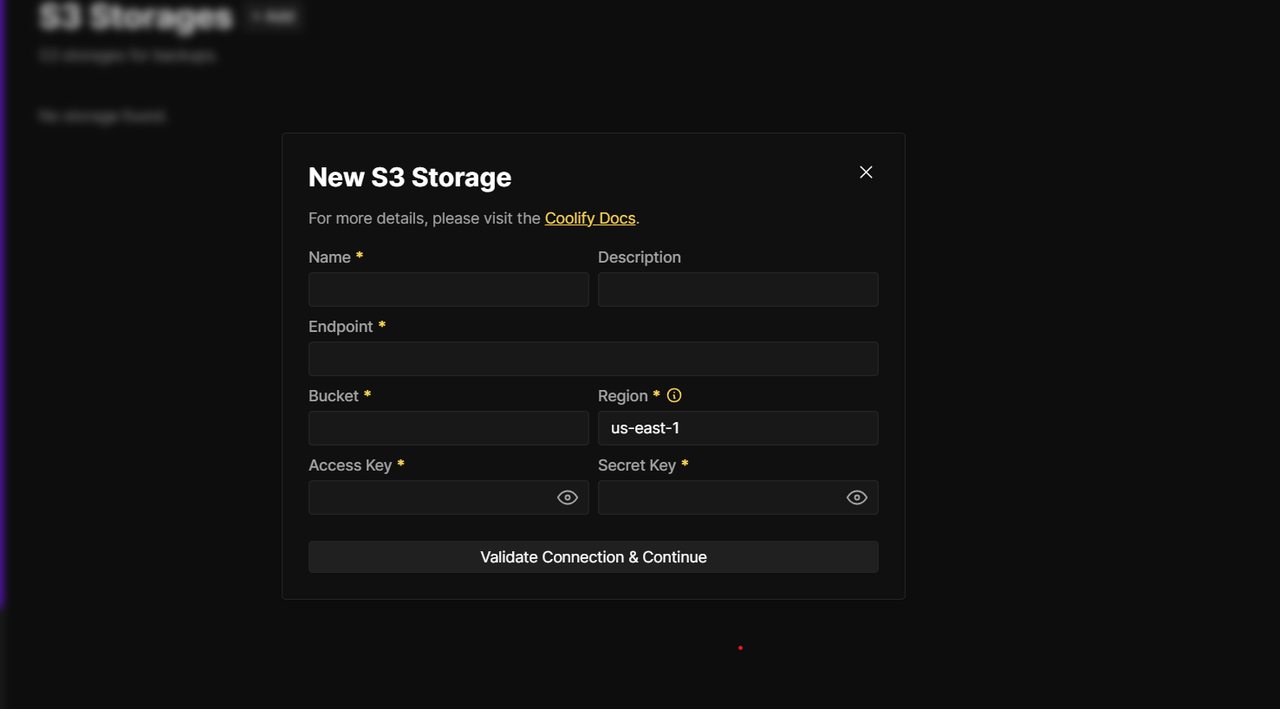
To add a new storage:
- Type your preferred storage name in the Name field.
- Enter a brief description in the Description field.
- Type the Hostname you noted earlier from the Vultr Object Storage dashboard in the Endpoint field.
- Enter the name of the bucket you created,
my-vultr-coolify-bucket, in the Bucket field. - Copy the Access Key from the Vultr Object Storage dashboard and paste it into the Access Key field.
- Copy the Secret Key from the Vultr Object Storage dashboard and paste it into the Secret Key field.
- Click the Validate Connection & Continue button.
After the storage has been added, you should see the storage details.
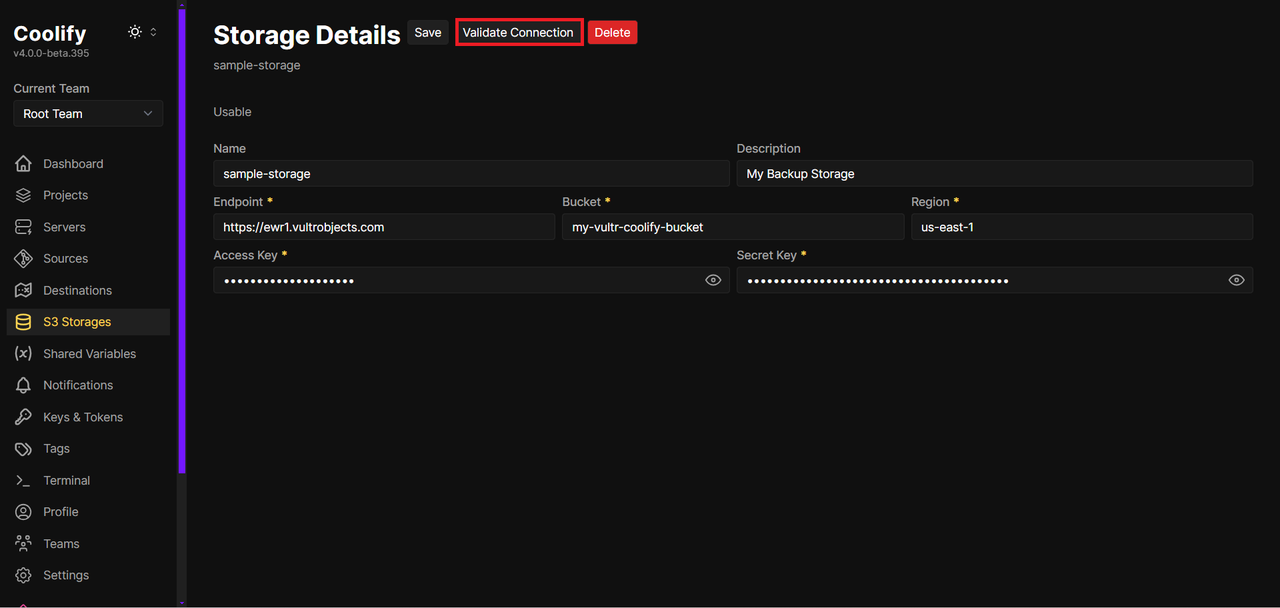
Test the connection, by clicking the Validate Connection button. If successful, you should see a notification that says
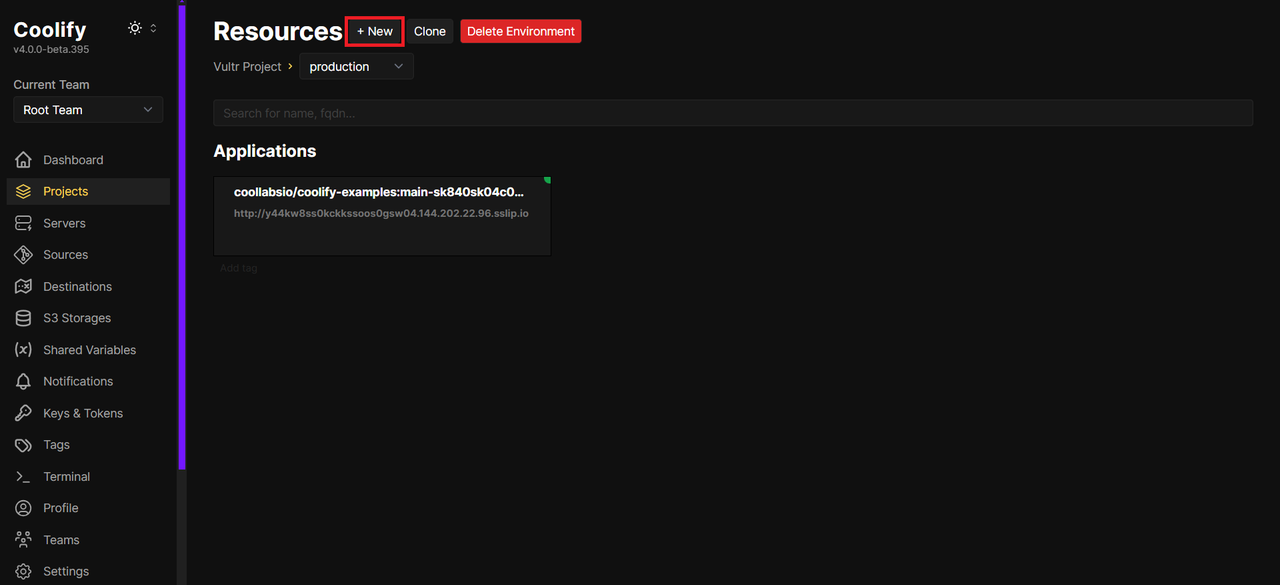
Connection is Working. Tested with "ListObjectsV2" actionon the dashboard.To integrate the backup storage with a database, navigate to the Projects section on the side menu and click your project.
Click the New button to add a new resource.
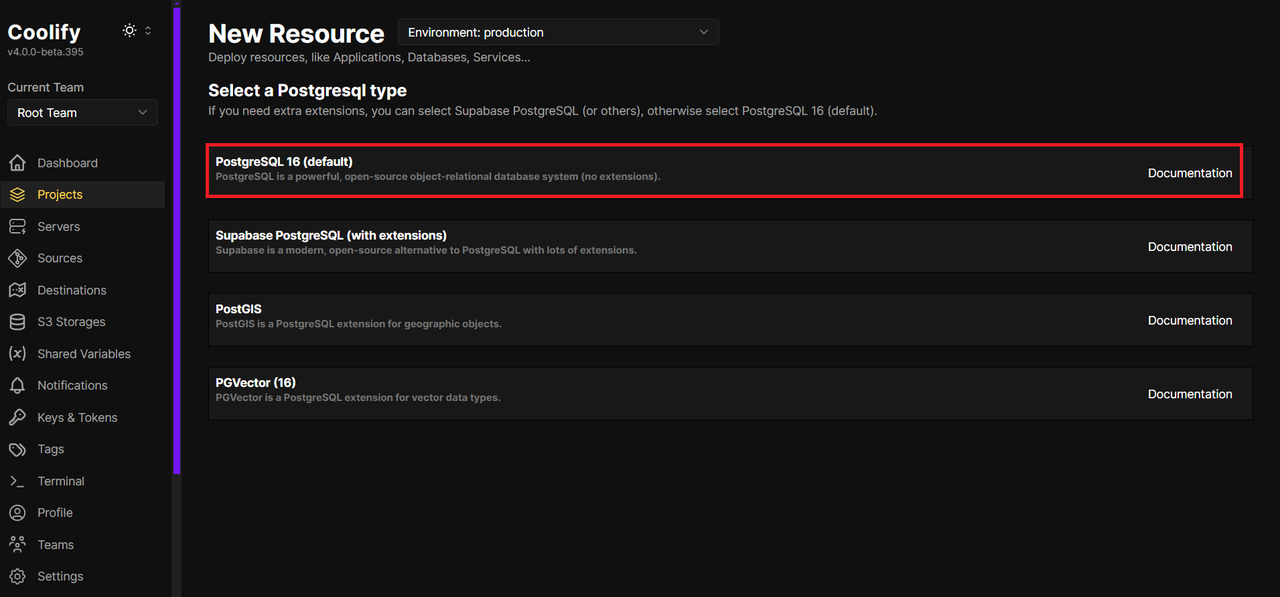
Scroll to the Database section and select PostgreSQL.
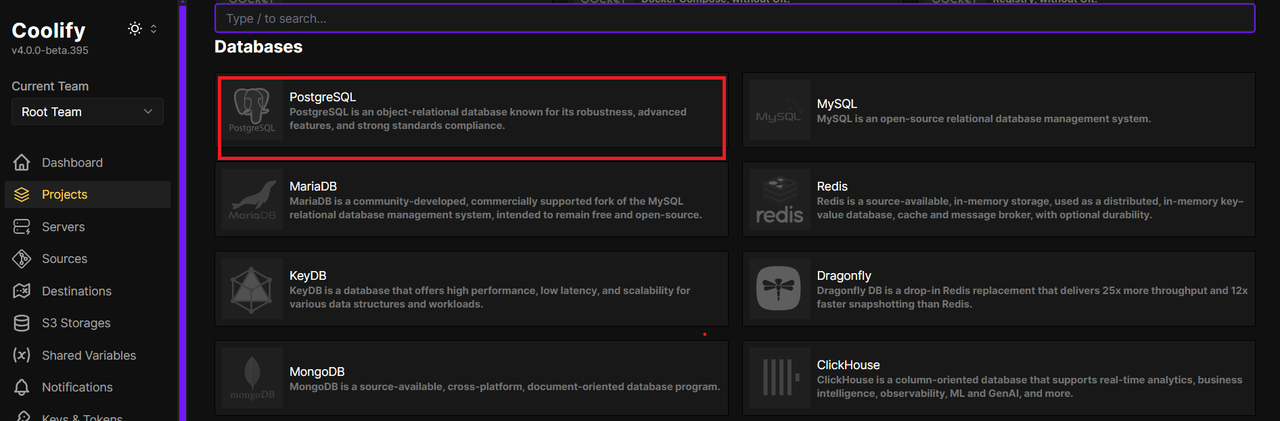
Choose the default Postgres 16 (default) option.
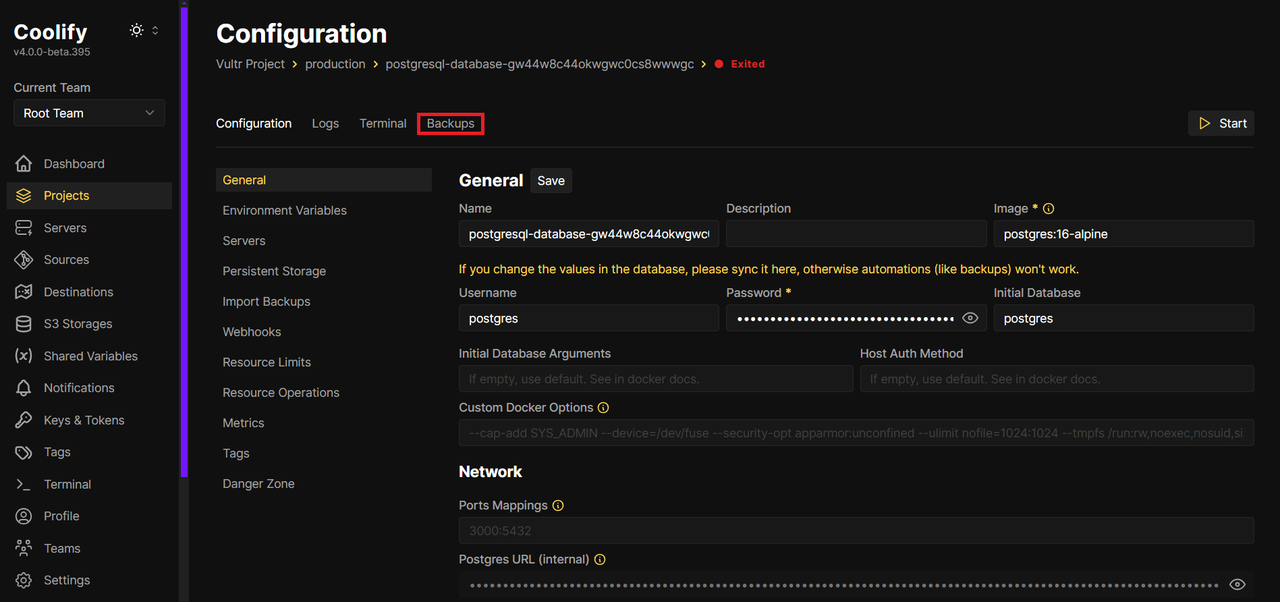
You will be directed to the Configuration section for the database. Click Backups to navigate to the backup section.
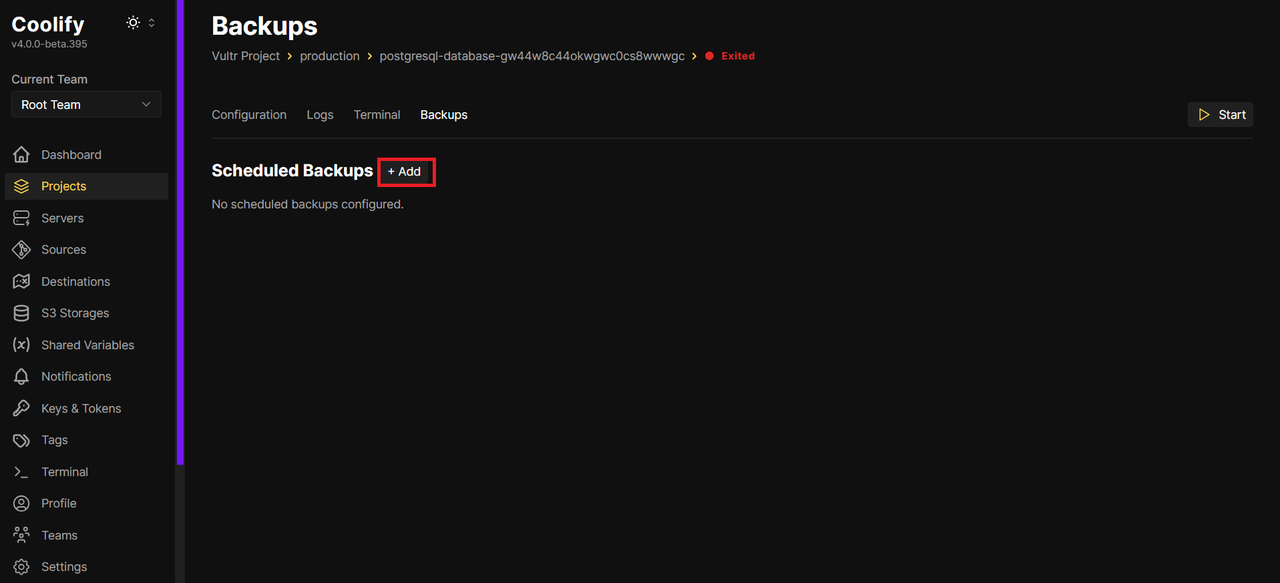
Click the Add button to add a backup storage.
Set your preferred backup frequency for example, daily. Enable the Save to S3 checkbox and select the storage,
sample-storage, that was created earlier.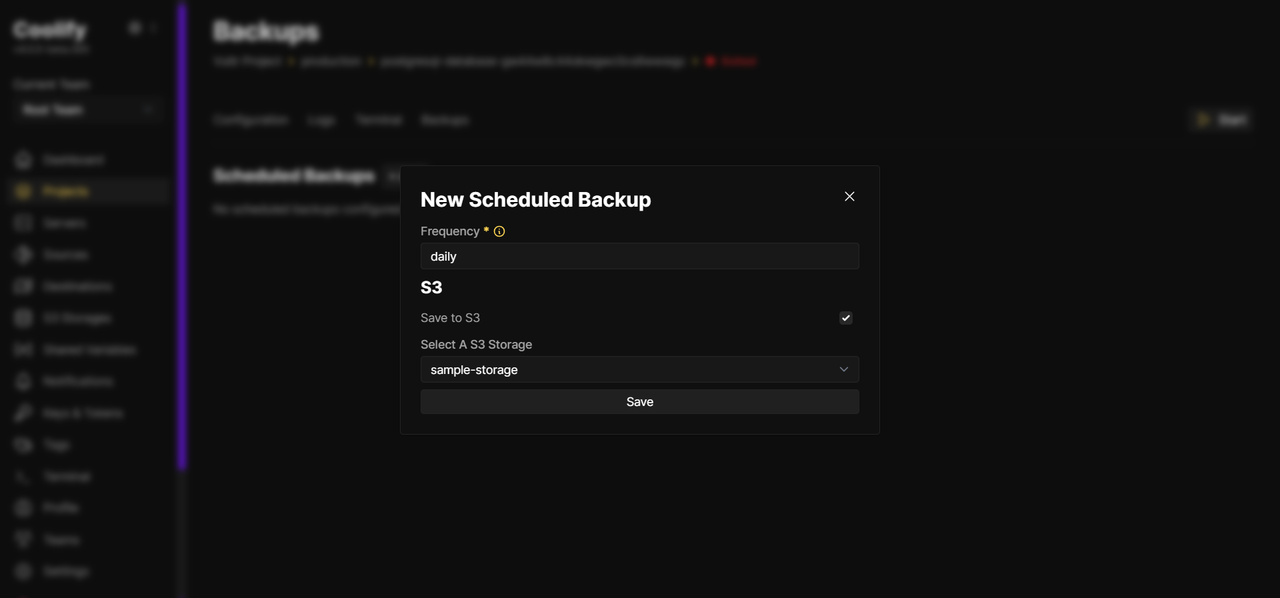
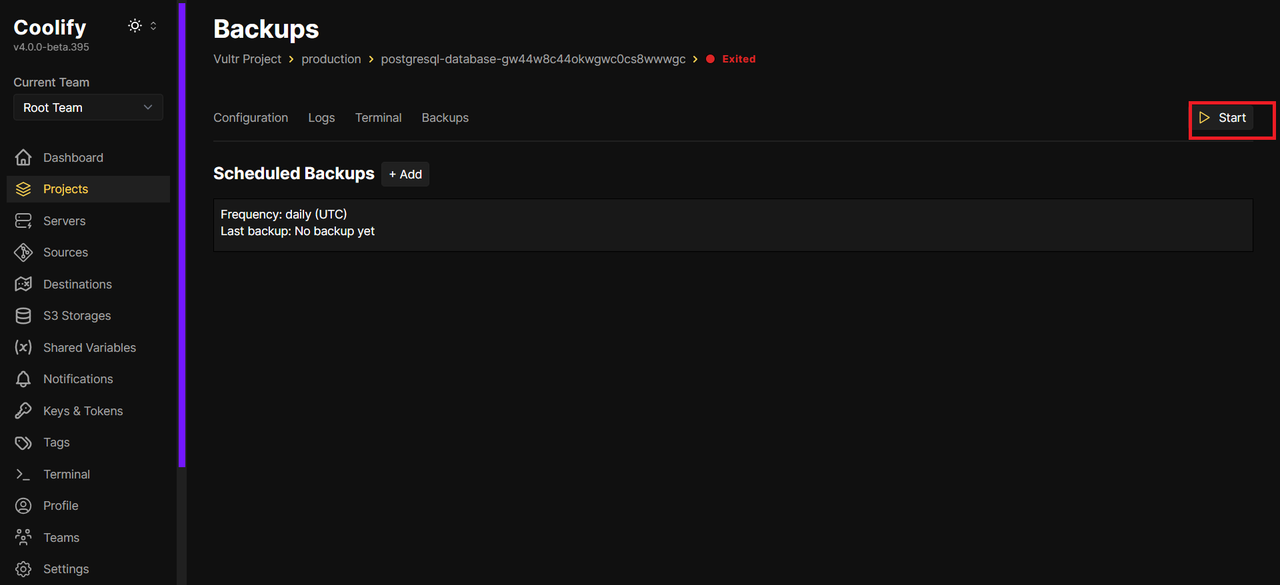
Click the Save button to apply the changes. If successful you should see the newly created scheduled backup.
Click the Start button to start the database.
If successful, you should see
Database finishedat the end of the Database Startup logs.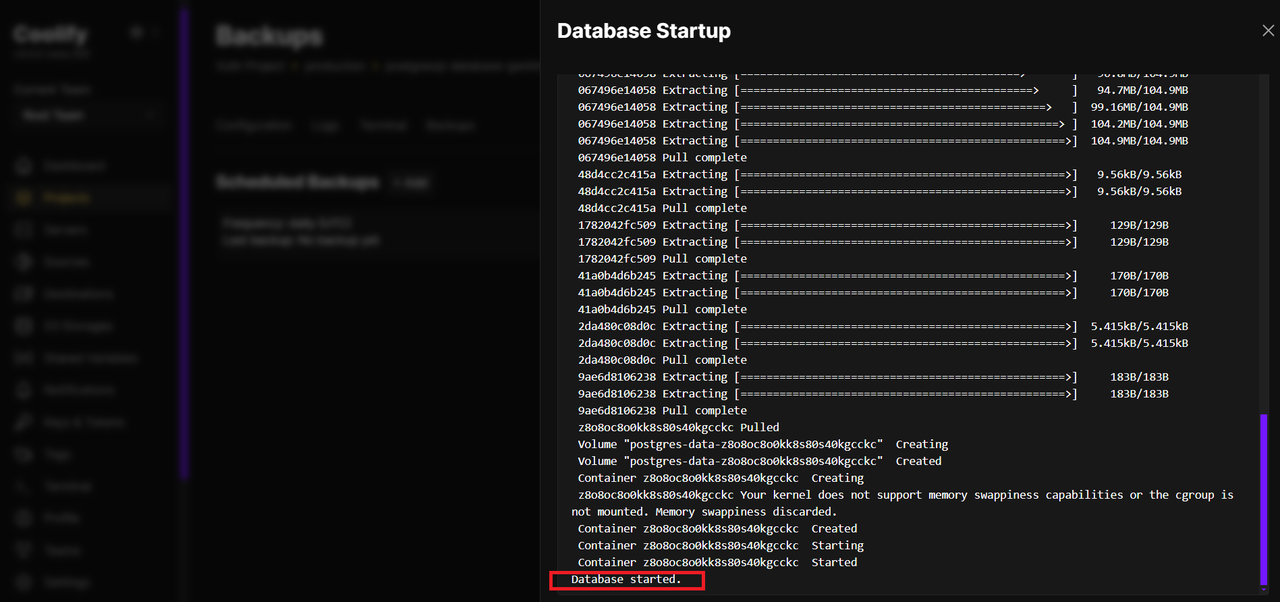
Conclusion
You have deployed the Vultr Coolify Marketplace Application, explored its core features, and accessed the Coolify dashboard. You created an administrator account, set up a project, and deployed an application within the project. Vultr's Coolify Marketplace Application provides a streamlined way to set up a self-hosted Platform as a Service (PaaS) without the complexity of server and deployment management.