
How to Use Vultr’s Ubuntu Desktop (Gnome) Marketplace Application

Vultr's Ubuntu Desktop (Gnome) marketplace application enables a remote graphical desktop environment you can use to perform desktop tasks including installing and manage applications or files. Gnome is a graphical user interface (GUI) for Linux that offers a user-friendly interface, improved application support and enhanced features.
Follow this guide to use Vultr's Ubuntu Desktop (Gnome) Marketplace Application to create a remote desktop instance and access it using the VNC (Virtual Network Computing) protocol.
Deploy Vultr's Ubuntu Desktop (Gnome) Marketplace Application
Follow the steps below to deploy a Vultr Cloud Compute instance using the Vultr's Ubuntu Desktop (Gnome) marketplace application.
Log in to the Vultr Console.
Choose your desited instance type such as Dedicated CPU.
Select your desired Vultr location.
Select the instance's server plan.
Click Configure set up the instance's software.

Navigate to the Marketplace Apps tab and enter
gnomein the search field.
Select the Ubuntu Desktop (Gnome) image.
Enter your desired username in the desktopuser field.

Select any Additional Features to enable on the instance.
Verify the instance summary and click Deploy to provision the instance.
Wait for the instance status to change to Running and click the instance name to open its management page.

Vultr's Ubuntu Desktop (Gnome) Marketplace Application Features and Benefits
An Ubuntu Gnome desktop offers multiple features and benefits that ensure optimal performance and remote access. Vultr's Ubuntu desktop (Gnome) marketplace application offers the following features and benefits after deployment.
- Customization: You can personalize the Gnome desktop with extensions to modify themes, layouts, and add extra functionalities to match your needs.
- Remote Access: You can access the remote Ubuntu Gnome desktop interface with VNC using the default credentials in the instance's management page.
- Remote Workstation: You can run desktop applications remotely, such as LibreOffice, web browsers, and IDEs for improved productivity and task management.
- Remote Testing: You can use the remote Gnome desktop to test GUI-based applications to ensure optimal performance in all environments.
Access and Use the Remote Ubuntu Gnome Desktop
You can access and use the remote Ubuntu Gnome desktop interface with a VNC client or viewer on your workstation. Supported VNC clients include TightVNC, TigerVNC, and NoMachine applications. In addition, you can use the Vultr Console to create a VNC connection to the instance without any additional software. Follow the steps below to remotely access your remote Ubuntu Gnome desktop using the Vultr Console.
Click the Vultr Cloud Compute instance to open its management page.
Navigate to the App Instructions section and verify the default desktop and VNC credentials.

Within the instructions:
- Desktop: Includes the Linux user credentials to use when logging in to the remote desktop.
- VNC: Includes the default credentials to use when connecting to the instance with a VNC client.
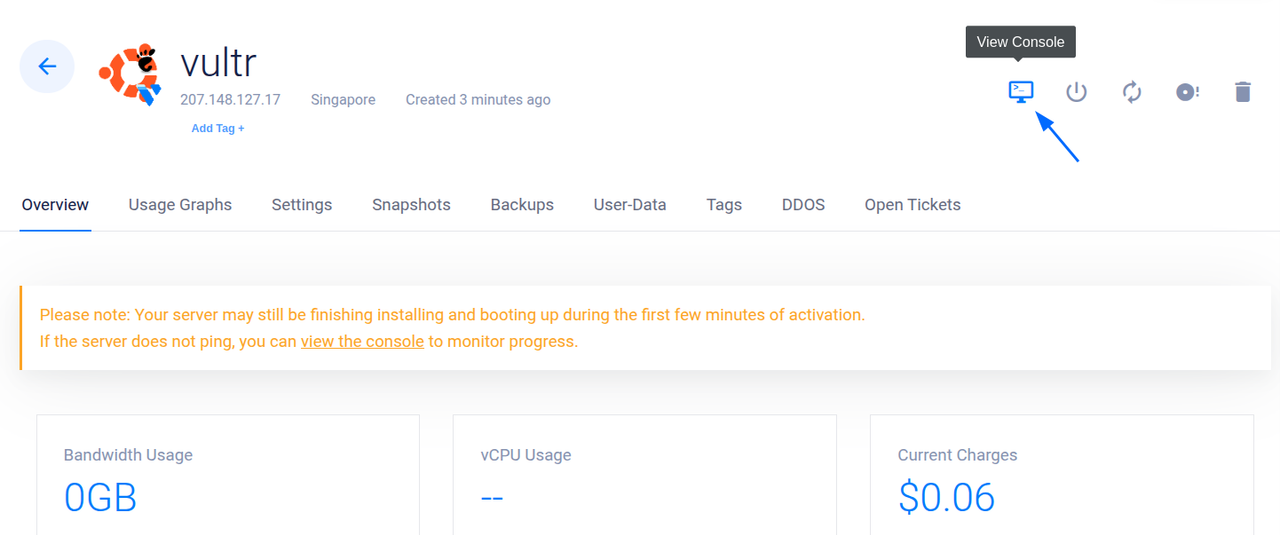
Click the View Console option within the instance's management page to open the Vultr Console.
Select your user, and enter the default password displayed in the App Instructions section to log in.

Verify that the default Gnome Initial Setup window displays in your session and click Start Setup.

Select your keyboard layout and follow the prompts to complete the Gnome setup.

Click Don't Upgrade to use your default Ubuntu OS version or click Yes, Upgrade Now to update a newer version.

Restart the server when prompted to apply the version update.
Click Activities and open the applications menu on your Gnome desktop.
Conclusion
You have deployed an Ubuntu GNOME desktop using Vultr's Marketplace Application and accessed it using VNC with the Vultr Console. You can use VNC clients such as VNC viewer, Tiger VNC, and Tight VNC to connect to the remote desktop instance. You can use the remote desktop to install applications and manage multiple files on the instance. For more information and developer options, visit the Gnome documentation.