
How to Use Vultr’s Ubuntu Desktop (XFCE) Marketplace Application.
Vultr's Ubuntu Desktop (XFCE) marketplace application is a preconfigured image that contains the Ubuntu operating system, the XFCE desktop environment, and a VNC Server. XFCE is a desktop environment for Linux, which makes it ideal to run a remote desktop workstation on a Vultr Cloud Compute instance. VNC (Virtual Network Computing) is a cross-platform screen-sharing system that allows you to connect and log in to remote desktops over the Internet.
Follow this guide to use Vultr's Ubuntu Desktop (XFCE) marketplace application to create a remote desktop instance.
Deploy the Ubuntu Desktop (XFCE) Marketplace Application on Vultr
Open the Vultr Console.
Navigate to Products and select Compute from the list of options.
Select your desired instance type, such as Optimized Cloud Compute or Cloud Compute.
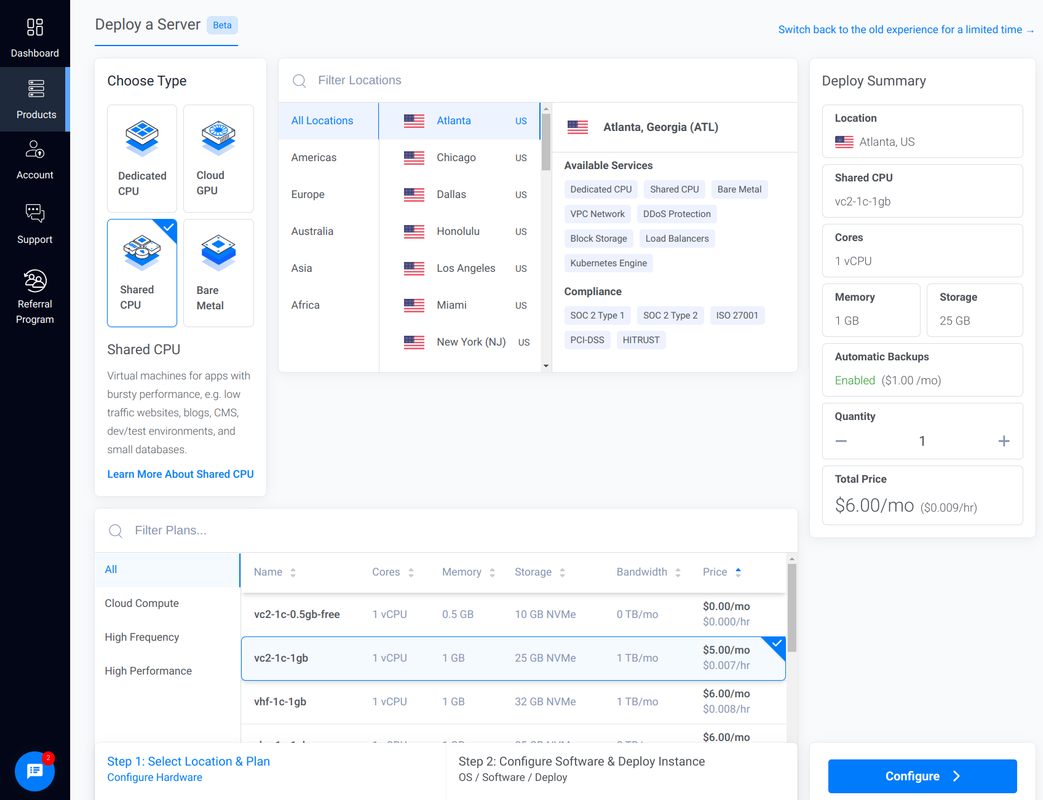
Select your target Vultr location to deploy the instance.
Select your instance specifications and click Configure Software.
Navigate to Marketplace Apps.
Enter
Ubuntuin the Search Apps field and press Enter to search.Select Ubuntu Desktop (XFCE) from the list of options.
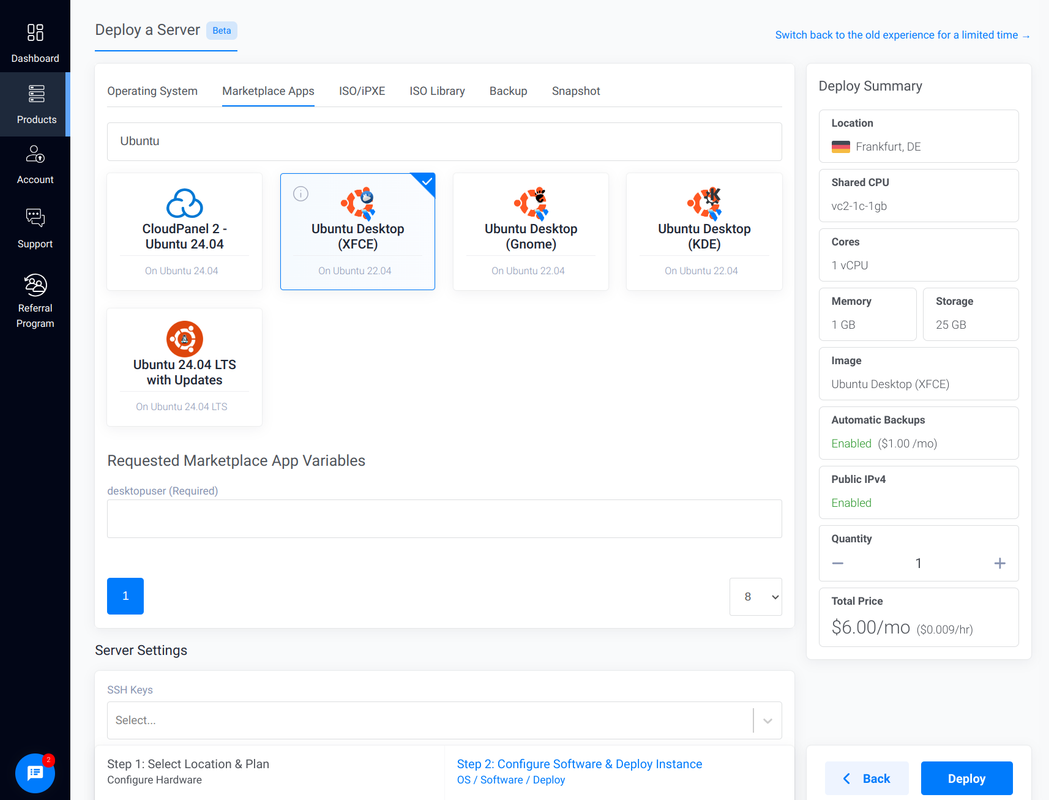
Enter your desired username in the
desktop userfield, such asexample-user.Optional: Select your SSH Key, Startup script, or firewall group to enable on the instance.
Enter your instance hostname in the Server 1 Hostname field.
View the Deploy Summary to verify your instance specifications.
Click Deploy to create the Vultr Cloud Compute instance.
Access the Ubuntu XFCE Desktop Using VNC
Follow the steps below to access the Ubuntu XFCE Desktop using a VNC client such as TigerVNC on your workstation.
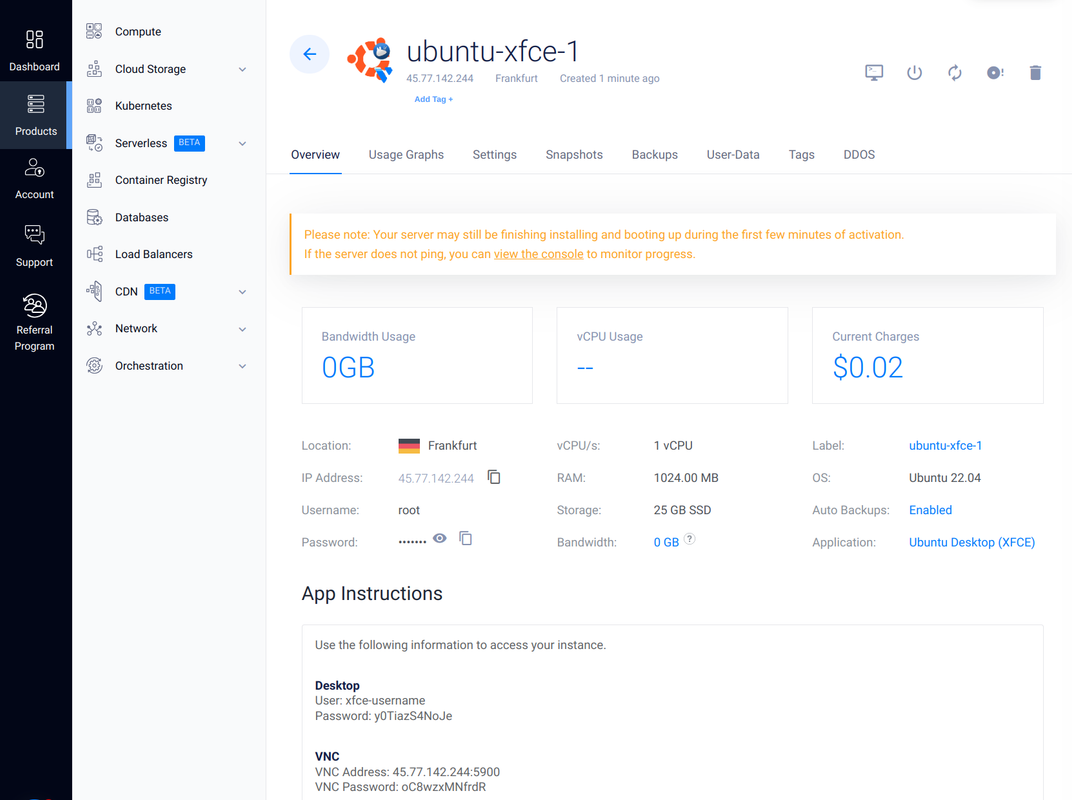
Open your Vultr Cloud Compute instance's management page and note the following connection information within the App Instructions section.
- User: Desktop user you created during deployment. For example,
linuxuser. - Password: Auto-generated password to log in as the desktop user. For example,
##EXAMPLE@@@. - VNC Address: VNC connection URL to access the Ubuntu XFCE Desktop. For example,
192.0.2.123:5900. - VNC Password: VNC connection password to establish VNC sessions. For example,
##EXAMPLE@@@.
- User: Desktop user you created during deployment. For example,
Install the TigerVNC view application on your workstation.
Open TigerVNC viewer from your applications menu.
Enter your Vultr Cloud Compute instance's VNC address in the VNC Server field. For example,
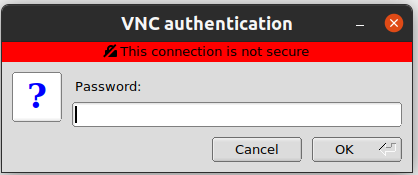
192.0.2.100:5900and click Connect.Enter the VNC password when prompted and click OK to continue.
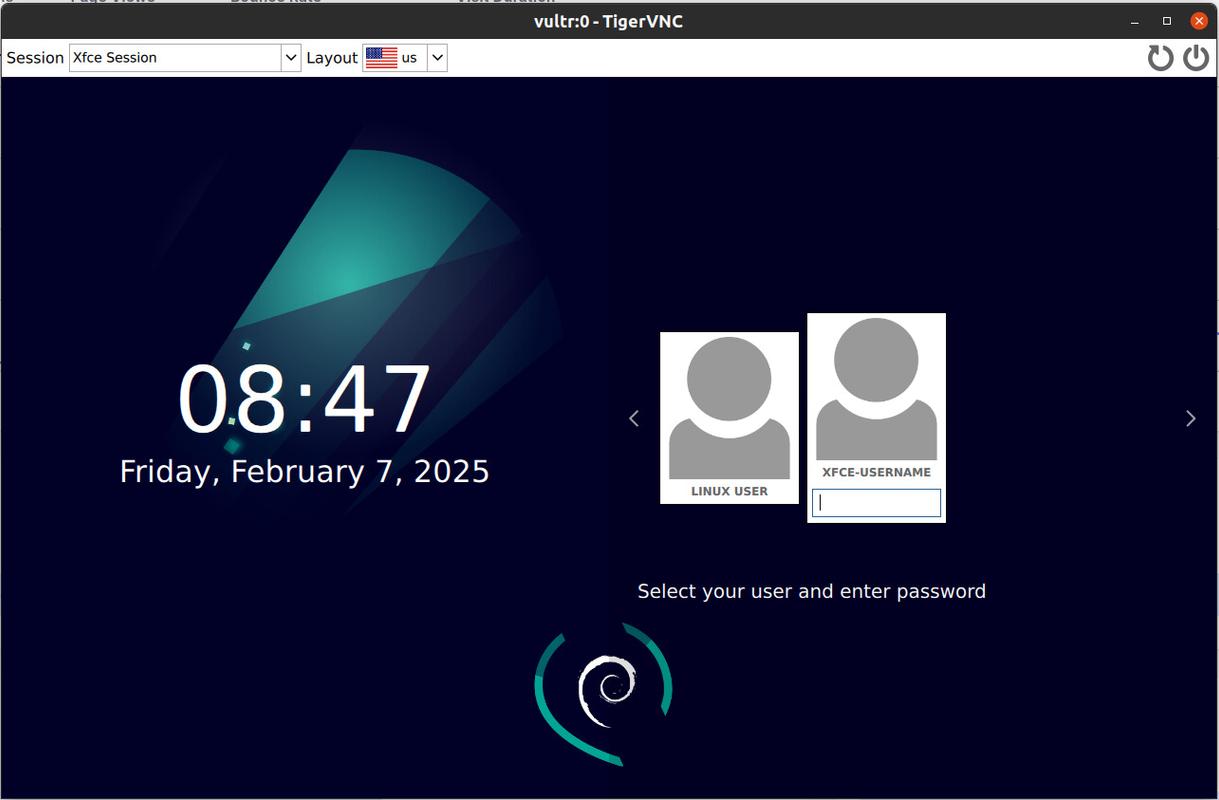
Verify that the Ubuntu XFCE desktop login page displays in your VNC session.
Click your desktop user and enter the user password to log in.
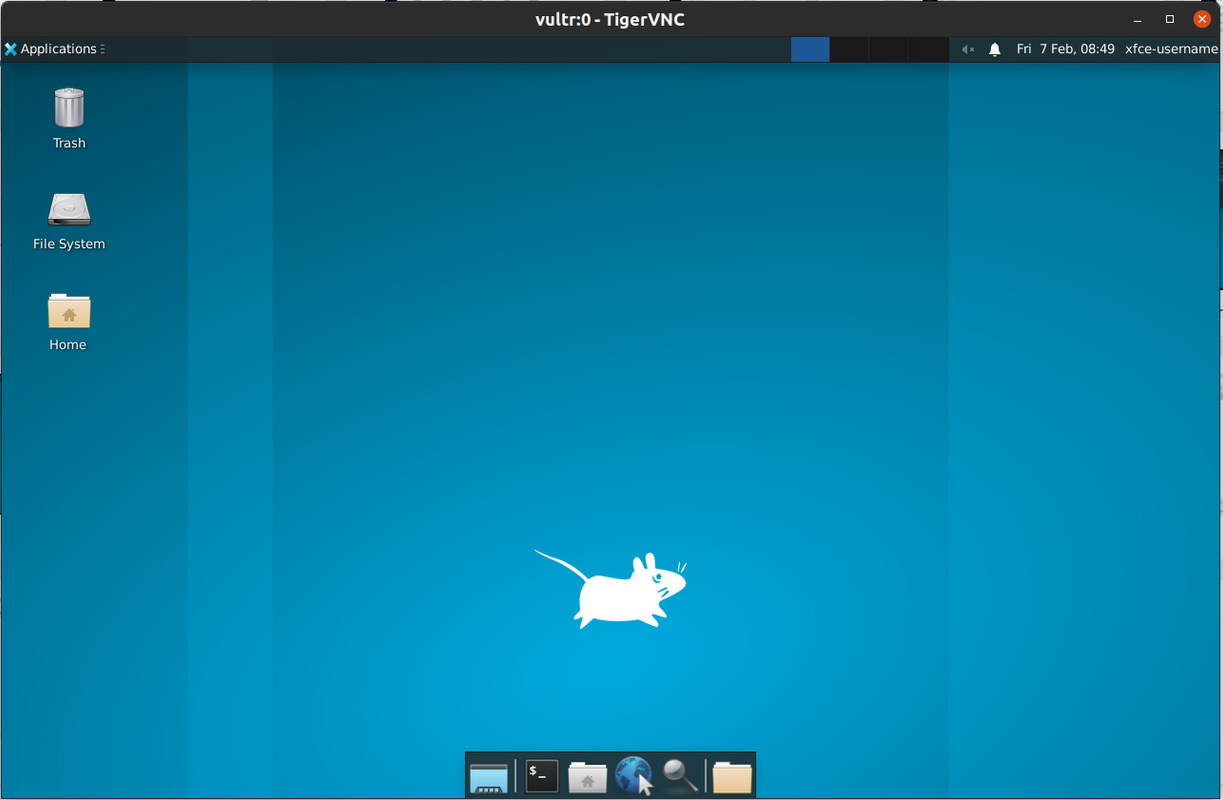
Verify that the Ubuntu XFCE desktop interface displays and click Applications to open applications on your server.
Change the Ubuntu XFCE Desktop Resolution
VNC does not support adaptive resolutions on your remote Ubuntu XFCE desktop by default. Follow the steps below to access the Ubuntu desktop settings and select your desired resolution.
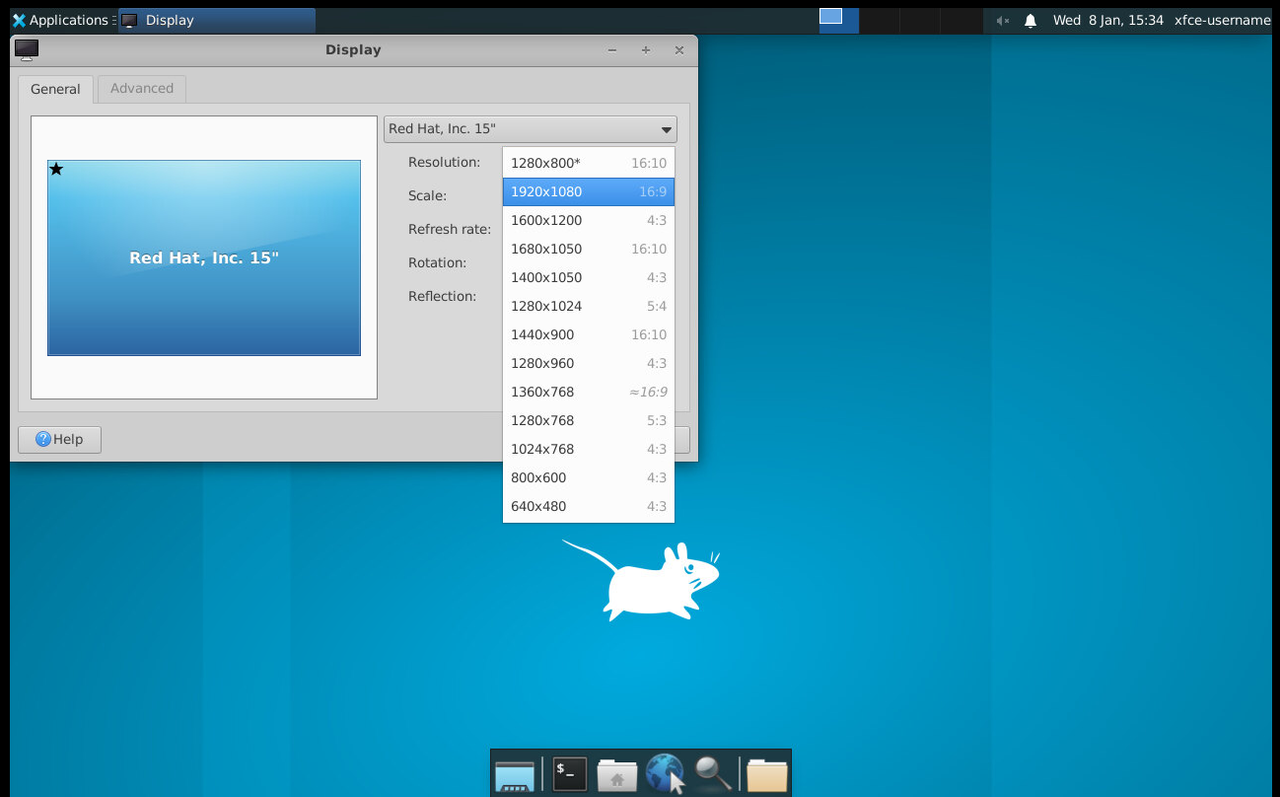
Click Applications in the top-right corner and select Settings -> Display from the list of options.
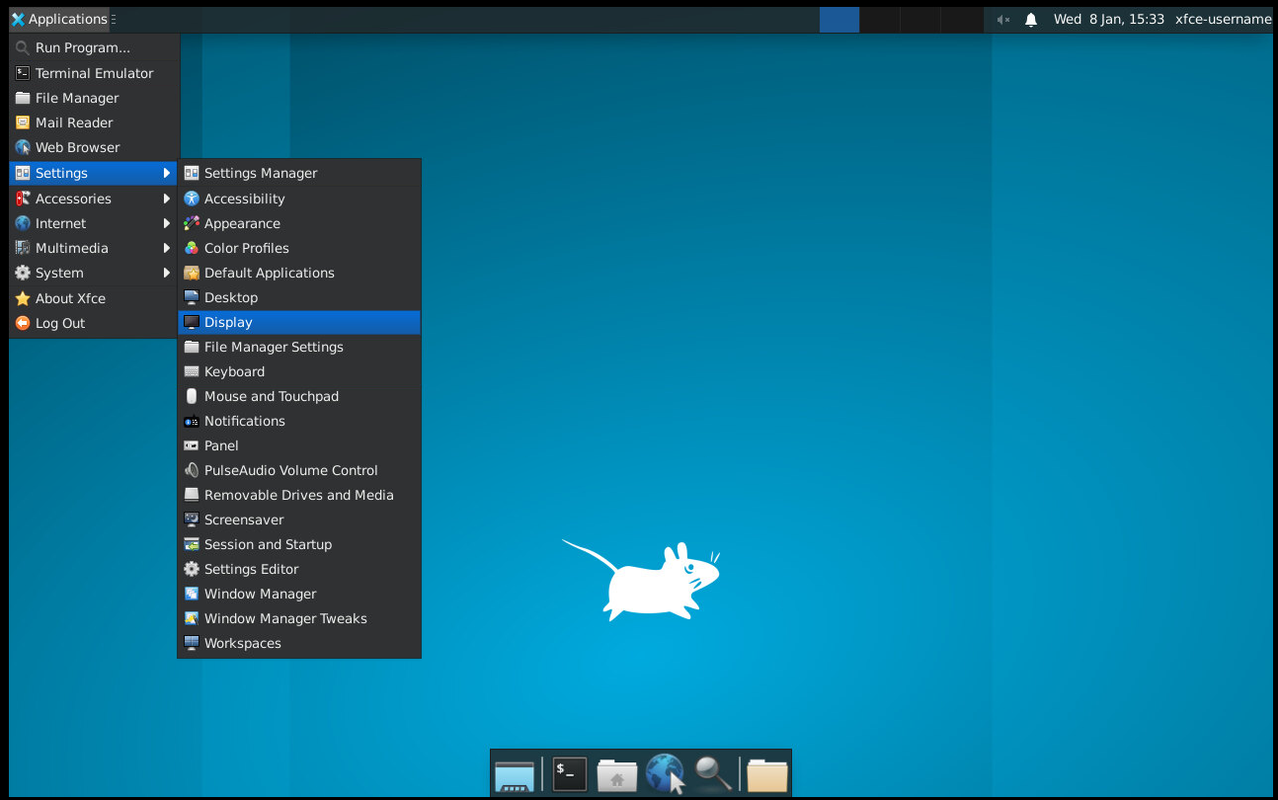
Click the Resolution drop-down to select your desired resolution from the list of options.
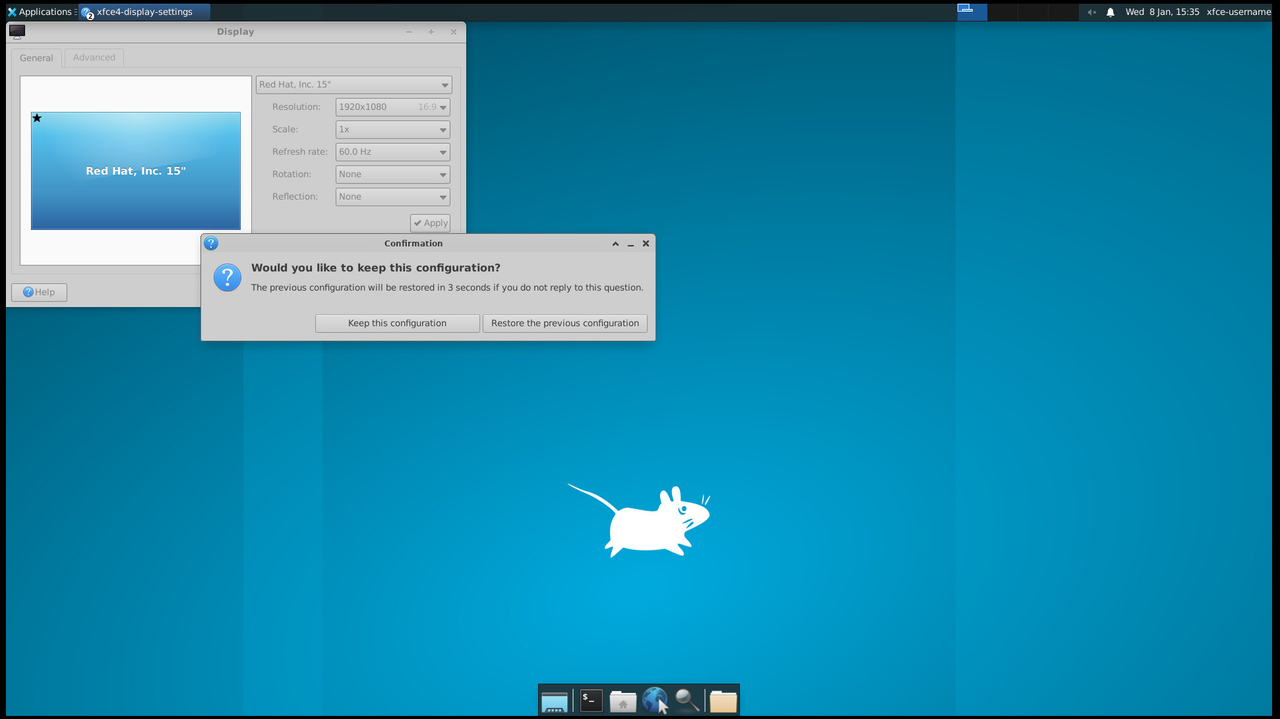
Verify the resolution changes and click Keep this configuration to apply the changes in your remote session.
Conclusion
You have deployed an Ubuntu XFCE Desktop instance using the Vultr Marketplace Application and accessed the instance using VNC to manage the remote desktop. You can install desktop applications, create users, and perform all system tasks within the remote desktop environment.