
How to Use Vultr's MongoDB Community Edition Marketplace Application
Introduction
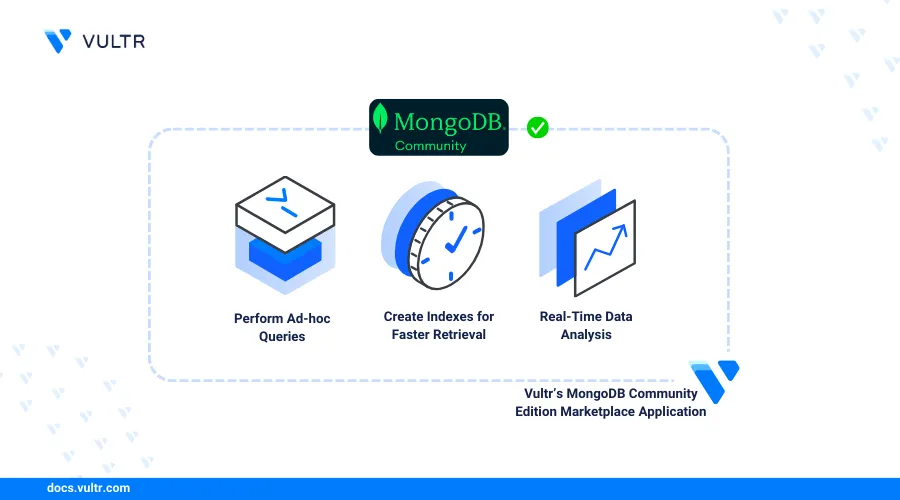
MongoDB Community Edition is an open-source version of the popular NoSQL database, offering a flexible document data model for storing information. Unlike traditional relational databases, it stores data in JSON-like documents, making it easy to work with complex data structures. You can leverage MongoDB Community Edition for local development or cloud deployments, allowing you to perform ad-hoc queries, create indexes for faster retrieval, and carry out real-time data analysis.
This guide explains how to use the Vultr MongoDB Community Edition marketplace application. You will install the MongoDB Shell and MongoDB Compass to connect to your MongoDB server.
Deploy MongoDB Community Edition
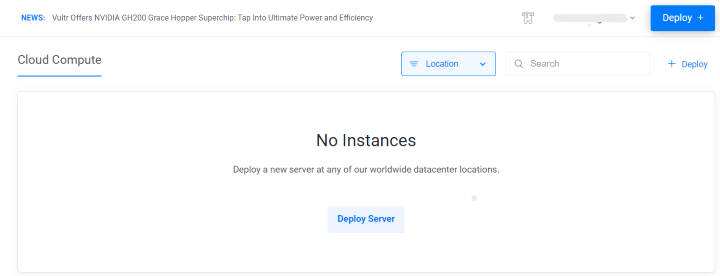
Login to your Vultr account and click the Deploy button.
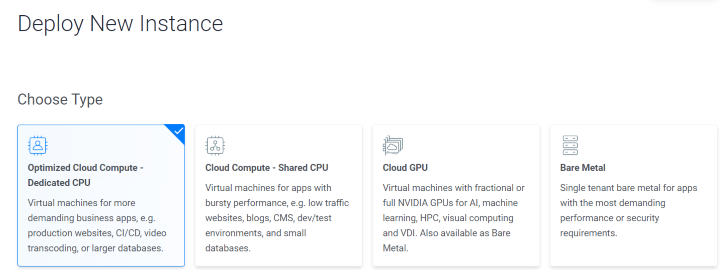
Start the deployment of a new instance by selecting a Server type.
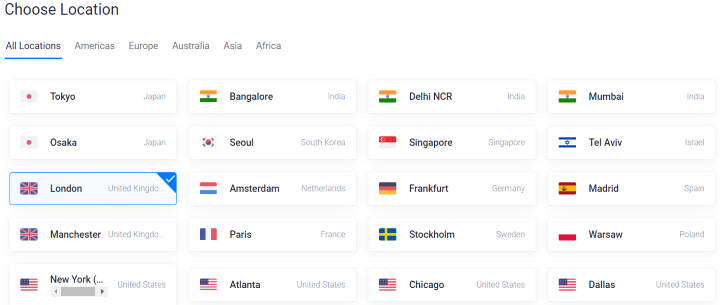
Choose a nearby location that is available to you.
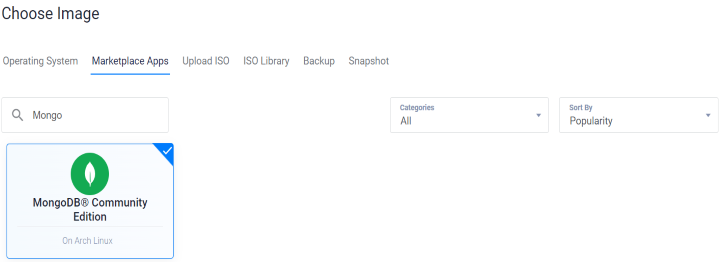
Select the MongoDB Community Edition marketplace application image.
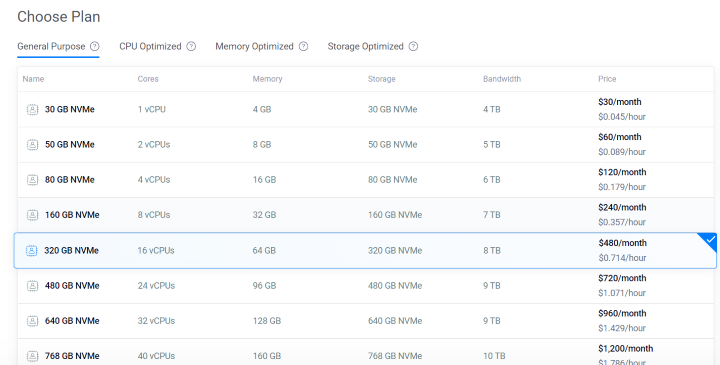
Select a server size as per your requirements.
 .
.Press the Deploy Now button to start the instance deployment.
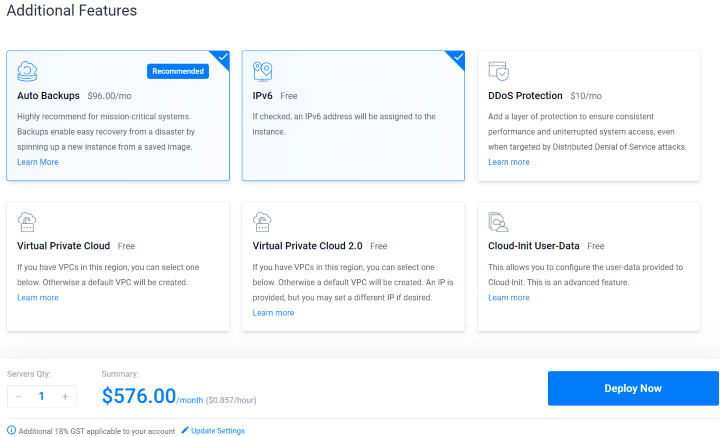
It's recommended to enable auto backups as they prevent data loss.
Once the instance is deployed go to the server details.
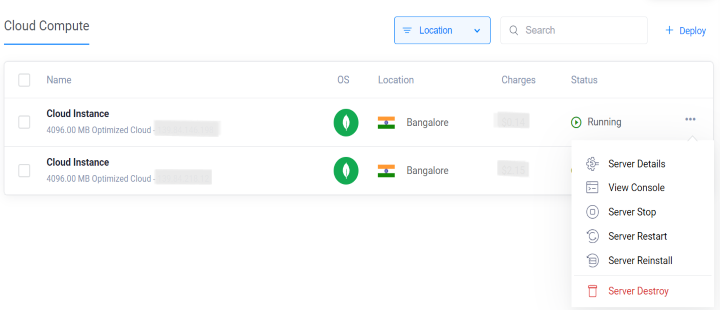
The deployment may take a few minutes to fully complete, and you can follow the initialization process on the instance console.
Access via MongoDB Shell
The MongoDB Shell is a command-line interface (CLI) provided by MongoDB, enables users to perform tasks like querying, updating, and managing databases and collections directly from the command line. It uses JavaScript syntax for scripting and executing complex operations within the shell. This section explains the steps to connect to your MongoDB server deployed using the marketplace application via MongoDB Shell. You will download MongoDB Shell on your workstation based on your requirements.
To connect to your MongoDB server using the marketplace application via MongoDB Shell, download MongoDB Shell on your workstation based on your requirements.
To connect to MongoDB instance with authentication, using the admin database for authentication. Access the value listed in your App Instructions section within the instance control panel, and copy the command.
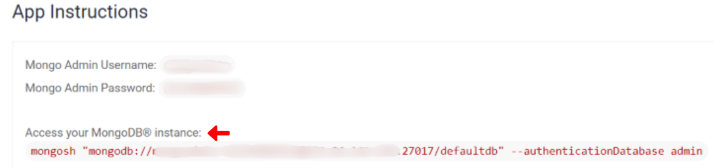
Once the MongoDB Shell is set up on your system, open your terminal/console and enter the following command you saved earlier.
console$ mongosh "mongodb://admin_username:admin_password@SERVER_IP:27017/defaultdb" --authenticationDatabase admin
Replace the
admin_username,admin_password, andSERVER_IPwith your actual server credentials.If the connection is successful, your output should look like this:
consoleCurrent Mongosh Log ID: 66200038fb5fc403d7ef634a Connecting to: mongodb://<credentials>@SERVER_IP:27017/?directConnection=true&authSource=admin& Using MongoDB: 7.0.8 Using Mongosh: 2.2.4 For mongosh info see: https://docs.mongodb.com/mongodb-shell/
Access via MongoDB Compass
MongoDB Compass is a graphical user interface (GUI) provided by MongoDB, offering users a visual representation of their data. It facilitates easy navigation through collections, execution of queries, and manipulation of data compared to using the command-line interface. This section explains the steps to connect to your MongoDB server deployed using the marketplace application via MongoDB Compass. You will download MongoDB Compass on your workstation based on your requirements.
To connect to your MongoDB server using the marketplace application via MongoDB Compass, download MongoDB Compass on your workstation based on your requirements.
Once MongoDB Compass is set up on your system, open the application and click on New connection, Enter your URL to connect to your MongoDB server.
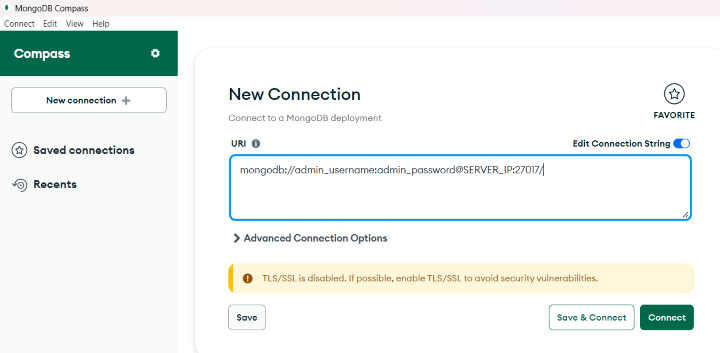
Replace the
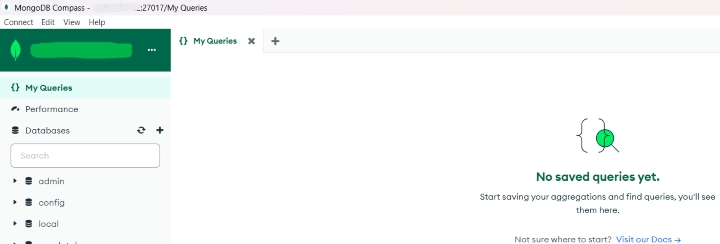
admin_username,admin_password, andSERVER_IPwith your actual server credentials, which are listed in the App Instructions section within the instance control panel.Once your MongoDB server successfully connects to MongoDB Compass, you can now interact with your databases.
Conclusion
In this guide, you deployed the Vultr MongoDB Community Edition marketplace application along with its specified requirements. Then, you connect your MongoDB server to MongoDB Shell for command-line interface (CLI) and MongoDB Compass for graphical user interface (GUI) using the marketplace application.