
How to Utilize Deno Sandboxes With Vultr
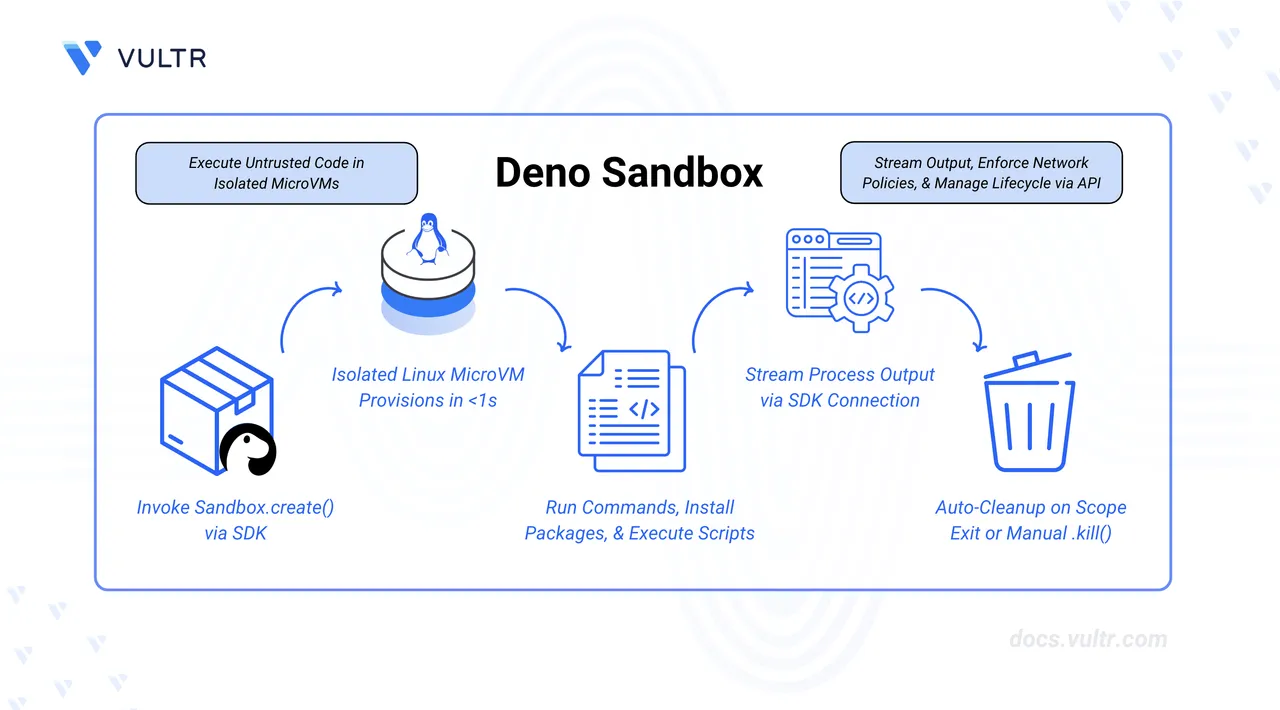
Deno Sandbox provides ephemeral Linux microVMs that boot in milliseconds and are fully controllable via an SDK (JavaScript, TypeScript, Python) or REST API. Each sandbox runs in its own Firecracker microVM with complete isolation, making it ideal for executing untrusted code, building AI agent infrastructure, or creating secure development environments. Deno Deploy, which powers the Sandbox infrastructure, is built on Vultr and runs across Vultr Bare Metal, Cloud Compute, and Cloud GPU infrastructure globally.
This guide outlines how to use the @deno/sandbox TypeScript SDK to create isolated microVMs, execute shell commands, run JavaScript code, manage files, and expose HTTP services. It also demonstrates a practical use case by building a code execution agent that integrates with Vultr Serverless Inference.
Prerequisites
Before you begin, you need to:
- Have access to a Linux-based server as a non-root user with sudo privileges.
- Have a Deno Deploy account with a verified organization or an organization on the Pro plan. Sandboxes are not available for unverified free-tier organizations.
Install Deno on Linux
Deno provides a unified installation method that works across all Linux distributions, including Ubuntu, Debian, RHEL, Fedora, and Rocky. The installation uses a shell script that downloads and configures the Deno runtime on your system.
Download and execute the Deno installation script.
console$ curl -fsSL https://deno.land/install.sh | sh
The script downloads the latest Deno release and installs it to
$HOME/.deno/bin. The installer prompts you to automatically configure your PATH or enable shell completions. Accept these prompts.Add the Deno installation directory to your Bash configuration.
console$ echo 'export DENO_INSTALL="$HOME/.deno"' >> ~/.bashrc
Add the Deno binary path to your system PATH.
console$ echo 'export PATH="$DENO_INSTALL/bin:$PATH"' >> ~/.bashrc
Apply the configuration changes to your current shell session.
console$ source ~/.bashrc
Verify the installation.
console$ deno --version
The output displays the installed Deno, TypeScript, and V8 versions.
Obtain a Deno Deploy Access Token
The @deno/sandbox SDK authenticates using an organization token from Deno Deploy. Generate this token from the dashboard.
Navigate to console.deno.com and sign in.
Select your organization or create a new one.
Open Settings from the top navigation bar.
Scroll down to the Organization Tokens section.
Click + Create a new token.
Enter a description for the token in the Description field.
Select an expiration period from the Expires In dropdown. Choose a duration based on your security requirements.
Click Create token.
Copy the generated token and store it securely. The token is only displayed once.
Export the token as an environment variable in your terminal.
console$ export DENO_DEPLOY_TOKEN=YOUR_ACCESS_TOKEN
Replace
YOUR_ACCESS_TOKENwith the token you copied.
Initialize the Project
Create a new project directory and configure Deno to use the sandbox SDK.
Create a project directory.
console$ mkdir deno-sandbox-demo
Navigate into the project directory.
console$ cd deno-sandbox-demo
Add the
@deno/sandboxpackage to your project.console$ deno add jsr:@deno/sandbox
This creates a
deno.jsonfile with the dependency configured.
Create Your First Sandbox
A sandbox is an ephemeral Linux microVM that exists for the duration of your script. The await using syntax ensures the sandbox is automatically destroyed when the block exits.
Create a new file named
main.ts.console$ nano main.ts
Add the following code to create a sandbox and run a shell command.
typescriptimport { Sandbox } from "@deno/sandbox"; await using sandbox = await Sandbox.create(); console.log("Sandbox created successfully"); console.log("Sandbox ID:", sandbox.id); const output = await sandbox.sh`uname -a`.text(); console.log("System info:", output);
Save and close the file.
This example demonstrates core sandbox functionality:
- Import the Sandbox class: Loads the Deno Sandbox SDK module.
- Create a sandbox: Instantiates an ephemeral Linux microVM using
await usingfor automatic cleanup. - Display sandbox information: Shows the unique sandbox ID for tracking.
- Execute a shell command: Runs
uname -ainside the sandbox to retrieve system information.
Run the script. The
--allow-netand--allow-envflags grant network access for the Deploy API and environment variable access for authentication.console$ deno run --allow-net --allow-env main.ts
The output displays the sandbox ID and Linux kernel information from inside the microVM.
Execute Shell Commands
The sandbox provides a full Linux environment with common utilities pre-installed. Execute commands using the sh template literal or the spawn method for more control.
Create a file named
shell_demo.ts.console$ nano shell_demo.ts
Add the following code to demonstrate various shell operations.
typescriptimport { Sandbox } from "@deno/sandbox"; await using sandbox = await Sandbox.create(); const pwd = await sandbox.sh`pwd`.text(); console.log("Working directory:", pwd.trim()); const files = await sandbox.sh`ls -la /`.text(); console.log("Root directory contents:\n", files); const result = await sandbox.sh`echo $((21 * 2))`.text(); console.log("Calculation result:", result.trim()); const denoVersion = await sandbox.sh`deno --version`.text(); console.log("Deno version:\n", denoVersion);
Save and close the file.
This example demonstrates different shell command capabilities:
- Working directory: Displays the current working directory within the sandbox.
- List root directory: Shows the contents of the root directory using
ls -la. - Run a calculation: Executes a shell arithmetic operation using bash expansion.
- Check available tools: Verifies that Deno is pre-installed in the sandbox environment.
Run the script.
console$ deno run --allow-net --allow-env shell_demo.ts
Evaluate JavaScript Code
The sandbox can execute JavaScript and TypeScript code directly using the deno.eval method. This is useful for running dynamically generated code or for building code-interpreter features.
Create a file named
eval_demo.ts.console$ nano eval_demo.ts
Add the following code to evaluate JavaScript expressions.
typescriptimport { Sandbox } from "@deno/sandbox"; await using sandbox = await Sandbox.create(); const sum = await sandbox.deno.eval(` const a = 10; const b = 20; a + b; `); console.log("Sum result:", sum); const data = await sandbox.deno.eval(` const items = [1, 2, 3, 4, 5]; const doubled = items.map(x => x * 2); JSON.stringify({ original: items, doubled }); `); console.log("Array operations:", data); const result = await sandbox.deno.eval(` const greet = (name) => \`Hello, \${name}!\`; greet("Vultr"); `); console.log("Greeting:", result);
Save and close the file.
This code demonstrates three JavaScript evaluation scenarios:
- Simple expression: Evaluates a basic arithmetic operation and returns the result.
- Array operations: Creates an array, transforms it using
map(), and returns a JSON string. - Modern JavaScript features: Uses arrow functions and template literals to create a greeting function.
Run the script.
console$ deno run --allow-net --allow-env eval_demo.ts
The script executes successfully and displays the results. You may see "error: unexpected end of file" messages in the output. These are stderr messages from the sandbox environment and do not affect the execution or results.
Expose HTTP Services
The sandbox can run web servers and expose them to the public internet via secure HTTPS URLs. This enables live previews and webhook endpoints.
Create a file named
http_demo.ts.console$ nano http_demo.ts
Add the following code to start a web server inside the sandbox and expose it publicly.
typescriptimport { Sandbox } from "@deno/sandbox"; await using sandbox = await Sandbox.create(); await sandbox.fs.writeTextFile("server.ts", ` Deno.serve({ port: 8000 }, (req) => { const url = new URL(req.url); if (url.pathname === "/") { return new Response("Hello from Deno Sandbox!", { headers: { "content-type": "text/plain" } }); } if (url.pathname === "/json") { return Response.json({ message: "Hello from the sandbox", timestamp: new Date().toISOString(), runtime: "Deno" }); } return new Response("Not Found", { status: 404 }); }); `); const server = await sandbox.spawn("deno", { args: ["run", "--allow-net", "server.ts"], stdout: "piped", stderr: "piped", }); await new Promise((resolve) => setTimeout(resolve, 2000)); const url = await sandbox.exposeHttp({ port: 8000 }); console.log("Server is live at:", url); console.log("Try visiting:"); console.log(` ${url}`); console.log(` ${url}/json`); console.log("\nServer will run for 60 seconds..."); await new Promise((resolve) => setTimeout(resolve, 60000));
This example demonstrates HTTP service exposure:
- Write a server file: Creates a Deno HTTP server with multiple routes.
- Start the server: Runs the server in the background and captures its output.
- Wait for startup: Allows the server time to initialize.
- Expose publicly: Generates a secure HTTPS URL to access the server from anywhere.
- Keep alive: Maintains the sandbox and server for 60 seconds before automatic cleanup.
Save and close the file.
Run the script.
console$ deno run --allow-net --allow-env http_demo.ts
The output displays a public URL. Open this URL in a web browser to access the server running inside the sandbox.
Configure Sandbox Options
Customize the sandbox by specifying memory allocation, region, network restrictions, and environment variables.
Create a file named
config_demo.ts.console$ nano config_demo.ts
Add the following code to demonstrate configuration options.
typescriptimport { Sandbox } from "@deno/sandbox"; await using sandbox = await Sandbox.create({ memoryMb: 1024, allowNet: ["api.example.com", "httpbin.org"], env: { NODE_ENV: "production", APP_NAME: "SandboxDemo" }, metadata: { purpose: "demo", owner: "vultr-docs" } }); const memory = await sandbox.sh`free -h`.text(); console.log("Memory allocation:\n", memory); const envVars = await sandbox.sh`printenv | grep -E "NODE_ENV|APP_NAME"`.text(); console.log("Environment variables:", envVars);
This configuration demonstrates several sandbox customization options:
- Memory allocation: Sets the sandbox to use 1GB of memory (default is 768MB, maximum is 4096MB).
- Network restrictions: Limits outbound network access to specific hosts only.
- Environment variables: Injects custom environment variables into the sandbox.
- Metadata: Attaches tracking information visible in the Deno Deploy dashboard.
Save and close the file.
Run the script.
console$ deno run --allow-net --allow-env config_demo.ts
Build an AI Code Execution Agent
This section demonstrates how to build a code execution agent that uses Vultr Serverless Inference to generate code and the Deno Sandbox to execute it safely.
Before you begin, provision a Vultr Serverless Inference subscription and retrieve the inference API key. The inference API key is different from your main Vultr account API key and is specific to each inference subscription.
Retrieve the list of available models from your Vultr Serverless Inference subscription. Replace
YOUR_INFERENCE_API_KEYwith the API key from your inference subscription.console$ curl "https://api.vultrinference.com/v1/models" \ -H "Authorization: Bearer YOUR_INFERENCE_API_KEY" | jq
Note one of the model IDs from the response to use in your code.
Create a file named
ai_agent.ts.console$ nano ai_agent.ts
Add the following code. Update
MODEL_NAMEwith a model ID from the previous step.typescriptimport { Sandbox } from "@deno/sandbox"; const VULTR_INFERENCE_API_KEY = Deno.env.get("VULTR_INFERENCE_API_KEY") || "YOUR_INFERENCE_API_KEY"; const VULTR_INFERENCE_URL = "https://api.vultrinference.com/v1/chat/completions"; const MODEL_NAME = "kimi-k2-instruct"; interface Message { role: "system" | "user" | "assistant"; content: string; } async function generateCode(prompt: string): Promise<string> { const messages: Message[] = [ { role: "system", content: `You are a code generation assistant. When asked to write code, respond ONLY with the code itself, no explanations or markdown. The code is to be executed in a Deno environment with TypeScript support.` }, { role: "user", content: prompt } ]; const response = await fetch(VULTR_INFERENCE_URL, { method: "POST", headers: { "Authorization": `Bearer ${VULTR_INFERENCE_API_KEY}`, "Content-Type": "application/json" }, body: JSON.stringify({ model: MODEL_NAME, messages: messages, max_tokens: 1024, temperature: 0.7 }) }); if (!response.ok) { throw new Error(`Inference API error: ${response.status}`); } const data = await response.json(); return data.choices[0].message.content; } async function executeInSandbox(code: string): Promise<string> { await using sandbox = await Sandbox.create({ memoryMb: 1024, allowNet: [] }); const wrappedCode = ` const logs = []; const originalLog = console.log; console.log = (...args) => logs.push(args.map(String).join(' ')); ${code} console.log = originalLog; logs.join('\\n'); `; try { const result = await sandbox.deno.eval(wrappedCode); return String(result || '(no output)'); } catch (error) { return `Error: ${error.message}`; } } const userPrompt = Deno.args[0] || "Write a function that calculates the fibonacci sequence up to n=10 and prints each number"; console.log("Prompt:", userPrompt); console.log("\n--- Generating code ---\n"); try { const generatedCode = await generateCode(userPrompt); console.log("Generated code:"); console.log(generatedCode); console.log("\n--- Executing in sandbox ---\n"); const result = await executeInSandbox(generatedCode); console.log("Execution result:"); console.log(result); } catch (error) { console.error("Error:", error.message); }
Save and close the file.
This AI agent integrates Vultr Serverless Inference with Deno Sandbox through three main components:
generateCode function:
- Constructs a system prompt instructing the AI to generate only executable code.
- Sends the user prompt to Vultr's inference API using the configured model.
- Returns the generated code as a string.
executeInSandbox function:
- Creates an isolated sandbox with 1GB of memory and no network access for security.
- Wraps the generated code to capture console.log output.
- Executes the code using
sandbox.deno.eval()and returns the captured output.
Main execution:
- Reads the prompt from command line arguments.
- Calls the inference API to generate code.
- Executes the generated code safely in the sandbox.
- Displays both the generated code and its execution results.
Export your Vultr Serverless Inference API key as an environment variable. Replace
YOUR_INFERENCE_API_KEYwith your actual inference subscription API key.console$ export VULTR_INFERENCE_API_KEY=YOUR_INFERENCE_API_KEY
This allows the code to read your API key from the environment variable without hardcoding it in the file.
Run the agent with a custom prompt.
console$ deno run --allow-net --allow-env ai_agent.ts "Write code that generates 5 random numbers and calculates their average"
The agent sends the prompt to Vultr Serverless Inference, receives generated code, and executes it safely in an isolated sandbox. You may see "error: unexpected end of file" messages in the output. These are stderr messages from the sandbox environment and do not affect the execution or results.
Conclusion
You have configured the Deno Sandbox SDK to create ephemeral Linux microVMs, execute shell commands, evaluate JavaScript code, manage files, and expose HTTP services. The sandbox provides a secure, isolated environment for running untrusted code, making it suitable for AI agents, code interpreters, and development platforms. For more information, refer to the official Deno Sandbox documentation.