Install osTicket with Apache and MySQL or MariaDB on Ubuntu 20.04 LTS

Introduction
osTicket is a helpdesk solution suitable for organizations of all sizes. It is excellent for managing your customer inquiries created either from emails, phone calls, or your website. In this guide, you'll install osTicket on your Ubuntu 20.04 server with Apache and your choice of MySQL or MariaDB server.
Prerequisites
To complete this guide, make sure you have the following:
- An Ubuntu 20.04 server.
- A domain name such as example.com. When testing this tutorial, you can use your server's public IP address.
- A non-root sudo user.
- A LAMP Stack. You can either install MySQL or MariaDB database server.
1. Install osTicket Dependencies
Connect to your server and update the package information index.
$ sudo apt updateNext, install the following PHP extensions required by the osTicket application.
$ sudo apt install -y php-common php-gd php-imap php-intl php-apcu php-cli php-mbstring php-curl php-mysql php-json php-xmlRestart the Apache server.
$ sudo systemctl restart apache2Then, install the unzip tool. You'll need it later to unpack the osTicket installation archive.
$ sudo apt install -y unzipOnce you've installed all the dependencies required by osTicket, create a database in the next step.
2. Create a Database for osTicket
osTicket requires a database to work. Connect to your MySQL server as root.
$ sudo mysql -u root -pKey in your MySQL root password and press Enter to proceed. Then, create an os_ticket database.
mysql> CREATE DATABASE os_ticket;Next, set up a user named os_ticket_user for connecting to the os_ticket database and exit from the database server command-line interface.
mysql> CREATE USER 'os_ticket_user'@'localhost' IDENTIFIED WITH mysql_native_password BY 'EXAMPLE_PASSWORD';
       GRANT ALL PRIVILEGES ON os_ticket.* TO 'os_ticket_user'@'localhost';
       FLUSH PRIVILEGES;
       EXIT;
If you're using the MariaDB server, use the command below to create the os_ticket_user.
MariaDB> GRANT ALL PRIVILEGES on os_ticket.* TO 'os_ticket_user'@'localhost' identified by 'EXAMPLE_PASSWORD';
         EXIT;
Your database and user account are ready. Next, you will initialize a directory structure for the osTicket.
3. Create a Directory for osTicket
Create a directory for the osTicket website under the root of your web server.
$ sudo mkdir -p /var/www/os_ticketThen, change the directory ownership to your current Linux user so that you can make modifications easily without permission issues.
$ sudo chown -R $USER:$USER /var/www/os_ticketNavigate to the /var/www/os_ticket directory using the Linux cd command.
$ cd /var/www/os_ticketNext, use the Linux wget command to pull the latest osTicket installation archive from GitHub.
$ wget https://github.com/osTicket/osTicket/releases/download/v1.15.2/osTicket-v1.15.2.zipExtract the archive file you've just downloaded to your current directory.
$ unzip osTicket-v1.15.2.zipOnce all the osTicket files have been unpacked, delete the zip file.
$ rm osTicket-v1.15.2.zipBy default, osTicket ships with a sample configuration file in upload/include/ost-sampleconfig.php. Copy it in the same directory and change its name to ost-config.php
$ sudo cp upload/include/ost-sampleconfig.php upload/include/ost-config.phpUse the Linux chown command to assign the ownership of the /var/www/os_ticket directory to the Apache webserver user - www-data. Then, make sure the files have appropriate permissions.
$ sudo chown -R www-data:www-data /var/www/os_ticket
$ sudo chmod -R 755 /var/www/os_ticket
Your osTicket website files are now in place. Create a virtual host in the next step.
4. Create a Virtual Host File
To run your osTicket with Apache, you'll need to create a configuration file under the /etc/apache2/sites-available directory. First, use the a2dissite command to disable the default Apache configuration file 000-default.conf.
$ sudo a2dissite 000-default.confThen, using nano, open a new /etc/apache2/sites-available/os_ticket.conf configuration file for editing.
$ sudo nano /etc/apache2/sites-available/os_ticket.confEnter the information below and replace example.com with your server's correct domain name or public IP address.
<VirtualHost *:80>
    ServerName example.com
    ServerAlias example.com
    DocumentRoot "/var/www/os_ticket/upload"
    <Directory "/var/www/os_ticket/upload">
        Require all granted
        Options Indexes FollowSymLinks
        AllowOverride All
        Order allow,deny
        Allow from all
    </Directory>
   ErrorLog ${APACHE_LOG_DIR}/error.log
   CustomLog ${APACHE_LOG_DIR}/access.log combined
</VirtualHost>
Once you finish editing /etc/apache2/sites-available/os_ticket.conf press Ctrl + X, then Y and Enter to close and save the file. Then, run the a2ensite command against the os_ticket.conf file to enable it.
$ sudo a2ensite os_ticket.confRestart Apache to load the new configuration settings.
$ sudo systemctl restart apache2With the osTicket virtual host configuration file enabled, you'll test the installation in the next step.
5. Test the osTicket Installation
Visit your osTicket site URL to complete the setup process. Replace example.com with the correct domain name or public IP address of your server.
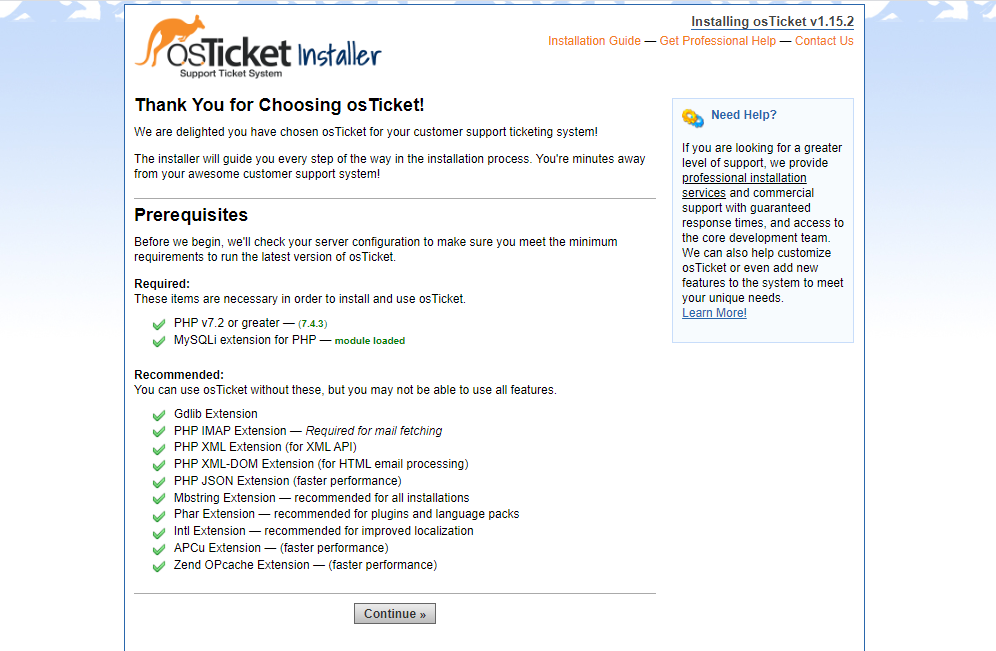
You'll see a web page similar to the screenshot below.

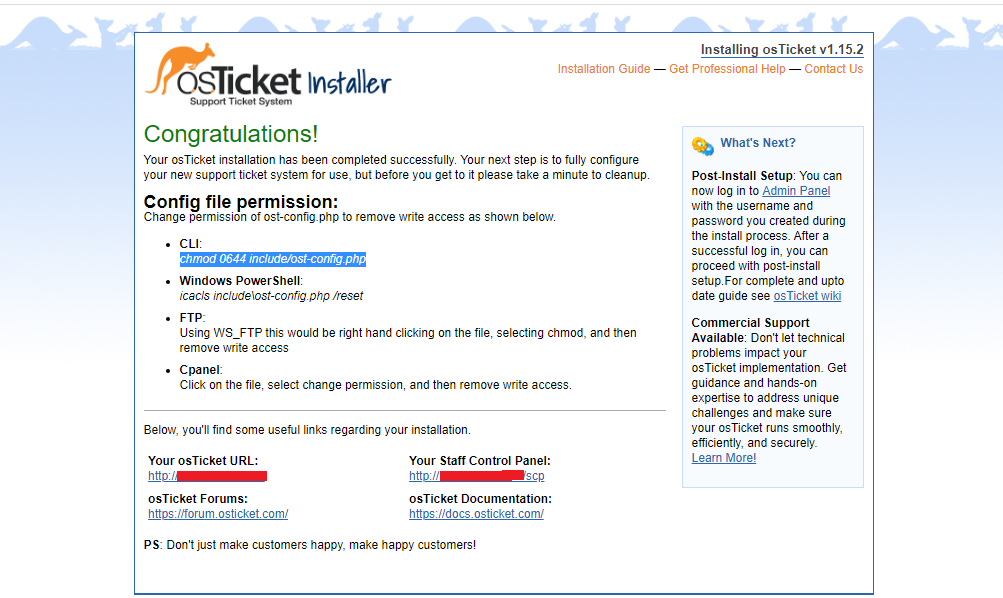
After you've completed setting up the administrator account and entering the database credentials that you created earlier, you will see the web page below, which confirms that you have completed the installation.

Your osTicket site is now ready. Clean up by deleting the setup directory.
$ sudo rm -rf /var/www/os_ticket/upload/setupThen, remove the write access to the /var/www/os_ticket/upload/include/ost-config.php configuration file.
$ sudo chmod 0644 /var/www/os_ticket/upload/include/ost-config.phpConclusion
In this guide, you've installed osTicket with Apache and MySQL/MariaDB server on Ubuntu 20.04 LTS server. Use the software to create a more compelling customer support portal and promote staff productivity.