Install Pydio Cells with MariaDB on Ubuntu 20.04
Introduction
Pydio Cells is a cloud-based collaboration application for sharing files. The open-source software runs on your own IT infrastructure and empowers your staff to protect and monitor your company's data.
With Pydio Cells, you can synchronize your data and access it from anywhere using a mobile app, desktop software, or a web browser. The Pydio Cells Software is based on a micro-service architecture and is written in the Golang language offering better code clarity and ease of use.
As an acronym for Put Your Data in Orbit, Pydio has been designed for the future with scalability in mind. In this guide, you'll install, configure, and run the Pydio Cells with a MariaDB database on your Ubuntu 20.04 server.
Prerequisites
Before you proceed with this Pydio Cells setup, make sure you have the following:
- An Ubuntu 20.04 server with at least 4GB RAM and 2 CPUs.
- A domain name such as example.com pointing to your server.
- A non-root user with
sudorights. - A MariaDB Server.
1. Set Up a Dedicated Pydio User Account and Create a Directory Structure
SSH to your server and create a dedicated pydio user.
$ sudo useradd -m -s /bin/bash pydioNext, use the Linux mkdir command to create the two directories below.
$ sudo mkdir -p /opt/pydio/bin
$ sudo mkdir -p /var/cells/certs
Assign the ownership of the above directories to the pydio user.
$ sudo chown -R pydio: /opt/pydio
$ sudo chown -R pydio: /var/cells
Next, run the command below to set system-wide environment variables for the Pydio Cells application.
$ sudo tee -a /etc/profile.d/cells-env.sh << EOFThen enter the following commands:
  > export CELLS_WORKING_DIR=/var/cells
  > export CADDYPATH=/var/cells/certs
  > EOF
Ensure your new Pydio Cells environment file has the correct permissions.
$ sudo chmod 0755 /etc/profile.d/cells-env.shNext, switch to the pydio user.
$ sudo su - pydioNext, display the value of $CELLS_WORKING_DIR variable to check if it was saved on your system.
$ echo $CELLS_WORKING_DIRIf your settings are correct, you should now see the output below.
/var/cellsEnd the pydio user login session.
$ exitYou'll now create a database and a dedicated user for the Pydio Cells application with the correct directory structure and environment.
2. Create a Pydio Database and a User Account
Log in to your MariaDB server as root.
$ sudo mysql -u root -pWhen prompted, key in your root password and press Enter to continue. Then, execute the SQL commands below to create a database and a user account for the Pydio Cels software. Replace EXAMPLE_PASSWORD with a strong value.
MariaDB> CREATE DATABASE pydio;
         GRANT ALL PRIVILEGES on pydio.* TO 'pydio_user'@'localhost' identified by 'EXAMPLE_PASSWORD';
         EXIT;
The Pydio Cells service uses the database you've created to store content. Next, you'll download the Pydio Cells binary.
3. Download and Install the Pydio Cells Binary
Switch your current login session to the pydio user.
$ sudo su - pydioNext, download the Pydio Cells installation package by typing the commands below.
$ distribId=cells
$ wget -O /opt/pydio/bin/cells https://download.pydio.com/latest/${distribId}/release/{latest}/linux-amd64/${distribId}
Make the file you've just downloaded executable.
$ chmod a+x /opt/pydio/bin/cellsEnd your pydio user login session.
$ exitAs a sudo user, bind the Pydio Cells binary to the default HTTP ports by running the commands below.
$ sudo setcap 'cap_net_bind_service=+ep' /opt/pydio/bin/cellsNext, make cells a system-wide command by adding it to /usr/local/bin/cells.
$ sudo ln -s /opt/pydio/bin/cells /usr/local/bin/cellsSwitch the login session back to the pydio user.
$ sudo su - pydioExecute the command below to check the version of the Pydio Cells.
$ cells versionYou should now see the following output.
Pydio Cells Home Edition
 Version:       2.2.8
 Built:         31 May 21 07:37 +0000
 Git commit:    b67c983cc5ed26767324a596eb3cd4b0464ddc7d
 OS/Arch:       linux/amd64
 Go version:    go1.15.11
Once you've installed the Pydio Cells application, the next step is configuring it to run in your server with the database settings you've set up.
4. Configure the Pydio Cells Software
While still logged as the pydio user, run the command below to configure Pydio Cells.
$ cells configureFrom the output that appears, press Pagedown and choose Command line (performed in this terminal). Then, press Enter to proceed.
Welcome to Pydio Cells Home Edition installation
Pydio Cells Home Edition (v2.2.8) will be configured to run on this machine.
Make sure to prepare access and credentials to a MySQL 5.6+ (or MariaDB equivalent) server.
Pick your installation mode when you are ready.

Use the arrow keys to navigate: ↓ ↑ → ←
? Installation mode:
    Browser-based (requires a browser access)
  ▸ Command line (performed in this terminal)
Next, choose TCP as the option for connecting to your MariaDB server and press Enter.
## Database Connection
Use the arrow keys to navigate: ↓ ↑ → ←
? Database Connection Type:
  ▸ TCP
    Socket
    Manual
Set the database hostname to localhost and press Enter.
## Database Connection
✔ TCP
✔ Database Hostname: localhost
Ensure the database port is 3306. Then, press Enter.
✔ Database Port: 3306Next, enter pydio as the database name and press Enter.
✔ Database Name: pydioEnter pydio_user as the database user and press Enter.
✔ Database User: pydio_userProvide a password that you create for the pydio_user and press Enter.
✔ Database Password (leave empty if not needed): EXAMPLE_PASSWORDOnce you've entered all the database configuration information, you should see a confirmation message showing that Pydio Cells has connected to your database.
✔ Successfully connected to the databaseNext, configure an administrative account for your Pydio Cells software. Begin by entering a username(e.g. admin) and press Enter.
## Administrative User Configuration
✔ Admin Login: admin
Please enter a new password for the admin account and confirm it. Press Enter in each step to proceed.
✗ Admin Password: EXAMPLE_PASSWORD
✗ Confirm Password: EXAMPLE_PASSWORD
Next, confirm the default storage location by pressing Enter.
## Default storage location
Use the arrow keys to navigate: ↓ ↑ → ←
? Your files will be stored on local filesystem under '/var/cells/data'. Do you want to change this?:
  ▸ It's ok for me, use default location
    Select another local folder
    Store data in S3-compatible storage (requires api key/secret)
In the end, you'll see a confirmation message that your Pydio Cells installation has been completed.
✔ Installation FinishedIn the next step, you'll test the installation on a web browser to check if everything is in place.
5. Start the Pydio Cells
While still logged in as a pydio user, start the Pydio Cells application by typing the command below.
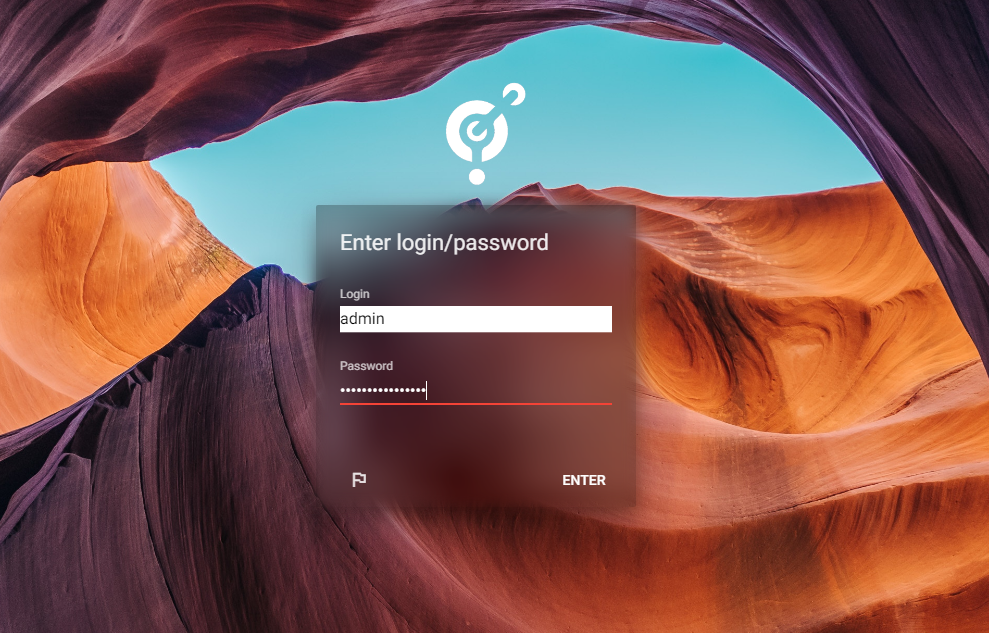
$ cells startOn a web browser, visit the URL below and replace 192.0.2.1 with your server's public IP address.
Enter the admin credentials and click ENTER to log in.

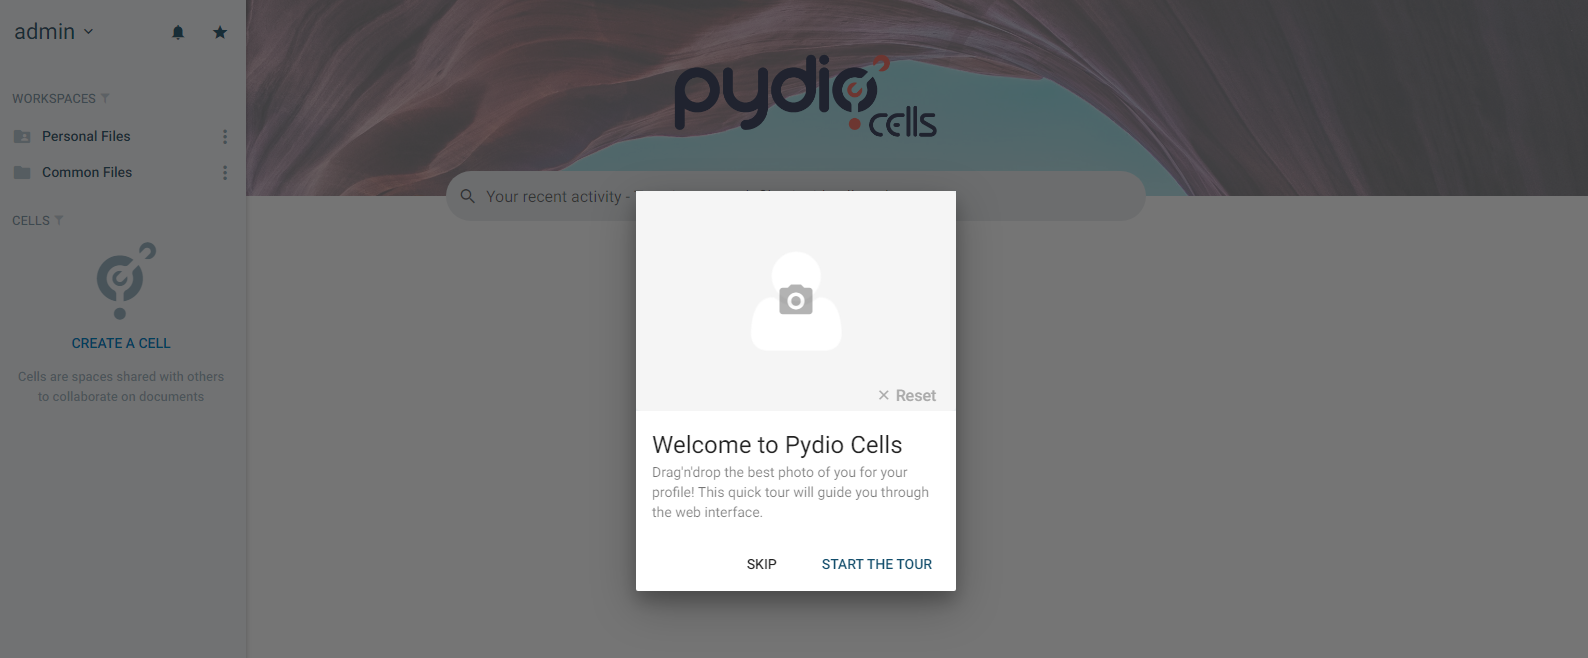
You should be navigated to the Pydio Cells dashboard, as shown below.

You can now create new folders from the dashboard, upload files, and share them with your co-workers/friends.
6. Configure Pydio Cells Websites
By default, the Pydio Cells runs on port 8080. You can configure the Pydio Cells application to run on port 443 and map your domain name to the application. To do this, no other service should be running on this port.
First stop the Pydio Cells application by pressing Ctrl + C. Next, run the command below as a pydio user.
$ cells configure sitesRespond to each prompt as shown below.
Do you want to create a new site (it will replace the default one): :key_y: :key_enter:
Binding Port: 443
Other (enter your own ip/domain): DOMAIN_NAME :key_enter:
Do you want to add another host? [y/N] : :key_n: :key_enter:
Choose TLS activation mode:  Let's Encrypt: automagically generate domain certificates signed by LetsEncrypt Authority :key_enter:
Please enter the mail address for certificate generation: EXAMPLE_EMAIL_ADDRESS :key_enter:
Do you agree to the Let's Encrypt SA? [Y/n] : :key_y: :key_enter:
If this site is accessed through a reverse proxy, provide full external URL (https://mydomain.com): :key_enter:
Do you want to save this configuration: :key_y: :key_enter:
Once completed, your see the following output.
********************************************************
   Config has been updated, please restart Cells now.
********************************************************
Restart Pydio cells
$ sudo su - pydio
$ cells start
Output.
... Restart doneCheck the new site on a web browser.
You've configured a new Pydio Cells website. Next, you will enable the cells service to start on boot.
7. Enable Pydio Cells To Start Automatically On Boot
First, stop the Pydio Cells service by pressing Ctrl + C. Then, exit from the pydio user session.
$ exitNext open a new startup configuration file under /etc/systemd/system/ as a sudo user.
$ sudo nano /etc/systemd/system/cells.serviceThen, enter the information below into the file.
[Unit]
Description=Pydio Cells
Documentation=https://pydio.com
Wants=network-online.target
After=network-online.target
AssertFileIsExecutable=/opt/pydio/bin/cells

[Service]
User=pydio
Group=pydio
PermissionsStartOnly=true
AmbientCapabilities=CAP_NET_BIND_SERVICE
ExecStart=/opt/pydio/bin/cells start
Restart=on-failure
StandardOutput=journal
StandardError=inherit
LimitNOFILE=65536
TimeoutStopSec=5
KillSignal=INT
SendSIGKILL=yes
SuccessExitStatus=0
WorkingDirectory=/home/pydio

# Add environment variables
Environment=CELLS_LOGS_LEVEL=production
Environment=CELLS_WORKING_DIR=/var/cells

[Install]
WantedBy=multi-user.target
Save and close the file by pressing Ctrl + X, then Y and Enter. Then, reload the systemd daemon.
$ sudo systemctl daemon-reloadIssue the command to enable the cells service to start on boot.
$ sudo systemctl enable cellsThen, restart the cells service.
$ sudo systemctl restart cellsAt this time, you can now access your Pydio application from the URL below without issuing the cells start command every time your server boots. Replace example.com with the correct domain name pointing to your server.
Conclusion
In this tutorial, you've installed the Pydio Cells with a MariaDB database on your Ubuntu 20.04. Use the cloud-based file-sharing software to get more control of your data and ensure efficient collaboration in your organization.