Use Cloudflare and Vultr Firewall to Protect a Vultr Cloud Server
Introduction
Cloudflare is a Content Delivery Network (CDN) and Distributed Denial of Service (DDOS) service that works as a protection layer for your public cloud servers. It can protect your server from common public internet threats such as denial of service (DoS), broken authentication, packet sniffing, and brute-force attacks.
Cloudflare offers multiple ways to protect your Vultr cloud server, pass human challenges, and limit access to specific groups of users without compromising legitimate traffic to the server. Among the key Cloudflare features you can deploy include the following.
- Cloudflare DNS - Secures your cloud server by proxying requests through the Cloudflare Anycast network to protect your public server IP Address.
- Cloudflare SSL Certificates for secure HTTPS encryption.
- Turnstile - The Cloudflare implementation of CAPTCHA (Completely Automated Public Turing test to tell Computers and Humans Apart)
- Cloudflare Tunnel (also known as Argo Tunnels) - Works as a Reverse Proxy to safely expose applications to the Internet without exposing your public server IP.
- Cloudflare Zero Trust - Authenticates, authorizes and validates visitors to a server application.
This guide describes how you can use the above Cloudflare methods in conjunction with the Vultr Firewall to protect a Vultr Cloud server from common minor and major threats that can lead to server downtime or service disruptions.
Prerequisites
Before you begin, be sure to:
Example
In this section, you will set up an example Vultr cloud server, run a basic HTML web application, and test access to it before configuring any Cloudflare services. To get started, make sure you:
- Deploy a Ubuntu 22.04 server instance on Vultr.
This guide uses Ubuntu 22.04, but you can use any other server distribution.
- Use SSH to access the server.
- Install Nginx on the server.
- Create a new sudo user and switch to the account.
Create an
index.htmlfile in the web root directory, by default,/var/www/html.$ sudo touch /var/www/html/index.htmlUsing a text editor of your choice, open and edit the file.
$ sudo nano /var/www/html/index.htmlAdd the following HTML configurations to the file.
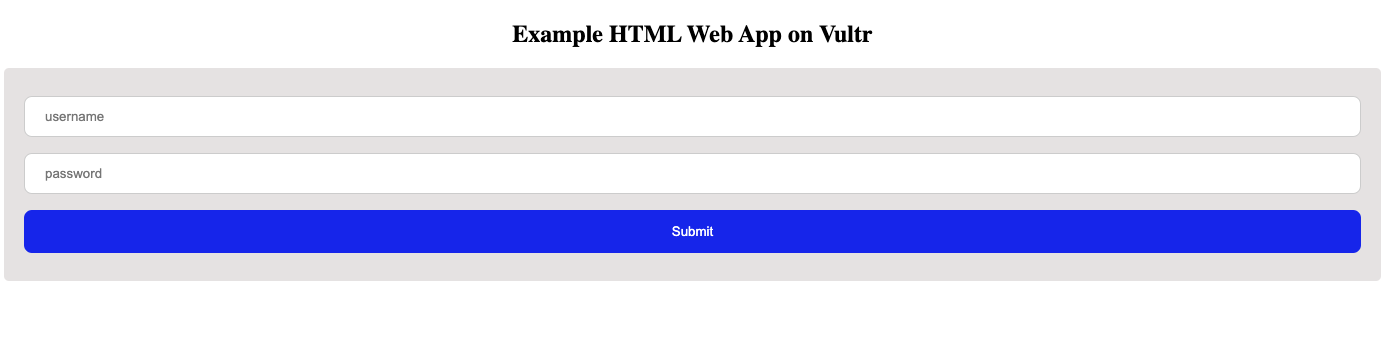
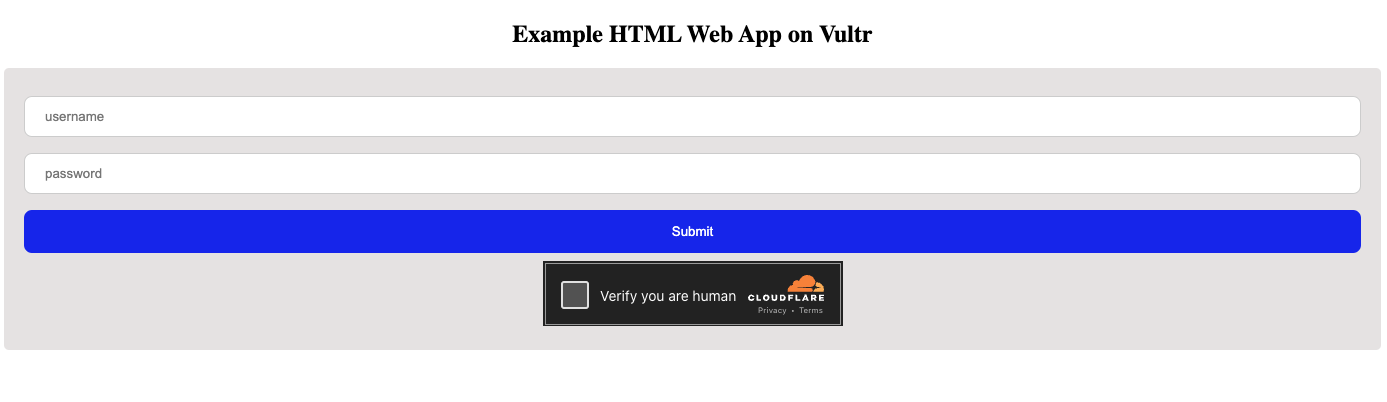
  <!DOCTYPE html>
  <html>
  <head>
      <title>Example HTML App protected with Cloudflare</title>
      <style>
  input[type=text], select {
      width: 100%;
      padding: 12px 20px;
      margin: 8px 0;
      display: inline-block;
      border: 1px solid #ccc;
      border-radius: 8px;
      box-sizing: border-box;
      }

  input[type=submit] {
      width: 100%;
      background-color: #051df4;
      color: white;
      padding: 14px 20px;
      margin: 8px 0;
      border: none;
      border-radius: 8px;
      cursor: pointer;
      }

  input[type=submit]:hover {
      background-color: #4CAF50;
      }

  div {
      border-radius: 5px;
      background-color: #cbc4c47f;
      padding: 20px;
      }
  </style>
  </head>
  <body>

  <h2 align="center">Example HTML Web App on Vultr</h2>

  <div>
  <form action="" align="center" id="form" method="POST">
      <input type="text" placeholder="username"/>
      <input type="text" placeholder="password"/>
      <br/>
      <input type="submit" value="Submit">
  </form>
  </div>

  </body>
  </html>
Save the file.
Allow HTTP port
80through the server firewall.$ sudo ufw allow 80/tcpReload the firewall.
$ sudo ufw reloadUsing a web browser, visit your Vultr Server IP.
http://192.0.2.1Your HTML login form web application should display.
Proxy Server Requests through Cloudflare DNS
Cloudflare secures your cloud server by proxying all requests to your DNS records through its Anycast network to hide your public server IP address. This protects the server from direct attacks as all requests go through by the masked Cloudflare IP Address instead of your actual public server IP.
This section describes how you can proxy all server requests through Cloudflare to hide the cloud server IP Address and still accept all incoming user requests.
Using a web browser, log in to your Cloudflare account.
In the Websites section, click your active domain name.
From the left navigation menu, click DNS.
Scroll to the DNS Management section, and click Add Record.
Keep A as the Type, and enter your domain name in the Name (required) field.
Enter your Vultr Cloud Server IP in the IP Address (required) field.
Keep the Proxy status toggle button to ON Proxied, and click Save.
Your domain name points to your Vultr Cloud server, and all incoming requests reach Cloudflare's own IP address. To test the setting, open a new terminal session and ping your domain name as below.
$ ping example.com -c 4Your output should look like the one below.
  PING example.com (172.67.175.237): 56 data bytes
  64 bytes from 172.67.175.237: icmp_seq=0 ttl=55 time=91.953 ms
  64 bytes from 172.67.175.237: icmp_seq=1 ttl=55 time=97.650 ms
  64 bytes from 172.67.175.237: icmp_seq=2 ttl=55 time=87.514 ms
  64 bytes from 172.67.175.237: icmp_seq=3 ttl=55 time=91.407 ms

  --- example.com ping statistics ---
  4 packets transmitted, 4 packets received, 0.0% packet loss
Note that a Cloudflare IP address sends ping replies instead of your actual Server IP.
Enable Cloudflare SSL/TLS Certificates
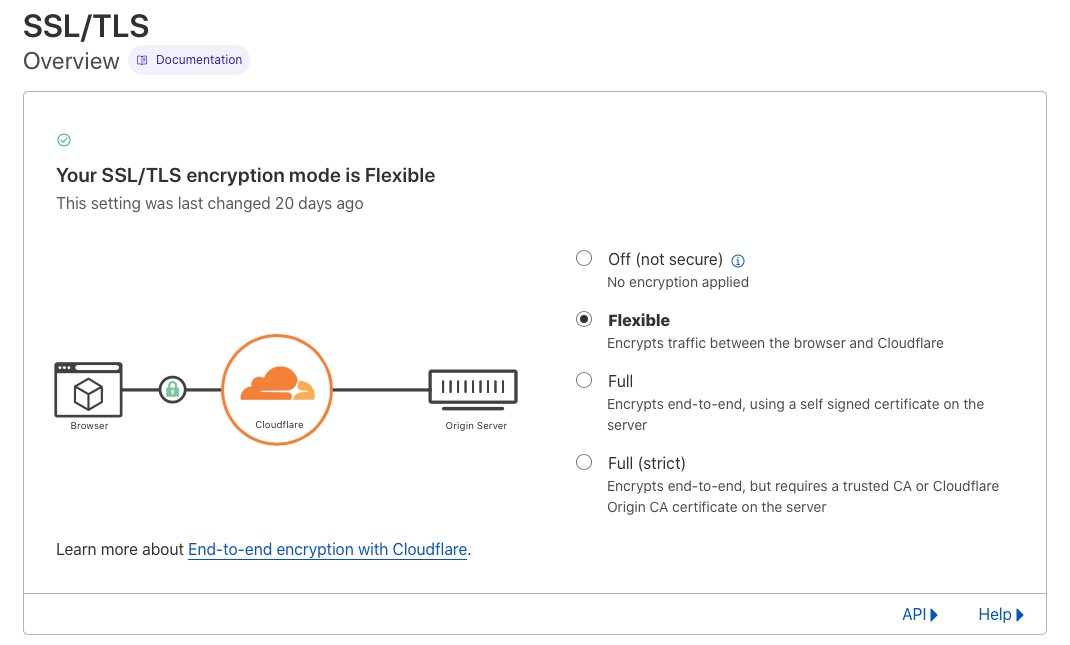
Enabling Cloudflare SSL certificates encrypts traffic to and from your server using the HTTPS protocol instead of plain HTTP, regardless of whether the cloud server has an active SSL certificate or not. Cloudflare offers 4 SSL encryption modes you can implement depending on your cloud server configuration as follows:
- Off (not secure) - Does not implement any Cloudflare SSL, and serves requests directly to the server without any encryption.
- Flexible - All requests between the visitor and Cloudflare route over HTTPS, but requests between Cloudflare and the server occur in plain HTTP. In this mode, an SSL certificate is not required on the server but may cause web application content errors.
- Full - Both HTTPS and HTTP connection requests go through to the server depending on the visitor's request. In this mode, Cloudflare does not validate whether the server certificate is valid, issued by a trusted authority, or matches your domain name.
- Full (Strict) - All connection requests between the visitor, Cloudflare, and the Vultr cloud server are fully encrypted over HTTPS. In this mode, HTTP requests redirect to HTTPS, and the server must have a valid SSL certificate issued by a trusted certificate authority (CA) such as Let's Encrypt or Cloudflare's origin CA.
- Strict (SSL-Only Origin Pull) - Connections to the server are strictly HTTPS, regardless of the user's request. This mode requires a Cloudflare Enterprise account and Full(strict) server certificate requirements to take effect.
It's recommended to use the Full(strict) mode as it redirects HTTP requests to HTTPS and offers more protection to the server since all requests occur with HTTPS encryption. Implement the mode on your domain name as described below.
Access your Cloudflare domain management page.
Click to expand SSL/TLS on the left navigation menu.
Under Overview, find the SSL mode section and click to select your preferred mode.
This guide uses Flexible mode since the example has no active SSL certificates. To use Full (Strict) mode, make sure you install Let's Encrypt certificates on your Vultr server.
In a web browser, visit your domain name and verify that your request works with HTTPS.
https://example.comTo verify the certificate validity, click the Padlock sign in your browser URL bar to reveal more details on your SSL certificate and verify Cloudflare issues it.
Block bots with Cloudflare Turnstile (CAPTCHA)
Cloudflare Turnstile is a privacy-focused smart CAPTCHA implementation that runs web browser challenges to verify that it's only humans accessing or entering information on your web application. Any of Cloudflare's Turnstile widget challenges can display to visitors depending on your preferred setting as below.
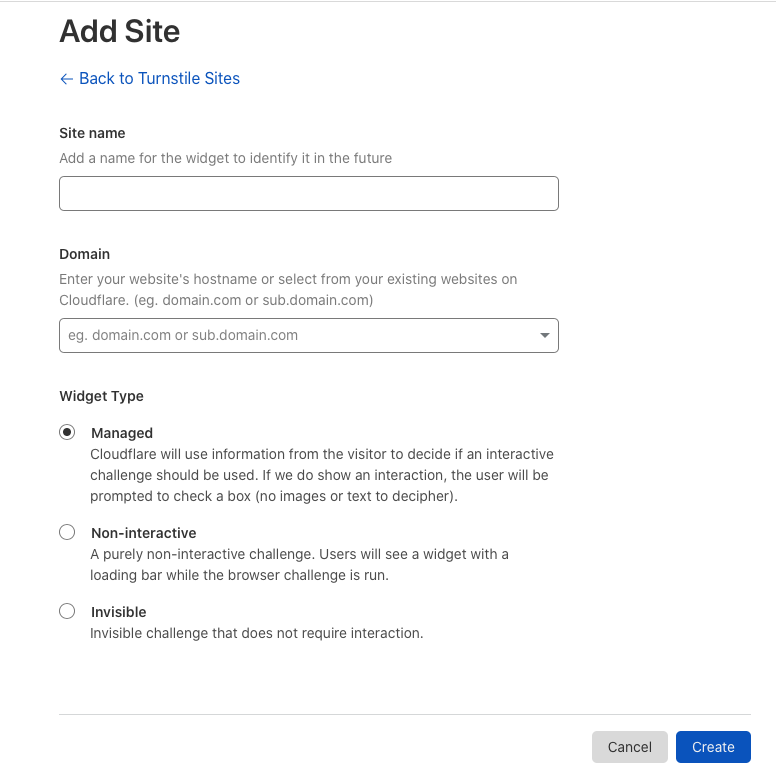
- Managed - Depending on the visitor's browser information, an interactive
Verify you are humanCAPTCHA challenge may display and prompt the user to check a box to pass the verification. - Non-Interactive - Verification progress displays while Cloudflare runs browser challenges, but user action is not required to pass the verification. When successful, your web application in 1 or 2 seconds.
- Invisible - Browser challenges occur in the background, and the challenge progress is not displayed to the user.
This section describes how you can configure Cloudflare Turnstile widgets and implement them on your Vultr cloud server to limit bad bots from accessing your web application.
Access your Cloudflare account.
Find and click Turnstile from the navigation sidebar.
Click Add Site.
Enter a name for your first Turnstile widget in the Site name field.
Enter your domain name in the Domain field.
Select your desired Widget type and click Create to save settings.
Copy your Site Key, and Secret Key, then click Done to create the widget.
SSH and Login to your Vultr Cloud Server.
$ ssh example-user@192.0.2.1Change to your web files directory.
$ cd /var/www/html/Open and edit your
index.htmlfile.$ sudo nano index.htmlAdd the following code within your application's
<head>section. Replace the example key1x00000000000000000000AAwith your domain's TurnstileSiteKey.<script src="https://challenges.cloudflare.com/turnstile/v0/api.js?onload=onloadTurnstileCallback" async defer></script> <script> window.onloadTurnstileCallback = function () { turnstile.render('#form', { sitekey: '1x00000000000000000000AA', callback: function(token) { console.log(`Cloudflare Challenge Successful ${token}`); }, }); }; </script>Save the file.
The above code displays the Cloudflare Turnstile challenge verification widget within the login form.
In a web browser, visit your domain name and verify that the challenge widget displays.
https://example.com
To implement Cloudflare Turnstile in a CMS such as WordPress, please use the official plugins below.
- WordPress Cloudflare Turnstile plugin.
- Joomla Cloudflare Turnstile.
- Cloudflare Turnstile integration for React.
For more information about Cloudflare Turnstile service, please visit the official documentation page.
Setup Cloudflare Zero Trust Rules
Cloudflare Zero Trust is a model that authenticates, authorizes, and validates users that visit your web application. In this section, you will set up Zero Trust rules to implement on your domain and hosted applications as described below.
Access your Cloudflare account.
Click Zero Trust on the navigation sidebar.
On the Zero Trust dashboard, expand Access, and click Access groups.
Click Add a group.
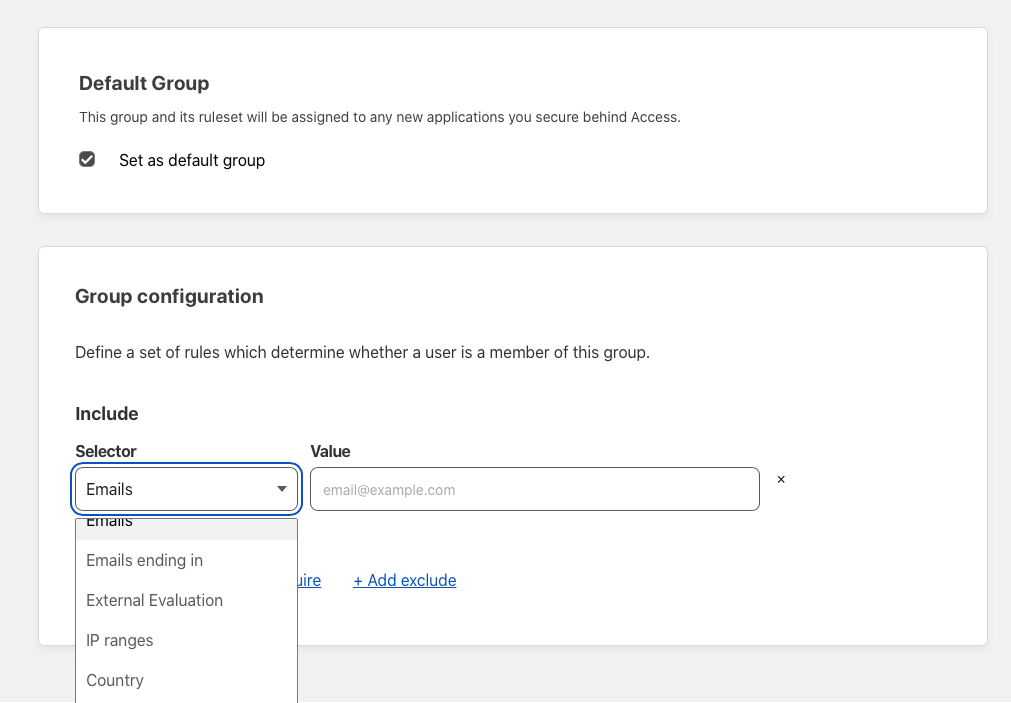
Enter a group name, and check the set as default group option.
In the Group Configuration section, click the Selector drop-down.
Select your desired Zero Trust rules to filter allowed users. For purposes of this guide, select Emails to grant access to users with a valid email address.
Scroll up and click Save to create the new group.
Navigate to Applications within the sidebar Access group.
Click Add an application, and select Self-hosted.
Complete the Application configuration field, set your desired session duration timeout for all users, and click Next to proceed.
Enter a Policy name, and keep Allow as the Action.
Verify that your access group is selected in the Assign to a group section, and click Next to proceed.
Click Add Application to finish the setup of your Zero Trust Rules.
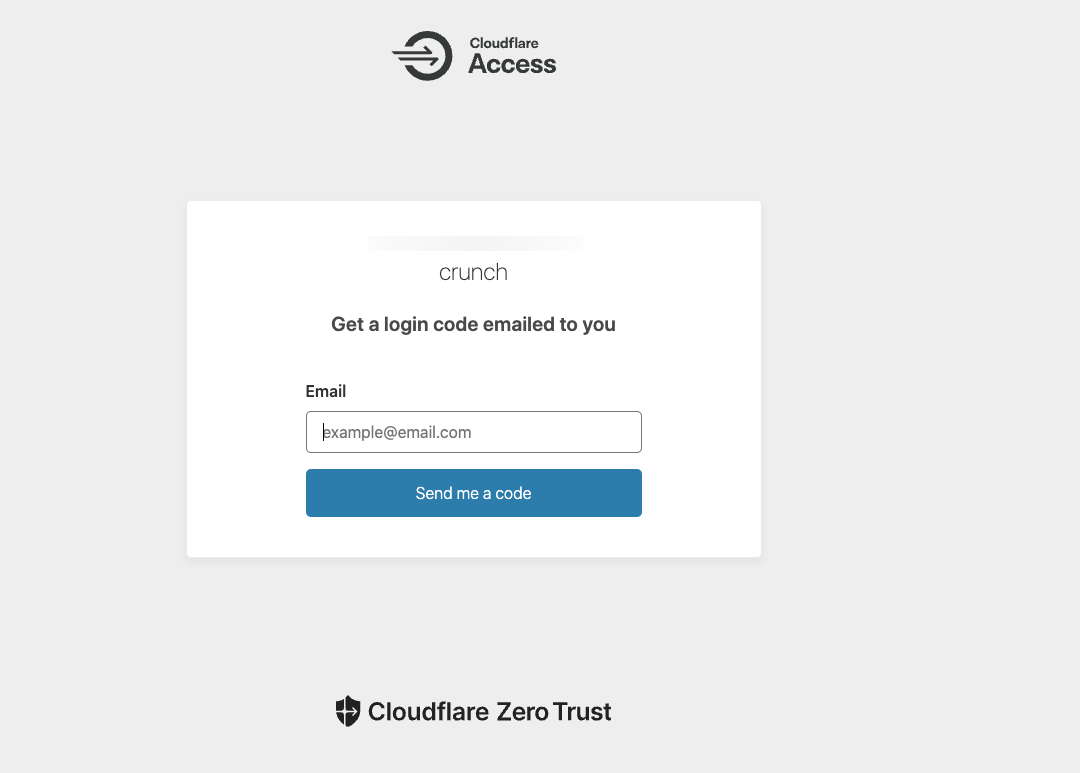
Visit your configured domain name, and verify that your Zero Trust challenge displays to all users.
Configure Cloudflare Tunnel as a Reverse Proxy for Server Applications
Cloudflare Tunnel is a reverse proxy tool that safely exposes your server applications to the Internet without revealing the local port number. It uses the lightweight cloudflared daemon that reads your configuration file and creates a secure outbound connection to Cloudflare's edge to serve your application through a configured domain name.
This section describes how you can install and configure the cloudflared daemon on your Vultr cloud server. Also, deploy an example application such as Nextcloud using Docker and proxy its host port through cloudflared.
SSH and Login to your Vultr Cloud Server.
$ ssh example-user@192.0.2.1Install Docker.
$ sudo snap install dockerDeploy the Nextcloud container.
$ sudo docker run -d -p 8080:80 nextcloudVerify that the container is up and running.
$ sudo docker psUse the
Wgetutility to download the latestcloudflaredrelease file.$ wget https://github.com/cloudflare/cloudflared/releases/latest/download/cloudflared-linux-amd64.debTo download the file for another server distribution, such as CentOS, visit the official Cloudflare Github page to copy the latest direct download link.
Install the file.
$ sudo dpkg -i cloudflared-linux-amd64.debWhen complete, query the installed cloudflared version.
$ cloudflared versionAuthenticate with the cloudflared daemon to synchronize your account.
$ cloudflared tunnel loginYour output should look like the one below.
  Please open the following URL and log in with your Cloudflare account:

  https://dash.cloudflare.com/argotunnel?callback=https%3A%2F%2Flogin.cloudflareaccess.org%2FkOAUe2gf0DFJQaiY-aggyr1-yUdzoFUfzwdpxUW4JyY%3D

  Leave cloudflared running to download the cert automatically.
  2022-11-03T13:17:32Z INF Waiting for login...
  2022-11-03T13:18:25Z INF Waiting for login...
Copy the listed Cloudflare link and paste it to your web browser URL bar to log in with your account.
Click your target domain name to associate with the server.
In the open pop-up alert, click Authorize to approve the association.
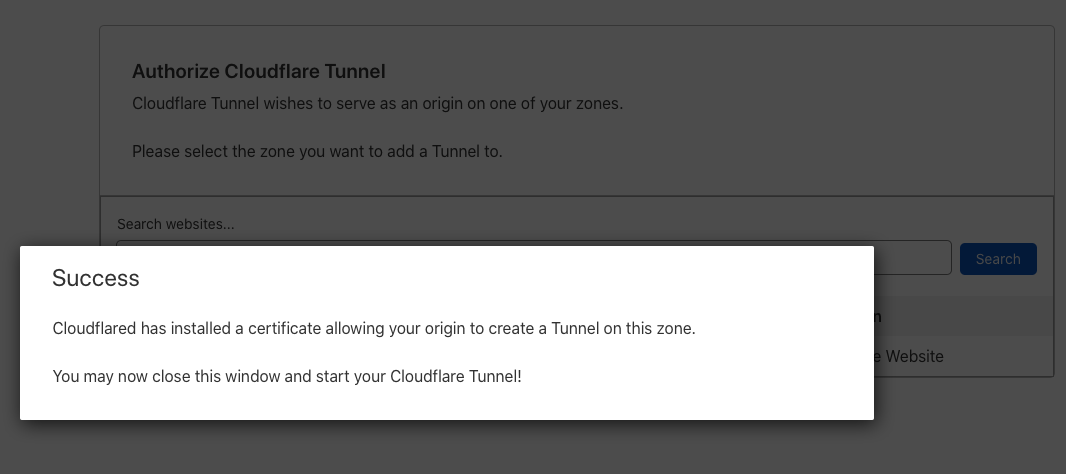
Close the browser and switch back to your server terminal session.
A new
.cloudflared/directory exists to your user home directory. List hidden files to verify that it exists.$ ls -a ~/Create your first Cloudflare tunnel. Replace
mytunnelwith your desired tunnel name.$ cloudflared tunnel create mytunnelVerify that the tunnel is available.
$ cloudflared tunnel listOutput:
 ID                                   NAME     CREATED              CONNECTIONS
 abeeea69-9a5c-4031-86a5-3a07e7dbeafc mytunnel      2022-11-03T13:23:20Z
Copy the ID associated with your tunnel name.
Switch to the
.cloudflared/directory.$ cd ~/.cloudflared/Create and edit a new
config.ymlfile using a text editor of your choice.$ nano config.ymlAdd the following configurations to the file. Replace
12345678-idwith the actual tunnel ID you copied andexample-userwith your actual user account.url: http://localhost:8080 tunnel: 12345678-id credentials-file: /home/example-user/.cloudflared/12345678-id.jsonSave the file.
Create a DNS routing point for the tunnel. Replace
examplewith your desired subdomain name.$ cloudflared tunnel route dns mytunnel exampleThe above command creates a new subdomain CNAME record in your DNS records.
Start the Tunnel.
$ cloudflared tunnel run mytunnelPress Ctrl + Z, and enter
bgto send the Tunnel output to the background.Verify that the tunnel is up.
$ cloudflared tunnel info mytunnelYour Output should look like the one below.
 NAME:     mytunnel
 ID:       12345678-id
 CREATED:  2022-11-04 00:27:28.674222 +0000 UTC

 CONNECTOR ID                         CREATED              ARCHITECTURE VERSION   ORIGIN IP    EDGE
 5d1ab358-1399-4bb6-b9a4-870ded89c676 2022-11-04T00:36:33Z linux_amd64  2022.10.3 20.199.44.59 2xBRU, 2xCDG
For easy management, set up your Cloudflare Tunnel as a system service using the following command.
$ sudo cloudflared --config /home/example-user/.cloudflared/config.yml service installEnable Cloudflared to start at boot time.
$ sudo systemctl enable cloudflaredStart Cloudflared.
$ sudo systemctl start cloudflaredView the Cloudflared service status.
$ sudo systemctl status cloudflaredEach time you make changes to the
config.ymlfile or create new tunnels, restart cloudflared using the following command.$ sudo systemctl restart cloudflared
For more information about Cloudflare Tunnels, please visit the official documentation page.
Configure the Vultr Firewall
Vultr Firewall is a stateful firewall service for cloud servers that filters incoming traffic to your server and blocks all traffic that is not permitted by a rule. Aside from server firewall applications such as UFW, FirewallD, and Iptables, the Vultr Firewall is the gateway once activated on your server.
In this section, you get to create a Vultr Firewall group, create rules and activate the firewall on your server.
Log in to the Vultr customer portal.
On the Products page, navigate to Firewall.
Click Add Firewall Group
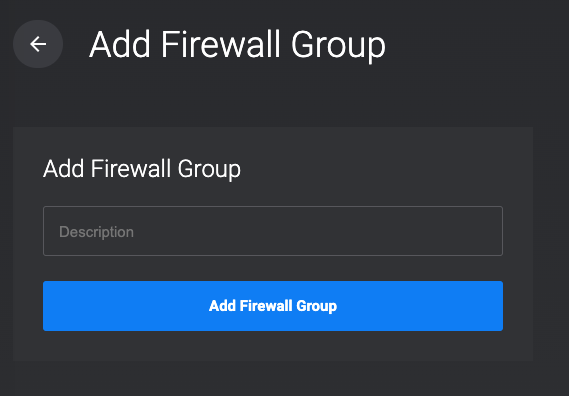
Enter a description for the new Firewall group, and click Add Firewall Group to create it.
Within the Inbound IPV4 Rules section, keep the SSH rule active, then click the Source drop-down, and select My IP from the list to only allow SSH connections from your personal computer whenever it's connected to the current Internet Service Provider (ISP).
Click the + Add Firewall Rule symbol in the Action section to save the SSH rule and activate your Firewall Group.
You're redirected to the Firewall Group and ready to set up other firewall rules.
Click the Protocol drop-down, and select HTTP from the list of options.
Click the Source drop-down, select Cloudflare from the list, and click the + action button to save the rule.
To allow Incoming Cloudflare HTTPS requests, click the Protocol drop-down, select HTTPS from the list, select Cloudflare as the source, and click + to save the rule.
A
drop anyfirewall rule is automatically added to your firewall group to block any non-Cloudflare requests to your server.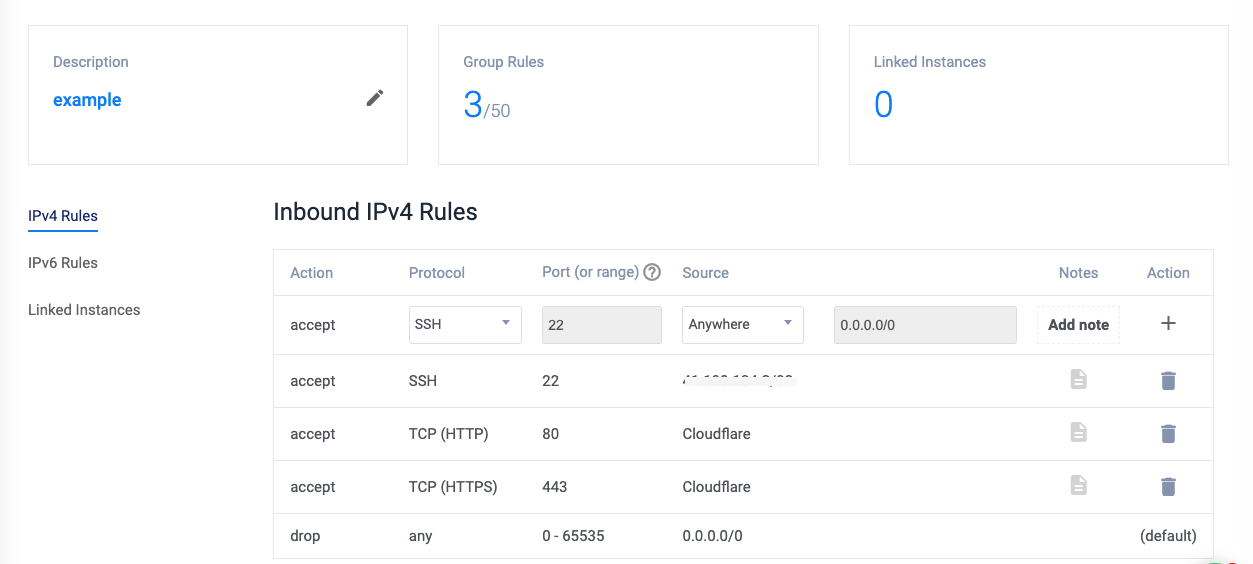
To activate the Vultr Firewall group on your server, click Linked Instances on the left navigation list.
Click the server drop-down field, select your target Vultr Cloud Server from the list, then click the + Add Linked Instance button.
In the open pop-up, click Add Linked Instance to verify your selection and activate the firewall on the server.

In a web browser, try visiting your direct public Vultr Cloud Server IP Address.
http://192.0.2.1Your request is automatically blocked by the Vultr Firewall because it's not from Cloudflare and does not match any available firewall rule.
For more information about Vultr Firewall operations, please visit its FAQ page.
Conclusion
In this guide, you have configured multiple Cloudflare features on your Vultr Cloud Server and protected it by limiting SSH access to your Personal Computer (PC) 's IP Address and blocking all non-Cloudflare requests to the server.
This protects your production server from most common threats as attackers get locked out by Cloudflare, and SSH connections are only accepted from your computer's IP address. For more information on how to use Cloudflare, please visit its official documentation page.