Getting Started with Rust and Vultr Managed Database for Caching
Introduction
Redis® is an open-source, in-memory data store that supports many data structures like String, Hash, List, Set, and Sorted Set, along with other capabilities such as PubSub messaging and stream processing. It also supports high availability, scalability, and reliability through a combination of asynchronous replication and Redis® Cluster.
Redis® has client libraries for many programming languages. This includes Java, Python, and many others. Rust is also supported by Redis®, thanks to the redis-rs library.
Redis® Rust Client
redis-rs provides a way for Rust applications to communicate with Redis®. It has two different API styles:
- High-level API - It's convenient but does not expose all Redis® features.
- Low-level API - It makes it possible to execute any Redis® command at the expense of slight verbosity.
redis-rs has additional features that can be enabled on-demand. Some interesting ones include:
cluster: Enables Redis® Cluster supportgeospatial: Enables Geospatial supporttls: Enables TLS connectivity
For all optional features list, refer to this link
In addition to core Redis® commands, redis-rs also supports Pipelining, Transactions, PubSub and the ability to execute Lua scripts. It's also possible to use the asynchronous API that's based on futures and tokio.
This article demonstrates how to create a Vultr Managed Database for Caching, connect to it using TLS, and execute Redis® commands using the Redis® Rust client library. This article shows examples of both low and high-level APIs of the redis-rs library.
Prerequisites
To follow the instructions in this article, you will only need to install a recent version of Rust.
Create a Vultr Managed Database for Caching
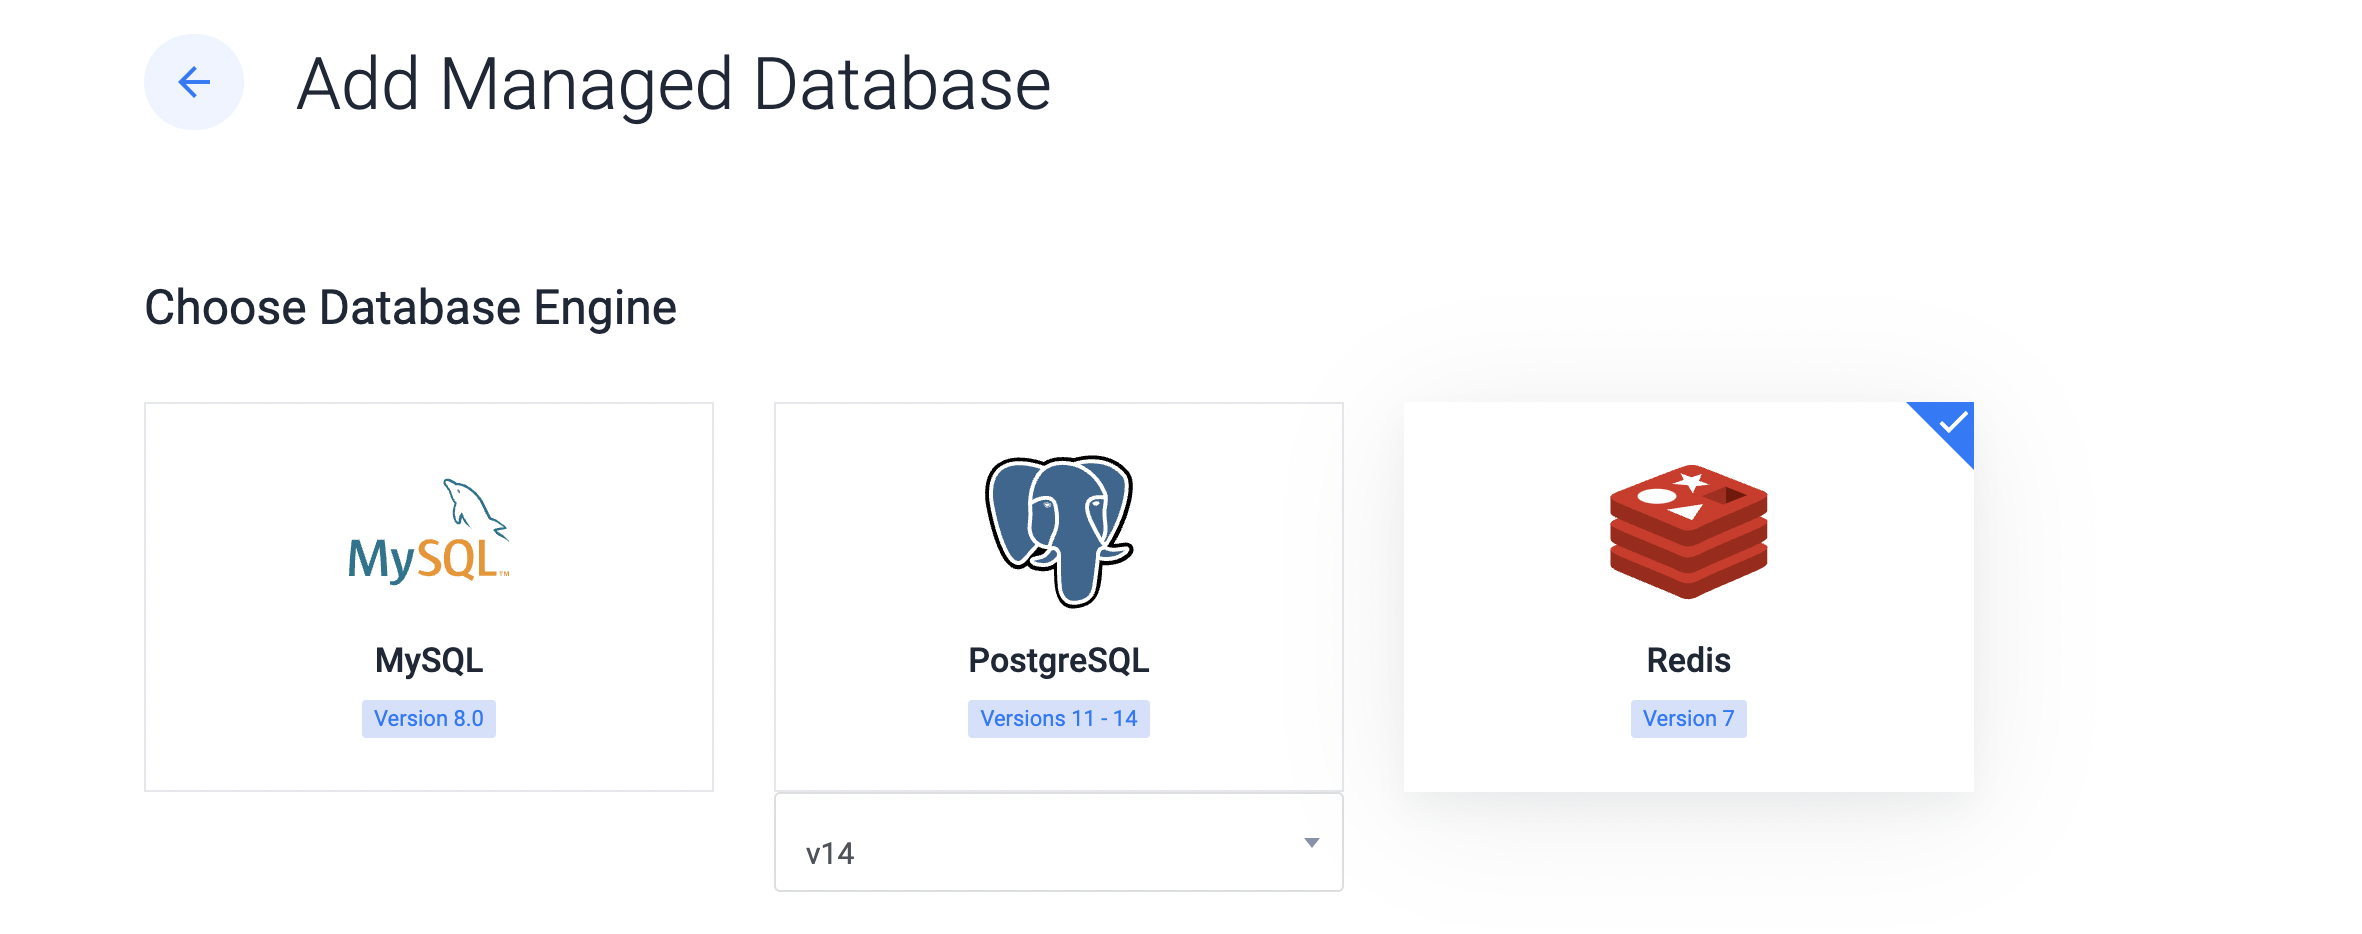
Log into your Vultr account, navigate to Add Managed Database and follow the steps that follow.
Choose the Redis® database engine.
You can choose from several options in the Server Type. This includes Cloud Compute, Cloud Compute High Performance - AMD or Intel, Optimized Cloud Compute - General Purpose, and Storage or Memory Optimized. You can select zero or more replica nodes and the cluster location.
A replica node is the same server type and plan as the primary node.
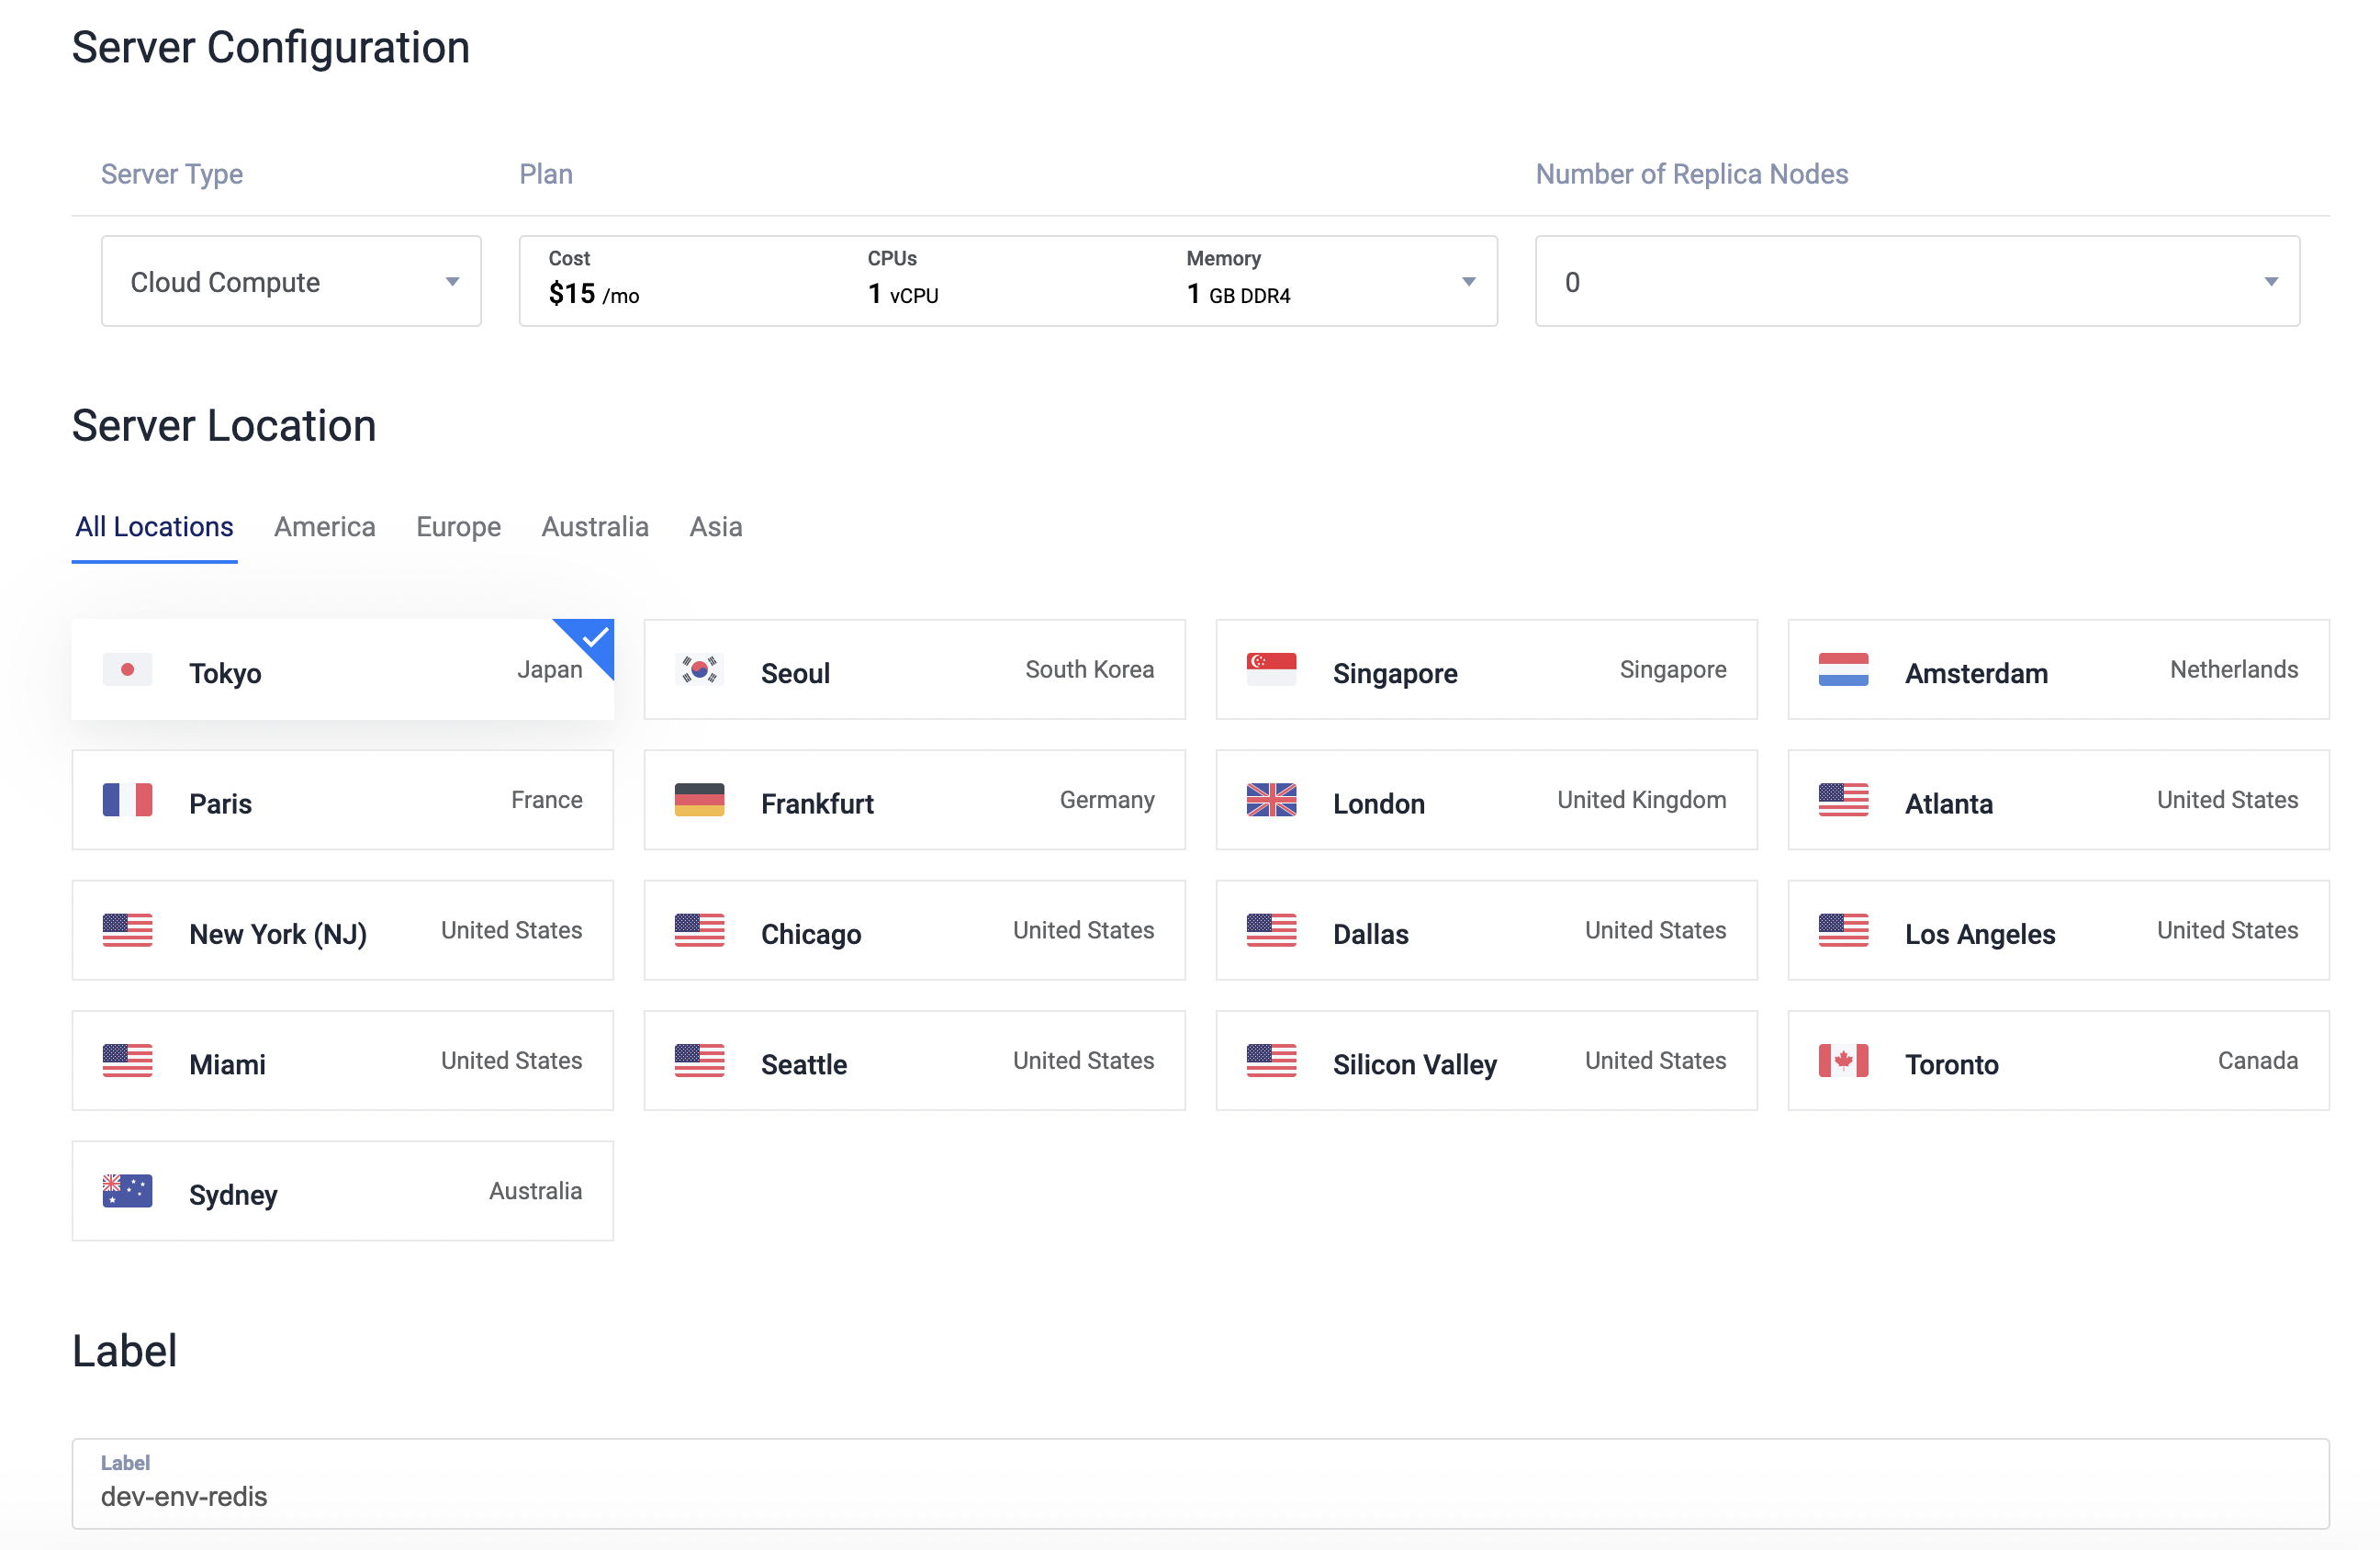
After you add a label for the database cluster, click Deploy Now to create the cluster. The cluster will take a few minutes to be available, and the Status should change to Running.
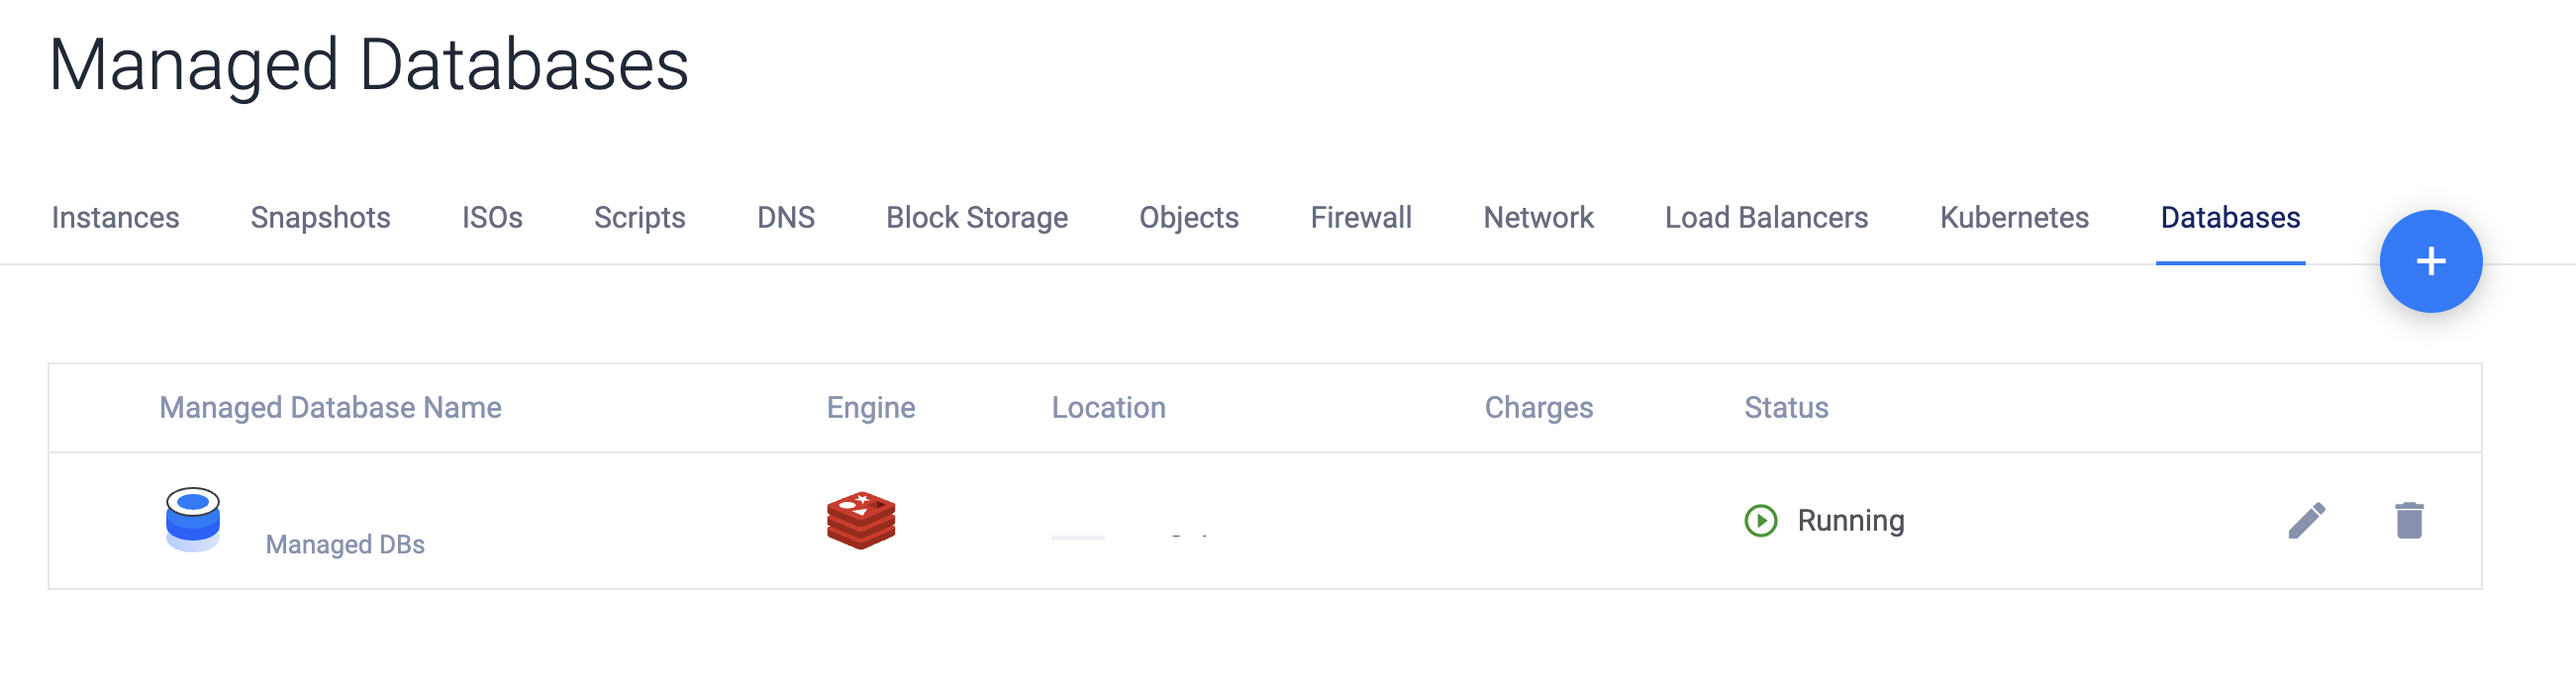
The Vultr Managed Database for Caching is ready. Now you can connect to it using a Rust program.
Create a New Rust Project
Create a new Rust project and change into the directory:
cargo new rust-redis
cd rust-redis
This creates a new Cargo package, including a Cargo.toml manifest and a src/main.rs file.
Replace the contents of Cargo.toml file with the code below:
[package]
name = "redis-rust"
version = "0.1.0"
edition = "2018"

[dependencies]
redis = { version = "0.19.0", features = ["tls"] }
The optional tls feature has been enabled to connect to the Vultr Managed Database for Caching over TLS.
Connect to Redis® with Rust Client
Replace the contents of the main function in src/main.rs file with the below code:
use redis::Commands;
use std::collections::BTreeMap;
use std::env;

fn main() {
    let redis_url = env::var("REDIS_URL").expect("REDIS_URL environment variable is missing");

    println!("connecting to Redis");

    let mut conn = redis::Client::open(redis_url)
        .expect("redis connection URL validation failed")
        .get_connection()
        .expect("failed to connect to redis");

    println!("connected to Redis successfully");
}
The open method performs basic checks on the Redis® connection URL. The get_connection method establishes a connection to Redis® and returns a Connection which can be used to send commands to Redis®. If there is a connectivity-related error, the program will terminate with an error message.
Verify Connectivity with Vultr Managed Database for Caching
Build the program:
cargo buildThe program will be compiled and built. You will see an output similar to this (part of the output has been redacted):
...
Compiling url v2.3.1
Compiling combine v4.6.6
Compiling core-foundation v0.9.3
Compiling security-framework-sys v2.6.1
Compiling tempfile v3.3.0
Compiling security-framework v2.7.0
Compiling redis v0.19.0
Compiling redis-rust v0.1.0 (/Users/demo/rust-redis)
...
For now, you can ignore the compiler warnings about unused imports. These will be resolved later.
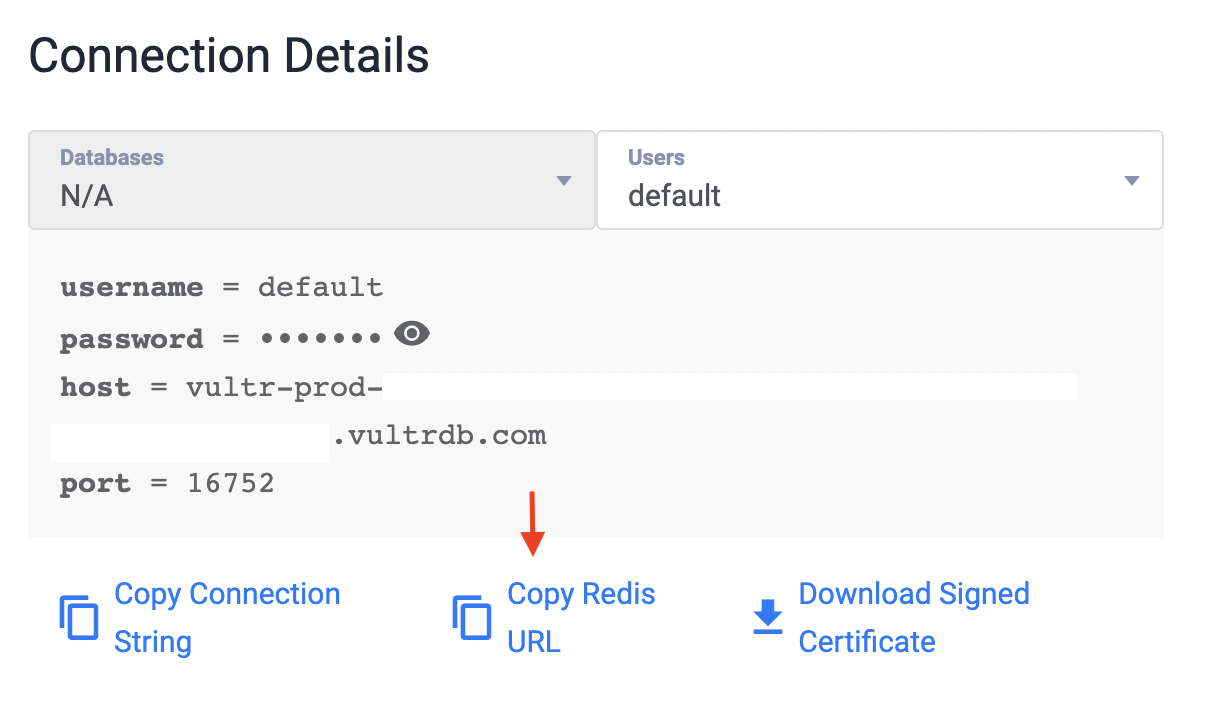
Get the Redis® connection URL of the Vultr Managed Database for Caching.
- Click the Manage icon to open the Overview tab.
- From Connection Details section, choose Copy Redis® URL
To run the program:
export REDIS_URL=<paste the Redis URL>
cargo run
You should see the following output:
connecting to Redis
connected to Redis successfully
If the program fails with the message redis connection URL validation failed or failed to connect to redis, check if you are using the correct Redis® URL.
Add String Operations
Redis® String is one of the simplest yet most powerful data types. In addition to caching data (using SET, GET), they also support numeric operations such as incrementing counters.
We will see how to execute SET and GET operations with the Rust Redis® client.
Update the main function in src/main.rs file. Add the below code:
    println!("executing String operations");

    let _: () = redis::cmd("SET")
        .arg("test_key")
        .arg("test_value")
        .query(&mut conn)
        .expect("set operation failed");

    let value: String = conn.get("test_key").expect("get operation failed");

println!("value of test_key = {}", value);- The
SETcommand is executed with the low-level API. It sets the value of a keytest_keytotest_value. - The
GETcommand is executed using thegetmethod that is part of the high-level API. It retrieves the value for the keytest_key.
Add List Operations
A Redis® List can be used to store multiple values. It can be used for traditional operations such as adding and removing items, but some of the blocking commands make it possible to implement asynchronous job processing applications using a List.
We will see how to use a Redis® List data structure and execute common operations such as LPUSH, RPOP, LLEN and LRANGE.
Update the main function in src/main.rs file. Add the below code:
    println!("executing List operations");

    let jobs_list = "jobs";

    let _: () = redis::cmd("LPUSH")
        .arg(jobs_list)
        .arg("job1")
        .query(&mut conn)
        .expect("lpush operation failed");

    let item: String = conn.rpop(jobs_list).expect("rpop operation failed");
    println!("item in list: {}", item);

    let _: () = conn
        .lpush(jobs_list, "job2")
        .expect("lpush operation failed");
    let _: () = conn
        .lpush(jobs_list, "job3")
        .expect("lpush operation failed");
    let _: () = conn
        .lpush(jobs_list, "job4")
        .expect("lpush operation failed");

    let len: isize = conn.llen(jobs_list).expect("llen operation failed");
    println!("there are {} items in the list", len);

    let items: Vec<String> = conn
        .lrange(jobs_list, 0, len - 1)
        .expect("lrange operation failed");

    println!("all items in list");

    for item in items {
        println!("job: {}", item)
}- To add an item to the list, the low-level API is used to execute
LPUSH. - To retrieve that item from the list,
RPOPis used with the high-level API (rpopmethod). - The program also demonstrates how to use the
lpushmethod to add items to the list with the high-level API. - To get the number of items in the list, the high-level
llenAPI call is used. - Finally, with the
lrangemethod, all the items in the list are retrieved.
Add Set Operations
A Redis® Set can store unique items. Unlike a List, these items are unordered.
We will see how to use a Redis® Set data structure and execute operations such as SADD, SISMEMBER, and SMEMBERS .
Update the main function in src/main.rs file. Add the below code:
    println!("executing SET operations");

    let set_of_fruits = "fruits";

    let _: () = conn
        .sadd(set_of_fruits, "apple")
        .expect("sadd operation failed");
    let _: () = conn
        .sadd(set_of_fruits, "orange")
        .expect("sadd operation failed");

    let ismember: bool = redis::cmd("SISMEMBER")
        .arg(set_of_fruits)
        .arg("apple")
        .query(&mut conn)
        .expect("sismember operation failed");
    println!("does apple exist in the set? {}", ismember); //true

    let fruits: Vec<String> = conn.smembers(set_of_fruits).expect("smembers operation failed");
    println!("all fruits in set");

    for fruit in fruits {
        println!("fruit: {}", fruit)
}- The high-level
saddmethod is used to add items to aSET. - To verify whether an item is already in the set,
SISMEMBERis executed using the low-level API. - To retrieve all the items in the set, the
smembersmethod (high-level API) is used.
Add Sorted Set Operations
Just like a Set, Sorted Set also stores unique items. But these items also have a score associated with them. This makes it possible to use a sorted set for leaderboard functionality where Redis® maintains this on the server side rather than the applications having to fetch data and execute these on the client side.
We will see how to use a Redis® Sorted Set data structure and execute operations such as ZADD, ZCARD and ZRANGE.
Update the main function in src/main.rs file. Add the below code:
    println!("executing Sorted Set operations");

    let sorted_set = "leaderboard";

    let _: () = redis::cmd("ZADD")
        .arg(sorted_set)
        .arg(400)
        .arg("product-1")
        .query(&mut conn)
        .expect("zadd operation failed");

    let _: () = redis::cmd("ZADD")
        .arg(sorted_set)
        .arg(100)
        .arg("product-2")
        .query(&mut conn)
        .expect("zadd operation failed");

    let _: () = conn
        .zadd(sorted_set, "product-3", 500)
        .expect("zadd operation failed");

    let _: () = conn
        .zadd(sorted_set, "product-4", 200)
        .expect("zadd operation failed");

    let count: isize = conn
        .zcard(sorted_set)
        .expect("zcard operation failed");

    let leaderboard: Vec<(String, isize)> = conn
        .zrevrange_withscores(sorted_set, 0, count - 1)
        .expect("zrevrange operation failed");

    println!("listing products with views");

    for item in leaderboard {
        println!("product {} has {} views", item.0, item.1)
}ZADDis executed using the low-level API. This adds items to the sorted set.- The high-level API method
zaddis also used to add more items to the sorted set. zcardis used to find the number of items in the sorted set.- Finally, another high-level API,
zrevrange_withscoresis used to sort the items in the sorted set in descending order of their scores.
Add Hash Operations
A Redis® hash is similar to Map or Dictionary. You can use it to store a collection of key-value pairs.
We will see how to use a Redis® Set data structure and execute operations such as HSET, HGETALL and HGET .
Update the main function in src/main.rs file. Add the below code:
    println!("executing Hash operations");

    let mut user1_data: BTreeMap<String, String> = BTreeMap::new();

    user1_data.insert(String::from("name"), String::from("user1"));
    user1_data.insert(String::from("email"), String::from("user1@foo.com"));
    user1_data.insert(String::from("city"), String::from("New York"));

    let _: () = redis::cmd("HSET")
        .arg("profile:user1")
        .arg(user1_data)
        .query(&mut conn)
        .expect("hset operation failed");

    let info: BTreeMap<String, String> = redis::cmd("HGETALL")
        .arg("profile:user1")
        .query(&mut conn)
        .expect("hgetall operation failed");

    println!("user profile info: {:?}", info);

    let _: () = conn
        .hset_multiple(
            "profile:user2",
            &[
                ("name", "user2"),
                ("email", "user2@foo.com"),
                ("city", "Georgia"),
            ],
        )
        .expect("hset operation failed");

    let email: String = conn
        .hget("profile:user2", "email")
        .expect("hget operation failed");

println!("user email: {:?}", email);HSETis invoked using the low-level API to store user profile data such asname,emailandcity.- Data is retrieved using another low-level API call with
HGETALL. - Another user profile is stored, but this time using a high-level API
hset_multiplethat accepts an array of tuple's. - Finally,
hgetmethod (high-level API) is used to fetch the email for a user.
Run the Program
Use the Redis® connection URL of the Vultr Managed Database for Caching you saved earlier.
Re-build the program:
cargo buildThis will compile and build the program. You should see output similar to this:
Compiling redis-rust v0.1.0 (/Users/demo/rust-redis)
Finished dev [unoptimized + debuginfo] target(s) in 0.57s
Get the Redis® connection URL of the Vultr Managed Database for Caching.
- Click the Manage icon to open the Overview tab.
- From Connection Details section, choose Copy Redis® URL
To run the program:
export REDIS_URL=<paste the Redis URL>
cargo run
You should see the following output:
executing String operations
value of test_key = test_value
executing List operations
item in list: job1
there are 3 items in the list
all items in list
job: job4
job: job3
job: job2
executing SET operations
does apple exist in the set? true
all fruits in set
fruit: apple
fruit: orange
executing Sorted Set operations
listing products with views
product product-3 has 500 views
product product-1 has 400 views
product product-4 has 200 views
product product-2 has 100 views
executing Hash operations
user profile info: {"city": "New York", "email": "user1@foo.com", "name": "user1"}
user email: "user2@foo.com"
Delete the Vultr Managed Database for Caching
After completing this article's tutorial, you can delete the Vultr Managed Database for Caching.
Conclusion
In this article, you saw how to create a Vultr Managed Database for Caching, connect to it using TLS and execute Redis® commands using the Redis® Rust client library.
You can also learn more in the following documentation: