
How to Copy a Directory in Linux
A directory is a file system structure that contains files and other directories. Directories organize files in a hierarchical structure, which helps users and operating systems manage data. Each directory can contain both files and other directories, also called subdirectories, creating a tree-like structure with branches that lead to various levels of data.
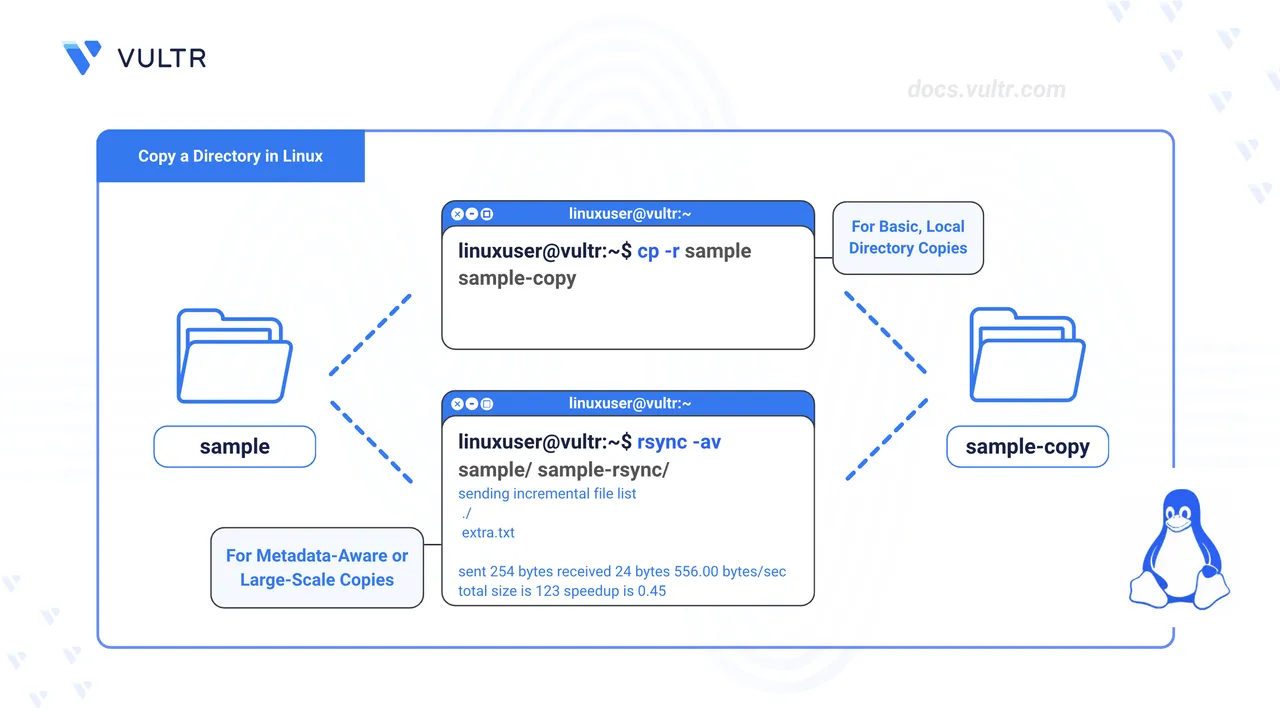
This article explains how to copy a directory in Linux using the cp command and Rsync.
Prerequistes
Before you begin, you need to:
- Have access to a Linux-based instance as a non-root sudo user.
Commands for Copying Directories in Linux
The following are the commands for copying directories in Linux.
cp Command
The copy command cp is used to copy files and directories in Linux. The copy command is available in all Linux distributions and follows the syntax below:
cp [OPTIONS]... [SOURCE] [DESTINATION]OPTIONS: Flags that modify the command's behavior.SOURCE: Specifies the file or directory you want to copy.DESTINATION: Directory path you want to copy the source to or a filename if you want to copy and rename a file. Thecpcommand automatically creates a destination directory if it does not exist.
cp Command Options
The following are the options you can use with the cp command.
| Option | Description |
|---|---|
-r or -R |
Recursively copy directories and their contents. |
-a |
Copies directories recursively and preserves symbolic links, file permissions, ownerships, and timestamps. |
-v |
Shows the files and directories being copied. |
-p |
Preserve file attributes like mode, ownership, and timestamps. |
To learn more about cp, check our detailed article on using the cp command.
rsync Command
The rsync command synchronizes files and directories between two locations, either locally or remotely. Below is the syntax for different use cases. It can copy files locally and between a local and a remote system. Rsync compares timestamps and file sizes to determine what needs to be copied, making it suitable for backups and large-scale data transfers.
Local Copy
rsync [OPTIONS]... [SOURCE_DIRECTORY]/ [DESTINATION_DIRECTORY]/Local to Remote Copy
rsync [OPTIONS]... [SOURCE_DIRECTORY]/ [USER@REMOTE_HOST]:[DESTINATION_DIRECTORY]/Remote to Local Copy
rsync [OPTIONS]... [USER@REMOTE_HOST]:[SOURCE_DIRECTORY]/ [DESTINATION_DIRECTORY]/
Syntax Explanation
OPTIONS: Flags that modify the command's behavior, such as-a(enables archive mode to preserve permissions and attributes), -v (displays verbose output), or-r(performs recursive copy).SOURCE_DIRECTORY/: The directory from which to copy. The trailing slash (/) copies the directory's contents, not the directory itself.DESTINATION_DIRECTORY/: The target directory to copy contents. Rsync creates it if it doesn't exist.USER@REMOTE_HOST: Specifies the remote system with the username, hostname, or IP address for remote transfers.
rsync Command Options
You can use the following options with the rsync command.
| Option | Description |
|---|---|
-a |
Enables archive mode, which includes recursive copying (-r), preserves symbolic links, file permissions, timestamps, owner, and group information. |
-v |
Shows detailed output of the copying process. |
-r |
Copies directories and their contents. |
-z |
Compress file data during the transfer to reduce bandwidth usage. |
Check our detailed article on using rsync to learn more about the command.
Copy a Directory Using the cp Command
In this section, you will create a directory structure, add files and content, and copy directories using the cp command and various flags.
Create a new directory in your present working directory.
console$ mkdir sample
Navigate to the created directory.
console$ cd sample
Create a file named
file1.txt.console$ touch file1.txt
Add content to the
file1.txtfile.console$ echo "This is a sample file in the main directory." > file1.txt
Create a subdirectory such as
folder1inside thesampledirectory.console$ mkdir folder1
Create a file inside
folder1.console$ touch folder1/file2.txt
Add content to the file.
console$ echo "This file is inside folder1." > folder1/file2.txt
Copy
folder1into thefolder1-backupdirectory using thecpcommand.console$ cp -r folder1 folder1-backup
The
-roption enables recursive copying, which copies all the content of the sample directory.List the content of the directory to verify the copy.
console$ ls -R
Navigate back to the parent directory.
console$ cd ..
Copy the entire
sampledirectory into thesample-copydirectory.console$ cp -r sample sample-copy
Copy the
sampledirectory using the-vand-pflags.console$ cp -rvp sample sample-copy-rvp
This command recursively copies the
sampledirectory tosample-copy-rvp, preserving file attributes and showing detailed output.Copy using the
sampledirectory using the-aflag.console$ cp -a sample sample-copy-a
This command copies the
sampledirectory tosample-copy-ain the archive mode.Verify that the copies exist and contain the correct structure with the command below.
console$ ls -l sample sample-copy sample-copy-rvp sample-copy-a
This command lists each directory and its contents in a detailed format.
In the output, notice that
sample-copyhas a newer timestamp. This is because the copy command did not use the-por-aflags. Bothsample-copy-rvpandsample-copy-apreserved the original timestamps and permissions from the sample directory.
Copy a Directory using Rsync
Rsync is a powerful command-line tool for synchronizing files and directories. It is more advanced than cp and useful for backups, partial updates, and large-scale data transfer. Unlike cp, rsync only copies differences between source and destination directories, which saves time and bandwidth. Follow the steps below to copy directories using Rsync.
Rsync is installed by default on most Linux distributions. Confirm if it is available on your instance.
console$ rsync --version
If Rsync is missing, refer to the Rsync installation steps to install it.
Ensure you are in the directory that contains the sample directory.
View the contents of
sampleto confirm its structure.console$ ls -R sample
Copy the
sampledirectory to a new directory using Rsync.console$ rsync -av sample/ sample-rsync/
This command copies the contents of the
sampledirectory tosample-rsync/in archive mode, preserving file attributes and showing verbose output.Verify the contents after copying.
console$ ls -R sample-rsync
This command lists the contents of the
sample-rsyncdirectory.Add a new file to the
sampledirectory.console$ echo "This is a new file." > sample/extra.txt
This creates a file that does not exist in the
sample-rsyncdirectory.Preview changes without applying them using the
--dry-runflag. The--dry-runflag in rsync simulates what will happen during a copy without making any changes to files or directories.console$ rsync -av --dry-run sample/ sample-rsync/
Output:
sending incremental file list ./ extra.txt sent 254 bytes received 24 bytes 556.00 bytes/sec total size is 123 speedup is 0.44 (DRY RUN)Noteextra.txtappears in the output because it is new and not in thesample-rsyncdirectory. Rsync identifies and lists the changes, in this case, just theextra.txtfile, and copies the changes, making the transfer efficient.Use rsync to update the
sample-rsyncdirectory and view real-time file transfer progress using the--progressflag.console$ rsync -av --progress sample/ sample-rsync/
Output:
sending incremental file list
./
extra.txt
            20 100%    0.00kB/s    0:00:00 (xfr#1, to-chk=5/7)

sent 314 bytes  received 40 bytes  708.00 bytes/sec
total size is 123  speedup is 0.35
From the output, you can see that Rsync only copies the newly created
extra.txtfileCheck if the new file appears in the copied directory.
console$ ls -R sample-rsync
Delete a file from the
sampledirectory.console$ rm sample/extra.txt
Use the
--deleteflag to remove files insample-rsyncthat no longer exist insample. Rsync updates the destination by deleting the file.console$ rsync -av --delete sample/ sample-rsync-copy/
Confirm that both directories are in sync by running the following command.
console$ ls -l sample sample-rsync
Output:
sample:
total 12
-rw-rw-r-- 1 user user   45 May  7 06:06 file1.txt
drwxrwxr-x 2 user user 4096 May  7 06:06 folder1
drwxrwxr-x 2 user user 4096 May  7 06:07 folder1-backup

sample-rsync:
total 12
-rw-rw-r-- 1 user user   45 May  7 06:06 file1.txt
drwxrwxr-x 2 user user 4096 May  7 06:06 folder1
drwxrwxr-x 2 user user 4096 May  7 06:07 folder1-backup
You can see that
extra.txthas been removed from both directories, and the rest of the structure remains unchanged.
Conclusion
You have copied directories in Linux using the cp command and Rsync. You can use these commands based on your use cases. For more command options, run the man cp command to view the cp manual page and the man rsync command to view the Rsync manual page.