
How to deploy a Self-Hosted OAuth2 Provider on Vultr Using Authentik and Docker Compose
Authentik is an open-source identity provider (IdP) that implements OAuth 2.0, OpenID Connect (OIDC), and SAML. Deploying Authentik on a Vultr Cloud Compute instance gives you full control over authentication, enables single sign-on (SSO) across internal tools, and keeps user data on your own infrastructure.
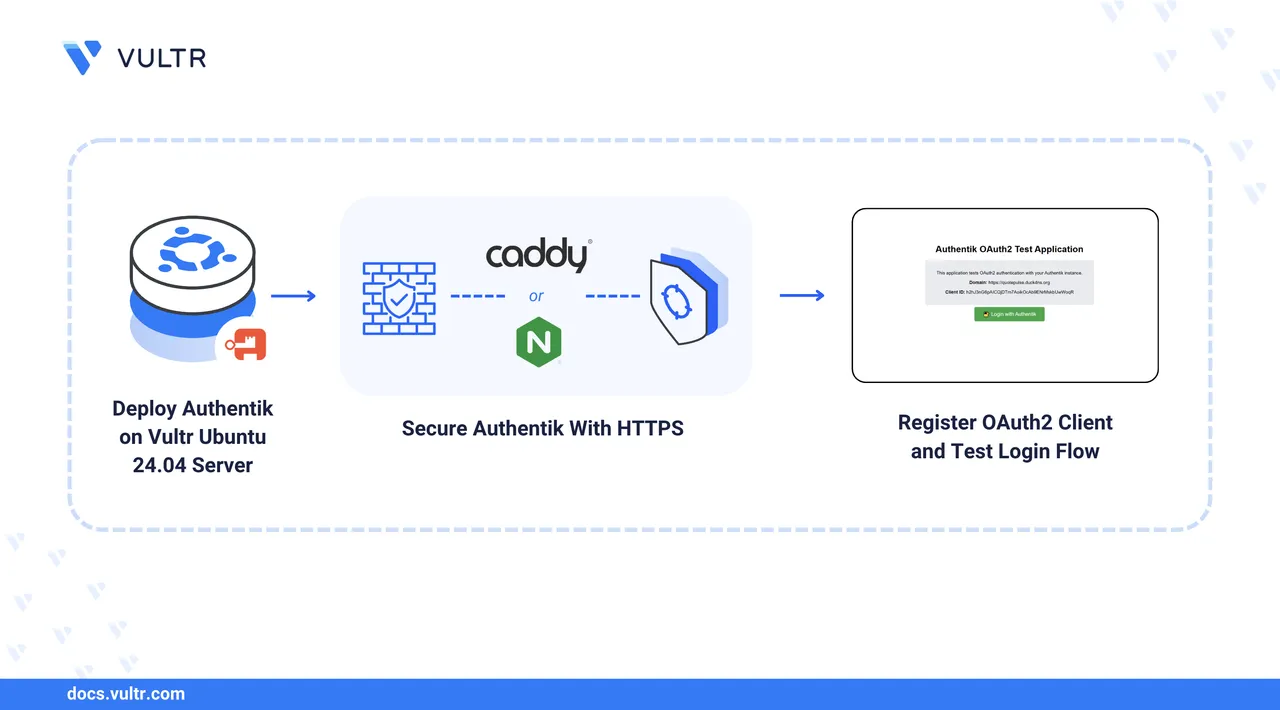
In this guide, you deploy Authentik with Docker Compose, secure it behind a reverse proxy (Caddy or NGINX) with HTTPS, harden the server, and register an OAuth 2.0 client to protect a sample web application. When you finish, you’ll have a production-ready, self-hosted authentication service running on Vultr.
Prerequisites
Before you begin,
- Have access to an Ubuntu 24.04 server as a non-root user with
sudoprivileges. - Create a DNS A record pointing to your server's IP address, such as
auth.example.com. Replace all occurrences ofauth.example.comin this guide with your actual domain. - Install Docker and Docker Compose.
Deploy Authentik Using Docker Compose
Create a dedicated project directory for Authentik in your home directory.
console$ mkdir ~/authentik && cd ~/authentik
Generate a 64-character hexadecimal secret key for Authentik.
console$ openssl rand -hex 32
Copy the generated key for use in the next step.
Create a
.envfile to store the secrets.console$ nano .env
Add the following content in the
.envfile:ini# Database (mapped by the Compose file to AUTHENTIK_POSTGRESQL__*) PG_DB=authentik PG_USER=authentik PG_PASS=<POSTGRES_USER_PASSWORD> # Authentik secret key (required) AUTHENTIK_SECRET_KEY=<64_CHAR_SECRET_KEY> # Optional: Pin image tag (defaults provided in compose) # AUTHENTIK_TAG=2025.8.4 # Use ip:hostport format to avoid exposing ports publicly COMPOSE_PORT_HTTP=127.0.0.1:9000 COMPOSE_PORT_HTTPS=127.0.0.1:9443
Replace
<POSTGRES_USER_PASSWORD>and<64_CHAR_SECRET_KEY>with the alphanumeric password and the secret key you generated earlier, respectively.Save and exit the file.
Download the official
docker-compose.ymlmanifest for Authentik.console$ wget -O docker-compose.yml https://docs.goauthentik.io/docker-compose.yml
Start the stack in detached mode.
console$ sudo docker compose up -d
List the running services and verify that all services are healthy.
console$ sudo docker compose ps
Output:
NAME                     IMAGE                                  COMMAND                  SERVICE      CREATED          STATUS                    PORTS
authentik-postgresql-1   docker.io/library/postgres:16-alpine   "docker-entrypoint.s…"   postgresql   25 minutes ago   Up 25 minutes (healthy)   5432/tcp
authentik-redis-1        docker.io/library/redis:alpine         "docker-entrypoint.s…"   redis        25 minutes ago   Up 25 minutes (healthy)   6379/tcp
authentik-server-1       ghcr.io/goauthentik/server:2025.8.4    "dumb-init -- ak ser…"   server       25 minutes ago   Up 25 minutes (healthy)   127.0.0.1:9000->9000/tcp, 127.0.0.1:9443->9443/tcp
authentik-worker-1       ghcr.io/goauthentik/server:2025.8.4    "dumb-init -- ak wor…"   worker       25 minutes ago   Up 25 minutes (healthy)
Configure NGINX or Caddy with HTTPS
Ensure your domain resolves to the public IP of your Vultr instance that runs Authentik. TLS issuance will fail if DNS is wrong or ports are closed.
View the
ufwstatus.console$ sudo ufw status
If the status of
ufwdisplaysinactivethen run the below command.console$ sudo ufw enable && sudo ufw allow 22
Allow the required HTTP and HTTPS ports.
console$ sudo ufw allow 80 $ sudo ufw allow 443
View the
ufwstatus.console$ sudo ufw status verbose
Install the Caddy web server using
apt.console$ sudo apt update $ sudo apt install -y caddy
Create and configure the
Caddyfileto reverse proxy to Authentik.console$ sudo nano /etc/caddy/Caddyfile
Remove the existing content and add the following:
iniauth.example.com { reverse_proxy 127.0.0.1:9000 }
Save and exit the file.
Format the
Caddyfileconfiguration file.console$ sudo caddy fmt --overwrite /etc/caddy/Caddyfile
Validate the configuration and reload the Caddy service.
console$ sudo caddy validate --config /etc/caddy/Caddyfile $ sudo systemctl reload caddy
Caddy automatically issues and renews TLS certificates when DNS is correctly configured and ports 80/443 are accessible.
Open the Initial Setup flow to create the first administrator account.
https://auth.example.com/if/flow/initial-setup/On the setup page, enter your email and a strong password to complete the admin account setup.
If the application is not reachable, check the Caddy web server logs.
console$ sudo journalctl -u caddy --no-pager -n 100
Install the NGINX web server using
apt.console$ sudo apt update $ sudo apt install -y nginx
Create a server block that proxies traffic to the Authentik Docker container.
console$ sudo nano /etc/nginx/sites-available/authentik.conf
Add the following NGINX configuration into the file.
iniserver { listen 80; server_name auth.example.com; location / { proxy_set_header Host $host; proxy_set_header X-Real-IP $remote_addr; proxy_set_header X-Forwarded-For $proxy_add_x_forwarded_for; proxy_set_header X-Forwarded-Proto $scheme; proxy_pass http://127.0.0.1:9000; } }
Save and close the file.
Enable the server block by creating a symlink.
console$ sudo ln -s /etc/nginx/sites-available/authentik.conf /etc/nginx/sites-enabled/authentik.conf
Test the NGINX configuration.
console$ sudo nginx -t
Reload NGINX to apply changes.
console$ sudo systemctl reload nginx
Install Certbot and the NGINX plugin.
console$ sudo apt install -y certbot python3-certbot-nginx
Obtain and install a TLS certificate using Certbot's NGINX plugin.
console$ sudo certbot --nginx -d auth.example.com -m admin@example.com --agree-tos --no-eff
Certbot updates the NGINX server block for TLS and configures automatic renewal.
Verify that the automatic renewal is active.
console$ sudo systemctl status certbot.timer
Open the Initial Setup flow to create the first administrator account.
https://auth.example.com/if/flow/initial-setup/On the setup page, enter your email and a strong password to complete the admin account setup.
Connect a Sample App to Authentik
In this section, you’ll register an OAuth 2.0 client in Authentik, then run a minimal Node.js app that uses it to validate authentication.
Register an OAuth2 Client
Sign in to the Authentik Admin UI.
https://auth.example.com/if/admin/Create an OAuth2/OpenID Provider for the sample application.
- Navigate: Applications > Providers > Create > OAuth2/OpenID Provider
- At the top, set:
- Name:
Sample App Provider - Authorization flow:
default-provider-authorization-explicit-consent
- Name:
- Under Protocol settings:
- Client type:
Confidential - Redirect URIs/Origins (RegEx):
https://app.example.com/auth/callback - Generate and save the Client ID and Client Secret
- Client type:
- Under Advanced flow settings:
- Authentication flow:
default-authentication-flow - Invalidation flow: leave default (optional)
- Authentication flow:
- Under Advanced protocol settings:
- Subject mode:
Based on the User's hashed ID
- Subject mode:
Create the application and link it to the provider you just created.
- Navigate: Applications > Applications > Create
- Name:
Sample Web App - Slug:
sample-web-app - Provider: select
Sample App Provider - Policy engine mode:
ANY - Under UI settings:
- Launch URL:
https://auth.example.com
- Launch URL:
Sample Node.js OAuth2 Integration Application
Follow the steps below to provision a minimal web application and validate the Authorization Code flow against Authentik.
Clone the sample repository and enter the project directory.
console$ git clone https://github.com/vultr-marketing/code-samples.git $ cd code-samples/authentik-oauth2-demo-app
Install
npm.console$ sudo apt install -y npm
Install runtime dependencies.
console$ npm install
Generate a session secret.
console$ openssl rand -hex 32
Configure environment variables.
console$ nano .env
Paste the following and set the values precisely:
iniAUTHENTIK_URL=https://auth.example.com PUBLIC_BASE_URL=https://app.example.com CLIENT_ID=<CLIENT_ID_FROM_AUTHENTIK_PROVIDER> CLIENT_SECRET=<CLIENT_SECRET_FROM_AUTHENTIK_PROVIDER> SESSION_SECRET=<RANDOM_SESSION_SECRET_GENERATED_ABOVE> PORT=3000
In the above file:
- Replace
https://auth.example.comwith the URL of your Authentik instance. - Replace
https://app.example.comwith the URL where your sample app will run. - Replace
<CLIENT_ID_FROM_AUTHENTIK_PROVIDER>and<CLIENT_SECRET_FROM_AUTHENTIK_PROVIDER>with the values generated when you created the OAuth2/OpenID Provider in Authentik. - Replace
<RANDOM_SESSION_SECRET_GENERATED_ABOVE>with the session secret you generated in the previous step.
Make sure all values are set correctly before starting the application.
- Replace
Start the application.
console$ npm start &
Ensure that you configure a reverse proxy and SSL for the app, similar to how you configured
auth.example.combut for port3000.Navigate to
https://app.example.comand click Login with Authentik.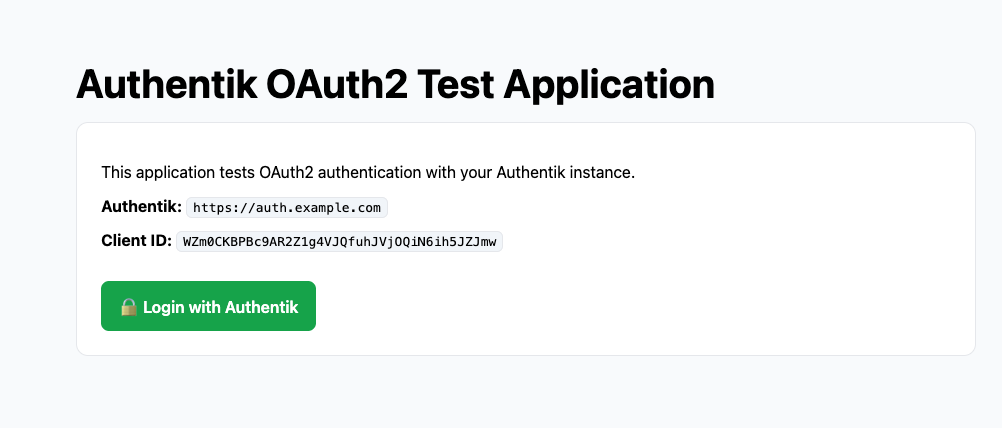
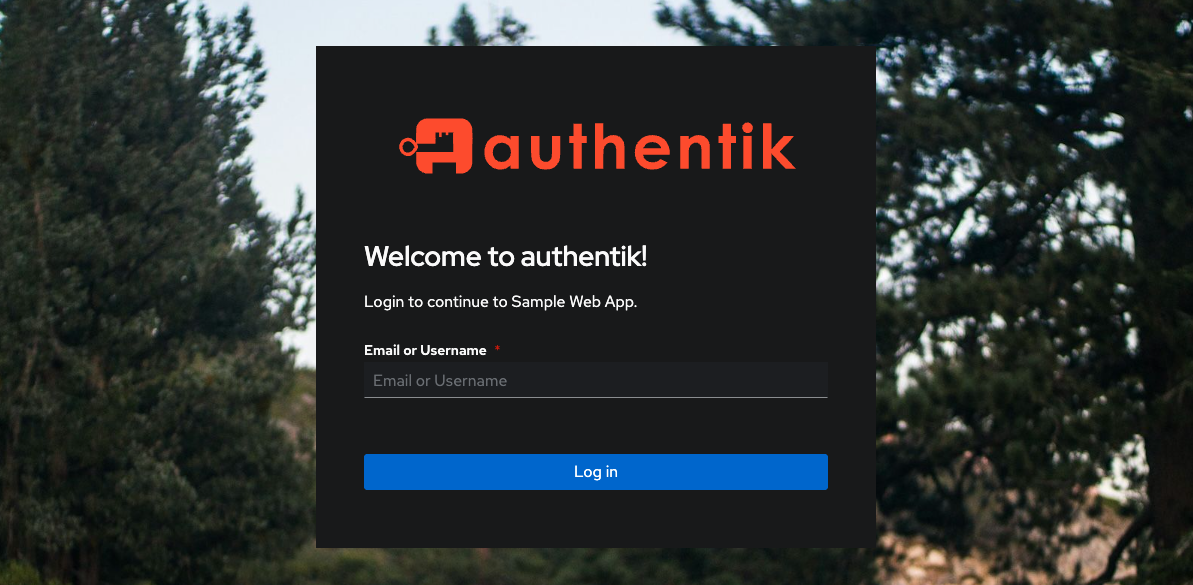
Enter your OAuth2 user credentials.
After authentication, the app exchanges the authorization code for tokens and redirects to
/protected.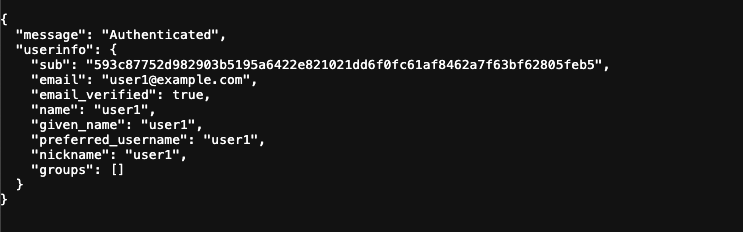
Troubleshooting
If you encounter issues while connecting your sample app to Authentik, follow these steps:
Check the OAuth2 Provider and Application settings,eEnsure that your Authentik Provider and Application are configured correctly, particularly the Redirect URI.
https://app.example.com/auth/callbackAuthentik server logs can provide insight into errors during login or token exchange. Use the following command to view the logs in real-time.
console$ sudo docker compose logs -f server
Look for any warnings or errors related to OAuth2 flows, redirect URIs, or authentication failures.
Confirm that your reverse proxy (Caddy or NGINX) forwards requests correctly to
127.0.0.1:9000and that HTTPS is properly configured. Misconfigured proxy settings can prevent callback URLs from reaching Authentik.OAuth2 state mismatches may occur due to stale sessions. Try logging in using a private or incognito browser window to ensure a clean session.
Conclusion
You successfully deployed a self-hosted Authentik instance on Vultr with Docker Compose, secured it behind HTTPS, and verified OAuth2 SSO with a sample Node.js app. With this foundation, you can now onboard additional applications, enable email flows, and scale your authentication infrastructure while keeping full control over user data.