How to Deploy CephFS as a GCP Filestore Alternative
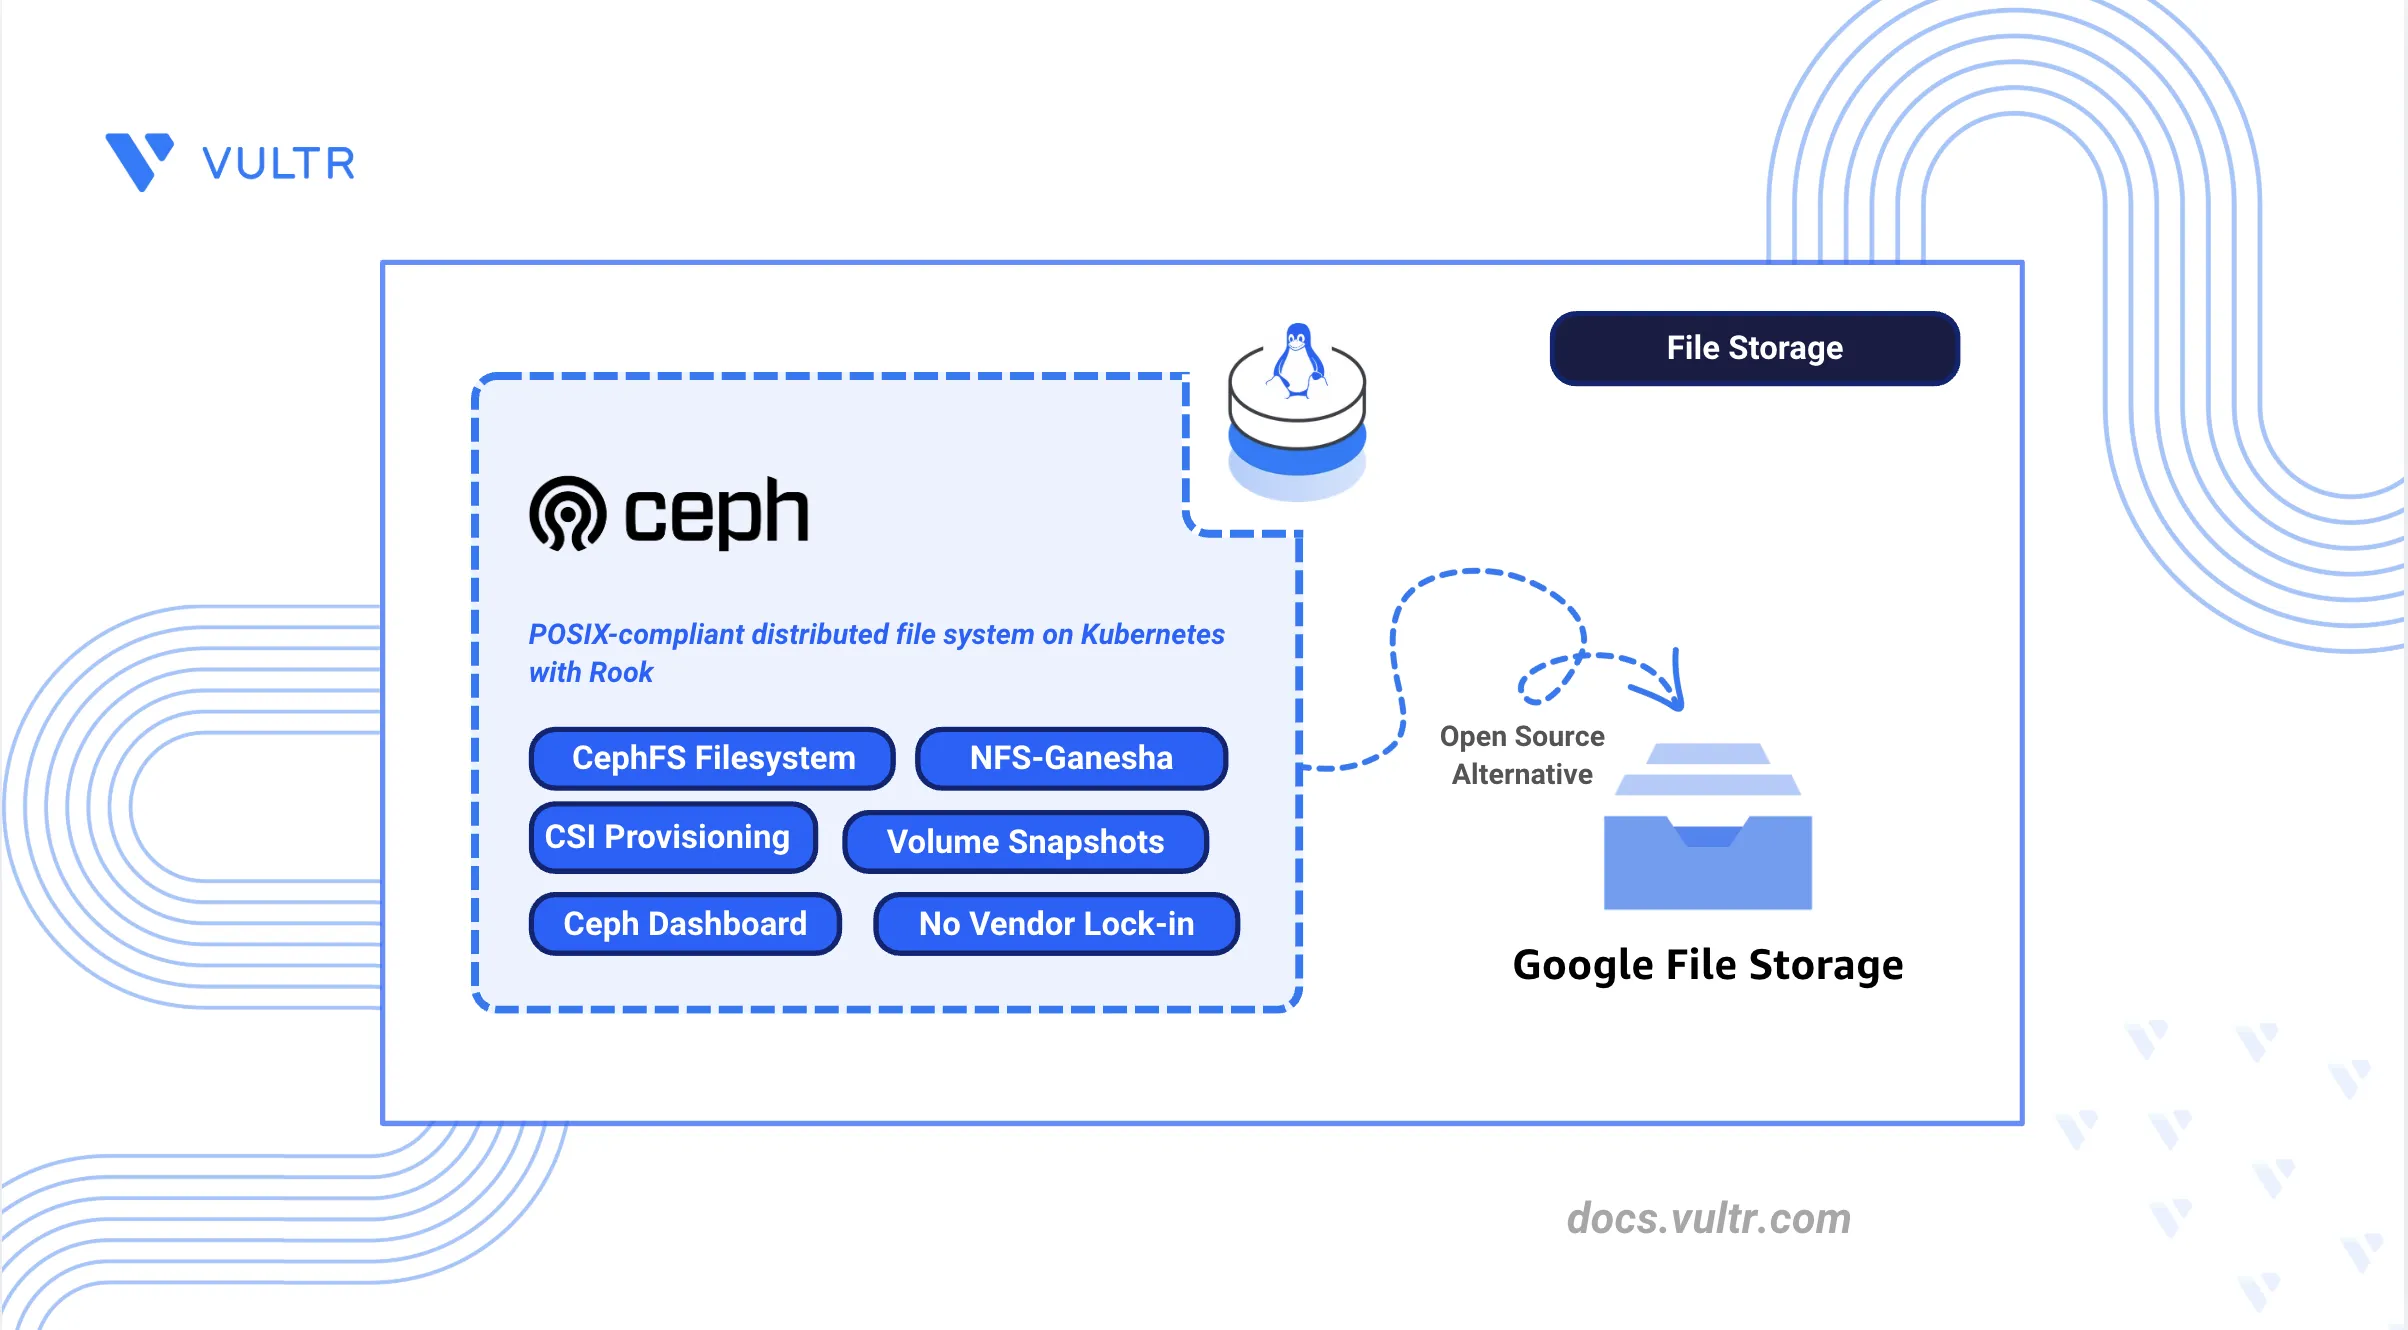
Google Cloud Filestore is Google Cloud's managed NFS file storage service that provides shared file systems for Compute Engine instances and Google Kubernetes Engine workloads. It removes the need to operate file servers, but it bills for provisioned capacity instead of consumed capacity, enforces per-tier minimum instance sizes and fixed performance tiers, and confines each instance to a single Google Cloud zone or region with access governed by Google Cloud IAM and VPC peering. Teams that need shared storage on their own infrastructure, with control over replication, performance tuning, and capacity growth, require a self-managed alternative.
CephFS is a POSIX-compliant distributed file system built on the Ceph storage platform that provides the same ReadWriteMany shared storage semantics as Filestore without the managed-service constraints. It provides shared storage across multiple nodes and can be deployed on Kubernetes using the Rook operator. CephFS supports dynamic volume provisioning through the Container Storage Interface (CSI) and can be extended using NFS-Ganesha to provide NFS access for external clients.
This article explains how to deploy CephFS on a Kubernetes Engine cluster using Rook. It covers installing the Rook operator, creating a Ceph cluster, configuring a CephFS filesystem, provisioning persistent volumes, and exporting storage over NFS. It also covers verifying storage functionality, configuring snapshots and monitoring, and preparing the environment for workload integration.
Understanding CephFS Architecture
CephFS maps directly to Google Cloud Filestore features while providing a self-managed and Kubernetes-native storage platform.
Key components of the CephFS deployment include:
- Rook Operator: Deploys and manages Ceph services inside the Kubernetes cluster.
- Ceph Monitor (MON) and Manager (MGR) Services: Maintain cluster health, quorum, and monitoring services.
- Object Storage Daemons (OSDs): Store Ceph data on attached block storage devices.
- Metadata Server (MDS) Pods: Manage CephFS metadata and coordinate filesystem access.
- Ceph CSI Driver: Dynamically provisions CephFS storage volumes for Kubernetes workloads.
- NFS-Ganesha: Exports CephFS storage over NFS for external clients.
- Prometheus and Grafana: Monitor Ceph cluster health, storage usage, and filesystem activity.
Prerequisites
Before you begin, you need to:
- Deploy a Kubernetes Engine cluster with at least 3 worker nodes, each attached to a raw unformatted Block Storage volume.
- Install
kubectland configure access to the Kubernetes cluster. - Install Helm 3 on your management workstation.
- Have basic knowledge of Kubernetes storage concepts.
Install the Rook Ceph Operator
Rook extends Kubernetes with orchestration capabilities for Ceph storage services such as MONs, MGRs, OSDs, and MDSs.
Create the project directory.
CONSOLESwitch to the project directory.
CONSOLEVerify that all Kubernetes nodes are in the
Readystate.CONSOLEOutput:
Add the Rook Helm repository.
CONSOLEUpdate the local Helm repository index.
CONSOLEInstall the Rook Ceph operator using the Rook Ceph Helm chart.
CONSOLEThe command installs the Rook operator and the required Kubernetes custom resource definitions (CRDs).
Note
This article pins the Rook operator to
v1.19.7, a tested release that automatically provisions the Ceph CSI driver used for dynamic CephFS volume provisioning. If you install a newer Rook version, confirm that therook-ceph.cephfs.csi.ceph.comCSI driver is created before provisioning PersistentVolumeClaims.Verify that the Rook Ceph operator resources are deploying.
CONSOLEOutput:
Verify that the Ceph custom resource definitions (CRDs) are available before deploying the Ceph cluster.
CONSOLE
Deploy the Ceph Cluster
The Ceph cluster provides the distributed storage backend used by CephFS. Rook deploys Ceph components as Kubernetes pods and manages storage devices attached to the worker nodes. The cluster is configured through the CephCluster custom resource.
Create the Ceph cluster configuration file.
CONSOLEAdd the following configuration to the file:
YAMLSave and close the file.
Note
The
deviceFilter: "^vd[b-z]"setting instructs Rook to use only additional VirtIO block storage devices such asvdb,vdc, andvddwhen creating Ceph OSDs. This excludes the primary system disk, which is typically attached asvdaon cloud-based Kubernetes worker nodes. Verify the available block devices on each node before deployment and update the filter if your storage devices use a different naming scheme.The configuration:
- deploys three Ceph monitor (MON) pods for cluster quorum
- deploys one Ceph manager (MGR) pod
- enables the Ceph dashboard
- stores Ceph data in
/var/lib/rook - provisions OSDs using attached block storage devices that match the
^vd[b-z]device filter - configures resource requests and limits for Ceph monitor and manager services
Deploy the Ceph cluster.
CONSOLEMonitor the Ceph pods during deployment and wait for the monitor (MON), manager (MGR), and OSD pods to initialize.
CONSOLENote
The deployment process may take several minutes while Rook initializes the Ceph monitor (MON), manager (MGR), and object storage daemon (OSD) services. If the pods remain in a pending or failed state for an extended period, refer to the Rook Ceph Common Issues Documentation.
Verify that the OSD pods are running.
CONSOLEOutput:
Verify that the Ceph cluster reaches the Ready state.
CONSOLEOutput:
Create a CephFS Filesystem
The CephFS filesystem provides shared file storage backed by the Ceph cluster. Rook deploys Ceph metadata server (MDS) pods to manage filesystem metadata and coordinate file access between Kubernetes workloads. The filesystem is defined through the CephFilesystem custom resource.
Create the Ceph filesystem configuration file.
CONSOLEAdd the following configuration to the file:
YAMLSave and close the file.
The configuration:
- creates a CephFS filesystem named
cephfs - provisions replicated metadata and data pools with three replicas
- preserves the filesystem data if the Kubernetes resource is deleted
- deploys one active metadata server (MDS) with one standby instance for failover
- configures resource requests and limits for the MDS pods
- creates a CephFS filesystem named
Deploy the CephFS filesystem.
CONSOLEMonitor the CephFS resources during deployment and wait for the MDS pods to initialize.
CONSOLEVerify that the MDS pods are running.
CONSOLEOutput:
Verify that the Ceph filesystem reaches the
Readystate.CONSOLEOutput:
Provision CephFS Volumes for Kubernetes
The CephFS CSI driver enables Kubernetes workloads to dynamically provision and mount shared CephFS storage volumes using PersistentVolumeClaims (PVCs).
Create the CephFS StorageClass configuration file.
CONSOLEAdd the following configuration to the file:
YAMLSave and close the file.
The configuration:
- creates a Kubernetes StorageClass named
cephfs-storage - uses the Rook CephFS CSI driver for dynamic volume provisioning
- provisions storage from the
cephfsfilesystem - enables dynamic volume expansion
- automatically deletes persistent volumes when the associated PVC is removed
- creates a Kubernetes StorageClass named
Deploy the StorageClass.
CONSOLEVerify that the StorageClass is created.
CONSOLEOutput:
Create the
PersistentVolumeClaimconfiguration file.CONSOLEAdd the following configuration to the file:
YAMLSave and close the file.
The configuration:
- creates a PersistentVolumeClaim named
cephfs-pvc - provisions a 5Gi CephFS-backed storage volume
- enables multi-node read and write access using the
ReadWriteManyaccess mode
- creates a PersistentVolumeClaim named
Deploy the
PersistentVolumeClaim.CONSOLEVerify that the
PersistentVolumeClaimis bound.CONSOLEOutput:
Create the test pod configuration file.
CONSOLEAdd the following configuration to the file:
YAMLSave and close the file.
The configuration mounts the CephFS-backed PersistentVolumeClaim inside the pod at
/mnt/cephfs.Deploy the test pod.
CONSOLEVerify that the test pod is running.
CONSOLEOutput:
Create a test file inside the mounted CephFS volume.
CONSOLEInside the container, create a test file.
CONSOLEVerify that the file exists.
CONSOLEOutput:
Export CephFS via NFS
The Ceph NFS service enables external systems and legacy applications to access CephFS storage using the standard NFS protocol. Rook deploys NFS-Ganesha pods to export CephFS shares over the network. The NFS service is defined through the CephNFS custom resource, and exports are managed with the ceph nfs export commands.
Create the Ceph NFS configuration file.
CONSOLEAdd the following configuration to the file:
YAMLSave and close the file.
The configuration:
- deploys an NFS-Ganesha server named
ceph-nfs - creates a dedicated
.nfsReliable Autonomic Distributed Object Store (RADOS) pool for NFS recovery data - deploys one active NFS server pod
- configures resource requests and limits for the NFS service
- deploys an NFS-Ganesha server named
Deploy the NFS service.
CONSOLEMonitor the NFS resources during deployment.
CONSOLEVerify that the NFS-Ganesha pod is running.
CONSOLEOutput:
Create a Rook Ceph toolbox pod to manage Ceph NFS exports.
CONSOLEVerify that the toolbox pod is running.
CONSOLEOutput:
Create an NFS export for the CephFS filesystem.
CONSOLEOutput:
The command exports the
cephfsfilesystem through theceph-nfsNFS-Ganesha service using the/cephfsexport path.Verify that the NFS export is created.
CONSOLEOutput:
Retrieve the NFS service details.
CONSOLEOutput:
Mount the NFS Export from a Linux Client
The NFS service is created with a ClusterIP address, which is reachable from the Kubernetes worker nodes and from pods running in the cluster. Mount the exported NFS share from one of the worker nodes.
Note
A ClusterIP address is not reachable from outside the Kubernetes cluster network. To mount the export from a system outside the cluster, such as a separate virtual machine, expose the NFS service using a LoadBalancer or NodePort service instead of the default ClusterIP.
Create a temporary mount directory.
CONSOLEInstall the NFS client utilities.
On Ubuntu and Debian:
CONSOLEOn Rocky Linux and AlmaLinux:
CONSOLE
Mount the exported CephFS NFS share. Replace
NFS-SERVICE-IPwith the ClusterIP address of therook-ceph-nfs-ceph-nfs-aservice.CONSOLECreate a test file in the mounted NFS share.
CONSOLEVerify that the file exists.
CONSOLEOutput:
This confirms that the CephFS filesystem is exported through NFS-Ganesha and accessible using the standard NFS protocol.
Configure Storage Pools and Performance
Ceph storage pools control how data is distributed and replicated across the cluster. In addition to the pools that back the CephFS filesystem deployed earlier, you can create dedicated block pools for other Kubernetes workloads and configure replica placement policies to improve resiliency.
Create the Ceph block pool configuration file.
CONSOLEAdd the following configuration to the file:
YAMLSave and close the file.
The configuration:
- creates a replicated Ceph block pool named
app-block-pool, independent of the pools backing the CephFS filesystem, for workloads that need RBD-backed block storage - stores three copies of each object across different Kubernetes worker nodes
- uses the
hostfailure domain to distribute replicas across separate nodes - disables compression for predictable storage performance
- creates a replicated Ceph block pool named
Deploy the storage pool.
CONSOLEVerify that the storage pool is created.
CONSOLEOutput:
View the Ceph cluster health.
CONSOLEOutput:
This confirms that the Ceph block pool is configured and the cluster is operating in a healthy state.
Set Up Snapshots and Backups
CephFS snapshots allow you to capture point-in-time copies of persistent volumes and restore data when needed. Kubernetes uses the CSI snapshot controller together with the Rook CephFS CSI driver to manage volume snapshot operations.
Install the Kubernetes CSI Snapshot CRDs
The Kubernetes CSI snapshot CRDs enable Kubernetes to manage volume snapshots for CSI-compatible storage drivers such as Rook CephFS.
Deploy the
VolumeSnapshotClassCRD.CONSOLEDeploy the
VolumeSnapshotContentCRD.CONSOLEDeploy the
VolumeSnapshotCRD.CONSOLEDeploy the snapshot controller RBAC resources.
CONSOLEDeploy the snapshot controller.
CONSOLEVerify that the snapshot controller pods are running.
CONSOLEOutput:
Create a VolumeSnapshotClass
The VolumeSnapshotClass defines how Kubernetes creates and manages snapshots using the Rook CephFS CSI driver.
Create the snapshot class configuration file.
CONSOLEAdd the following configuration to the file:
YAMLSave and close the file.
The configuration:
- creates a snapshot class named
cephfs-snapshotclass - uses the Rook CephFS CSI driver for snapshot operations
- configures the CephFS snapshotter secret used by the CSI driver
- automatically deletes snapshots when the snapshot resource is removed
- creates a snapshot class named
Deploy the snapshot class.
CONSOLEVerify that the snapshot class is created.
CONSOLEOutput:
Create a CephFS Volume Snapshot
The VolumeSnapshot resource creates a point-in-time snapshot of a PersistentVolumeClaim using the CephFS CSI driver.
Create the snapshot configuration file.
CONSOLEAdd the following configuration to the file:
YAMLSave and close the file.
The configuration creates a snapshot of the
cephfs-pvcPersistentVolumeClaim using thecephfs-snapshotclasssnapshot class.Deploy the snapshot.
CONSOLEVerify that the snapshot is ready.
CONSOLEOutput:
Restore a Snapshot to a New PersistentVolumeClaim
You can restore a CephFS snapshot to a new PersistentVolumeClaim to recover application data or create a duplicate volume from an existing snapshot.
Create the restore PVC configuration file.
CONSOLEAdd the following configuration to the file:
YAMLSave and close the file.
The configuration:
- creates a new PersistentVolumeClaim named
cephfs-restore-pvc - restores data from the
cephfs-snapshotsnapshot - uses the
cephfs-storageStorageClass for CephFS storage - provisions a new 5Gi restored volume from the snapshot source
Note
The restored PersistentVolumeClaim size must be equal to or larger than the source snapshot restore size. Kubernetes does not allow restoring snapshots into smaller volumes.
- creates a new PersistentVolumeClaim named
Deploy the restored PersistentVolumeClaim.
CONSOLEVerify that the restored PersistentVolumeClaim is bound.
CONSOLEOutput:
Configure Scheduled CephFS Snapshots
Kubernetes does not create scheduled snapshots automatically. You can use a Kubernetes CronJob resource to create recurring CephFS snapshots for backup and recovery workflows. The CronJob runs kubectl inside the cluster, so it requires a ServiceAccount with role-based access control (RBAC) permission to manage VolumeSnapshot resources.
Create the snapshot RBAC configuration file.
CONSOLEAdd the following configuration to the file:
YAMLSave and close the file.
The configuration:
- creates a ServiceAccount named
cephfs-snapshot-safor the snapshot CronJob - grants a Role that allows managing
VolumeSnapshotresources in thedefaultnamespace - binds the Role to the ServiceAccount
- creates a ServiceAccount named
Deploy the snapshot RBAC resources.
CONSOLECreate the scheduled snapshot configuration file.
CONSOLEAdd the following configuration to the file:
YAMLSave and close the file.
The configuration:
- creates a Kubernetes CronJob named
cephfs-snapshot-cronjob - runs under the
cephfs-snapshot-saServiceAccount with permission to manage snapshots - creates a new CephFS snapshot every 6 hours
- generates unique snapshot names using timestamps
- uses the
cephfs-snapshotclasssnapshot class - creates snapshots of the
cephfs-pvcPersistentVolumeClaim
- creates a Kubernetes CronJob named
Deploy the scheduled snapshot CronJob.
CONSOLEVerify that the CronJob is created.
CONSOLEOutput:
Configure Authentication and Access Control
CephFS uses CephX authentication to control client access to the filesystem. You can create restricted CephFS users, limit access to specific directories, and apply POSIX file permissions to isolate workloads between tenants and applications.
Configure POSIX File Permissions
CephFS honors standard POSIX ownership and permission bits, so you can isolate directories for different tenants using the same chown and chmod commands you would use on a local filesystem.
Open a shell inside the test pod.
CONSOLECreate separate directories for different tenants inside the mounted CephFS volume.
CONSOLEAssign ownership to the
tenant-adirectory.CONSOLERestrict access to the directory owner only.
CONSOLEVerify the directory permissions.
CONSOLEOutput:
Exit the pod shell.
CONSOLE
Create Restricted CephFS Client Users
CephFS supports path-based authorization using CephX authentication. You can create dedicated CephFS users and restrict access to specific filesystem paths for tenant isolation and workload security.
Open a shell inside the Rook toolbox pod.
CONSOLECreate a CephFS client user with read and write access restricted to the
/tenant-adirectory.CONSOLERetrieve the authentication key for the
client.tenant-aCephFS user.CONSOLEView the client capabilities.
CONSOLEExit the toolbox shell.
CONSOLENote
The path passed to
ceph fs authorizeis resolved from the root of the CephFS filesystem, not from the pod's local PersistentVolumeClaim mount point. If the CSI driver provisions the PersistentVolumeClaim as a subvolume rather than exposing the filesystem root directly, retrieve the subvolume's actual path withceph fs subvolume getpathbefore authorizing access, and adjust the path argument to match.Verify that the
client.tenant-acredentials restrict access to the intended path. Mount CephFS directly on a Linux client using the kernel client and the retrieved key. ReplaceMON-IPwith the IP address of a Ceph monitor, andCLIENT-KEYwith the key retrieved forclient.tenant-ain the previous step.CONSOLEConfirm that the mount succeeds and that only the authorized directory is visible.
CONSOLEA permission error when accessing paths outside the mounted directory confirms that the CephX authorization correctly restricts the client's access.
Set Up Monitoring
Ceph provides built-in monitoring features through the Ceph Dashboard, Prometheus metrics endpoints, and Grafana dashboards. You can use these services to monitor cluster health, storage utilization, CephFS activity, and OSD performance.
Verify that the Ceph Dashboard Is Enabled
The Ceph Manager (MGR) service hosts the Ceph Dashboard and monitoring modules.
Verify that the Ceph cluster is healthy.
CONSOLEOutput:
Verify that the Ceph Manager pod is running.
CONSOLERetrieve the Ceph Dashboard service details.
CONSOLEOutput:
Access the Ceph Dashboard
The Ceph Dashboard service defaults to a ClusterIP address, so reach it from your local workstation using a kubectl port-forward session.
Forward the Ceph Dashboard service to your local workstation.
CONSOLEOpen
http://127.0.0.1:7000in a web browser.Retrieve the dashboard administrator password. Open a new terminal session and run the following command.
CONSOLECopy the password from the command output.
Use the default username
adminand paste the copied password to log in to the Ceph Dashboard.
Enable the Prometheus Monitoring Module
Ceph exports monitoring metrics through the Prometheus module running on the Ceph Manager service.
Enable the Prometheus module.
CONSOLEVerify that the Prometheus module is enabled.
CONSOLERetrieve the Ceph Manager service details.
CONSOLE
Deploy Grafana Dashboards
Grafana visualizes Prometheus metrics using dashboards for Ceph cluster monitoring.
Add the Grafana Community Helm repository.
CONSOLEUpdate the Helm repository index.
CONSOLEDeploy Grafana.
CONSOLEVerify that the Grafana pod is running.
CONSOLEOutput:
Retrieve the Grafana administrator password.
CONSOLECopy the password value.
Forward the Grafana service to your local workstation.
CONSOLEOpen
http://127.0.0.1:3000in a web browser.Use the default username
adminand the password retrieved in Step 5 to log in to Grafana.
Verify the Deployment
You can perform an end-to-end validation to verify the CephFS deployment, NFS export, snapshot functionality, and monitoring services.
Verify CephFS PersistentVolumeClaim Access
Confirm that the PersistentVolumeClaim provisioned earlier remains bound and that the test pod can still read and write to the mounted CephFS volume.
Verify that the CephFS-backed PersistentVolumeClaim is bound.
CONSOLEOutput:
Verify that the CephFS test pod is running.
CONSOLEOutput:
Create a validation file inside the mounted CephFS volume.
CONSOLEVerify that the file exists.
CONSOLEOutput:
Verify the CephFS NFS Export
Confirm that the NFS-Ganesha export created earlier is still registered and that the underlying service remains reachable.
Verify that the NFS export is available through the Ceph NFS service.
CONSOLEOutput:
Verify that the NFS service is running.
CONSOLEOutput:
Verify Snapshot and Restore Operations
Confirm that the snapshot and restore workflow completed successfully and that both the original and restored volumes remain available.
Verify that the CephFS snapshot is ready.
CONSOLEVerify that the restored PersistentVolumeClaim is bound.
CONSOLEOutput:
Verify Monitoring Services
Confirm that the Ceph Dashboard and Grafana remain available and that the cluster continues reporting a healthy status after the storage operations performed throughout this article.
Verify that the Ceph Dashboard service is running.
CONSOLEVerify that the Grafana pod is running.
CONSOLEOutput:
Verify that the Ceph cluster remains healthy after all storage operations.
CONSOLE
Migrate from GCP Filestore to CephFS
This section outlines the strategy for migrating workloads from GCP Filestore to CephFS on Kubernetes. It focuses on the concepts and the tools involved so the approach stays applicable as environments and tooling versions change. Refer to the current GCP Filestore and Rook/Ceph CephFS documentation for the exact commands and configuration options before planning your migration.
Data Migration
Data migration copies the existing data set from the Filestore NFS export to CephFS while preserving file permissions and ownership. Because both Filestore and the CephFS NFS-Ganesha export present a standard NFS interface, a client that mounts both file systems can transfer data between them with a general-purpose tool such as rsync. Mount the Filestore export and the CephFS export on the same client, then run rsync in archive mode (rsync -avh) so it preserves ownership, permissions, symbolic links, and timestamps during the copy. For large data sets, parallelize the transfer by running rsync from multiple clients against different subdirectories, or copy the data into a pod that has the CephFS PersistentVolumeClaim mounted.
Application Migration
Application migration redirects Kubernetes workloads from Filestore-backed storage to CephFS. Because CephFS provides the same POSIX and ReadWriteMany semantics that Filestore offers, most applications continue to work without code changes. Update each workload's PersistentVolumeClaim to reference the cephfs-storage StorageClass instead of the Filestore StorageClass (for example, filestore-rwx), then recreate the PersistentVolumeClaim and restart the workload so it binds to the new CephFS volume. For applications that run outside Kubernetes, repoint the NFS mount target at the CephFS NFS-Ganesha export instead of the Filestore endpoint, using the same mount -t nfs command shown earlier in this article.
Snapshot and Backup Migration
Kubernetes CSI VolumeSnapshot resources are the CephFS equivalent of Filestore snapshots. After the CSI snapshot controller and the cephfs-snapshotclass are in place, point-in-time snapshots of any CephFS PersistentVolumeClaim are created by referencing the claim from a VolumeSnapshot resource, as shown earlier in this article. If the existing environment uses scheduled Filestore backups, recreate the schedules with a Kubernetes CronJob or an external backup automation tool, and store long-term copies in an object storage backend.
Data Storage Considerations
GCP Filestore manages capacity expansion automatically, while CephFS requires manual OSD expansion and replication planning as storage usage grows. Plan capacity across the Ceph cluster based on expected workload patterns.
- Replication overhead: CephFS uses a replication factor of 3 by default, so raw storage usage is roughly three times the usable capacity. Account for this multiplier when sizing the OSD devices.
- Adding capacity: Attach additional Block Storage volumes to the worker nodes and let Rook provision new OSDs through the device filter. Ceph rebalances data across the expanded set automatically.
- Pool placement: Use separate Ceph pools or OSD device classes to place performance-sensitive workloads on faster storage, similar to Filestore capacity tiers.
Things to Consider During Migration
The following items require attention during the migration window:
- NFS protocol compatibility: Some Filestore deployments use NFSv3 clients. CephFS exports through NFS-Ganesha use NFSv4 by default. Verify client compatibility before migration.
- Storage performance tuning: Filestore performance tiers are managed automatically. CephFS performance depends on OSD device type, replication settings, network throughput, and Ceph pool configuration.
- Multi-share migration: Filestore multi-share environments map to CephFS subdirectories or separate CephFS subvolumes for tenant isolation.
- Authentication and access control: GCP Filestore integrates with Google Cloud Identity and Access Management (IAM) policies. CephFS uses CephX authentication together with POSIX permissions and ACLs.
- Monitoring migration: Replace Google Cloud Monitoring dashboards with the Ceph Dashboard, Prometheus metrics, and Grafana dashboards.
- Capacity planning: CephFS replication increases raw storage usage compared to single-copy storage systems. Plan storage growth before migrating production workloads.
Conclusion
You have deployed CephFS on a Kubernetes Engine cluster using the Rook operator and configured shared persistent storage for Kubernetes workloads. The setup includes dynamic CephFS volume provisioning, NFS exports using NFS-Ganesha, CSI snapshot and restore operations, CephX authentication, monitoring with the Ceph Dashboard and Grafana, and migration guidance from GCP Filestore. This configuration provides a scalable and self-managed distributed storage platform for containerized applications running on Kubernetes. For additional configuration options and production best practices, refer to the Rook documentation and Ceph documentation.


0 Comments
Be the first to comment and share your perspective with the community.