
How to Deploy GitHub Copilot Projects on Vultr Using Dokploy
GitHub Copilot is an AI-powered developer tool integrated into VS Code that uses natural language prompts to generate code and automate tasks such as application creation, feature implementation, and environment configuration. Dokploy is an open-source platform-as-a-service that automates infrastructure provisioning and Docker orchestration for self-hosted environments.
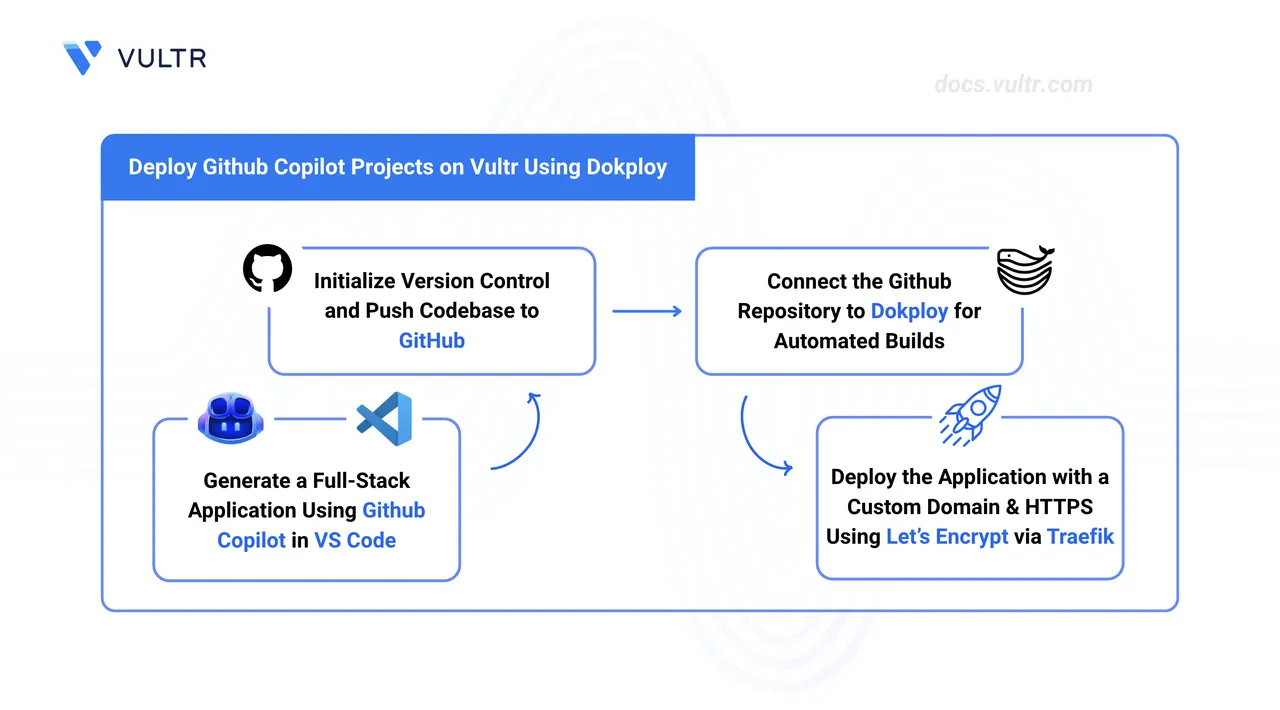
This guide explains how to create a full-stack application using GitHub Copilot, export the source code to GitHub, and deploy it on Vultr using Dokploy.
Prerequisites
- Have a GitHub account with GitHub Copilot enabled. A free tier is available; paid plans offer higher usage limits.
- Have access to an Ubuntu 24.04 server as a non-root user with sudo privileges.
- Install Dokploy and create your administrator account.
- Set up a domain name, such as
app.example.com, and point it to your server's public IP address using an A record. - Download and install Visual Studio Code. After launching, click the Copilot icon in the Status Bar and sign in with your GitHub account. VS Code installs the GitHub Copilot and GitHub Copilot Chat extensions automatically.
Create an Application Using AI
Prompt the GitHub Copilot agent to generate the project files and push the codebase to a remote GitHub repository.
Create a new empty directory and open it in VS Code.
Open the Chat View by pressing Ctrl + Alt + I.
In the prompt field, describe your application and request the agent to make it compatible with Dokploy. Specify all required features and the preferred service stack. Ask for a
docker-compose.ymlif the application involves multiple services.Wait for the GitHub Copilot agent to generate the application files.
Optionally, test the application locally. The generated
README.mdfile contains steps to run the application on your machine.Provision a new, empty repository on GitHub via the web interface.
Initialize the local Git repository.
console$ git init
Stage the generated files for commit.
console$ git add .
Commit the files to the local repository.
console$ git commit -m "Initial commit"
Set the default branch to main.
console$ git branch -M main
Add your GitHub repository as a remote. Replace
YOUR_REPOSITORY_URLwith your repository's URL.console$ git remote add origin YOUR_REPOSITORY_URL
Push the source code to GitHub.
console$ git push -u origin main
Connect GitHub Repository
Connect your GitHub account with Dokploy to grant it access to pull code from your repositories.
- Navigate to your instance's IP address on port
3000(like 192.0.2.1:3000) in a web browser to open the Dokploy dashboard. - Log in to the administrator account.
- Select Git under Settings in the left sidebar.
- Click GitHub, then click Create GitHub App.
- Follow the GitHub OAuth prompts to authorize the app and select the repositories Dokploy can access.
Create a New Project
Projects in Dokploy isolate different application environments.
- Click Projects in the left sidebar.
- Click Create Project, enter a project name, and click Create.
- Click on the newly created project to open it.
Connect the Code Repository
Deploy the application by specifying the source repository and creating a new Docker Compose service.
On your project page, click Create Service and select Compose.
Enter a name for your service and click Create.
Open your new Compose service.
Locate the Github configuration section.
Select your GitHub account and repository.
Set the correct Branch.
Click Save to apply the repository settings.
Open the
docker-compose.ymlfile in your local repository and make the following two adjustments to the web service before deploying:- Remove any
ports:mappings. Dokploy routes traffic through Traefik, so the web service does not need to bind a port on the host. - Add
dokploy-networkto the service's networks so Traefik can reach the container:
yamlservices: web: networks: - default - dokploy-network networks: dokploy-network: external: true
Replace
webwith the actual service name from your compose file.- Remove any
Commit and push the changes to your repository.
Start the Deployment
Dokploy fetches the source code and builds the Docker containers when you trigger a deployment. If your application requires environment variables such as API keys or database credentials, set them under the Environment tab before deploying.
- Switch to the General settings tab.
- Click Deploy, then click Confirm.
- Click View to monitor the real-time deployment logs.
Verify Deployment
Connect your domain for a production-ready URL and encrypted traffic. Dokploy provisions a Let's Encrypt SSL certificate through Traefik when you enable HTTPS.
- Navigate to the Domains tab and click Add Domain.
- Select the name of your web service container in the Service Name field, for example
web. - Type your custom domain into the Host field.
- Enable the HTTPS toggle.
- Select Let's Encrypt from the Certificate Provider dropdown.
- Click Create.
- Click Validate DNS to verify your domain's DNS configuration.
Add a Database
Dokploy supports deploying managed database containers within the same project. The internal connection URL connects the database directly to your application over Docker's internal network without exposing it to the internet.
- Navigate to your project page.
- Click Create Service and select Database.
- Select the database type that matches your application's requirements.
- Enter a name for the database and click Create.
- Open the database service page and click Deploy.
- Copy the Internal Connection URL.
- Go to the Environment tab in your application's configuration page.
- Create or update the
DATABASE_URLvariable and paste the copied connection URL as the value. - Click Save.
Conclusion
You have successfully created an application using GitHub Copilot, exported the generated source code to GitHub, and deployed it to a Vultr instance using Dokploy. For more information and advanced configuration options, refer to the official Dokploy documentation.