How to Deploy Kubeflow as an Azure ML Alternative
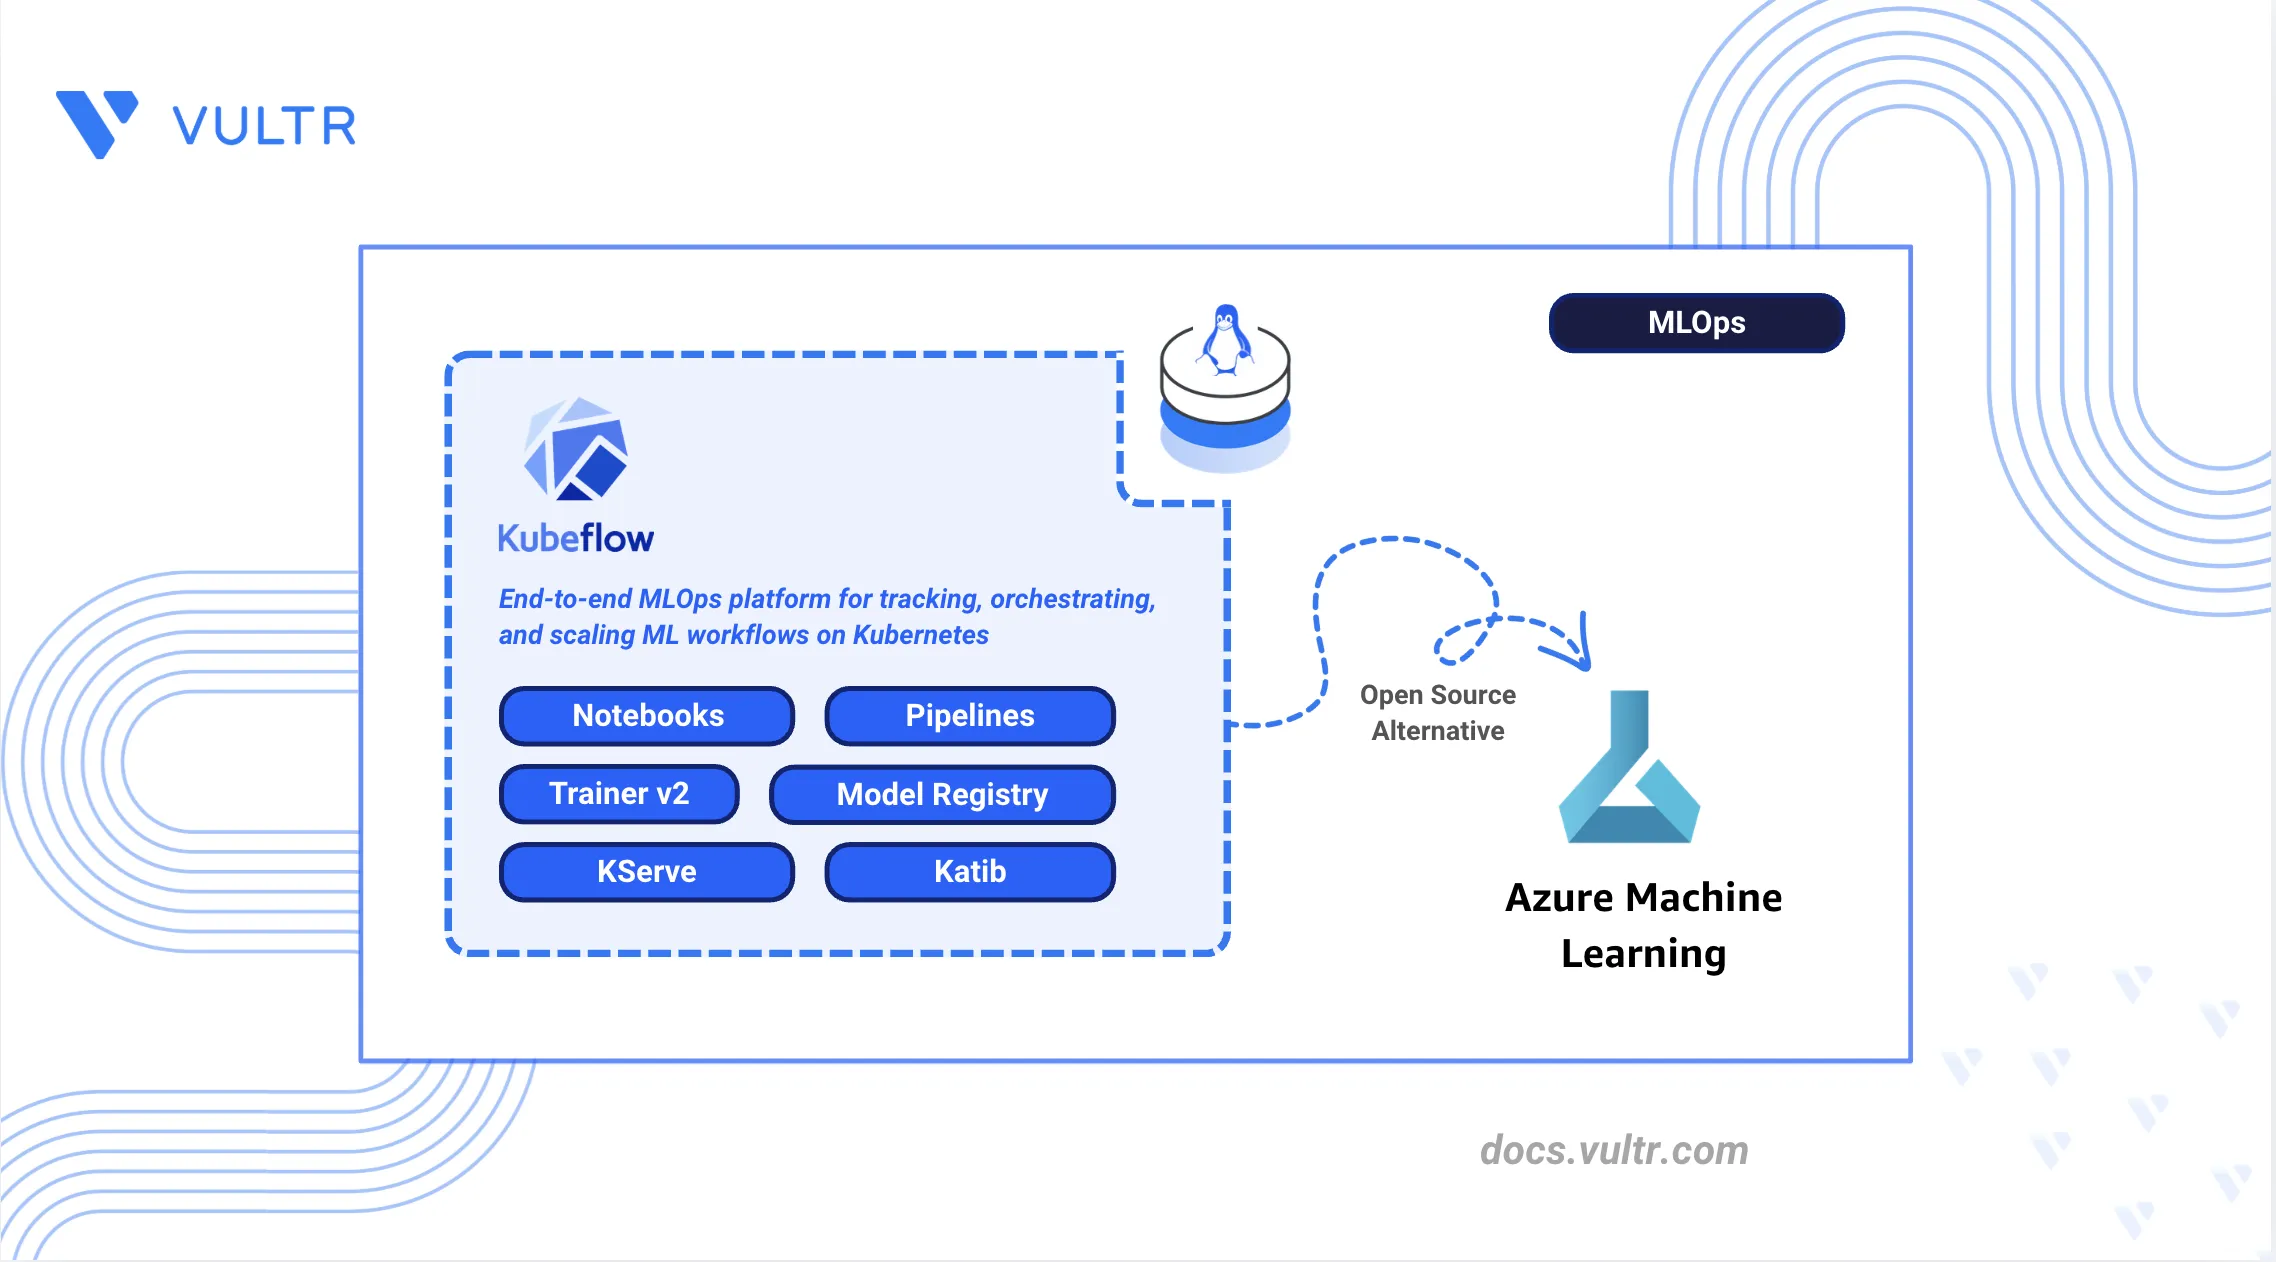
Azure Machine Learning is Microsoft's cloud-native machine learning platform that provides experiment tracking, managed compute, pipelines, a model registry, and model serving as hosted services within the Azure ecosystem. It abstracts infrastructure management but ties teams to Azure-specific APIs, managed compute pricing, and Microsoft's tooling.
Kubeflow is an open-source machine learning platform built on Kubernetes that provides self-hosted alternatives to Azure ML capabilities through modular, portable components. It enables organizations to retain complete control over infrastructure, data residency, scalability, and operational costs.
This article walks through deploying Kubeflow on a Kubernetes cluster as a self-managed replacement for Azure Machine Learning. It includes installation using Kustomize manifests, notebook setup, ML pipeline orchestration, distributed training with the Trainer v2 API, model serving through KServe, hyperparameter optimization using Katib, RBAC and access management, object storage integration, and migration considerations for existing Azure ML workflows.
Understanding Azure Machine Learning vs Kubeflow
Azure ML and Kubeflow provide comparable ML platform capabilities, but they differ in deployment and operational models. Azure ML delivers these as fully managed services within the Azure ecosystem, while Kubeflow provides equivalent open-source components that run on any Kubernetes cluster. The following table maps each Azure ML feature to its Kubeflow counterpart.
Self-hosting with Kubeflow eliminates per-minute compute charges, keeps all data within your own cluster, runs on any cloud provider or on-premises hardware, and allows complete customization of every component.
Prerequisites
Before you begin, you need to:
- Have access to a multi-node Kubernetes cluster that runs Kubernetes 1.31 or later with at least 4 CPU cores and 16 GB of RAM per node (minimum 3 nodes recommended).
- Install kubectl and configure it to connect to your cluster.
- Install Kustomize version 5.4.3 or later.
- Have a default
StorageClassthat is configured in your cluster for provisioning persistent volumes.
Install Kubeflow
Kubeflow uses Kustomize to deploy its components as Kubernetes resources. The official kubeflow/manifests repository contains all component manifests that are organized under common/ for shared infrastructure services such as Istio, cert-manager, and Dex, and under applications/ for Kubeflow-specific applications such as Pipelines, Notebooks, and KServe.
Deploy Kubeflow via Manifests
The following steps clone the Kubeflow manifests repository and deploy all components to the cluster.
Verify the Kubernetes cluster connection.
CONSOLECheck the Kubernetes server version.
CONSOLEVerify that the
Server Versionfield shows version 1.31 or later.Clone the official Kubeflow manifests repository.
CONSOLESwitch to the manifests directory.
CONSOLECheck out the latest stable release tag.
CONSOLEDeploy all Kubeflow components. The command uses a bounded retry loop that attempts the installation up to 5 times, which accommodates the time that Kubernetes CRDs and webhooks need to register before dependent resources apply. The loop exits automatically after a successful apply or after reaching the retry limit.
CONSOLEThe first one or two attempts may output errors about CRDs or webhooks not being established. These errors are expected and resolve on subsequent attempts after the CRDs register. The loop exits automatically when the apply succeeds, which typically happens on the second or third attempt. The full installation takes approximately 10 to 15 minutes after the final successful apply for all pods to reach a
Runningstate. The--server-side --force-conflictsflags are required because some Kubeflow CRDs exceed the annotation size limit that standardkubectl applysupports.Note
The default installation uses the email
user@example.comand password12341234. Change these credentials before exposing Kubeflow to any network. See the Set Up Access Control section later in this article for instructions.
Verify Installation
After the deployment completes, verify that all Kubeflow components are running and the CRDs are registered.
Check that all pods in the
kubeflownamespace reach aRunningstate.CONSOLEVerify that all listed pods display a
Runningstatus with all containers ready. If any pods showCrashLoopBackOfforPending, check their logs withkubectl logs -n kubeflow POD-NAMEand verify that the cluster meets the minimum resource requirements.Check that the Istio ingress gateway service is running.
CONSOLEVerify that the service appears in the output.
Check that Kubeflow and its component CRDs are registered.
CONSOLEThe output displays the count of registered CRDs across Kubeflow and its components. A count of 40 or more indicates a complete installation.
Create Default User Profile
Kubeflow uses profiles to provide namespace-level isolation for each user. The default installation does not automatically provision a user namespace, so you need to create one manually.
Create a new file called
user-profile.yaml.CONSOLEAdd the following configuration:
YAMLSave and close the file.
Apply the profile manifest.
CONSOLEThis command creates an isolated namespace called
kubeflow-user-example-comwith default Role-Based Access Control (RBAC) policies and a service account for the default user.Verify that the namespace exists.
CONSOLEVerify that the default service account exists. The service account takes a few seconds to provision after the profile is created. Wait 10 seconds before running this command.
CONSOLE
Configure Storage
Kubeflow components such as Notebooks, Pipelines, and the Model Registry require persistent storage. The cluster needs a default StorageClass to dynamically provision Persistent Volume Claims (PVCs).
Verify that a default
StorageClassexists.CONSOLEThe default
StorageClassshows(default)next to its name. If no default exists, set one by annotating an existingStorageClass. rSTORAGE-CLASS-NAMEwith the name of an existingStorageClassfrom the output above.CONSOLE
Configure Kubeflow Notebooks
Kubeflow Notebooks provides managed JupyterLab, VS Code, and RStudio environments that run as Kubernetes pods with direct access to cluster resources, GPUs, and persistent storage. This component serves as a self-hosted alternative to Azure Machine Learning notebooks and compute instances.
Access Dashboard
Set up port forwarding and log in to the Kubeflow Central Dashboard.
Set up port forwarding to access the Kubeflow Central Dashboard.
CONSOLEOpen
http://localhost:8080in a web browser. The Kubeflow login screen appears. Click Sign in with Dex.Enter the default credentials on the Dex login form and click Login.
- Email:
user@example.com - Password:
12341234
- Email:
The Kubeflow Central Dashboard loads with links to Notebooks, Pipelines, Katib Experiments, KServe Endpoints, and other components. Select
kubeflow-user-example-comfrom the namespace dropdown at the top.
Create Notebook Server
Launch a new notebook server from the Kubeflow dashboard.
Navigate to Notebooks in the left sidebar and click New Notebook.
Enter
ml-workspacein the Name field.Select the notebook environment from the image cards. Choose JupyterLab for a general-purpose data science environment. Select VisualStudio Code for a code editor interface, or RStudio for R-based statistical computing. To use a specific image version, select Custom Notebook from the dropdown below the cards.
Set Minimum CPU to
0.5and Minimum Memory Gi to1.Leave the Workspace Volume at the default
5Gi. This volume persists data across notebook restarts.Click Launch and wait for the notebook pod to reach a
Runningstate. The status indicator turns green when the notebook is ready.
Connect to Notebook
Open the JupyterLab interface and verify that ML libraries are accessible.
Click Connect next to the notebook server name. A new tab opens with the JupyterLab interface.
Click Python 3 (ipykernel) under the Notebook section in the launcher to create a new notebook. Paste the following code into a cell and press Shift + Enter to run it.
PYTHONThe cell outputs an accuracy score such as
Accuracy: 0.9750.
Set Up Kubeflow Pipelines
Kubeflow Pipelines is a workflow orchestration platform for building, automating, and managing machine learning pipelines as Directed Acyclic Graphs (DAGs). Each step in a pipeline executes within its own containerized environment, improving reproducibility, portability, and experiment versioning across ML workflows. It acts as an open-source, self-hosted alternative to Azure Machine Learning pipelines and workflow orchestration features.
Deploy Sample Pipeline
Install the KFP SDK, define a three-step pipeline, compile it, and submit a run through the internal API. The following steps use both the notebook terminal and the cluster management terminal where specified.
Inside JupyterLab, click File > New > Terminal to open a terminal tab.
Create the pipeline definition file.
CONSOLEAdd the following configuration:
PYTHONSave and close the file.
Compile the pipeline to generate the YAML definition.
CONSOLESwitch to the cluster management terminal and create the authorization policy manifest. This policy allows the notebook namespace to call the Kubeflow Pipelines API through the Istio service mesh.
CONSOLEAdd the following configuration:
YAMLSave and close the file.
Apply the authorization policy.
CONSOLESwitch to the notebook terminal and upload the compiled pipeline to Kubeflow Pipelines through the internal API.
CONSOLEThe command returns a JSON response that contains the
pipeline_id. Note this value for the next step.Create an experiment to organize pipeline runs.
CONSOLEThe command returns a JSON response that contains the
experiment_id. Note this value for the next step.Start a pipeline run. Replace
PIPELINE-IDandEXPERIMENT-IDwith the values from the previous steps.CONSOLE
Monitor Execution
The pipeline run status is visible from the command line and from the Kubeflow dashboard. The dashboard provides a graph view that shows each step's completion state.
Verify that the workflow completed.
CONSOLEVerify that the
STATUScolumn showsSucceeded.Navigate to Pipelines in the left sidebar of the Kubeflow dashboard, then click Experiments. Click default, then click the test-run entry. The graph view shows the
preprocess,train, andevaluatesteps each marked with a green checkmark when the run completes successfully.
Configure Distributed Training
Kubeflow Trainer v2 provides a unified TrainJob API for running distributed training jobs across frameworks including PyTorch, DeepSpeed, MLX, JAX, and XGBoost. The Trainer uses ClusterTrainingRuntime resources that define pre-configured runtime environments, which separates infrastructure configuration from training logic. Kubeflow Trainer replaces Azure ML Jobs with native Kubernetes-based distributed training.
Create Training Job
Create and deploy a distributed PyTorch training job that uses the torch-distributed runtime. Run the following commands from the cluster management terminal.
Create the TrainJob manifest.
CONSOLEAdd the following configuration:
YAMLSave and close the file. The
runtimeReffield references thetorch-distributedClusterTrainingRuntime, which configures the PyTorch distributed training environment. ThenumNodesfield specifies the number of training nodes that Kubeflow provisions for the job.Apply the training manifest.
CONSOLE
Monitor Training
Check the training job status from the cluster management terminal.
Verify the TrainJob status.
CONSOLEThe
STATEcolumn showsCompletewhen training finishes successfully.
Deploy Model Serving with KServe
KServe provides a Kubernetes CRD called InferenceService for deploying, scaling, and managing ML model endpoints. It supports serverless inference with autoscaling from zero, canary rollouts, and multi-model serving across frameworks including TensorFlow, PyTorch, scikit-learn, XGBoost, and ONNX. KServe also supports deploying models directly from Hugging Face Hub using the hf:// URI schema and from the Kubeflow Model Registry using the model-registry:// protocol. KServe is included in the Kubeflow installation and replaces Azure ML Endpoints.
Create InferenceService
Deploy a pre-trained scikit-learn model and expose it as a serving endpoint. Run the following commands from the cluster management terminal.
Create the model serving manifest.
CONSOLEAdd the following configuration:
YAMLSave and close the file.
Apply the InferenceService manifest.
CONSOLEWait for the InferenceService to become ready.
CONSOLEThe
READYcolumn changes toTruewhen the model is loaded and serving. Press Ctrl + C to stop watching. Navigate to KServe Endpoints in the Kubeflow dashboard sidebar to view the deployed model.
Test Model Endpoint
Send a test inference request to verify that the model is serving predictions.
Run the following command from the Kubeflow notebook terminal, which has direct access to the cluster-internal service endpoint.
CONSOLEThe response returns predicted class labels.
Configure Hyperparameter Tuning
Katib is the Kubeflow component that provides automated hyperparameter tuning and neural architecture search. It supports multiple search algorithms including random search, grid search, Bayesian optimization, Tree-structured Parzen Estimator (TPE), and CMA Evolution Strategy. Katib replaces Azure ML Experiments and Automatic Model Tuning with a Kubernetes-native solution.
Create Tuning Experiment
Katib experiments are defined and submitted through the Katib Python SDK from a JupyterLab notebook cell. The SDK creates the experiment resource on the cluster and manages trial pod configuration and metrics collection automatically.
Open a terminal in JupyterLab by clicking File > New > Terminal and install the Katib Python SDK.
CONSOLEClose the terminal tab and create a new Python notebook by clicking File > New > Notebook, then selecting Python 3 (ipykernel) as the kernel. Run the following code in a cell to define an objective function and launch a tuning experiment.
PYTHONThe
tune()method creates a Katib experiment that runs 4 trials (2 in parallel) using random search. The cell output includes aKatib Experiment tune-experiment link hereline. Click here to open the experiment directly in the Katib Experiments tab and monitor trial progress. The experiment status turns green when all trials complete.Retrieve the optimal hyperparameters by running the following code in the next cell.
PYTHON
Set Up Access Control
Kubeflow uses Dex as its OpenID Connect (OIDC) identity provider and Istio for network-level authorization. Each user gets an isolated namespace, which is called a profile, with its own resources, secrets, and RBAC policies.
Configure Authentication
The Dex ConfigMap uses hashFromEnv: DEX_USER_PASSWORD to read the password hash from an environment variable rather than storing it directly in the ConfigMap. To change the default password, update the Secret that provides this environment variable to the Dex pod.
Install the
bcryptPython package to generate a password hash.CONSOLEGenerate a bcrypt hash for the new password. Replace
YOUR-SECURE-PASSWORDwith the password you want to set.CONSOLECopy the output hash for use in the next step.
Update the
dex-passwordsSecret with the new hash. ReplaceGENERATED-BCRYPT-HASHwith the hash output from the previous step.CONSOLENote
The command outputs a warning about a missing annotation. This is expected because
dex-passwordswas created by Kubeflow without--save-config. Verify that the output ends withsecret/dex-passwords configured.Restart the Dex deployment to apply the changes.
CONSOLETo add additional static users or configure external identity providers such as Lightweight Directory Access Protocol (LDAP), GitHub, or Google, add entries to the
staticPasswordslist or connector entries in the Dex ConfigMap. See the Dex documentation for details.
Implement RBAC
Each additional user needs a profile that follows the same manifest structure as the default user profile. Replace the metadata.name and owner.name fields with the new user's details, then apply the manifest with kubectl apply -f.
To give an existing user access to another user's namespace without creating a separate profile, navigate to the target namespace in the Kubeflow dashboard namespace dropdown. Click Manage Contributors in the left sidebar and enter the user's email address.
Integrate Object Storage
ML workflows generate large artifacts including trained models, pipeline outputs, datasets, and logs. Kubeflow uses SeaweedFS as its default S3-compatible object storage backend for artifact persistence. KServe also supports S3-compatible storage for loading model artifacts.
Configure Storage Backend
The default Kubeflow installation deploys SeaweedFS in the kubeflow namespace with pre-configured credentials. Verify that the storage deployment is running.
Check the SeaweedFS pod status.
CONSOLEFor production deployments, replace SeaweedFS with an external S3-compatible object storage service. Replace
YOUR-ACCESS-KEYandYOUR-SECRET-KEYwith the access key and secret key for your storage service, then update themlpipeline-minio-artifactsecret with the new credentials.CONSOLE
Test Storage Integration
Configure KServe to access SeaweedFS for loading model artifacts stored in the cluster.
Create a storage secret for KServe model storage.
CONSOLEAdd the following configuration. Replace
ACCESS-KEYandSECRET-ACCESS-KEYwith any strong keyword.YAMLSave and close the file.
Apply the storage secret.
CONSOLE
Migration from Azure Machine Learning
Migrating from Azure ML to Kubeflow involves exporting existing assets and mapping each Azure ML component to its Kubeflow equivalent. Notebooks transfer without format changes since both platforms use the standard Jupyter notebook format. Training scripts, pipelines, and experiments require rewriting to replace Azure ML SDK calls with Kubeflow and KFP SDK equivalents.
Export Notebooks: Download Azure ML Studio notebooks as
.ipynbfiles from the console or by using the Azure CLI. Upload them directly to Kubeflow Notebook servers, since both platforms use standard Jupyter notebook format. Update anyazure.ai.mlSDK calls that rely on Azure ML-specific APIs.Convert Training Scripts: Azure ML training scripts that use
azure.ai.mlSDK job and command patterns such ascommand(...),MLClient(...),ScriptRunConfig(...), or framework-specific job configurations need to be converted into standard framework training scripts for Kubernetes-based execution. Replace Azure ML-specific environment variables, datastore mounts, and output paths such asAZUREML_MODEL_DIR,./outputs, and Azure ML input/output bindings with Kubernetes volume mount paths. Package the training code into container images and reference them inTrainJobmanifests.Migrate Pipelines: Azure ML Pipelines are defined using the
azure.ai.mlSDK need rewriting with the KFP SDK. Azure ML Pipelines use Python-based DAG definitions via theazure.ai.mlSDK, replace it with KFP's@dsl.pipelinedecorated functions.Export Models: Download trained model artifacts from Azure Machine Learning model registries, datastores, or blob storage using the Azure CLI or
azure.ai.mlSDK. Upload them to the object storage backend connected to Kubeflow and update thestorageUrifield in KServeInferenceServicemanifests to reference the new storage location. KServe supports the same model formats commonly used in Azure ML deployments, including TensorFlow SavedModel, TorchScript, ONNX, and scikit-learn pickle models, without requiring additional conversion.Migrate Experiments: Export Azure ML experiment tracking data using MLflow SDK
mlflow.artifacts.download_artifacts()API call. For hyperparameter tuning, recreate tuning jobs as Katib experiments with equivalent search spaces and objective metrics using the Katib Python SDK.
Conclusion
You have successfully deployed Kubeflow on a Kubernetes cluster as a self-hosted alternative to Azure Machine Learning. The deployment includes interactive notebooks for model development, Kubeflow Pipelines for workflow orchestration, the Trainer v2 API for distributed PyTorch training, KServe for model serving with serverless inference, and Katib for automated hyperparameter tuning. For more information on GPU scheduling, multi-tenancy, and production hardening, visit the official Kubeflow documentation.


0 Comments
Be the first to comment and share your perspective with the community.