How to Deploy Slurm on Vultr Kubernetes Engine
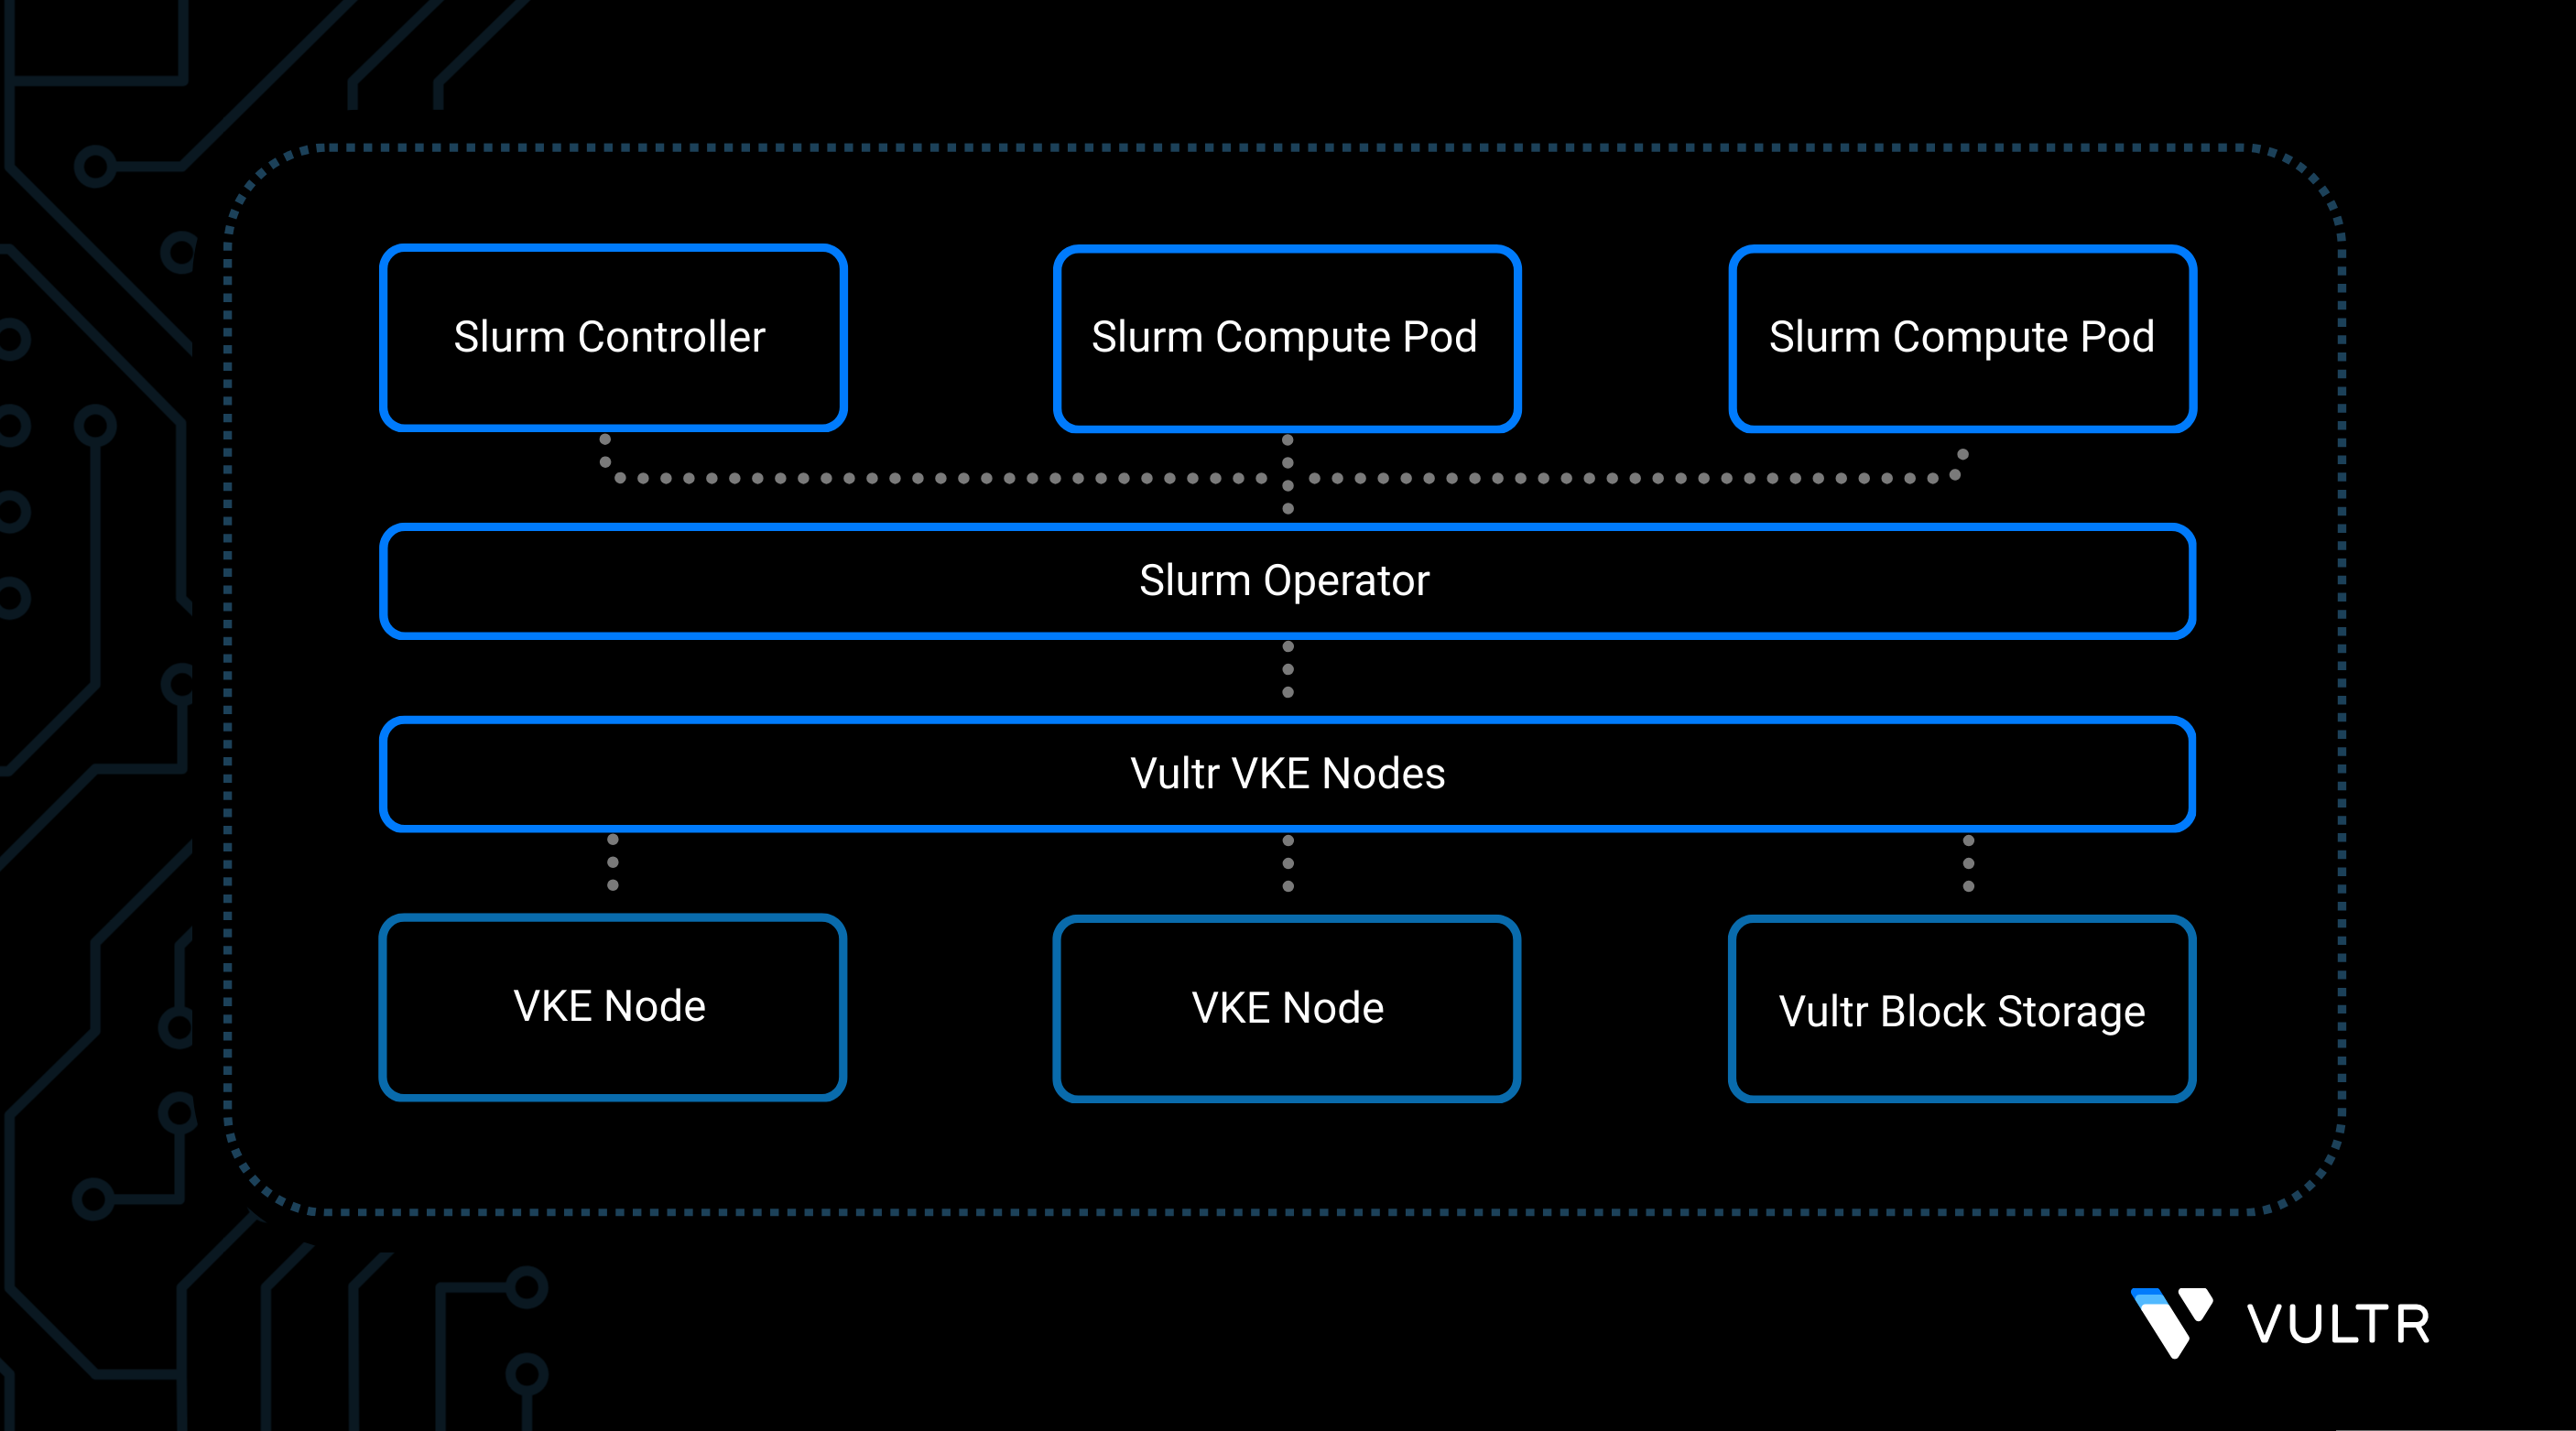
Slurm is an open-source job scheduler for High-Performance Computing (HPC) environments. It allocates resources, manages job queues, and orchestrates workloads across clusters, and it powers many of the world's largest supercomputers, offering scalability, flexibility, and support for complex batch workflows.
This guide explains how to deploy a Slurm cluster on Vultr Kubernetes Engine (VKE) using the Slinky Slurm Operator, a Kubernetes operator for Slurm that SchedMD maintains. It covers installing the operator, deploying a Slurm cluster with the controller persisting state to Vultr Block Storage, recording job accounting data in a MariaDB database, exposing controller metrics to Prometheus, and connecting to the cluster over SSH through its login node.
Prerequisites
Before you begin, ensure you:
- Have access to a VKE cluster.
- Have
kubectlandhelminstalled on your machine. - Have an SSH key pair on your machine to connect to the Slurm login node.
Install cert-manager and the Slurm Operator
The Slurm Operator manages Slurm cluster resources through a set of Custom Resource Definitions (CRDs) and uses cert-manager to issue the certificate for its admission webhook.
Install cert-manager and its CRDs.
CONSOLEInstall the Slurm Operator CRDs.
CONSOLEInstall the Slurm Operator into the
slinkynamespace.CONSOLEVerify the operator pods are running.
CONSOLEYour output should be similar to the one below:
Deploy a Slurm Cluster on Vultr Block Storage
The Slurm chart deploys the controller, worker nodes, login node, and REST API as a single Slurm cluster. By default, the controller persists its state to a Persistent Volume Claim (PVC) that uses the cluster's default storage class, so specify Vultr Block Storage explicitly to control which class it uses.
List the storage classes available on the cluster.
CONSOLEThe output includes
vultr-block-storage, the default Vultr Block Storage class for persistent volumes.Install the Slurm cluster with a worker node set, a partition, and controller persistence on Vultr Block Storage.
CONSOLENote
Kubernetes typically does not delete Persistent Volumes when you delete their PVC, so remove unused PVs manually. Disabling controller persistence with
--set 'controller.persistence.enabled=false'is only appropriate for testing, because it loses the cluster's state on every controller restart.Verify the Slurm cluster pods are running.
CONSOLEYour output should be similar to the one below:
Enable Job Accounting with MariaDB
Slurm accounting records job history and resource usage in a MariaDB or MySQL-compatible database. Deploy a database using the community-edition MariaDB Operator, then point Slurm's accounting service at it.
Add the MariaDB Operator Helm repository.
CONSOLEUpdate the local Helm repository cache.
CONSOLEInstall the MariaDB Operator CRDs.
CONSOLEInstall the MariaDB Operator controller into the
mariadbnamespace.CONSOLECreate a manifest file for the accounting database.
CONSOLEAdd the following configuration:
YAMLSave and close the file.
usernameanddatabase: The credentials and database name the Slurm accounting service connects with. Use these same values later to query the accounting database directly.storage: Requests a 16Gi PVC on Vultr Block Storage for the database. This example aligns with the Slurm chart's defaultaccounting.storageConfig; update it if your database configuration differs.rootPasswordSecretKeyRefandpasswordSecretKeyRef: Generates and stores the root and application passwords in Kubernetes Secrets automatically.
Apply the manifest to create the database in the
slurmnamespace.CONSOLEVerify the database is ready.
CONSOLEVerify the
READYcolumn showsTruebefore continuing.Enable accounting on the Slurm cluster.
CONSOLEThe
--reuse-valuesflag keeps the node set, partition, and storage class values you set during the initial install.Verify the accounting pod is running.
CONSOLEVerify the
slurm-accounting-0pod shows aRunningstatus.
Enable Cluster Metrics with Prometheus
The Slurm controller can expose metrics for Prometheus to scrape through a ServiceMonitor resource, which the kube-prometheus-stack chart's Prometheus Operator watches for automatically.
Add the Prometheus Community Helm repository.
CONSOLEUpdate the local Helm repository cache.
CONSOLEInstall the kube-prometheus-stack chart and its CRDs into the
prometheusnamespace.CONSOLEEnable Slurm controller metrics and the Prometheus service monitor.
CONSOLEVerify the service monitor was created.
CONSOLEThe output displays a service monitor for the Slurm controller.
Connect to the Slurm Cluster
The Slurm chart's login node accepts SSH connections and gives you a shell from which to run Slurm client commands against the cluster. Authorize your own SSH public key on the login node rather than configuring an external identity service.
Enable the login node and authorize your SSH public key. Replace
SSH-PUBLIC-KEY-PATHwith the path to your own public key, such as~/.ssh/id_ed25519.pubor~/.ssh/id_rsa.pub.CONSOLERetrieve the load balancer IP address and port assigned to the login service.
CONSOLENote
VKE provisions a Vultr Load Balancer for the login service automatically. Allow a few minutes for VKE to assign an external IP address.
Verify both values were retrieved before continuing.
CONSOLEThe output shows an IP address and port, for example
66.135.9.113:22. IfSLURM_LOGIN_IPis empty, the load balancer has not finished provisioning; wait a few minutes and rerun the previous step.Connect to the login node over SSH.
CONSOLEFrom the login node, check the partition and node status.
CONSOLEThe output resembles the following:
Verify the worker node shows
idle, notdownordrain.Run a command directly on a worker node.
CONSOLEThe output shows the hostname of the worker node the job ran on, confirming the controller can schedule work:
Submit a batch job.
CONSOLEThe output confirms the controller accepted the job:
List jobs in the queue.
CONSOLEThe output shows the job in a running (
R) or pending (PD) state:Display accounting records for both jobs from the MariaDB database configured earlier.
CONSOLEThe output includes the earlier
srunjob and thesbatchjob submitted in the previous step:The
sleep 60job still showsRUNNINGimmediately after submission; rerunsacctafter a minute to see it change toCOMPLETED.
Run an Example Batch Script
The commands above submit a job inline with --wrap. A batch script defines the job's resource requests and commands in a single file, which is the standard way to submit repeatable work to Slurm.
From the login node, create the script.
CONSOLE--job-name: The name Slurm displays for this job insqueueandsacct.--output: The file Slurm writes the job's combined stdout and stderr to, relative to the worker node's own filesystem.--ntasks: The number of tasks the job requests. This example requests one.--time: The job's time limit, after which Slurm cancels it.
Submit the script to the queue.
CONSOLEThe output confirms the controller accepted the job:
Note
The
example.outfile is written on the node the job is scheduled to, not the login node.Wait for the job to complete, then verify it succeeded from the login node using
sacct.CONSOLEThe output confirms the job ran to completion with a zero exit code:
Conclusion
You have deployed a Slurm cluster on Vultr Kubernetes Engine using the Slinky Slurm Operator, with the controller persisting state to Vultr Block Storage, job accounting recorded in a MariaDB database, controller metrics exposed to Prometheus, and SSH access through the login node. From here, submit your own batch jobs with sbatch, add worker capacity by adjusting the nodesets value on the Slurm chart, or define additional partitions to separate workloads by hardware or priority. For more information, visit the Slinky documentation or the Slurm documentation.


0 Comments
Be the first to comment and share your perspective with the community.