
Introduction
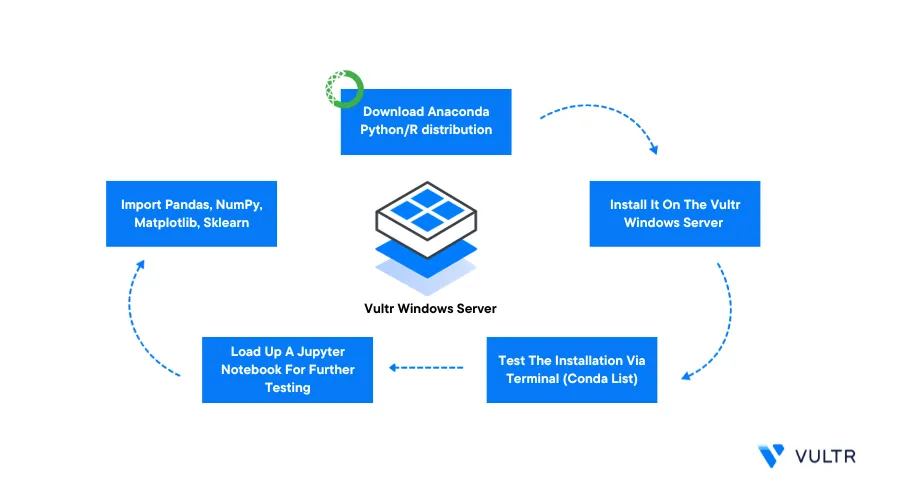
Anaconda is an open-source Python-based package management system that runs the Conda package manager. Conda allows you to install and run different versions of any library to handle scientific computing and data science tasks you can run using independent environments. Follow the steps in this article to install Anaconda on a Vultr Windows Server.
Prerequisites
Before you begin:
- Deploy a Windows Server version of your choice on Vultr
- Using the Remote Desktop Protocol (RDP), access the server as an Administrator
Install Anaconda
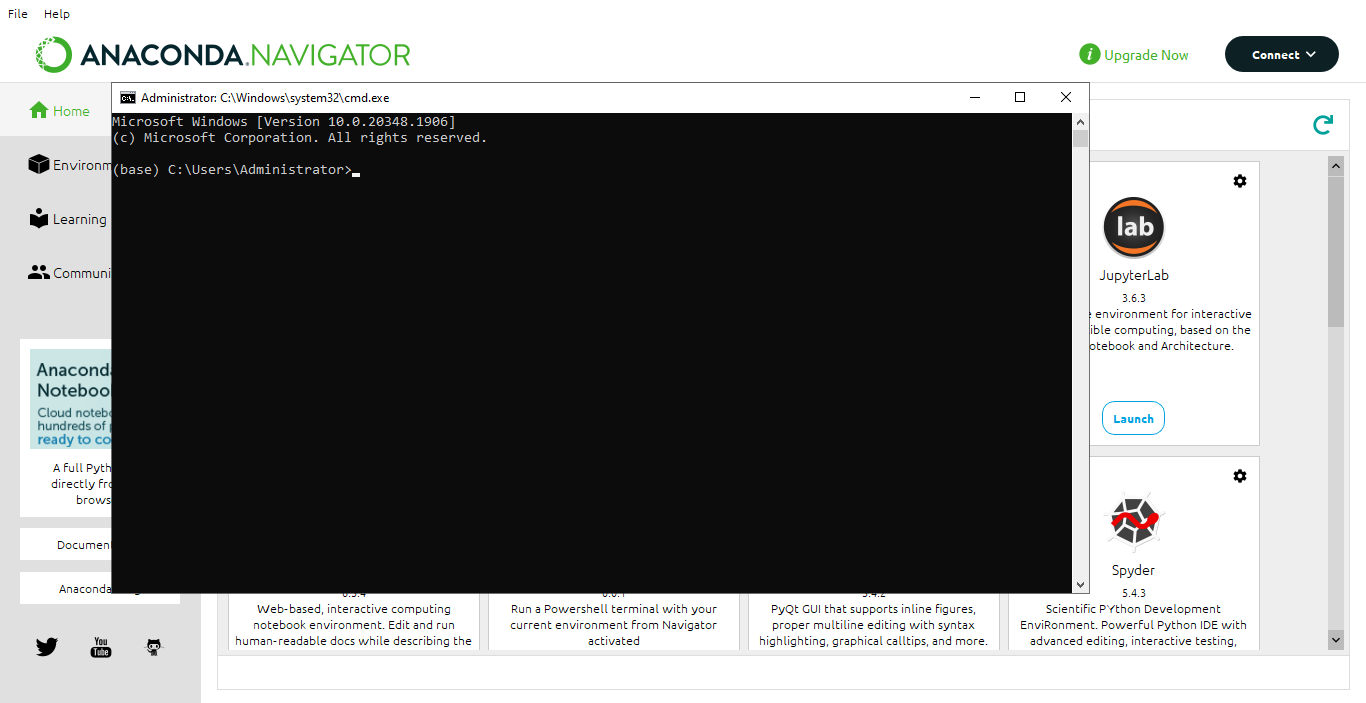
Start a new web browser session using an application such as Microsoft Edge
In a new browser tab, visit the Anaconda installation files page
https://repo.anaconda.com/archive/Download the latest Anaconda release file for Windows
X86_64.exefile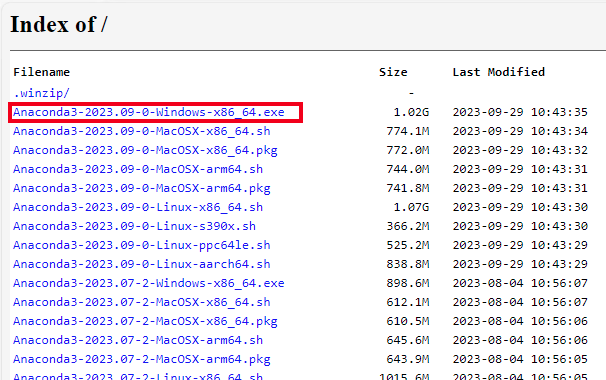
When the download process is complete, click the downloaded file in your browser downloads to start the installation wizard
In the open installation wizard, click Next to start the Anaconda installation process
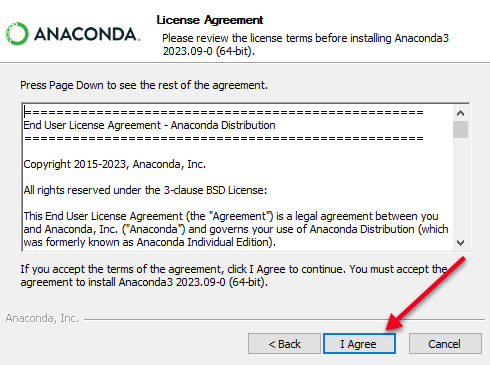
Read the Anaconda License Agreement, and click I Agree to proceed
Keep All Users selected to install Anaconda for all system users. To limit Anaconda to only your active user account, select Just Me and click Next
Keep
C:\ProgramData\anaconda3selected as your destination folder, or click Browse to set a different path, then click Next to select your installation options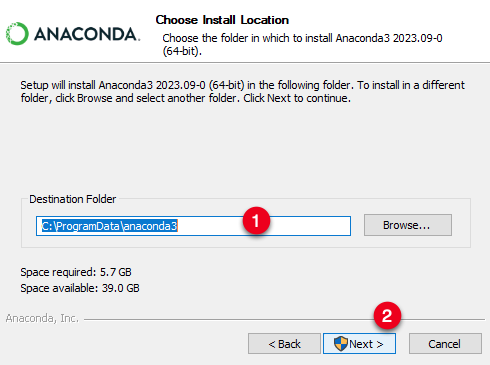
Select all advanced installation options to enable them and install Anaconda with the best settings. When selected, click Install to start the installation process to your selected data folder
Wait for at least 3 minutes for the installation process to complete, then, click Next to navigate to the Installation summary page and keep
Launch Anaconda Navigatorselected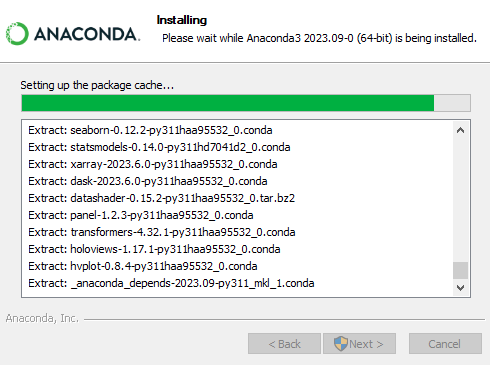
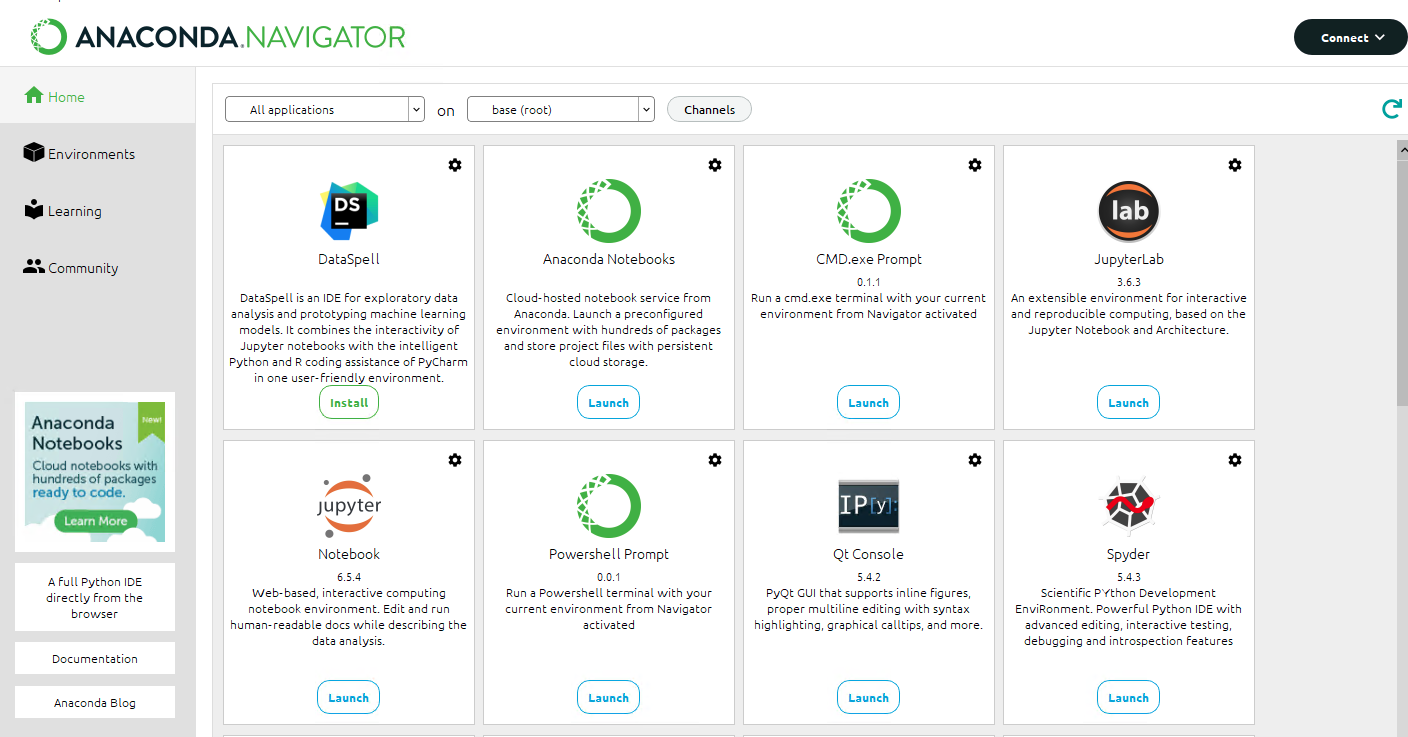
Click Finish to complete the Installation process and open the Anaconda Navigator application
Verify that the Anaconda Navigator window launches successfully and displays all available packages
Test the Anaconda Installation
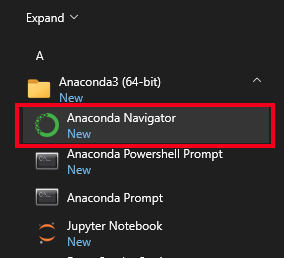
You have installed Anaconda on your Vultr Windows Server. To launch the application navigator for later use. Open your Windows start menu, expand the Anaconda 3 (64-bit) directory from your applications list, and click Anaconda Navigator to launch the main application window.
Within the Anaconda Navigator window, find the CMD.exe Prompt section and click Launch to open a new command prompt session
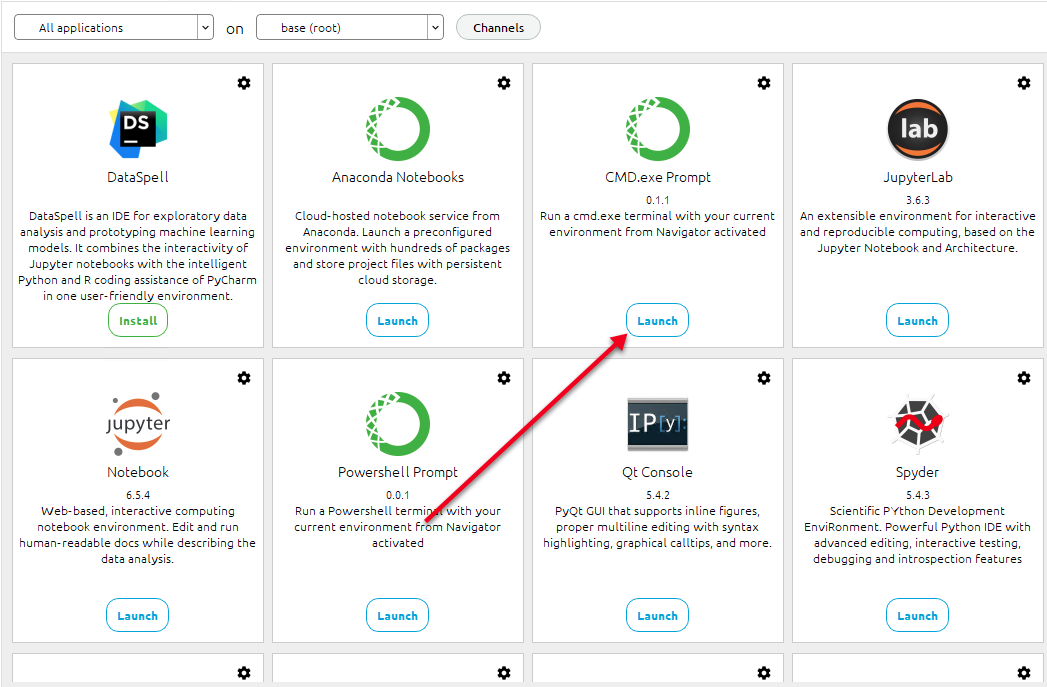
Verify that a new Windows Command Prompt window opens in your session
Within the command prompt, verify the installed Conda version
View the list of available Conda applications
> conda listOutput:
  Name                    Version                   Build  Channel
  _anaconda_depends         2023.07                 py311_1
  abseil-cpp                20211102.0           hd77b12b_0
  aiobotocore               2.4.2           py311haa95532_0
  aiofiles                  22.1.0          py311haa95532_0
  aiohttp                   3.8.3           py311h2bbff1b_0
  aioitertools              0.7.1              pyhd3eb1b0_0
  aiosignal                 1.2.0              pyhd3eb1b0_0
  aiosqlite                 0.18.0          py311haa95532_0
  alabaster                 0.7.12             pyhd3eb1b0_0
  ...
To test Conda operations, create a new Conda virtual environment
mywinenv> conda create --name mywinenvWhen prompted, enter
yto create the new virtual environment:Proceed ([y]/n)? y Preparing transaction: done Executing transaction: done # # To activate this environment, use # # $ conda activate mywinenv # # To deactivate an active environment, use # # $ conda deactivateActivate the Conda virtual environment
> conda activate mywinenvOutput:
(mywinenv) C:\Users\Administrator>Verify that your command prompt shell marker changes to the virtual environment name
Conclusion
You have installed Anaconda on your Vultr Windows Server. Depending on your development needs, install additional packages using the Anaconda Navigator application and test code operations using the pre-installed Jupyter Lab add-on package. For more information about Anaconda operations, visit the official Anaconda Documentation page.
Next Steps
To implement more solutions on your Vultr Windows Server, visit the following resources:
No comments yet.