Introduction
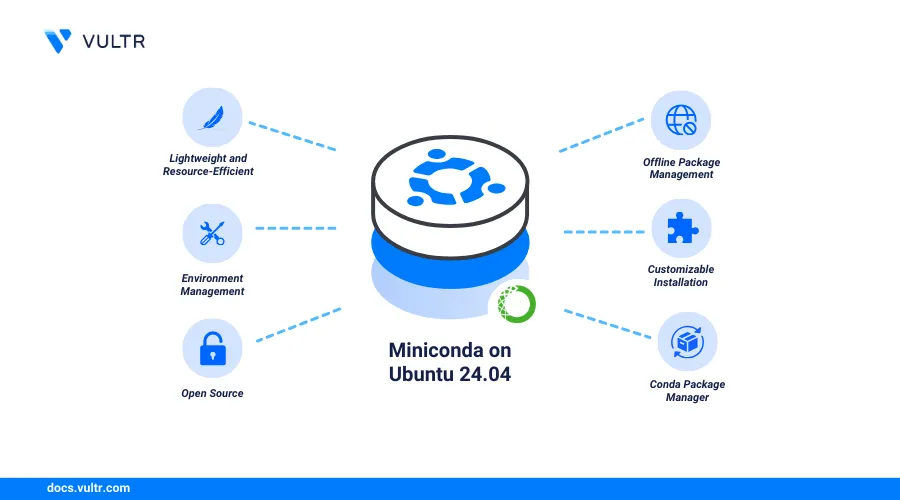
Miniconda is a lightweight version of Anaconda designed for Python-based machine learning, data science, and software development. Unlike the full Anaconda distribution, it includes only Conda—the package and environment manager—along with a few essential utilities, making it ideal for systems with limited storage or users who prefer to customize their environments from scratch. For Ubuntu 24.04 users, Miniconda is especially helpful for creating isolated Python environments, managing dependencies efficiently, and optimizing system resources on both servers and local machines.
This article explains how to install Miniconda on Ubuntu 24.04 and set up Conda virtual environments to manage Python packages on the server. If you're looking for instructions for a different version, check out our article on Install Miniconda on Ubuntu 22.04.
Prerequisites
Before you begin:
- Deploy an Ubuntu 24.04 instance on Vultr and enable the limited-user login feature.
- Access the instance using SSH.
- Update the instance's package index.
Install Miniconda on Ubuntu 24.04
Miniconda is not available in the default package repositories on Ubuntu. Follow the steps below to download the latest installation script and install Miniconda on your server.
Switch to your user's home directory.
console$ cd
Create a new
miniconda3project directory.console$ mkdir -p miniconda3
Visit the Miniconda releases page and download the latest Miniconda3 installation script.
console$ wget https://repo.anaconda.com/miniconda/Miniconda3-latest-Linux-x86_64.sh -O miniconda3/miniconda.sh
Run the
miniconda.shscript using Bash to install Miniconda.console$ bash miniconda3/miniconda.sh -b -u -p miniconda3
The above command installs Miniconda and creates a new
baseConda environment for Python packages, dependencies, and libraries on your server.Activate Conda.
console$ source miniconda3/bin/activate
Verify that your shell prompt changes to the
baseConda environment.console(base) linuxuser@Miniconda:~$
Initialize Conda to add new configurations in your shell environment.
console$ conda init
Reload your shell configuration to activate Conda.
console$ source ~/.bashrc
View the installed Conda version.
console$ conda --version
Your output should be similar to the one below.
conda 24.9.2View information about the active Conda environment, Python version, and channels.
console$ conda info
Output:
active environment : base
active env location : /home/linuxuser/miniconda3
        shell level : 1
   user config file : /home/linuxuser/.condarc
populated config files : /home/linuxuser/miniconda3/.condarc
      conda version : 24.9.2
conda-build version : not installed
     python version : 3.12.7.final.0
             solver : libmamba (default)
   virtual packages : __archspec=1=x86_64_v3
                      __conda=24.9.2=0
                      __glibc=2.39=0
                      __linux=6.8.0=0
                      __unix=0=0
   base environment : /home/linuxuser/miniconda3  (writable)
  conda av data dir : /home/linuxuser/miniconda3/etc/conda
Manage Conda Environments
Conda environments allow you to isolate and manage specific packages, dependencies, and versions required in your projects. On your server, Conda supports one active environment at a time. Activating a new environment automatically deactivates the active environment. Follow the steps below to create and activate Conda environments to run specific Python packages on your server.
Create a new
myenvConda environment.console$ conda create -n myenv
Verify the
myenvpath, entery, and press Enter when prompted to create the Conda environment.## Package Plan ## environment location: /home/linuxuser/miniconda3/envs/myenv Proceed ([y]/n)? y Preparing transaction: done Verifying transaction: done Executing transaction: doneActivate the
myenvConda environment.console(base) $ conda activate myenv
Verify that your Conda environment changes from
(base)to(myenv).console(myenv) $
Install specific packages in the
myenvenvironment. For example, install Python3.12,numpyandpandasto use in your project.console(myenv) $ conda install python=3.12 numpy pandas
Enter
yand press Enter when prompted to install the packages.Proceed ([y]/n)? y Downloading and Extracting Packages: Preparing transaction: done Verifying transaction: done Executing transaction: doneCreate another
myenv-2Conda environment.console(myenv) $ conda create -n myenv-2
List all available Conda environments on your server.
console(myenv) $ conda env list
Output:
# conda environments:
#
base                     /home/linuxuser/miniconda3
myenv                 *  /home/linuxuser/miniconda3/envs/myenv
myenv-2                  /home/linuxuser/miniconda3/envs/myenv-2
Deactivate the active
myenvConda environment.console(myenv) $ conda deactivate
The above command deactivates the active
myenvenvironment and reactivates thebaseenvironment as theactiveenvironment.
Run a Jupyter Notebook in a Conda Environment
Jupyter Notebook is an open-source interactive computing application that uses computational notebooks to execute code and run various applications. Jupyter Notebook is typically accessed in a web browser, but can also run in a terminal session using nbconvert and jupyter console commands. Follow the steps below to install the Jupyter Notebook package and run a notebook in your active Conda environment.
Install the latest
jupyterpackage version in your environment.console$ conda install jupyter
Enter
yand press Enter when prompted to install the package.View all installed packages in the Conda environment and verify that the new
jupyterpackage is available.console$ conda list -n myenv
Your output should be similar to the one below.
.........
jupyter                   1.0.0           py312h06a4308_9
jupyter-lsp               2.2.0           py312h06a4308_0
jupyter_client            8.6.0           py312h06a4308_0
jupyter_console           6.6.3           py312h06a4308_1
jupyter_core              5.7.2           py312h06a4308_0
jupyter_events            0.10.0          py312h06a4308_0
jupyter_server            2.14.1          py312h06a4308_0
.......
Create a new
hello.ipynbexample notebook using a text editor such asnano.console$ nano hello.ipynb
Add the following contents to the
hello.ipynbfile.json{ "cells":[ { "cell_type":"code", "execution_count":2, "id":"5acd64e3-b2bc-41b0-8fc1-1666cb479f30", "metadata":{ }, "outputs": [ { "name": "stdout", "output_type": "stream", "text": [ ] } ], "source":[ "msg=\"Greetings from Vultr!\"\n", "print(msg)" ] }, { "cell_type":"raw", "id":"7ed9e62d-6bc3-4116-b0e9-1b06814cc5f2", "metadata":{ }, "source":[ ] } ], "metadata":{ "kernelspec":{ "display_name":"Python 3 (system-wide)", "language":"python", "name":"python3" }, "language_info":{ "codemirror_mode":{ "name":"ipython", "version":3 }, "file_extension":".py", "mimetype":"text/x-python", "name":"python", "nbconvert_exporter":"python", "pygments_lexer":"ipython3", "version":"3.10.12" } }, "nbformat":4, "nbformat_minor":5 }
Save and close the file.
The above file creates a new notebook with two cells, a code cell and a raw cell using the Python version
3.10.12as the kernel. The code cell creates amsgvariable that prints aGreetings from Vultr!message to the standard output (stdout).Run the
hello.ipynbnotebook to execute all code cells and save the output to ahello.nbconvert.ipynbnotebook in your environment.console$ jupyter nbconvert --to notebook --execute hello.ipynb
Output:
[NbConvertApp] Converting notebook hello.ipynb to notebook
[NbConvertApp] Writing 1175 bytes to hello.nbconvert.ipynb
View the
hello.nbconvert.ipynbfile contents and verify that it includes aGreetings from Vultr!message in theoutputssection.console$ cat hello.nbconvert.ipynb
Output:
{
 "cells":[
  {
     ........
     "outputs":[
        {
           "name":"stdout",
           "output_type":"stream",
           "text":[
              "Greetings from Vultr!\n"
           ]
        }
     ],
     "source":[
        "msg=\"Greetings from Vultr!\"\n",
        "print(msg)"
     ]
  }
  .........
}
Conclusion
You have installed Miniconda on Ubuntu 24.04 and created Conda environments to manage specific packages on the server. You can create multiple Conda environments to isolate specific projects, install Python packages and libraries to run on your server. For more information and configuration options, visit the Miniconda documentation.