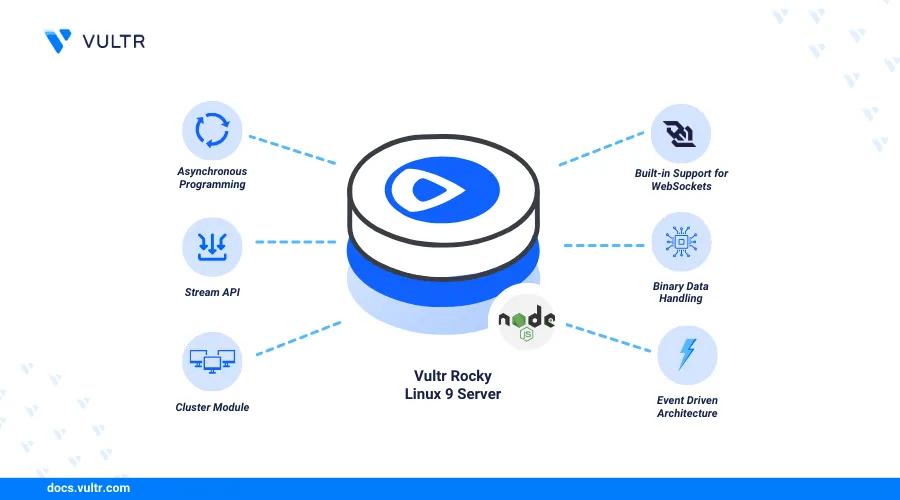
How to Install Node.js and NPM on Rocky Linux 9

Introduction
Node.js is an open-source JavaScript runtime built on Chrome's V8 JavaScript engine primarily suitable for developing scalable network applications. NPM (Node Package Manager) is a standard package manager that allows you to build Node.js projects with all the necessary dependency packages.
This article explains how to install Node.js and NPM on Rocky Linux 9. In addition, you will install and manage multiple Node.js versions using the Node Version Manager (NVM).
Prerequisites
Before you begin:
- Deploy a Rocky Linux 9 Cloud Compute instance on Vultr.
- Access the instance using SSH as a non-root user with sudo privileges.
- Update the instance.
Choose a Node.js Version
Node.js has three primary types of releases you should consider before choosing a specific version for your project. These include:
- Current: This is the latest version with the newest features suitable for applications that require the latest features.
- LTS (Long Term Support): LTS versions are best for production applications and receive continuous updates over time.
- Maintenance: These versions are not actively developed and only receive critical updates for a limited time.
Use the LTS Node.js versions for production environments to develop applications with the best balance between stability and updated features.
Install Node.js
Node.js is available in the default package repositories on Rocky Linux 9, but the included versions may be outdated. Follow the steps below to install the NodeSource repository which contains the latest Node.js version information using the DNF package manager.
Download the latest NodeSource repository script.
console$ curl -fsSL https://rpm.nodesource.com/setup_22.x -o nodesource_setup.sh
Run the NodeSource repository installation script.
console$ sudo -E bash nodesource_setup.sh
Install Node.js and NPM on your server.
console$ sudo dnf install nodejs -y
View the Node.js version.
console$ node -v
Output:
Output: v22.6.0View the NPM version.
console$ npm -v
Output:
Output: 10.8.2
Test the Installation
Follow the steps below to create and run a sample web application to test Node.js on your server.
Create a new
my-node-appdirectory for your test project.console$ mkdir my-node-app
Navigate to the
my-node-appdirectory.console$ cd my-node-app
Initialize a new Node.js project with the default environment settings.
console$ npm init -y
Install the Express framework using NPM.
console$ npm install express
Create a new
index.jssample application file.console$ nano index.js
Add the following contents to the
index.jsfile.javascriptconst express = require('express'); const app = express(); const port = 3000; app.get('/', (req, res) => { res.send('Greetings from Vultr!'); }); app.listen(port, () => { console.log(`App is running on http://localhost:${port}`); });
Save and close the file.
The above application code creates an Express server that runs on the host port
3000and returns aGreetings from Vultrmessage when you access it on a web browser.Start the Node.js application as a background process.
console$ node index.js &
Use the Curl utility to test access to the application on the host port
3000.console$ curl 127.0.0.1:3000
Output:
Greetings from Vultr!Stop the Node.js background application process using its job ID. For example,
1.console$ kill %1
Install Multiple Node.js Versions With Node Version Manager (NVM)
NVM (Node Version Manager) allows you to install, use, and switch between different Node.js versions on a server. Follow the steps below to install NVM and manage multiple Node.js versions depending on your project needs.
Visit the NVM releases page and download the latest NVM installation script.
console$ curl -O https://raw.githubusercontent.com/nvm-sh/nvm/v0.40.0/install.sh
Run the script to install NVM.
console$ bash install.sh
Reload the shell environment to apply the NVM configurations in your session.
console$ source ~/.bashrc
View the NVM version on your server.
console$ nvm --version
Output:
Output: 0.40.0Check which Node.js versions are available.
console$ nvm ls-remote
Output:
...
v20.16.0   (Latest LTS: Iron)
v21.0.0
v21.1.0
v21.2.0
v21.3.0
v21.4.0
v21.5.0
v21.6.0
v21.6.1
v21.6.2
v21.7.0
v21.7.1
...
Install a specific Node.js version. For example, Node.js version 19.
console$ nvm install 19
List the running Node.js versions and verify the default version.
console$ nvm ls
Output:
->      v19.9.0
     system
default -> 19 (-> v19.9.0)
iojs -> N/A (default)
unstable -> N/A (default)
node -> stable (-> v19.9.0) (default)
stable -> 19.9 (-> v19.9.0) (default)
lts/* -> lts/iron (-> N/A)
lts/argon -> v4.9.1 (-> N/A)
lts/boron -> v6.17.1 (-> N/A)
...
Switch to a specific Node.js version. For example, Node.js version 19.
console$ nvm use 19
Output:
Output: Now using node v19.9.0 (npm v9.6.3)Set the default Node.js version. For example, Node.js version 20.
console$ nvm alias default 20
Conclusion
You have installed Node.js on Rocky Linux 9 and managed multiple versions using NVM. You can use multiple Node.js versions to develop different applications depending on the application's dependencies. For more information, visit the Node.js documentation.