
How to Install Node.js and NPM on Ubuntu 22.04
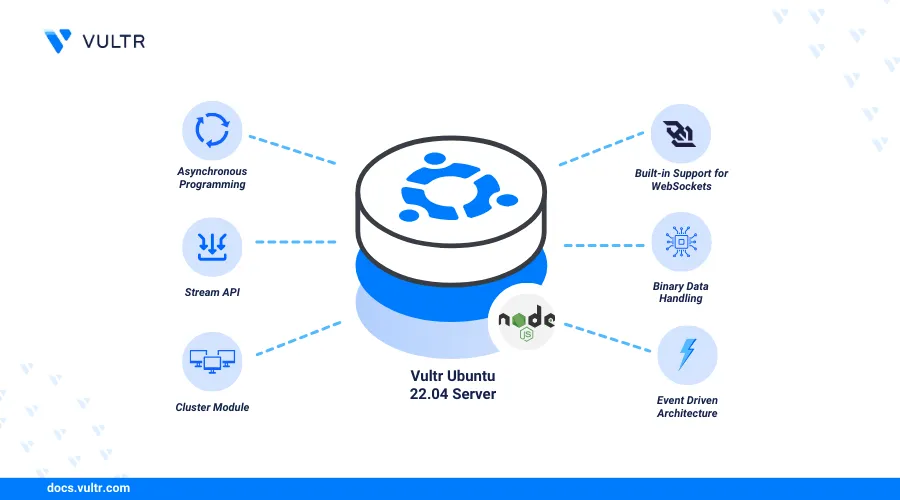
Node.js is an open-source, cross-platform JavaScript runtime for building scalable server-side applications. NPM manages libraries, dependencies, and scripts in Node.js projects, enabling server-side JavaScript use.
This article demonstrates how to install Node.js and NPM on Ubuntu 22.04. You will install both using the NodeSource PPA and manage multiple Node.js versions with NVM (Node Version Manager) on your server.
Prerequisites
Before you begin:
Have an Ubuntu 22.04 server.
Access the server using SSH as a non-root user with sudo privileges.
Choose a Node.js Version
When selecting a Node.js version, consider the following:
- Latest Release: Contains the newest features and updates. Ideal for projects needing the latest functionality.
- LTS Release: Stable, long-term supported version. Best for production environments.
Factors to consider:
- Stability: Use the latest LTS for production.
- Features: Use the latest release for new features.
Install Node.js
The Ubuntu 22.04 APT repositories may not have the latest Node.js version. To install the latest version, use the NodeSource PPA for the most up-to-date repository information for a specific Node.js version.
Update the server package index.
console$ sudo apt update
Download your desired Node.js version PPA installation script. For example, run the following command to use the Node.js version
22.x.console$ curl -fsSL https://deb.nodesource.com/setup_22.x -o nodesource_setup.sh
Visit the official NodeSource documentation to verify all available Node.js versions you can install on your server.
Run the Node.js setup script.
console$ sudo -E bash nodesource_setup.sh
Install Node.js and NPM using the following command.
console$ sudo apt-get install -y nodejs npm
View the installed Node.js version on your server.
console$ node -v
Output:
v22.14.0View the installed NPM version on your server.
console$ npm -v
Output:
10.9.2
Test the Installation
Create a new project directory such as
example-site.console$ mkdir example-site
Switch to the directory.
console$ cd example-site
Initialize a new Node.js project using
npm.console$ npm init -y
Install the
expressmodule usingnpm.console$ npm install express
Create a new
index.jsapplication file.console$ nano index.js
Add the following code to the file.
jsconst express = require('express') const app = express() const port = 3000 app.get('/', (req, res) => { res.send('Hello World! Greetings from Vultr') }) app.listen(port, () => { console.log(`Example app listening on port ${port}`) })
Save and close the file.
The above Node.js code creates an Express application that listens on port
3000and outputs aHello World! Greetings from Vultrmessage.Allow port
3000through the firewall to enable network connections to the application.console$ sudo ufw allow 3000
Reload the firewall to apply changes.
console$ sudo ufw reload
Start the Node.js application.
console$ node index.js
Access your Node.js application using your server IP and port
3000in a web browser such as Chrome.http://<server-ip>:3000
Install Multiple Versions with Node Version Manager (NVM)
NVM (Node Version Manager) allows you to install and switch between multiple Node.js versions on your server. Follow the steps below to install various Node.js versions using NVM based on your project needs.
Download the latest NVM installation script on your server.
console$ curl -O https://raw.githubusercontent.com/nvm-sh/nvm/v0.39.7/install.sh
Please, refer to the NVM documentation to get the latest version at the time of your installation.
Run the script to install NVM in your user environment.
console$ bash install.sh
Reload your server environment variables.
console$ source ~/.profile
List all available Node.js versions you can install on your server.
console$ nvm ls-remote
Your output should look like the one below.
...
v20.13.1   (LTS: Iron)
v20.14.0   (Latest LTS: Iron)
v21.0.0
v21.6.0
v21.6.1
v21.6.2
v21.7.0
v21.7.1
v21.7.2
v21.7.3
v22.0.0
v22.1.0
v22.2.0
Install a specific Node.js version. For example, Node.js 20.
console$ nvm install 20
List all installed Node.js versions and verify the default version on your server.
console$ nvm ls
Output:
      v20.14.0
->      v21.7.3
default -> 20 (-> v20.14.0)
iojs -> N/A (default)
unstable -> N/A (default)
node -> stable (-> v21.7.3) (default)
stable -> 21.7 (-> v21.7.3) (default)
lts/* -> lts/iron (-> v20.14.0)
Run the following command to install a specific Node.js version such as
20using NVM.console$ nvm use 20
Output:
Now using node v20.14.0 (npm v10.7.0)View the active Node.js version in your user environment.
console$ node -v
Output:
v20.14.0View the NPM version in your user environment.
console$ npm -v
Output:
10.7.0Run the following command to a specific version as the default Node.js version in your environment.
console$ nvm alias default 20
Conclusion
In this article, you installed Node.js and NPM on your Ubuntu 22.04 server. You can now develop server-side applications and manage multiple Node.js versions using Node Version Manager (NVM).