OpenBSD is a secure, free, and open-source UNIX-like operating system. Installing OpenBSD 7 on a Vultr server is relatively simple. All you need is access to your Vultr account, download the official ISO image and proceed with the installation process.
This guide explains how to install OpenBSD 7.0 on a Vultr cloud server.
Requirements
You need a funded Vultr account and a web browser that supports the paste function in Vultr’s NoVNC console, such as Google Chrome or Firefox.
1. Add the OpenBSD 7.0 ISO to your Vultr Account
To deploy OpenBSD 7.0, you must download and add the official ISO Image to your Vultr account.
Visit the OpenBSD website, copy the Install70.iso direct download link.
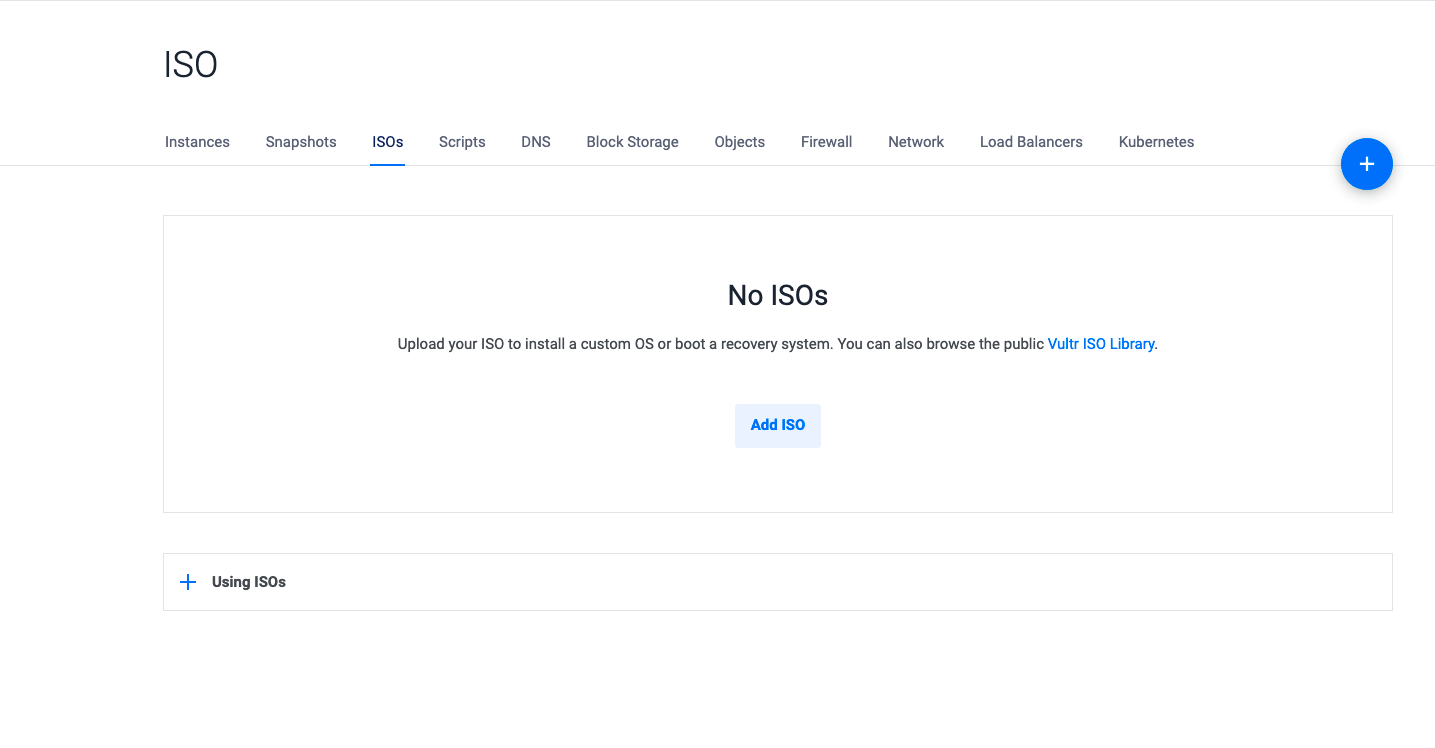
https://cdn.openbsd.org/pub/OpenBSD/7.0/amd64/install70.isoNow, navigate to ISOs on the Vultr customer portal, then click Add ISO
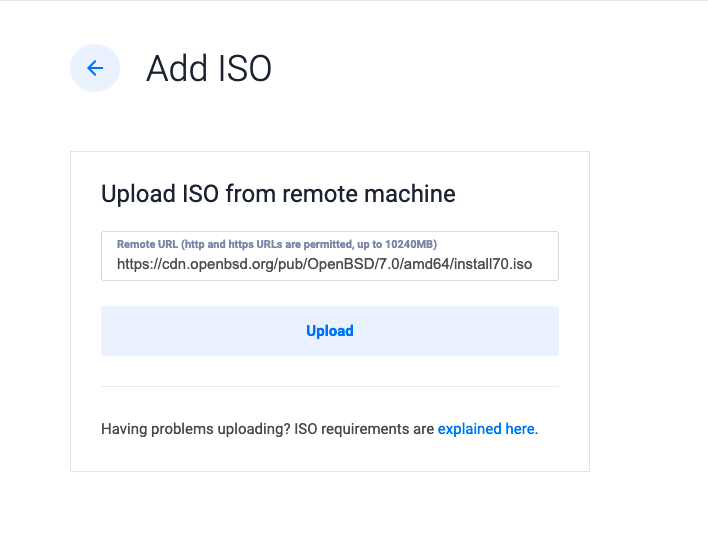
Paste the OpenBSD 7.0 ISO Image link and click Upload.
2. Deploy a New Server, and Load the OpenBSD ISO
Once the ISO image is downloaded and available on your account, you can get started with installing OpenBSD7.0 on a Vultr cloud server.
On the main Vultr Products dashboard, deploy a new server, select your preferred location, then, under Server Type, navigate to Upload ISO, and select the OpenBSD ISO Install70.iso.
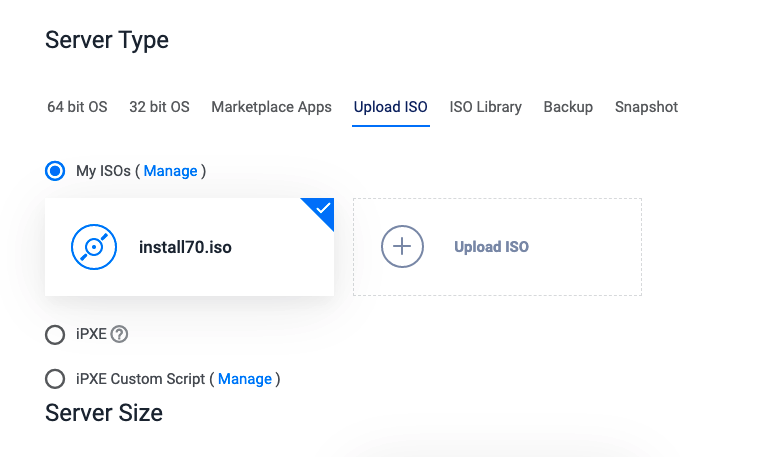
Next, select the server size, then enter the server hostname, and finally click Deploy Now.
The setup process will take between 1-2 minutes to complete; once ready, you will be able to launch the server console.
3. Use Vultr's NoVNC console to Start Installation
On your server dashboard, click View console to be redirected to a secure page with the OpenBSD Installation instructions.
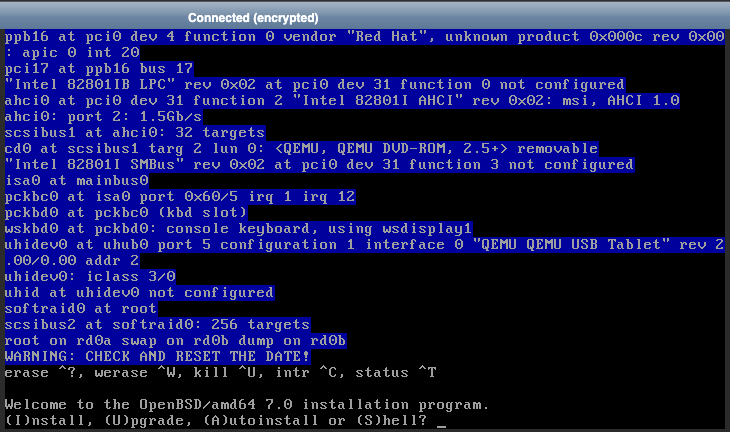
Now, enter I to start the installation process and select a keyboard layout (hit enter to set default)
Set your server hostname, and select the network interface to configure. Simply hit Enter to select the Vultr network interface.
Next, re-visit your Vultr server dashboard, navigate to Settings, and note the IPV4 address, Netmask, Gateway, and Reverse DNS.
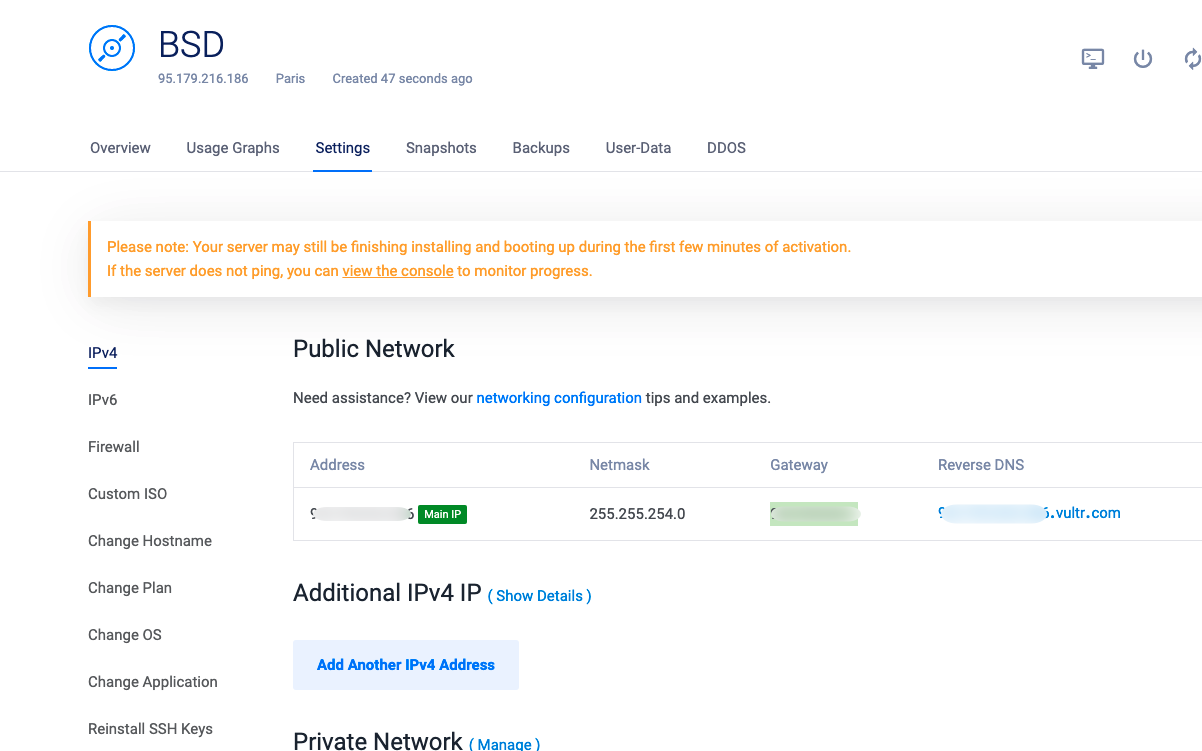
Now, re-open your noVNC server console, enter the IPV4 address for your network interface, Netmask, and press enter.
You may be prompted for IPV6. Simply press Enter to select none, and done on which network interface you wish to configure.
Next, enter your IPV4 Gateway when prompted for Default IPV4 route. Then, enter the Reverse DNS when prompted for DNS domain name and press enter.
Set a strong password for the server root account, and enable ssh by pressing enter to auto-select yes and start sshd(8).
Choose whether you wish to run a GUI environment on your server. By default, yes will be selected, then select if you want the GUI X Window system to be started with xenodm.
You will be required to create a new local user (non-root) for security purposes. Enter Yes, to set a new username and password, or no to finish your configuration.
Set your timezone (depending on your server location) and press enter. Then, hit enter to select your server disk sd0 to install OpenBSD7.0, and enter W to use the whole disk with the correct partition table settings.
You will be presented with the current partition table. Simply press Enter to accept all.
Finally, when prompted for the location of sets, press Enter to select the default location, then enter press enter again to use the default Pathname to the sets and select done to start the installation process.
The Installation process will take between 3-5minutes to finish. Once installed, enter R to restart the server, and close the console.
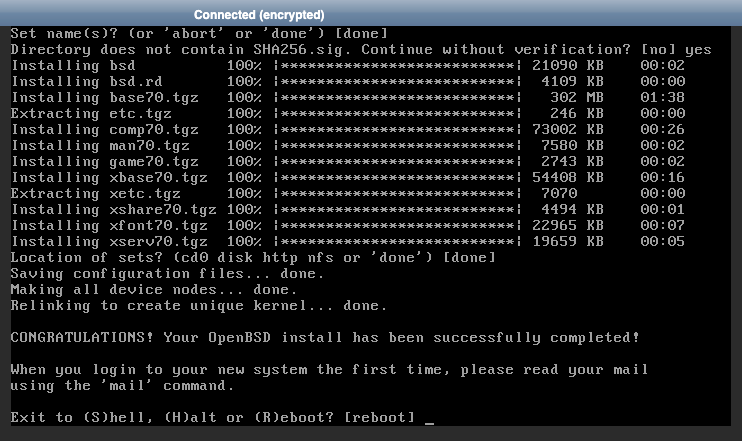
4. Detach the Custom ISO from Your Server
For the server to run well, you must delete the booted ISO image to avoid repeating the installation process.
On your server dashboard, navigate to settings, select Custom ISO, and Remove ISO.
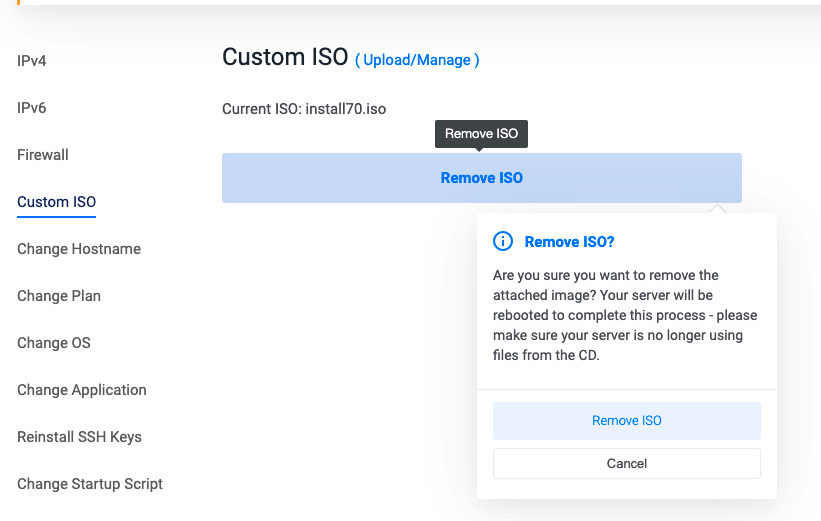
Then, click Restart server from the top bar for changes to take effect.
Conclusion
Congratulations, you have successfully installed OpenBSD 7.0 on a Vultr server. You can now SSH and login to the server using the root account or local user created on step 3 of this guide.
No comments yet.