How to Install Proxmox VE on a Vultr Bare Metal Server
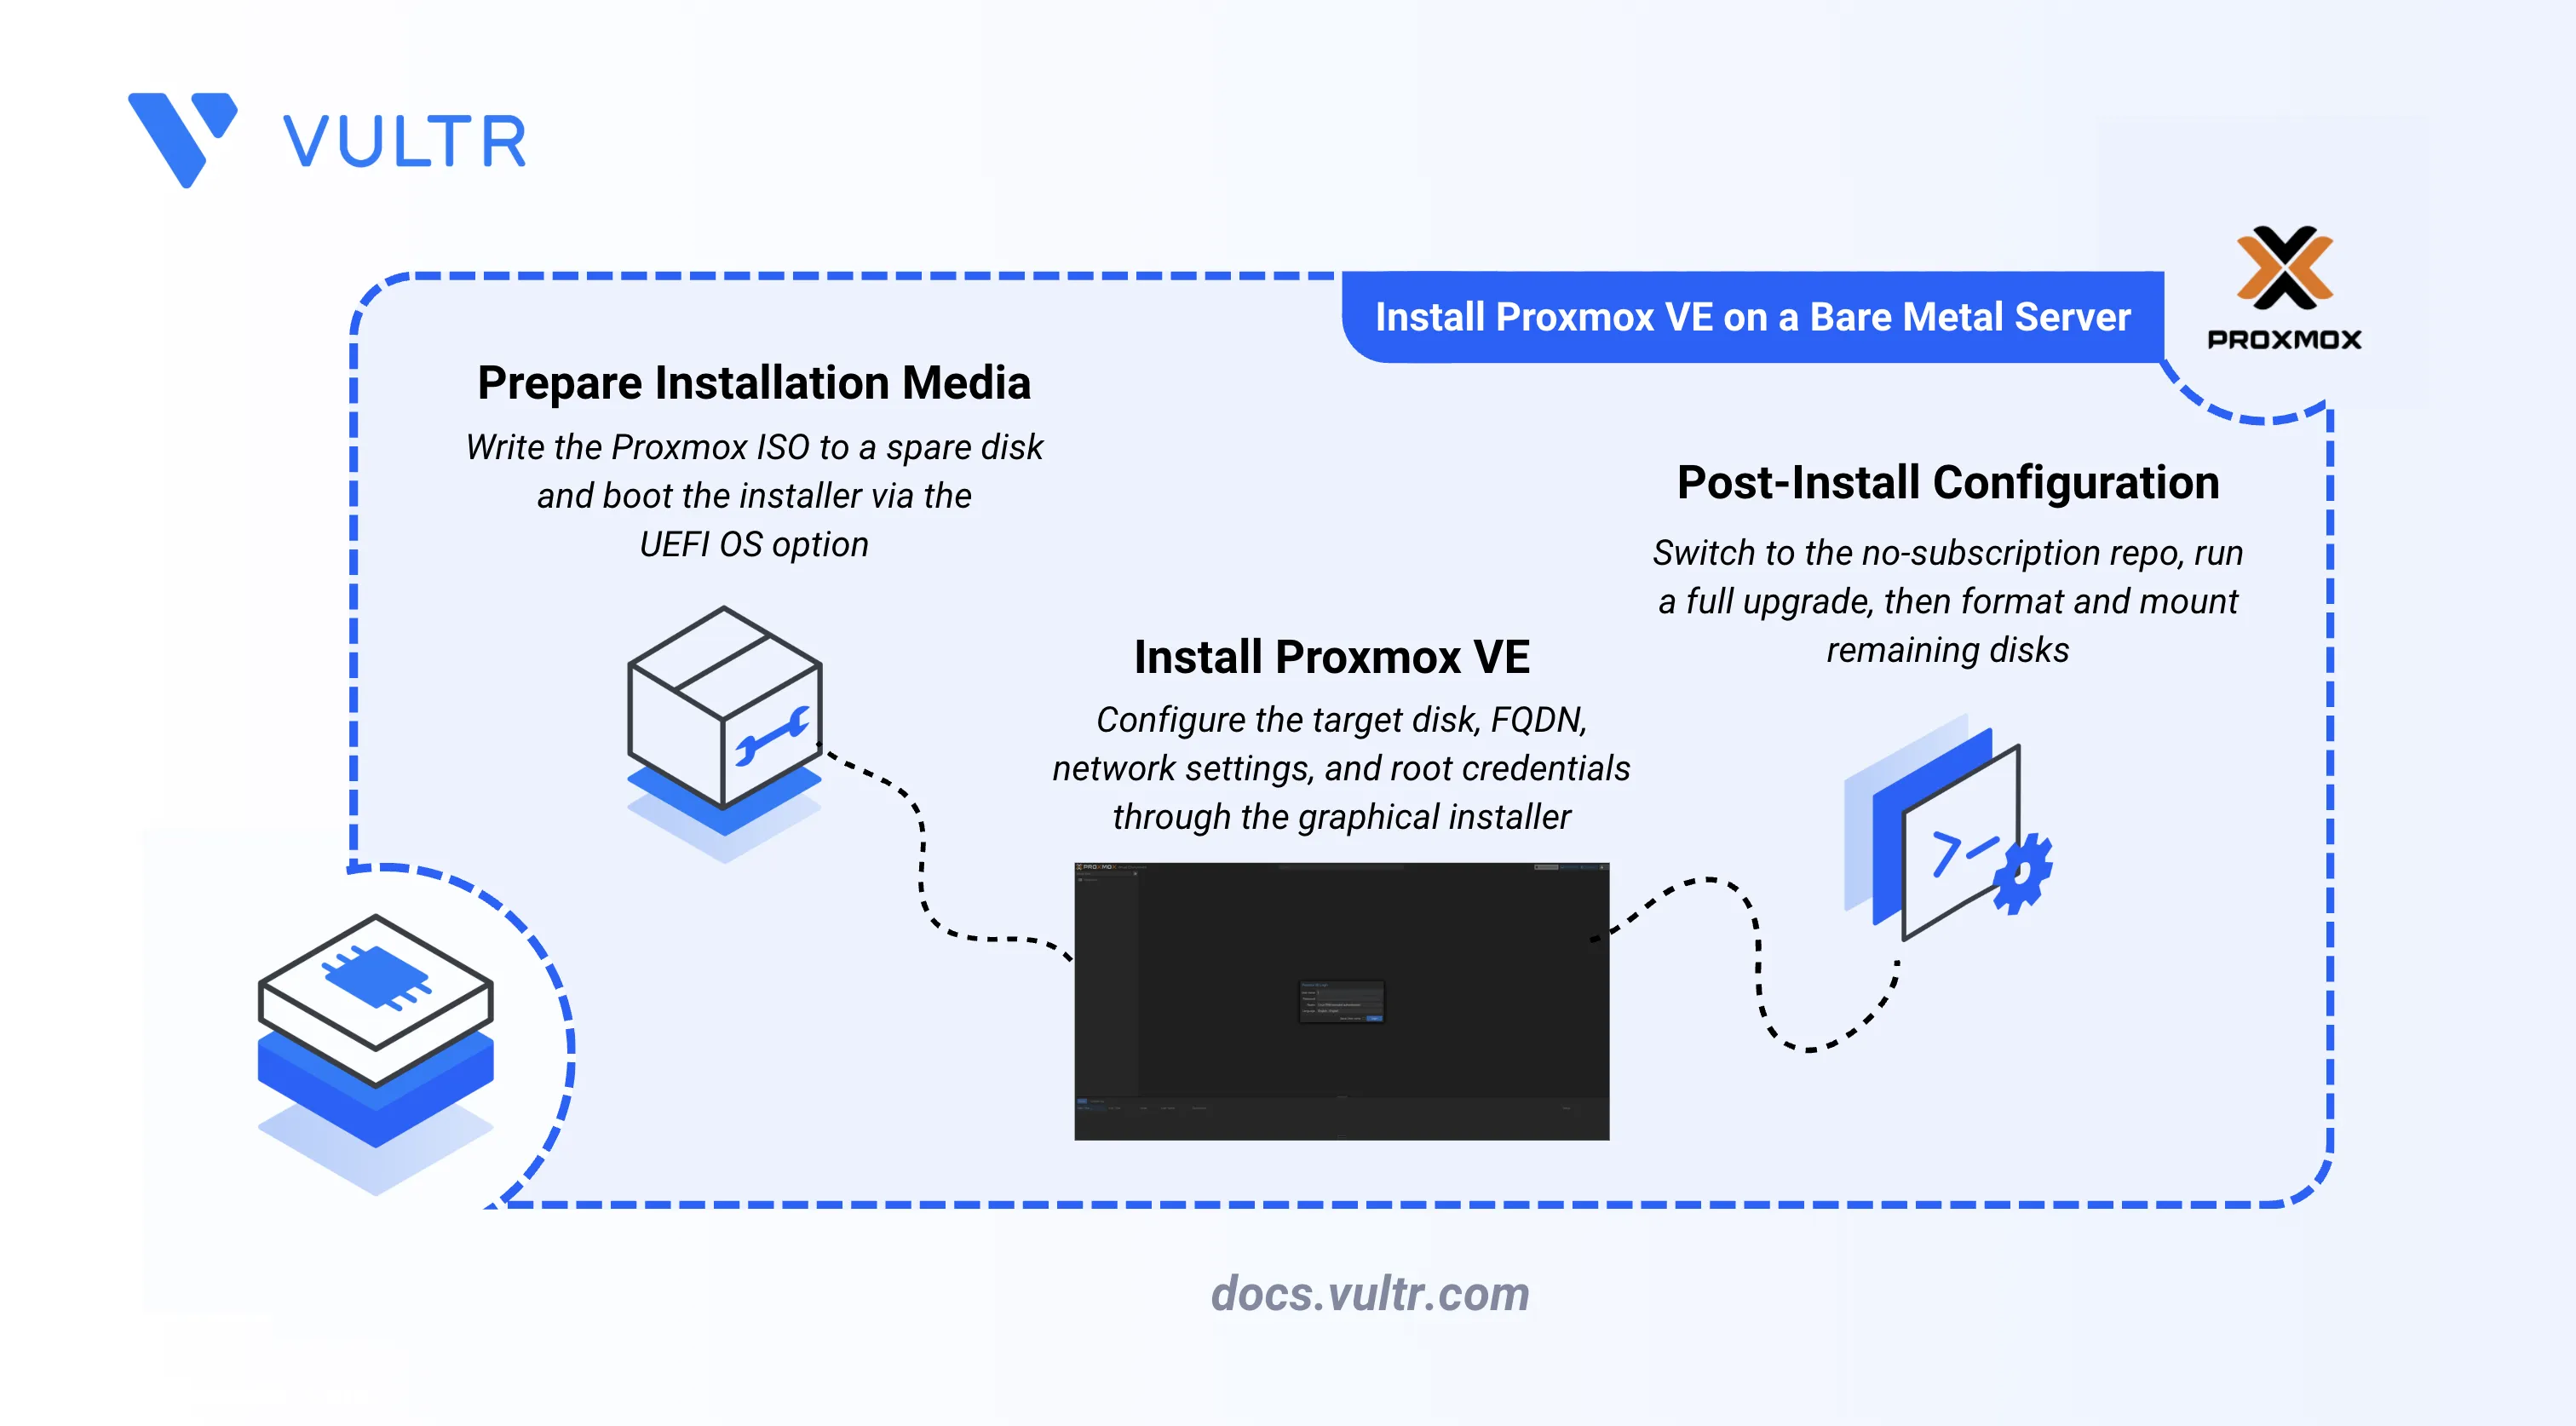
Proxmox Virtual Environment (Proxmox VE) is an open-source server virtualization platform built on Debian GNU/Linux. It combines KVM hypervisor-based virtual machines and LXC containers under a single web-based management interface, and supports features like live migration, high availability clustering, and integrated backup.
This guide covers installing Proxmox VE on a Vultr Bare Metal server, configuring the network and storage, and setting up an Nginx reverse proxy to serve the web UI.
Prerequisites
Before you begin:
- Have a Vultr Bare Metal server with at least two disks, deployed with any available Linux OS and the No RAID - Extra disks unformatted disk configuration. This guide uses the second disk as a temporary boot device for the Proxmox installer. Plans with a single disk do not support this installation method.
- Create a DNS A record pointing to your server's IP address, for example
pve.example.com.
Prepare the Installation Media
Vultr Bare Metal servers ship with multiple disks. Depending on the plan, these can be NVMe drives (appearing as /dev/nvme0n1, /dev/nvme1n1) or SATA SSDs (appearing as /dev/sda, /dev/sdb).
Download the latest Proxmox VE ISO to the server. Check the official releases page for the current version and replace the URL in the command below with the direct download link listed there.
CONSOLEVerify the checksum of the downloaded ISO.
CONSOLEVerify that the output matches the SHA256 checksum listed on the official releases page for the version you downloaded.
List all available disks to identify the primary disk (where the temporary OS is installed) and a spare disk for the ISO.
CONSOLEThe OS disk has partitions listed beneath it with active mountpoints such as
/,/boot/efi, or[SWAP]. The spare disk appears as a single line with no partitions or mountpoints under it. For example:In this example,
sdbis the OS disk andsdais the spare. On NVMe disk plans, device names appear asnvme0n1andnvme1n1instead.Note the device path of the spare disk. The remaining steps in this section use
ISO_DISKas a placeholder for this path.Write the ISO to the spare disk. Replace
ISO_DISKwith the device path identified in the previous step. This command overwrites all data on the device.CONSOLEWait for
ddto complete before proceeding.
Install Proxmox VE
Vultr Bare Metal servers use Supermicro UEFI firmware, which supports selecting a boot device from a menu at startup. The Proxmox VE installer is a graphical wizard that runs from the ISO disk written in the previous section.
Log in to the Vultr Console and navigate to your bare metal server's instance page. Click Restart to reboot the server, then immediately click View Console to open the web console.
Watch the console. The BIOS initializes hardware first, then the Supermicro splash screen appears with the prompt: Press <F11> to invoke Boot Menu. Press F11 when you see this prompt. The UEFI boot selection menu appears.
The boot selection menu lists PXE network entries, disk entries, and Enter Setup. Select the UEFI OS entry. The disk model name appears in parentheses next to it. On SATA disk plans, the port identifier (for example,
P3orP4) also appears, which helps distinguish disks when multiple entries share the same model name.In the Proxmox VE installer boot menu, select Install Proxmox VE (Graphical) and press Enter.
Read and accept the End User License Agreement (EULA) by clicking I Agree.
On the Target Harddisk screen, select the disk to install Proxmox VE on. The installer overwrites all data on the selected disk. Either disk works — the ISO has already loaded into RAM and is no longer needed.
Click Options to choose a filesystem.
For a single-disk bare metal install, leave the filesystem as ext4. The installer creates an LVM volume group called
pvewith separate logical volumes forroot,data, andswap.Click Next.
On the Location and Time Zone screen, select your Country, Timezone, and Keyboard Layout. Click Next.
On the Administration Password and Email screen, set the root password and enter an email address for system notifications. Use a minimum of 12 characters with mixed case, numbers, and symbols. Click Next.
On the Management Network Configuration screen, the installer auto-populates the IP address, subnet mask, gateway, and DNS server from the running OS. Update only the Hostname (FQDN) field with your fully qualified domain name, for example
pve.example.com. Leave the Pin network interface names checkbox checked.The installer creates a Linux bridge called
vmbr0and binds it to the selected interface. Virtual machines and containers use this bridge to access the network.Note
The installer accepts either an IPv4 or an IPv6 address, but not both. Configure dual-stack networking after installation by editing
/etc/network/interfaces.Click Next.
Review the installation summary. Verify the target disk, filesystem, IP address, hostname, and timezone.
Click Install. The installer partitions the disk, installs Debian and all Proxmox VE packages, configures the bootloader, and reboots the server automatically.
Access the Proxmox Web UI
The Proxmox VE web interface runs on port 8006 and uses Linux PAM for authentication. Before a reverse proxy is configured, it is accessible directly over the server's IP address.
After the server reboots, the GNU GRUB boot menu appears with Proxmox VE GNU/Linux selected. Press Enter or wait for it to boot automatically.
Open a browser and navigate to the Proxmox web interface. Replace
SERVER_IPwith the static IP address configured during installation.The default Proxmox certificate is self-signed. Your browser displays a certificate warning. Accept the warning to proceed.
Log in with the username
rootand select the Linux PAM standard authentication realm. Enter the root password set during installation.Verify that the Proxmox VE dashboard loads and the server node appears in the left sidebar.
Configure Post-Install Repositories
Proxmox VE enables the enterprise repository by default, which requires a paid subscription key. The no-subscription repository provides the same packages without a subscription and is maintained by the Proxmox project.
SSH into the Proxmox host.
CONSOLEIf SSH returns a host key warning, the server's key has changed since the temporary OS was installed. Remove the stale key and reconnect.
CONSOLEDisable the enterprise repositories.
CONSOLECreate the no-subscription repository file.
CONSOLEUpdate the package index and upgrade all packages.
CONSOLEVerify that the update completes without subscription key errors.
Reclaim the Remaining Disks
After installation, one disk holds the Proxmox VE operating system and the remaining disks are unused. These disks may carry a stale partition table from the original OS or the ISO, but have no active mounts. Proxmox's Directory storage type requires a mounted filesystem before a disk can be registered in the storage pool.
Repeat the following steps for each disk you want to reclaim. Replace DISK with the device path (for example, sdb).
List all disks and identify those not used by Proxmox.
CONSOLEThe Proxmox disk has active mountpoints such as
/,/boot, or[SWAP]under its partitions or LVM volumes. Disks with no active mountpoints are available for storage.Install the partitioning tools.
CONSOLEWipe the partition table on the target disk.
CONSOLECreate a new GPT partition table and a single partition.
CONSOLEFormat the partition with ext4. The partition name is derived from the disk name: for SATA drives, append the partition number directly (for example,
sda→sda1); for NVMe drives, insert apbefore the number (for example,nvme0n1→nvme0n1p1). ReplaceDISK1with the partition name for your disk.CONSOLECreate a mount point. Use a unique path for each disk.
CONSOLEMount the partition. Replace
DISK1with the partition name used in the previous step.CONSOLEAdd the mount to
/etc/fstabso it persists across reboots. ReplaceDISK1with the partition name.CONSOLEAfter formatting all available disks, add them as Directory storage in the Proxmox web UI under Datacenter > Storage > Add > Directory.
Configure the Firewall
UFW (Uncomplicated Firewall) is a frontend for iptables that manages inbound traffic rules. Its default incoming policy denies all connections that are not explicitly allowed.
Install UFW.
CONSOLEAllow SSH to prevent being locked out when the firewall is enabled.
CONSOLEAllow HTTP and HTTPS for Nginx and Let's Encrypt certificate validation.
CONSOLEEnable the firewall.
CONSOLEVerify the active rules.
CONSOLEVerify that the output shows ports 22, 80, and 443 as
ALLOW. All other ports, including 8006, are blocked by UFW's default deny policy.
Install and Configure Nginx as a Reverse Proxy
Proxmox generates a self-signed TLS certificate for the FQDN configured during installation and stores it at /etc/pve/local/. The noVNC console upgrades its connection to WebSocket, so the proxy must forward the Upgrade and Connection headers explicitly.
Install Nginx.
CONSOLECreate the Nginx virtual host configuration for Proxmox.
CONSOLEAdd the following configuration. Replace
pve.example.comwith your domain.INISave and close the file.
The
UpgradeandConnectionheaders enable WebSocket passthrough, which the noVNC console requires.Enable the site by creating a symlink in the
sites-enableddirectory.CONSOLERemove the default Nginx site configuration.
CONSOLETest the Nginx configuration for syntax errors.
CONSOLEVerify that the output shows
syntax is okandtest is successful.Create the systemd override directory for Nginx.
CONSOLEWrite the override configuration. This makes Nginx start after the Proxmox cluster filesystem is mounted, which is required to read the TLS certificates at
/etc/pve/local/on boot.CONSOLEReload the systemd daemon to apply the override.
CONSOLERestart Nginx.
CONSOLE
Obtain a TLS Certificate
Proxmox generates a self-signed TLS certificate that browsers do not trust by default. Let's Encrypt is a free certificate authority that issues publicly trusted certificates, automated through the Certbot client.
Install Certbot and the Nginx plugin.
CONSOLEObtain and install a certificate for your domain. Replace
pve.example.comwith your domain.CONSOLECertbot prompts for an email address for renewal notifications and asks you to agree to the Let's Encrypt Terms of Service. After accepting, it completes the domain validation and updates the Nginx configuration to use the new certificate.
Verify that automatic renewal works.
CONSOLEVerify that the output shows
Congratulations, all simulated renewals succeeded.Open a browser and navigate to your domain. Verify that the browser shows the connection as secure.
Conclusion
Proxmox VE is installed on your Vultr Bare Metal server and accessible at your domain over HTTPS. The management interface is bound to the vmbr0 bridge with a static IP, the no-subscription repository is configured for package updates, and the remaining disks are formatted and available for VM and container storage. From the Proxmox dashboard, you can create virtual machines, LXC containers, and configure storage pools. For more information, refer to the Proxmox VE Administration Guide.


0 Comments
Be the first to comment and share your perspective with the community.