
How to Install Python 2 on Rocky Linux 9
Python 2 was first released back in October 2000 and became a popular choice for developers building large-scale applications. Although it reached end-of-life (EOL) in January 2020 and is no longer maintained. However, many legacy systems and applications still depend on it. Since Rocky Linux 9 no longer includes Python 2 by default, you’ll need to install it manually using the source file.
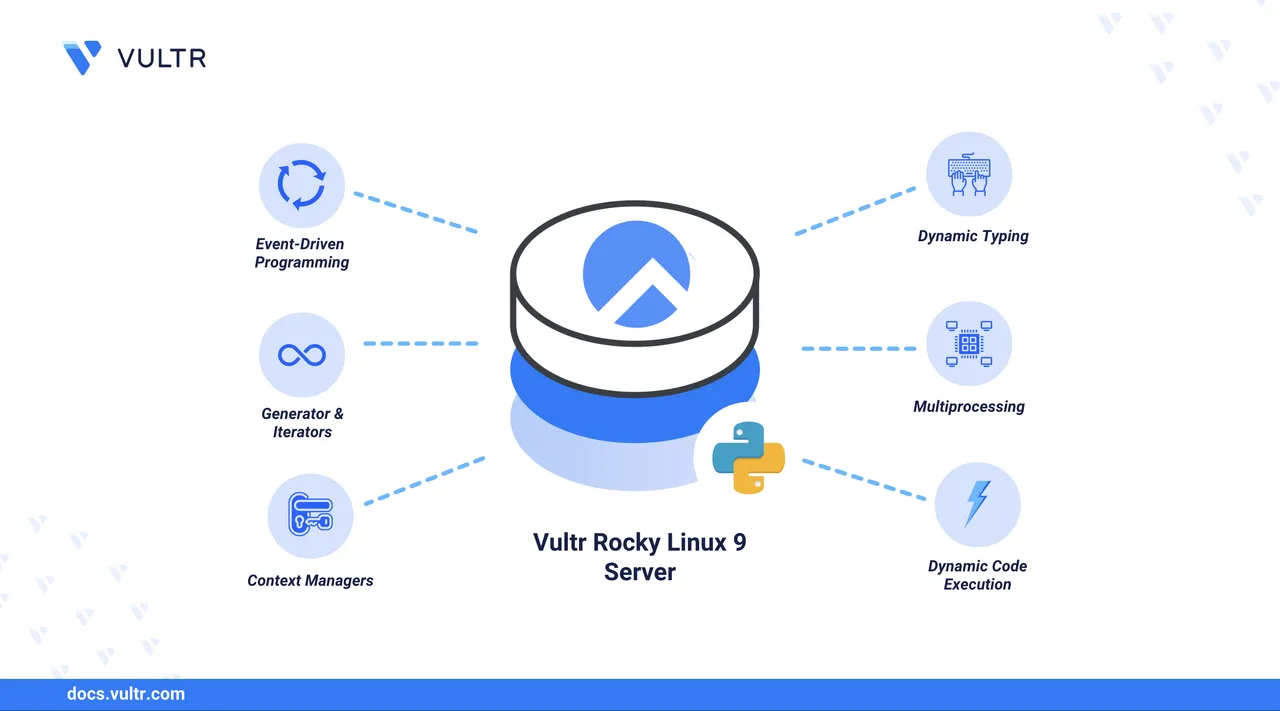
This article explains how to install Python 2 on Rocky Linux 9, run it alongside Python 3, install Pip, and set up a virtual environment for your legacy Python 2 applications.
Prerequisites
Before you begin, you need to:
- Have access to a Rocky Linux 9 instance as a non-root user with sudo privileges.
Install Build Dependencies
To install Python 2 from source, your system must have essential development tools and libraries. These packages support compiling source code and enable Python features such as encryption (SSL), file compression, and external library integration. Follow the steps below to install the required dependencies on Rocky Linux 9.
Update the DNF package index.
console$ sudo dnf makecache
Install the Development Tools group package.
console$ sudo dnf groupinstall -y "Development Tools"
This package group includes essential build utilities such as gcc, make, and other compilation tools necessary to compile software from source.
Install additional development libraries and tools.
console$ sudo dnf install -y openssl-devel bzip2-devel libffi-devel wget tar
The above command installs the libraries required for SSL, compression, C extensions, and tools to download and extract source files.
Compile and Install Python 2
In this section, you will download, compile, and install Python 2.7 from source on Rocky Linux 9. The altinstall method is used to prevent interference with the system’s default Python interpreter, ensuring stability for system tools and scripts. Follow the steps below to compile and install Python 2.7.
Check the default version of Python to confirm Python 3 is already installed on the server.
console$ python --version
Your output should be similar to the one below:
Python 3.9.21Download the official Python 2.7 source archive from the Python releases page.
console$ wget https://www.python.org/ftp/python/2.7.18/Python-2.7.18.tgz
Extract the downloaded archive.
console$ tar xzf Python-2.7.18.tgz
Navigate into the extracted directory.
console$ cd Python-2.7.18
Configure the build with common options for compatibility and performance.
console$ ./configure --with-system-ffi --with-computed-gotos --enable-optimizations --enable-unicode=ucs4
The above command prepares the source to build with system-wide FFI support, computed gotos for faster loops, general performance optimizations, and extended Unicode (UCS-4) support.
Run the
makecommand to build the source using all available CPU cores.console$ make -j$(nproc) build_all
This compiles the Python source code efficiently by parallelizing the build process across all CPU cores.
Install Python 2.7 using
altinstallto avoid overwriting the system Python package.console$ sudo make altinstall
View the installed version of Python 2.7.
console$ python2.7 --version
Output:
Python 2.7.18Create a symbolic link to use
python2as a shortcut forpython2.7.console$ sudo ln -s /usr/local/bin/python2.7 /usr/local/bin/python2
Install Pip for Python 2.7
Pip is the package manager used to install and manage Python libraries. In this section, you'll use the official get-pip.py bootstrap script to install Pip for Python 2.7. Follow the steps below to install pip using the bootstrap script.
Download the Pip installation script
get-pip.pyfor Python 2.7.console$ wget https://bootstrap.pypa.io/pip/2.7/get-pip.py
This script is maintained by the Python Packaging Authority and installs a compatible version of Pip for Python 2.7.
Install Pip using Python 2.
console$ python2 get-pip.py
Run the following command to view the installed version of Pip.
console$ python2 -m pip --version
OR
console$ pip2 --version
Your output should be similar to the one below:
pip 20.3.4 from /home/linuxuser/.local/lib/python2.7/site-packages/pip (python 2.7)
Create a Virtual Environment Using Python 2
Python 2 does not include the venv module, which was introduced in Python 3.3. Instead, use the virtualenv package to create isolated Python 2 environments for your projects. Follow the steps below to install and configure a Python 2 virtual environment.
Navigate to the directory where you want to create the virtual environment.
console$ cd ~
Install the
virtualenvpackage using Pip.console$ pip2 install virtualenv
Create a virtual environment using Python 2.
console$ virtualenv --python=2 my_env
Your output should be similar to the one below:
created virtual environment CPython2.7.18.final.0-64 in 168ms
  creator CPython2Posix(dest=/home/linuxuser/my_env, clear=False, no_vcs_ignore=False, global=False)
...
Verify that the environment directory contains the required files.
console$ ls my_env
Your output should be similar to the one below:
bin include lib pyvenv.cfgFrom the above output, you can conclude that all the requisite files and directories are available in the
my_envenvironment for use.Activate the virtual environment.
console$ source my_env/bin/activate
After activation, your shell prompt will change to indicate that the environment is active, like below:
(my_env) [linuxuser@RockyLinux9 ~]$View the virtual environment Python version.
console$ python --version
Your output should be similar to the one below:
Python 2.7.18To deactivate the virtual environment and return to the global Python context, run the following command.
console$ deactivateYou will notice that your shell prompt changes back to the normal state, without the virtual environment prefix, like below:
[linuxuser@RockyLinux9 ~]$
Test and Use Python 2
In this section, you will test the functionality of your Python 2 installation by running a simple Python code in the interactive shell and creating a basic Flask web application. Follow the steps below to ensure everything is set up correctly and working as expected.
Launch the Python 2 interactive shell.
console$ python2Print a test message to confirm the shell is functioning.
python>>> print("Greetings from Vultr!")
Output:
Greetings from Vultr!Exit the Python interactive shell.
python>>> exit()
Install the Flask framework using Pip.
console$ pip2 install flask
Create a file named
app.pyusing a text editor such asnano.console$ nano app.py
Add the following Python code into the file.
pythonfrom flask import Flask app = Flask(__name__) @app.route('/') def home(): return "Greetings from Vultr!" if __name__ == '__main__': app.run(host='0.0.0.0', port=5000)
Save and close the file.
Start the Flask application in the background using
nohup.console$ nohup python2 app.py &
This launches the app on port 5000, accessible to incoming requests.
Test the application using
curlto ensure it's serving content as expected.console$ curl http://localhost:5000
Output:
Greetings from Vultr!
Conclusion
You have compiled and installed Python 2.7 from source on Rocky Linux 9, configured Pip for package management, and set up isolated environments using virtualenv to manage legacy applications. You have verified the setup by launching the interactive Python shell, installing Flask, and deploying a minimal web app accessible on your server. This installation allows you to keep older Python 2 projects without disrupting system-level Python 3 components. For deeper usage and configuration, refer to the official Python 2.7 documentation.