
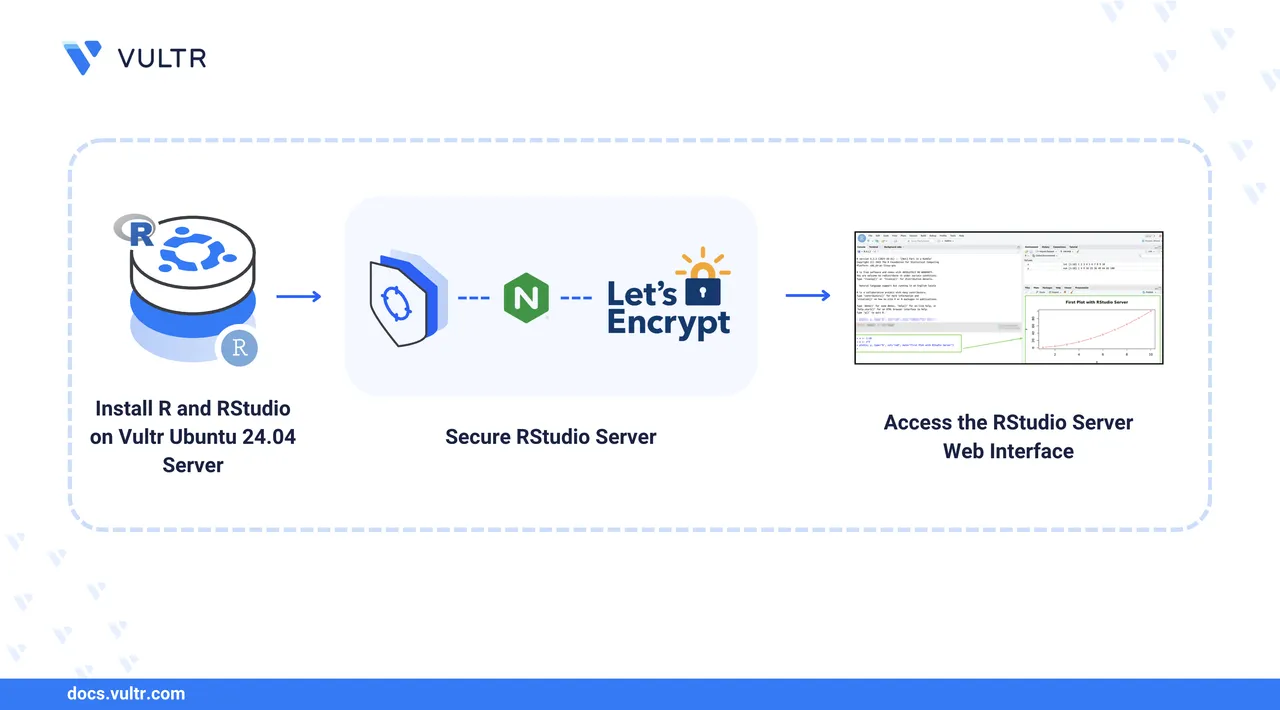
How to Install R and RStudio Server on Ubuntu 24.04
R is an open-source programming language designed for statistical computing, data analysis, and machine learning. It provides built-in statistical functions, powerful data visualization capabilities, and access to thousands of packages from the Comprehensive R Archive Network (CRAN). RStudio Server is a web-based integrated development environment (IDE) that enables you to write, debug, and run R code from any device through a browser interface.
In this article, you will install R from the CRAN official repository on Ubuntu 24.04, set up RStudio Server for remote access, secure the installation, and create user accounts for collaborative work.
Prerequisites
Before you begin, you need to:
- Have access to an Ubuntu 24.04-based server as a non-root user with
sudoprivileges. - Configure a domain A record pointing to your server's IP address (for example,
rstudio.example.com).
Install R from CRAN Official Repository
The Comprehensive R Archive Network (CRAN) is the central repository for R packages, versions, and documentation. Installing R from CRAN ensures you have the latest stable release with active community support. In this section, you add the CRAN repository to your system and install R.
Update the server's package index.
console$ sudo apt update
Install the required packages for adding external repositories.
console$ sudo apt install --no-install-recommends software-properties-common dirmngr -y
software-properties-common: Enables adding external repositories to Ubuntu's trusted sources.dirmngr: Verifies the authenticity of software from external repositories.
Download and add CRAN's GPG key to Ubuntu's trusted key directory.
console$ wget -qO- https://cloud.r-project.org/bin/linux/ubuntu/marutter_pubkey.asc | sudo tee /etc/apt/trusted.gpg.d/cran_ubuntu_key.asc
Verify the GPG key fingerprint.
console$ gpg --show-keys /etc/apt/trusted.gpg.d/cran_ubuntu_key.asc
Output:
pub   rsa2048 2010-10-19 [SCA] [expires: 2027-09-30]
      E298A3A825C0D65DFD57CBB651716619E084DAB9
uid                      Michael Rutter <marutter@gmail.com>
sub   rsa2048 2010-10-19 [E] [expires: 2027-09-30]
The fingerprint
E298A3A825C0D65DFD57CBB651716619E084DAB9confirms the authenticity of CRAN's official GPG key.Add the CRAN repository to the server's sources list.
console$ sudo add-apt-repository "deb https://cloud.r-project.org/bin/linux/ubuntu $(lsb_release -cs)-cran40/"
Press
Enterwhen prompted to confirm the addition.Install R.
console$ sudo apt install --no-install-recommends r-base -y
Verify R Installation
In this section, you verify that R is installed correctly by checking the version and running basic R commands.
Display the installed R version.
console$ R --version
Output:
R version 4.5.2 (2025-10-31) -- "[Not] Part in a Rumble"
Copyright (C) 2025 The R Foundation for Statistical Computing
Platform: x86_64-pc-linux-gnu

R is free software and comes with ABSOLUTELY NO WARRANTY.
You are welcome to redistribute it under the terms of the
GNU General Public License versions 2 or 3.
For more information about these matters see
https://www.gnu.org/licenses/.
Launch the R interactive console.
console$ ROutput:
R version 4.5.2 (2025-10-31) -- "[Not] Part in a Rumble"
Copyright (C) 2025 The R Foundation for Statistical Computing
Platform: x86_64-pc-linux-gnu

R is free software and comes with ABSOLUTELY NO WARRANTY.
You are welcome to redistribute it under certain conditions.
Type 'license()' or 'licence()' for distribution details.

  Natural language support but running in an English locale

R is a collaborative project with many contributors.
Type 'contributors()' for more information and
'citation()' on how to cite R or R packages in publications.

Type 'demo()' for some demos, 'help()' for on-line help, or
'help.start()' for an HTML browser interface to help.
Type 'q()' to quit R.

>
Run a test expression.
r> "Hello, R!"
Output:
[1] "Hello, R!"Perform a basic statistical calculation.
r> mean(c(1, 2, 3, 4, 5))
Output:
[1] 3Exit the R console.
r> q()
Enter
nwhen prompted to save the workspace image.
Install RStudio Server .deb Package
RStudio Server provides a browser-based IDE for R development. It enables you to access your R environment from any device without installing software locally. In this section, you download and install the RStudio Server package.
Install
gdebi-coreto handle package dependencies.console$ sudo apt install gdebi-core -y
Download the RStudio Server
.debpackage.console$ wget https://download2.rstudio.org/server/jammy/amd64/rstudio-server-2025.09.2-418-amd64.deb
The Ubuntu 22.04 (Jammy) package is compatible with Ubuntu 24.04 (Noble Numbat) due to backward compatibility between LTS releases.NoteInstall RStudio Server.
console$ sudo gdebi rstudio-server-2025.09.2-418-amd64.deb
Enter
ywhen prompted to confirm the installation.Verify the installed RStudio Server version.
console$ sudo rstudio-server version
Output:
2025.09.2+418 (Cucumberleaf Sunflower) for Ubuntu Jammy
Start and Enable RStudio Server
In this section, you configure RStudio Server to start automatically on boot and verify that the service is running.
Enable RStudio Server to start at boot.
console$ sudo systemctl enable rstudio-server
Start the RStudio Server service.
console$ sudo systemctl start rstudio-server
Verify that RStudio Server is running.
console$ sudo systemctl status rstudio-server
Output:
● rstudio-server.service - RStudio Server
     Loaded: loaded (/usr/lib/systemd/system/rstudio-server.service; enabled; preset: enabled)
     Active: active (running) since Sat 2025-12-06 20:49:56 UTC; 1s ago
    Process: 5937 ExecStart=/usr/lib/rstudio-server/bin/rserver (code=exited, status=0/SUCCESS)
   Main PID: 5938 (rserver)
      Tasks: 1 (limit: 1060)
     Memory: 11.2M (peak: 52.3M)
        CPU: 956ms
     CGroup: /system.slice/rstudio-server.service
             └─5938 /usr/lib/rstudio-server/bin/rserver
Secure RStudio Server
In this section, you configure Nginx as a reverse proxy with HTTPS to secure access to RStudio Server.
Install Nginx.
console$ sudo apt install nginx -y
Install Certbot and the Nginx plugin.
console$ sudo apt install certbot python3-certbot-nginx -y
Create an Nginx configuration file for RStudio Server.
console$ sudo nano /etc/nginx/sites-available/rstudio.conf
Add the following configuration. Replace
rstudio.example.comwith your domain name.iniserver { listen 80; server_name rstudio.example.com; location / { proxy_pass http://127.0.0.1:8787; proxy_http_version 1.1; proxy_set_header Upgrade $http_upgrade; proxy_set_header Connection "upgrade"; proxy_set_header Host $host; proxy_set_header X-Real-IP $remote_addr; proxy_set_header X-Forwarded-For $proxy_add_x_forwarded_for; proxy_set_header X-Forwarded-Proto $scheme; proxy_read_timeout 20d; } }
Save and close the file.
Enable the configuration.
console$ sudo ln -s /etc/nginx/sites-available/rstudio.conf /etc/nginx/sites-enabled/
Test the Nginx configuration.
console$ sudo nginx -t
Output:
nginx: the configuration file /etc/nginx/nginx.conf syntax is ok
nginx: configuration file /etc/nginx/nginx.conf test is successful
Restart Nginx.
console$ sudo systemctl restart nginx
Allow HTTP and HTTPS traffic through the firewall.
console$ sudo ufw allow 80,443/tcp
Obtain an SSL certificate. Replace
rstudio.example.comwith your domain andadmin@example.comwith your email address.console$ sudo certbot --nginx -d rstudio.example.com -m admin@example.com --agree-tos --no-eff-email
This command requests a Let’s Encrypt TLS certificate and automatically configures Nginx to use HTTPS for the specified domain.
Access RStudio Server
In this section, you access the RStudio Server web interface securely over HTTPS using the domain name configured with Nginx.
Open your web browser and navigate to RStudio Server. Replace
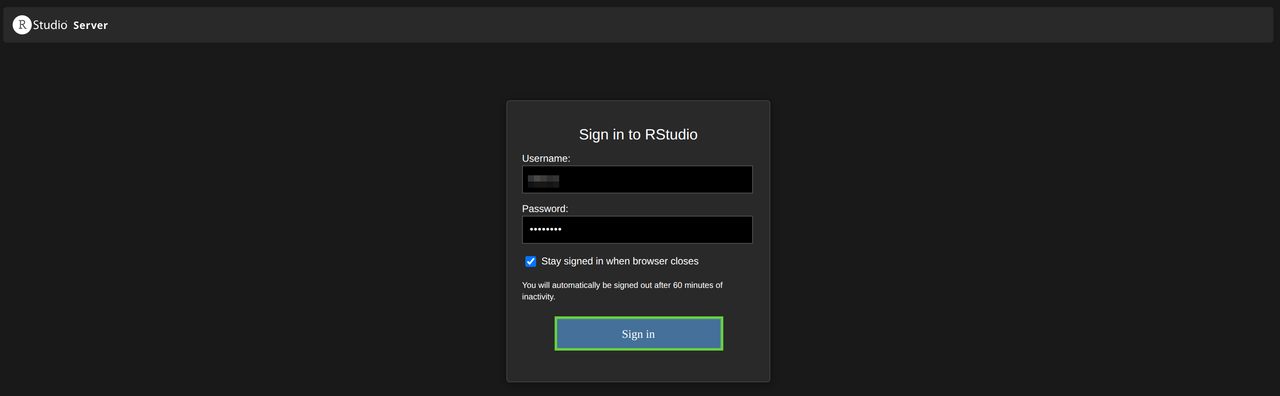
rstudio.example.comwith your configured domain name.https://rstudio.example.comSign in using your Linux user account credentials.
 Each RStudio user has an isolated R environment. Users can install packages in their personal library without affecting other users on the system.Note
Verify that the RStudio IDE loads successfully.

Run a Test R Program in RStudio Server
In this section, you create and run an R program in RStudio Server to verify that the IDE functions correctly.
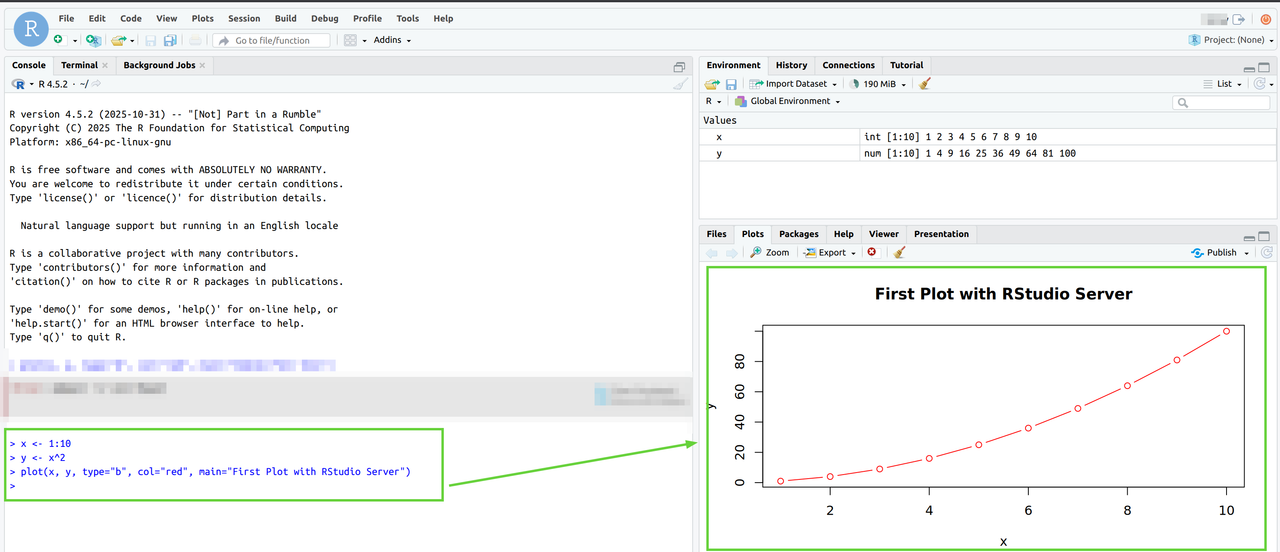
In the RStudio console, create a vector and calculate its square.
r> x <- 1:10 > y <- x^2
Generate a plot to visualize the data.
r> plot(x, y, type="b", col="red", main="Test Plot with RStudio Server")
Create a new R script by clicking File > New File > R Script.
Add the following code to the script.
r# Calculate summary statistics data <- c(12, 15, 18, 22, 25, 28, 30, 35) summary(data) # Create a histogram hist(data, main="Sample Data Distribution", col="steelblue")
Click Run or press
Ctrl + Enterto execute the script.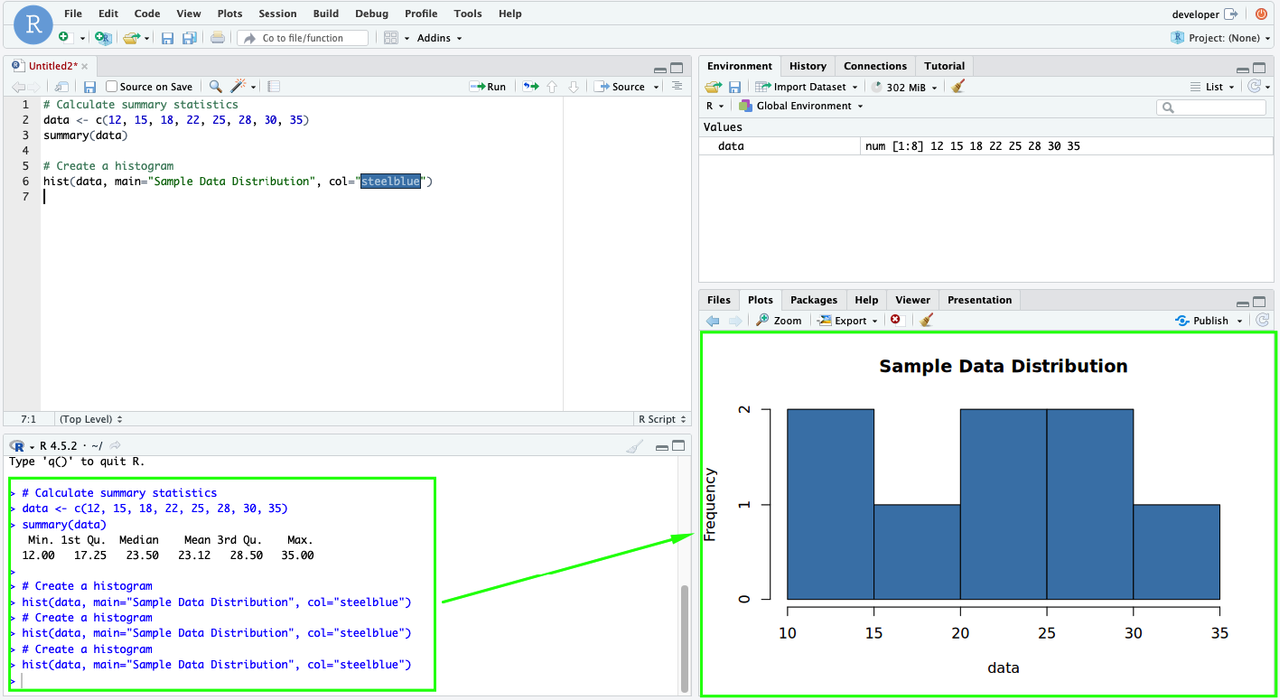
Conclusion
You have successfully installed R from the official CRAN repository and configured RStudio Server on Ubuntu 24.04. You secured the installation with HTTPS using Nginx and Let’s Encrypt, enabling safe remote access and collaborative R development with isolated user environments. For advanced features and configuration options, refer to the RStudio Server Administration Guide.