
How to Install Ruby on Rails on Debian 12
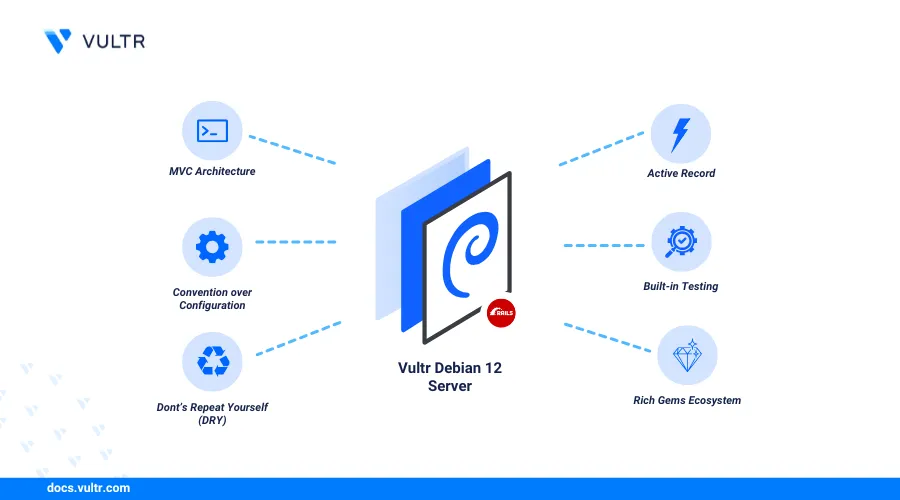
Rails is an open-source web application framework written in the Ruby programming language. It follows the Model-View-Controller (MVC) architecture to build high-performance dynamic web applications and offers Convention over Configuration (CoC) functionalities, including routing, stateful data, and asset management.
This article explains how to install Ruby on Rails on Debian 12. You will install Ruby and all required dependencies on your server to run a basic Rails application.
Prerequisites
Before you begin, you need to:
- Access a Debian 12 instance to install Ruby on Rails.
- Create a domain A record pointing to the server's IP address. For example,
app.example.com.
Install Mise and Required Dependencies for Ruby
Mise is a version and dependency management tool for Ruby. You can use Mise to install and manage multiple Ruby versions on your server. Follow the steps below to install Mise and all required dependencies for Ruby.
Update the APT package index.
console$ sudo apt update
Install all required dependency packages.
console$ sudo apt install build-essential zlib1g-dev libssl-dev libreadline-dev libyaml-dev libsqlite3-dev sqlite3 libxml2-dev libxslt1-dev libcurl4-openssl-dev libffi-dev git -y
Install Mise.
console$ curl https://mise.run | sh
The above command installs Mise in the
.local/bin/misedirectory in your user's home directory.Add Mise to your
bashrcshell configuration to enable it in your session.console$ echo "eval \"\$(/home/user/.local/bin/mise activate bash)\"" >> ~/.bashrc
Reload the
bashrcconfiguration to apply the changes in your active session.console$ source ~/.bashrc
View the installed Mise version.
console$ mise -v
Output:
____ ___  (_)_______        ___  ____        ____  / /___ _________
/ __ `__ \/ / ___/ _ \______/ _ \/ __ \______/ __ \/ / __ `/ ___/ _ \
/ / / / / / (__  )  __/_____/  __/ / / /_____/ /_/ / / /_/ / /__/  __/
/_/ /_/ /_/_/____/\___/      \___/_/ /_/     / .___/_/\__,_/\___/\___/
                                            /_/
2024.12.24 linux-x64 (b04359f 2024-12-31)
Test the Mise installation for errors and verify that its ready to use.
console$ mise doctor
The above command outputs the Mise installation and environment status including the build, shell, and general information. Verify that a
No problems foundprompt is available in your output similar to the one below................... No problems found
Install Ruby and Rails on Debian 12
RubyGems (gem) is a Ruby package manager that installs libraries and dependencies on your server. RubyGems is bundled with Ruby when installed using Mise to manage libraries such as Rails. Follow the steps below to install Ruby using Mise, RubyGems, and Rails on your server.
Install the latest Ruby version using Mise.
console$ mise use -g ruby@3
The above command installs the latest Ruby
3version. Visit the Ruby releases page to verify the latest version to install.Your output should be similar to the one below.
mise ruby@3.3.6 ✓ installed
mise ~/.config/mise/config.toml tools: ruby@3.3.6
View the installed Ruby version.
console$ ruby -v
Output:
ruby 3.3.6 (2024-11-05 revision 75015d4c1f) [x86_64-linux]Install Bundler.
console$ gem install bundler
Output:
Fetching bundler-2.6.2.gem
Successfully installed bundler-2.6.2
Parsing documentation for bundler-2.6.2
Installing ri documentation for bundler-2.6.2
Done installing documentation for bundler after 0 seconds
1 gem installed

A new release of RubyGems is available: 3.5.22 → 3.6.2!
Run `gem update --system 3.6.2` to update your installation.
Update RubyGems to the latest version.
console$ gem update --system
Install Rails using RubyGems.
console$ gem install rails
Output:
Done installing documentation for zeitwerk, thor, rack, rackup, concurrent-ruby, tzinfo, i18n, connection_pool, activesupport, useragent, nokogiri, crass, loofah, rails-html-sanitizer, rails-dom-testing, rack-test, rack-session, erubi, builder, actionview, actionpack, railties, marcel, activemodel, activerecord, globalid, activejob, activestorage, actiontext, mini_mime, mail, actionmailer, actionmailbox, websocket-extensions, websocket-driver, nio4r, actioncable, rails after 37 seconds
38 gems installed
View the installed Rails version.
console$ rails -v
Output:
Rails 8.0.1Install Node.js to serve Rails web applications. For example, install the Node.js version
22.console$ mise use -g node@22
Visit the Node.js releases page to verify the latest version you can install and use with your Rails applications.
Your output should be similar to the one below:
gpg: Signature made Tue 03 Dec 2024 08:37:27 PM UTC
gpg:                using RSA key 108F52B48DB57BB0CC439B2997B01419BD92F80A
gpg: Good signature from "Ruy Adorno <ruyadorno@hotmail.com>" [unknown]
mise node@22.12.0 ✓ installed                                                 mise ~/.config/mise/config.toml tools: node@22.12.0
View the installed Node.js version.
console$ node -v
Output:
v22.12.0Install Yarn using Npm.
console$ npm install -g yarn
Your output should be similar to the one below when the Yarn installation is successful.
added 1 package in 907ms
npm notice
npm notice New major version of npm available! 10.9.0 -> 11.0.0
npm notice Changelog: https://github.com/npm/cli/releases/tag/v11.0.0
npm notice To update run: npm install -g npm@11.0.0
npm notice
Reshimming mise 22.12.0...
View the installed Yarn version.
console$ yarn -v
Output:
1.22.22
If you are using an Ubuntu server, you can install Ruby on Rails on Ubuntu 24.04 effortlessly.
Bootstrap and Run a Rails Application
Rails supports command line options and arguments to create and manage applications. Follow the steps below to bootstrap and run a Rails application.
Create a new Rails application, such as
myrailsapp.console$ rails new myrailsapp
The above Rails command creates a new
myrailsappproject directory including all necessary application files with the following structure.. ├── app ├── bin ├── config ├── config.ru ├── db ├── Dockerfile ├── Gemfile ├── Gemfile.lock ├── lib ├── log ├── public ├── Rakefile ├── README.md ├── script ├── storage ├── test ├── tmp └── vendor 13 directories, 6 filesThe
myrailsappdirectory includes the following files and sub-directories:config.ru: A Rack configuration file that serves as the entry point for the Rails application.Dockerfile: Contains instructions for packaging the Rails application into a Docker container.Gemfile: Lists all the gems required to run the Rails application.Gemfile.lock: Records the installed gem versions, ensuring consistency across environments.Rakefile: Defines tasks that can be run with the Rake build tool.README.md: Provides the steps and prerequisites for running the Rails application.app: Contains the application code, including subdirectories for assets, controllers, helpers, JavaScript, jobs, mailers, models, and views.bin: Contains the executable files and scripts for running Rails commands.config: Contains the project configuration files, including settings for different environments, routing, database configurations, and other application settings.db: Contains the database schema files, migrations, and seed data.lib: Used for custom libraries and modules specific to your application.log: Contains log files that store application events for different environments including development and production.public: Stores static images, icons, HTML, Stylesheets (CSS), and Javascript files.script: Contains additional scripts for your application.storage: Stores persistent information.test: Contains test files in a structured manner for controllers, models, and mailers in your application.tmp: Stores cache data, PID files, and other temporary files generated during the Rails server runtime.vendor: Contains external libraries and third-party tools.
Switch to the
myrailsappproject directory.console$ cd myrailsapp
Allow network connections to the default Rails application port
3000through the default firewall.console$ sudo ufw allow 3000/tcp
Reload UFW to apply the firewall configuration changes.
console$ sudo ufw reload
Start the Rails server and bind it to all network interfaces.
console$ rails server --binding=0.0.0.0
Output:
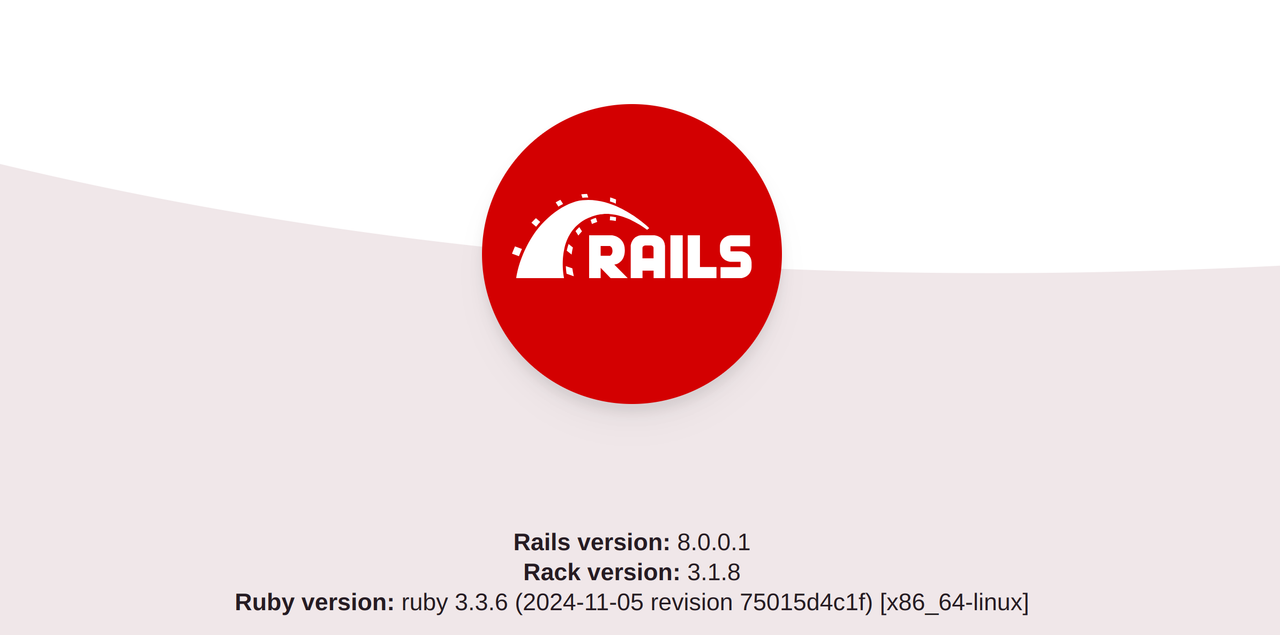
=> Booting Puma
=> Rails 8.0.0.1 application starting in development
=> Run `bin/rails server --help` for more startup options
Puma starting in single mode...
* Puma version: 6.5.0 ("Sky's Version")
* Ruby version: ruby 3.3.6 (2024-11-05 revision 75015d4c1f) [x86_64-linux]
*  Min threads: 3
*  Max threads: 3
*  Environment: development
*          PID: 30417
* Listening on http://0.0.0.0:3000
Use Ctrl-C to stop
Access port
3000using your server's IP address in a web browser such as Chrome.http://Server-IP:3000Verify that the default Rails application page loads correctly in your browser.
- Press Ctrl + C to stop the Rails server.
Modify the Rails Application
Rails uses a root route by default to display a Ruby on Rails page. Follow the steps below to modify the myrailsapp application with a new root route, view, and controller to display a Greetings from Vultr message.
Create a new
Homecontroller with anindexaction.console$ rails generate controller Home index
Output:
create  app/controllers/home_controller.rb
route  get "home/index"
invoke  erb
create    app/views/home
create    app/views/home/index.html.erb
invoke  test_unit
create    test/controllers/home_controller_test.rb
invoke  helper
create    app/helpers/home_helper.rb
invoke    test_unit
Back up the default
app/views/home/index.html.erbview file.console$ mv app/views/home/index.html.erb app/views/home/index.html.erb.ORIG
The
app/views/home/index.html.erbfile generates HTML outputs that contain embedded Ruby code that renders a view template when users access theindexaction of theHomecontroller.Create a new
app/views/home/index.html.erbfile using a text editor such asnano.console$ nano app/views/home/index.html.erb
Add the following configuration to the file.
html<h1>Greetings from Vultr</h1>
Save and close the file.
Open the
config/routes.rbfile to define a new route for your Rails application.console$ nano config/routes.rb
Add the following root route inside the
Rails.application.routes.draw doblock.rubyroot "home#index"
Save and close the file.
Start the Rails server.
console$ rails server --binding=0.0.0.0
Access the Rails application port
3000using your server's IP address in a new web browser window.http://Server-IP:3000Verify that your Rails application displays.

Conclusion
You have installed Ruby on Rails on Debian 12 and run a sample application on your server. You can set up Rails as a system service and use Nginx as a reverse proxy to run, and secure Rails applications on your server. For more information about the Rails framework, visit the Ruby on Rails documentation.