Introduction
Install Ruby on Rails on Ubuntu 24.04 to develop scalable and maintainable web applications with ease. Ruby on Rails is a robust web application framework that utilizes the Model-View-Controller (MVC) architecture and adheres to the principle of convention over configuration, minimizing repetitive setup tasks by enforcing standard coding and file organization practices.
Ruby on Rails also integrates with custom tools for tasks such as database migrations and asset management with a wide range of community-developed libraries to run production-ready applications.
The article explains how to install Ruby on Rails on Ubuntu 24.04 and set up a development environment to run web applications.
Install Mise and Required Dependencies for Ruby
Mise is a Ruby version manager used to install and manage packages in Ruby environments. It offers a simplified setup process, enabling you to switch between Ruby versions without complex configurations. Ruby requires a set of dependencies that include essential libraries for encryption, file compression, and other critical functionalities to run applications. Follow the steps below to install Mise and all required dependency packages for Ruby.
Update the server's package index.
console$ sudo apt update
Install all required dependency packages for compiling Ruby.
console$ sudo apt install build-essential rustc libssl-dev libyaml-dev zlib1g-dev libgmp-dev -y
Download and run the latest Mise installation script.
console$ curl https://mise.run | sh
Run the following command to append the
.bashrcfile and enable Mise in your shell environment.console$ echo 'eval "$(~/.local/bin/mise activate)"' >> ~/.bashrc
Reload the
.bashrcshell configuration to activate Mise.console$ source ~/.bashrc
View the installed Mise version.
console$ mise --version
Your output should be similar to the one below.
2024.12.7 linux-x64 (d21597c 2024-12-12)
Install Ruby and Rails on Ubuntu 24.04
RubyGems is a Ruby package manager that installs and distributes Ruby libraries (gems) efficiently with all required dependencies on a server. Follow the steps below to install RubyGems using Mise, Ruby, and Rails. In addition, install Node.js to enable the execution of JavaScript runtime tasks such as asset compilation and front-end integration.
Install and activate Ruby globally using the Mise version manager.
console$ mise use --global ruby@3
Verify the installed Ruby version.
console$ ruby --version
Output:
ruby 3.3.6 (2024-11-05 revision 75015d4c1f) [x86_64-linux]Update RubyGems to the latest version.
console$ gem update --system
Install and activate a Node.js version such as
22.11.0globally on the system using Mise.console$ mise use --global node@22.11.0
View the installed Node.js version.
console$ node -v
Output:
v22.11.0Install Rails using RubyGems.
console$ gem install rails
View the installed Rails version.
console$ rails -v
Your output should be similar to the one below:
Rails 8.0.0
Bootstrap and Run a Rails application
Ruby on Rails supports command line options to create, configure, and manage Rails applications on a server. The rails new command initializes a new Rails application while the rails server command starts a local web server to run the application and listen for incoming connection requests. Follow the steps below to bootstrap and run a Rails application on your server.
Create a new
demo-appRails application.console$ rails new demo-app
The above
rails newcommand creates a newdemo-appproject directory with the following structure:demo-app/ ├── app ├── bin ├── config ├── config.ru ├── db ├── Dockerfile ├── Gemfile ├── Gemfile.lock ├── lib ├── log ├── public ├── Rakefile ├── README.md ├── script ├── storage ├── test ├── tmp └── vendorSwitch to the
demo-appdirectory.console$ cd demo-app
List files in the directory and verify the available application files.
console$ lsView the UFW status and verify that the firewall is active.
console$ sudo ufw status
Allow the default Rails development server port
3000through the firewall configuration.console$ sudo ufw allow 3000/tcp
Reload UFW to apply the firewall configuration changes.
console$ sudo ufw reload
Start the Rails application server and allow connections from all network addresses.
console$ rails server --binding=0.0.0.0
You output should be similar to the one below when successful.
=> Booting Puma
=> Rails 8.0.0 application starting in development
=> Run `bin/rails server --help` for more startup options
Puma starting in single mode...
* Puma version: 6.5.0 ("Sky's Version")
* Ruby version: ruby 3.3.6 (2024-11-05 revision 75015d4c1f) +YJIT [x86_64-linux]
*  Min threads: 3
*  Max threads: 3
*  Environment: development
*          PID: 23851
* Listening on http://0.0.0.0:3000
Use Ctrl-C to stop
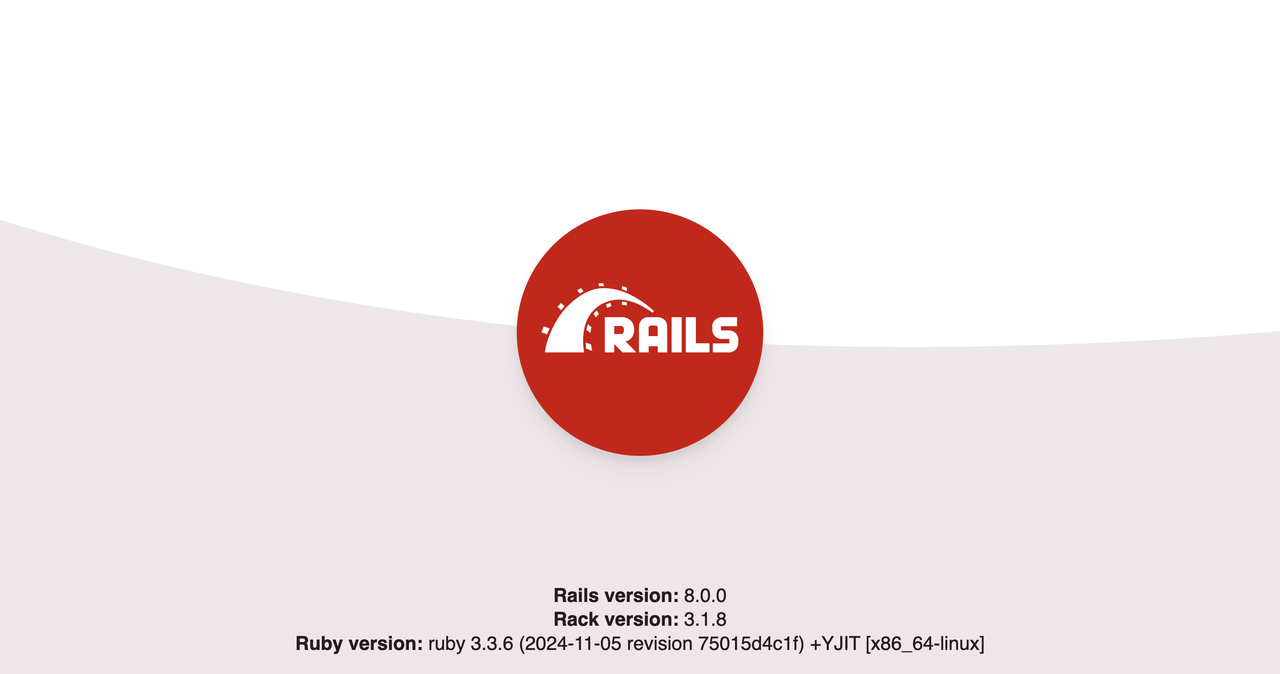
Access port
3000using your server's IP address in a web browser such as Chrome.http://SERVER-IP:3000Verify that the default Rails page displays in your browser.

Press Ctrl + C in your SSH session to stop the Rails application server.
Update the Rails application
Follow the steps below to update the sample demo-app Rails application with a new route, view, and controller to display a Greetings from Vultr prompt when accessed.
Run the following command to generate a new
Homecontroller withindexas the action.console$ rails generate controller Home index
Back up the default
index.html.erbfile.console$ mv app/views/home/index.html.erb app/views/home/index.html.ORIG
Create the
app/views/home/index.html.erbfile again using a text editor such asnano.console$ nano app/views/home/index.html.erb
Add the following contents to the
index.html.erbfile.html<h1>Greetings from Vultr</h1>
Save and close the file.
Back up the default
config/routes.rbfile.console$ mv config/routes.rb config/routes.ORIG
Create the
config/routes.rbfile again.console$ nano config/routes.rb
Add the following contents to the
config/routes.rbfile to enableHome#indexas the default route.rubyRails.application.routes.draw do root "home#index" end
Save and close the file.
Start the Rails server again to load the application.
console$ rails server --binding=0.0.0.0
Access port
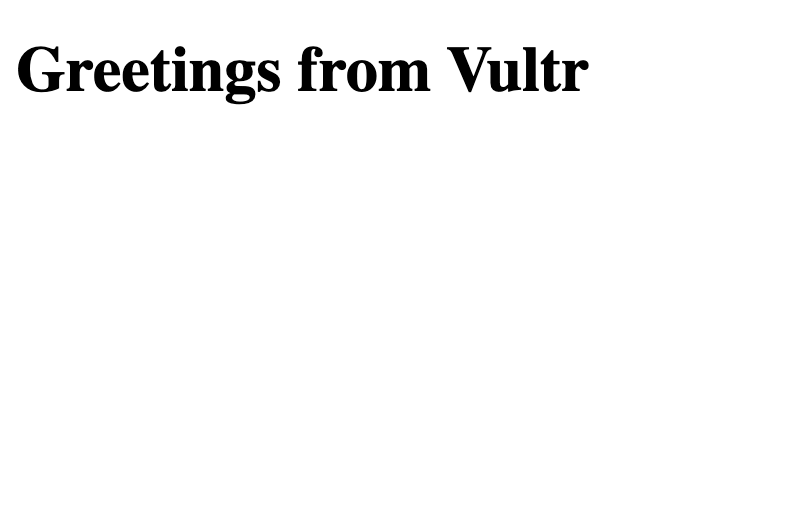
3000using your server's IP address in a new web browser window and verify that aGreetings from Vultrmessage displays.
Conclusion
You have installed Ruby on Rails on Ubuntu 24.04 and run a sample application on the server. You can run Rails as a system service and set up a reverse proxy such as Nginx to securely deliver web applications using a domain on your server. Ruby on Rails also integrates with other services such as databases to enable additional functionalities such as caching in your web applications. For more information and configuration options, please visit the Ruby on Rails guides page.