
How to Migrate Azure Container Registry Artifacts to Vultr Container Registry
Azure Container Registry (ACR) is Microsoft's managed Docker registry service built on the open-source Docker Registry 2.0. While ACR integrates tightly with Azure services, organizations often migrate to alternative registries for cost optimization, multi-cloud flexibility, or simpler management. Vultr Container Registry offers a straightforward, globally distributed solution with predictable pricing and easy integration with container orchestration platforms.
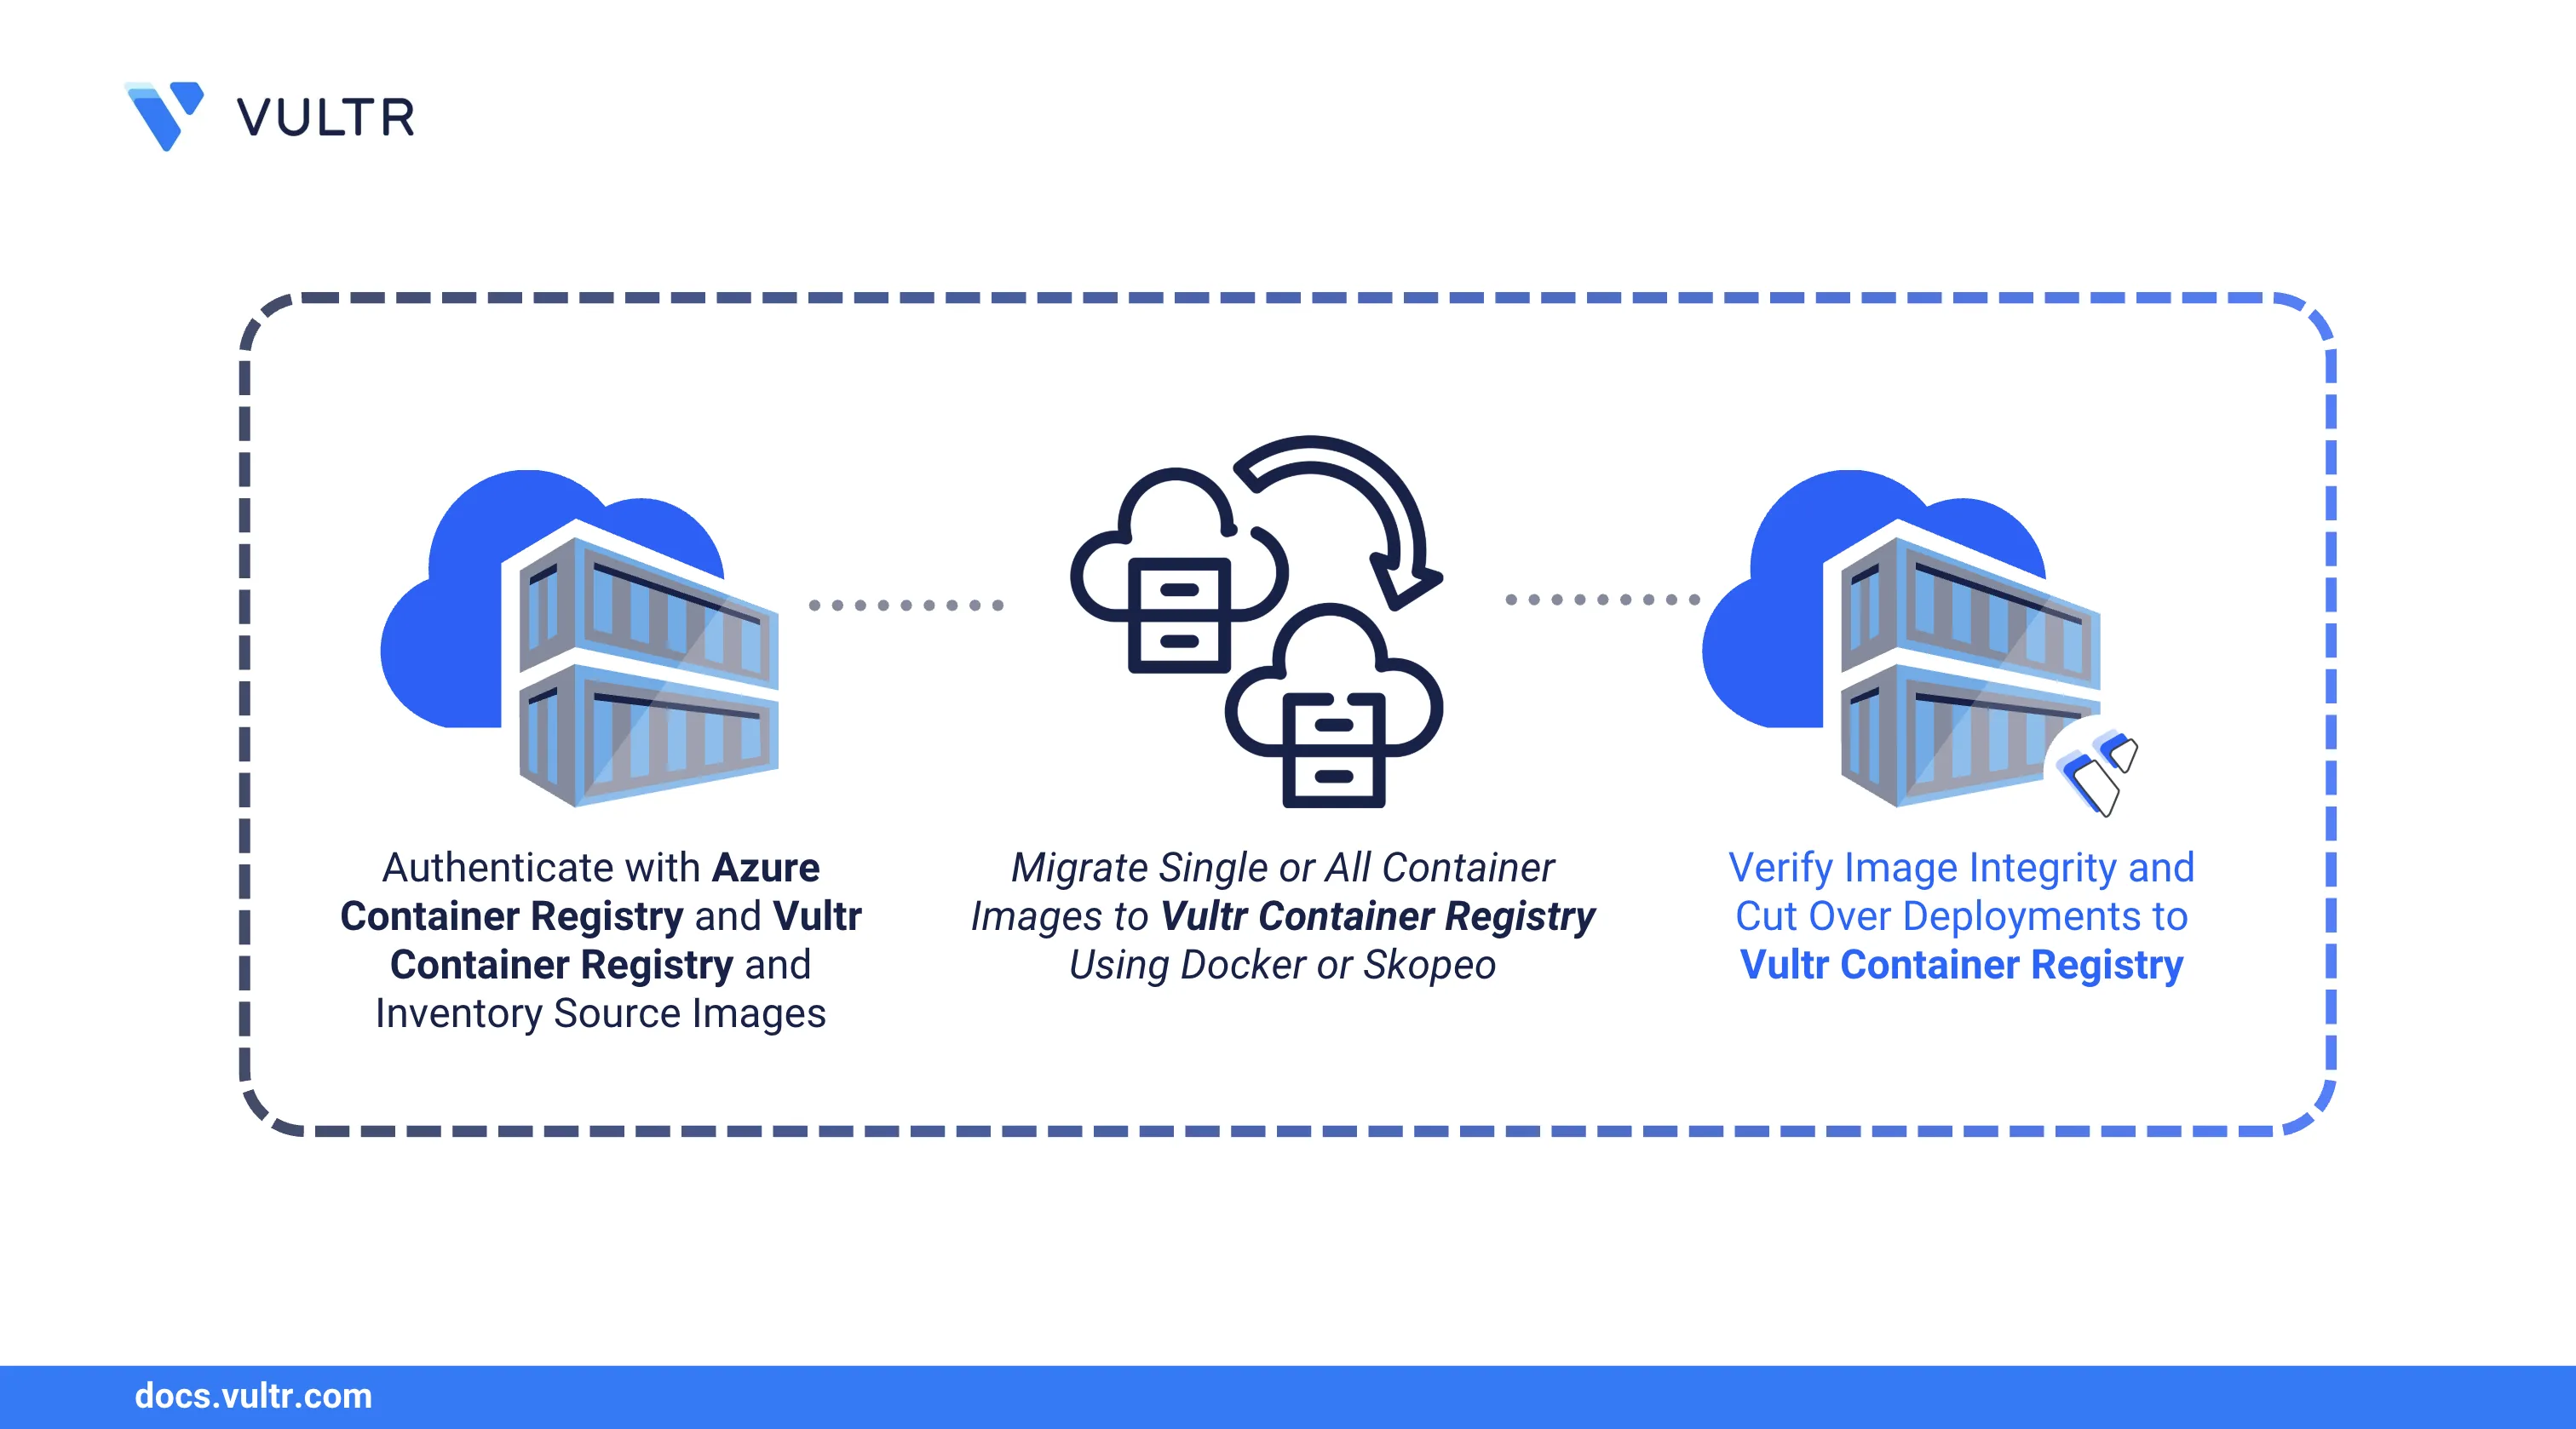
This guide explains how to migrate container images from Azure Container Registry to Vultr Container Registry using Docker and Skopeo, covering authentication, transfer, verification, and cutover.
Prerequisites
Before you begin, you need to:
- Deploy an Ubuntu 24.04 instance to use as your migration workstation.
- Install Docker on the workstation.
- Install the Azure CLI and authenticate with an account that has pull access to your ACR.
- Provision a Vultr Container Registry and note the registry URL, username, and API key.
Authenticate with Azure Container Registry
Connect your workstation to ACR so Docker can pull images. Azure offers multiple authentication methods depending on your security requirements.
Sign in to Azure CLI.
console$ az login
Follow the browser prompts to complete authentication.
Authenticate Docker with your ACR instance. Replace
ACR-NAMEwith your registry name (without the.azurecr.iosuffix).console$ az acr login --name ACR-NAME
Output:
Login SucceededIf you prefer token-based authentication or need to authenticate from CI/CD pipelines, you can enable the admin user or use a service principal.Note
Inventory Your ACR Repositories
Before migrating, catalog all repositories and their tags in your ACR. This inventory helps you track progress and ensures no images are missed during the transfer.
List all repositories in your ACR.
console$ az acr repository list --name ACR-NAME --output table
Output:
Result
---------------
frontend
backend-api
worker-service
nginx-proxy
View tags for a specific repository.
console$ az acr repository show-tags --name ACR-NAME --repository frontend --output table
Output:
Result
--------
v1.0.0
v1.1.0
latest
List all images with their tags across repositories.
console$ for repo in $(az acr repository list --name ACR-NAME -o tsv); do echo "=== $repo ===" az acr repository show-tags --name ACR-NAME --repository $repo -o tsv done
Document this inventory before proceeding with migration.
Authenticate with Vultr Container Registry
Configure Docker to push images to your Vultr registry. You'll need the registry URL and API credentials from the Vultr Console.
Log in to the Vultr Console.
Navigate to Products.
Select Container Registry.
Select your registry and note the Registry URL, Username, and API Key from the overview page.
Authenticate Docker with the Vultr registry. Replace
VULTR-REGISTRY-URL,USERNAME, andAPI-KEYwith your credentials. The registry URL should not includehttps://.console$ docker login VULTR-REGISTRY-URL -u USERNAME -p API-KEY
Output:
Login Succeeded
Migrate Images Using Docker
The standard migration workflow involves pulling images from ACR to your workstation, retagging them with the Vultr registry URL, and pushing to the destination. You can migrate individual images or automate the entire registry transfer with a script.
Migrate a Single Image
Pull an image from ACR. Replace
ACR-NAMEwith your Azure registry name.console$ docker pull ACR-NAME.azurecr.io/frontend:v1.0.0
Tag the image for Vultr. Replace
VULTR-REGISTRY-URLwith your Vultr registry URL.console$ docker tag ACR-NAME.azurecr.io/frontend:v1.0.0 VULTR-REGISTRY-URL/frontend:v1.0.0
Push the image to Vultr.
console$ docker push VULTR-REGISTRY-URL/frontend:v1.0.0
Migrate All Repositories
Automate the migration of all images using a shell script.
Create a migration script.
console$ nano acr_to_vultr.sh
Add the following content. Replace
ACR-NAMEandVULTR-REGISTRY-URLwith your values.bash#!/bin/bash ACR_NAME="ACR-NAME" VULTR_URL="VULTR-REGISTRY-URL" for repo in $(az acr repository list --name "$ACR_NAME" -o tsv); do for tag in $(az acr repository show-tags --name "$ACR_NAME" --repository "$repo" -o tsv); do src="${ACR_NAME}.azurecr.io/${repo}:${tag}" dest="${VULTR_URL}/${repo}:${tag}" echo "Migrating $src -> $dest" docker pull "$src" docker tag "$src" "$dest" docker push "$dest" done done echo "Migration complete."
Save and close the file.
Make the script executable and run it.
console$ chmod +x acr_to_vultr.sh $ ./acr_to_vultr.sh
Skopeo copies images directly between registries without storing them locally, which saves disk space and speeds up large migrations.
Install Skopeo on your workstation.
console$ sudo apt update $ sudo apt install skopeo -y
Copy a single image from ACR to Vultr. Replace
ACR-NAMEandVULTR-REGISTRY-URLwith your values.console$ skopeo copy \ docker://ACR-NAME.azurecr.io/frontend:v1.0.0 \ docker://VULTR-REGISTRY-URL/frontend:v1.0.0
Skopeo uses the credentials stored in
~/.docker/config.jsonfrom your earlier Docker logins.Create a script to migrate all images.
console$ nano skopeo_migrate.sh
Add the following content. Replace
ACR-NAMEandVULTR-REGISTRY-URLwith your values.bash#!/bin/bash ACR_NAME="ACR-NAME" VULTR_URL="VULTR-REGISTRY-URL" for repo in $(az acr repository list --name "$ACR_NAME" -o tsv); do for tag in $(az acr repository show-tags --name "$ACR_NAME" --repository "$repo" -o tsv); do src="docker://${ACR_NAME}.azurecr.io/${repo}:${tag}" dest="docker://${VULTR_URL}/${repo}:${tag}" echo "Copying $repo:$tag" skopeo copy "$src" "$dest" done done echo "Skopeo migration complete."
Save and close the file.
Run the script.
console$ chmod +x skopeo_migrate.sh $ ./skopeo_migrate.sh
Use Skopeo when migrating many large images or when disk space on your workstation is limited.
Verify Migrated Images
After migration, validate that images transferred without corruption by comparing SHA256 digests between registries and running test containers from Vultr.
Open the Vultr Container Registry in the Vultr Console and verify your repositories appear under the Repositories tab.
Compare image digests between ACR and Vultr to confirm integrity.
Get the digest from ACR:
console$ az acr manifest list-metadata --name frontend --registry ACR-NAME --query "[0].digest" -o tsv
Get the digest from Vultr:
console$ docker pull VULTR-REGISTRY-URL/frontend:v1.0.0 $ docker inspect VULTR-REGISTRY-URL/frontend:v1.0.0 --format='{{index .RepoDigests 0}}' | cut -d'@' -f2
The digests should match, confirming the image transferred without corruption.
Run a test container from the Vultr registry.
console$ docker run --rm VULTR-REGISTRY-URL/frontend:v1.0.0 echo "Container works"
Output:
Container works
Cutover to Vultr Container Registry
After images are verified on Vultr, update your Dockerfiles, orchestration configs, and CI/CD pipelines to use the new registry. This section covers common deployment scenarios including Docker Compose and Kubernetes.
Update Dockerfiles
Change base image references from ACR to Vultr.
Before:
dockerfileFROM myacr.azurecr.io/base-image:latest
After:
dockerfileFROM VULTR-REGISTRY-URL/base-image:latest
Update Docker Compose Files
Update the image references in your compose file.
yamlservices: app: image: VULTR-REGISTRY-URL/frontend:v1.0.0
Redeploy the services.
console$ docker compose down $ docker compose up -d
Update Kubernetes Deployments
Modify your deployment manifests.
yamlspec: containers: - name: frontend image: VULTR-REGISTRY-URL/frontend:v1.0.0
If your cluster requires authentication, create an image pull secret. Replace the placeholders with your Vultr registry credentials.
console$ kubectl create secret docker-registry vultr-registry \ --docker-server=VULTR-REGISTRY-URL \ --docker-username=USERNAME \ --docker-password=API-KEY \ --namespace=NAMESPACE
Reference the secret in your deployment.
yamlspec: imagePullSecrets: - name: vultr-registry
Apply the updated manifests.
console$ kubectl apply -f deployment.yaml
Update CI/CD Pipelines
Replace ACR authentication and image references in your pipeline configurations.
Before (Azure DevOps / GitHub Actions):
yaml- run: az acr login --name myacr - run: docker push myacr.azurecr.io/app:${{ github.sha }}
After:
yaml- run: docker login VULTR-REGISTRY-URL -u ${{ secrets.VULTR_USER }} -p ${{ secrets.VULTR_KEY }} - run: docker push VULTR-REGISTRY-URL/app:${{ github.sha }}
Conclusion
You have successfully migrated your container images from Azure Container Registry to Vultr Container Registry. This guide covered authenticating with both registries, transferring images using Docker and Skopeo, verifying integrity through digest comparison, and updating your deployments for the cutover. Your container workloads now benefit from Vultr's predictable pricing and global infrastructure. For more details on managing your registry, see the Vultr Container Registry documentation.