How to Migrate Google Cloud Registry Artifacts to Vultr Container Registry
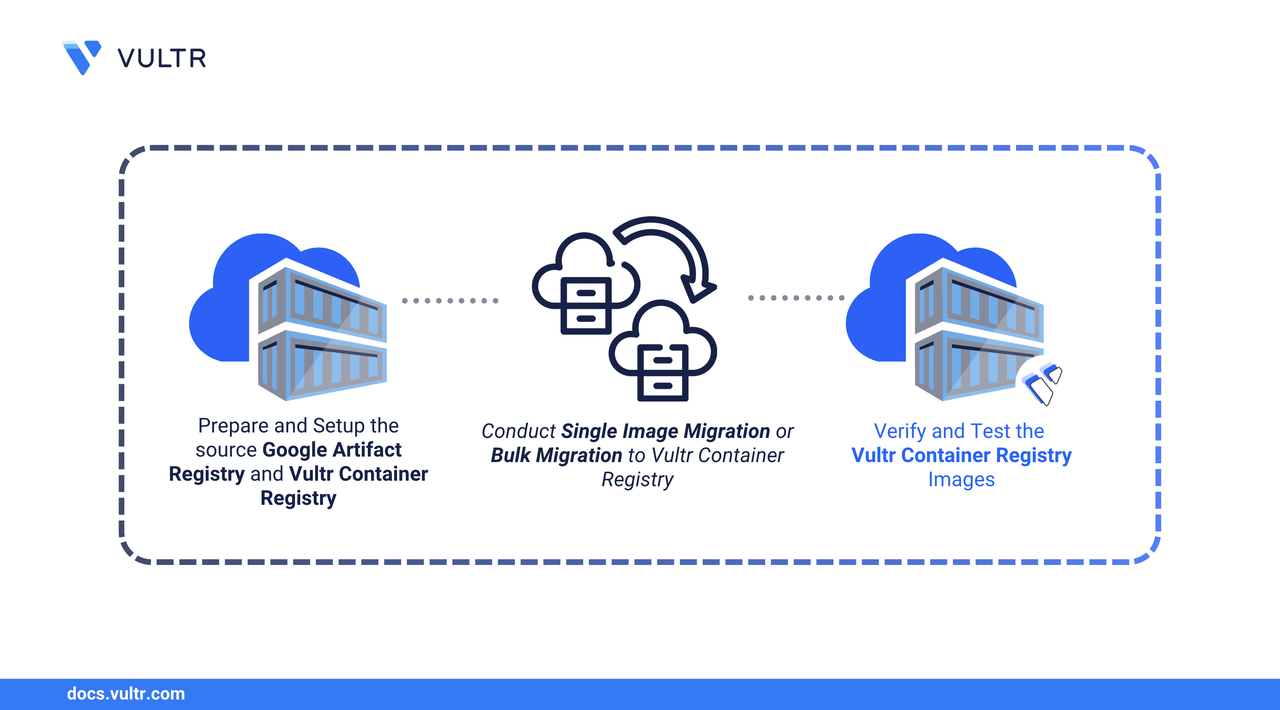
Container Registry is used to store and manage container images. Migrating your container images from Google Artifact Registry to Vultr Container Registry offers several benefits, such as improved performance, cost efficiency, integration with Vultr's cloud infrastructure, and straightforward management with Vultr's intuitive Vultr Console interface.
Follow this guide to migrate your Google Artifact Registry images with the Docker Artifact format to the Vultr Container Registry. You will migrate all the images and verify data integrity post-migration.
Prerequisites
Before you begin:
- Have access to an Ubuntu 24.04 based server as a non-root sudo user to use as the migration workstation.
- Install Docker on your migration workstation to manage container images.
- Install gcloud CLI and initialize it with access to your GCP project.
- Provision a Vultr Container Registry to use as your destination Registry.
- Assign appropriate roles to your User account or Service account to access your Google Artifact Registry.
Prepare the Source Google Cloud Artifact Registry
In this section, you configure access credentials for your Google Artifact Registry with Docker. There are several methods to configure Google Artifact Registry authentication with Docker. This guide uses the gcloud CLI credential helper.
Follow the steps below on your Ubuntu machine to configure the access credentials for your Google Artifact Registry with Docker.
Add your non-root sudo user to the Docker group to grant permission to run the
dockercommand.CONSOLEAuthenticate Docker with your Google Artifact Registry.
CONSOLEReplace
europe-central2with the location of your Google Artifact Registry.Example output:
Enter Y at the prompt to continue.
Now your Docker client can connect to your Google Artifact Registry.
Set Up the Vultr Container Registry
Follow the steps below to authenticate your workstation with the Vultr Container Registry.
Log in to your Vultr Console.
Choose the newly provisioned Vultr Container Registry.
Copy the login command from the Overview page.
Also, note the
UsernameandAPI Keyvalues.Run the copied command to authenticate with your Vultr Container Registry. For example:
CONSOLEExample output indicating successful login:
Migrate Repositories From the Google Cloud Artifact Registry to the Vultr Container Registry Using Docker
Follow the steps below to migrate all container images with all tags from your Google Artifact Registry to your Vultr Container Registry.
List the active registries.
CONSOLEExample output:
Note the location of your source repository, for instance,
europe-central2.Create a new file named
pull_images.sh.CONSOLEAdd the following code to the
pull_images.sh. Assign the variablesPROJECT_ID,LOCATION, andREPOwith your Google Cloud project ID, the location of your Google Artifact Registry, and its name as values.BASHThe script above automatically downloads all images and their tags from your artifact registry to your migration workstation.
Save and exit the file.
Make the
pull_images.shfile executable.CONSOLERun the script to pull all GCP images.
CONSOLECreate a new file named
push_images.sh.CONSOLEAdd the following code to the
push_images.shfile. Replace the valueams.vultrcr.com/examplefor the variableVULTR_REGISTRY_URLwith your Vultr Container Registry URL, without thehttps://prefix at the beginning of the URL.BASHThe script above finds local Docker images that originate from the specified Google Artifact Registry. It then automatically retags each image for your Vultr Container Registry and pushes it to the new destination.
Save and exit the file.
Make the
push_images.shfile executable.CONSOLERun the script to push the images to the Vultr Container Registry.
CONSOLE
Verify and Test the Vultr Container Registry Images
To ensure the integrity of transferred images, you can compare the SHA256 digests of the images. In this section, you will use a Bash script to automatically compare the digests of the images in the Google Cloud Artifact Registry with the Vultr Container Registry. Follow the steps below to verify the integrity.
Create a new file named
integrity_check.sh.CONSOLEAdd the following code to the file. Provide
GCP_LOCATION,GCP_REPO,GCP_PROJECT_ID, andVULTR_REGISTRY_URLvariables with your values.BASHThe script above finds local Docker images that originate from the specified Google Artifact Registry. For each image tag, it pulls both the Google Artifact Registry and corresponding Vultr Container Registry versions to ensure they are present locally. It then calculates their SHA256 digests from the local Docker daemon and compares them. If there are no differences, it indicates a successful transfer without errors.
Make the script executable.
CONSOLERun the script.
CONSOLEExample output indicating a successful transfer:
Cutover to the Vultr Container Registry
This section describes transitioning your applications and workflows to use the new registry. Follow the recommendations below to cut over your containers to the Vultr Container Registry.
Update your Docker files to use the Vultr Container Registry.
Before:
After:
Replace
<vultr_registry_url>with your Vultr Container registry URL without thehttps://prefix.
Update your Kubernetes Deployments files.
Before:
After:
Replace
<vultr_registry_url>with your Vultr Container registry URL without thehttps://prefix.
After transferring your production workloads to the Vultr Container Registry, you may delete the old GCP registry to avoid unnecessary billing costs.
Conclusion
You've migrated your container images from your Google Artifact Registry to your Vultr Container Registry and verified post-migration data integrity. For more information on Vultr Container Registry, refer to the official Vultr Container Registry documentation.


0 Comments
Be the first to comment and share your perspective with the community.