
How to Migrate Linode Block Storage Volumes to Vultr Block Storage
Block storage is a reliable solution for storing data in fixed volumes, offering low-latency access to persistent storage. Vultr provides high-performance, highly available block storage options using HDD or NVMe SSDs. Similarly, Linode offers block storage volumes that can be attached to its compute instances.
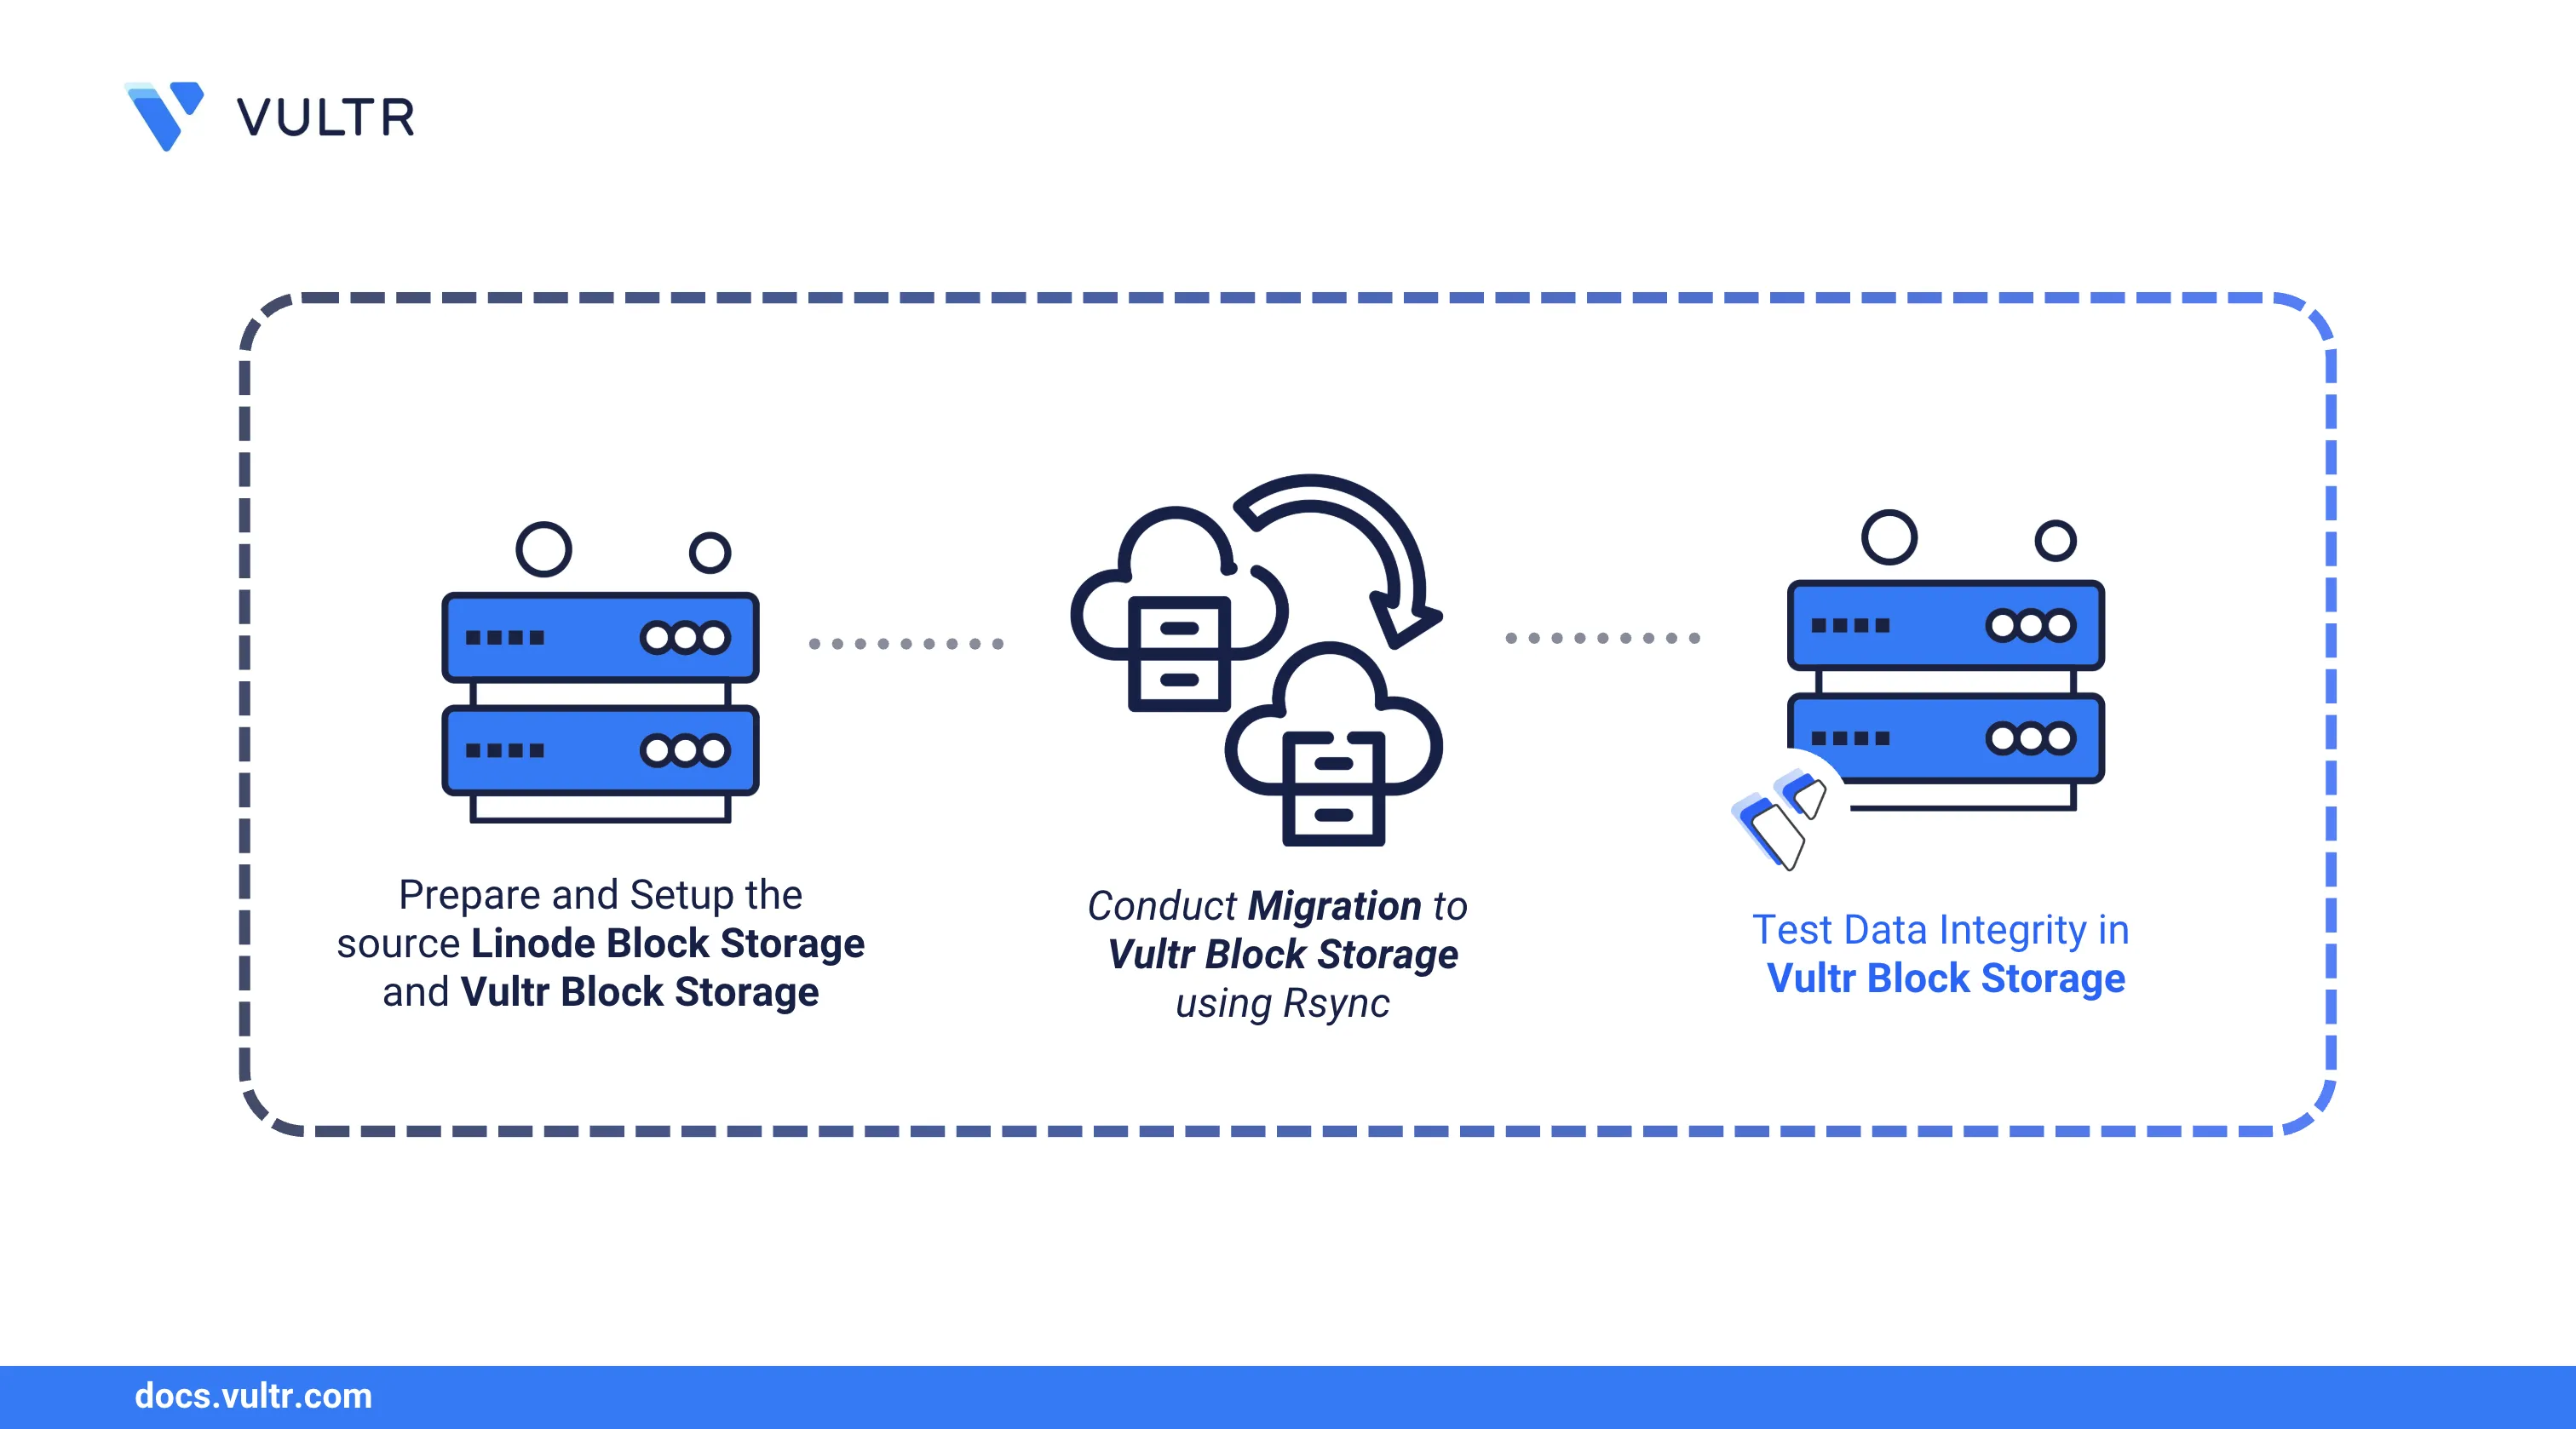
Follow this guide to migrate a block storage volume from Linode to Vultr. You’ll configure both storage volumes, transfer your data, and verify the integrity of the migration process.
Prerequisites
Before you begin, you need to:
- Have an existing Linode instance running Ubuntu 24.04 with an attached Block Storage Volume, and access as a non-root user with sudo privileges.
- Have access to a Vultr Cloud Compute instance running Ubuntu 24.04 as a non-root user with sudo privileges.
- A Vultr Block Storage Volume that's attached to the instance.
Set Up the Migration Environment
This section walks you through setting up both ends of the migration. You'll mount the source block storage on your Linode instance and prepare the destination block storage on your Vultr instance to receive the data.
Set Up the Linode Block Storage Volume
Follow these steps to mount your Linode Block Storage volume and prepare it with sample data for migration.
List all available block devices on your Linode instance.
console$ lsblkYou should see an output similar to the following:
NAME MAJ:MIN RM  SIZE RO TYPE  MOUNTPOINTS
sda   8:0    0 24.5G  0 disk    /
sdb   8:16   0  512M  0 disk    [SWAP]
sdc   8:32   0   10G  0 disk
In the output,
sdais the primary disk, andsdbis used for swap space.sdcrepresents the attached Linode Block Storage volume. Linode assigns block device names in alphabetical order based on detection, so additional volumes would appear assdd,sde, and so on.Check the
MOUNTPOINTcolumn. If it's empty forsdc, the volume is not mounted and likely doesn't have a filesystem yet.Format the volume with EXT4. Replace
VOLUME_LABELwith your actual volume label.console$ sudo mkfs.ext4 "/dev/disk/by-id/scsi-0Linode_Volume_<VOLUME_LABEL>"
Output:
mke2fs 1.47.0 (5-Feb-2023) Discarding device blocks: done Creating filesystem with 2621440 4k blocks and 655360 inodes Filesystem UUID: 077d477d-2d1b-4be1-8a81-2420c3f86440 Superblock backups stored on blocks: 32768, 98304, 163840, 229376, 294912, 819200, 884736, 1605632 Allocating group tables: done Writing inode tables: done Creating journal (16384 blocks): done Writing superblocks and filesystem accounting information: doneThis step will erase all data on the volume. Skip it if the volume already has content.WarningCreate a mount point directory.
console$ sudo mkdir "/mnt/<VOLUME_LABEL>"
Mount the volume to the created directory.
console$ sudo mount "/dev/disk/by-id/scsi-0Linode_Volume_<VOLUME_LABEL>" "/mnt/<VOLUME_LABEL>"
Replace
VOLUME_LABELwith your volume label.Verify that the volume is mounted by listing all block devices.
console$ lsblkOutput:
NAME MAJ:MIN RM  SIZE RO TYPE  MOUNTPOINTS
sda   8:0    0 24.5G  0 disk    /
sdb   8:16   0  512M  0 disk    [SWAP]
sdc   8:32   0   10G  0 disk    /mnt/sample-volume
Output should now show
/mnt/<VOLUME_LABEL>under theMOUNTPOINTScolumn for sdc.Add sample data to test the migration. First, create a test directory and file.
console$ sudo mkdir /mnt/<VOLUME_LABEL>/sample-directory $ sudo nano /mnt/<VOLUME_LABEL>/sample-directory/file1.txt
Add this text and save the file.
This is a sample file.Create a large file to simulate real data.
console$ sudo fallocate -l 500M /mnt/<VOLUME_LABEL>/sample-directory/largefile.bin
The command above creates a file with a size of 500 megabytes.
Verify the files.
console$ ls -lh /mnt/<VOLUME_LABEL>/sample-directory
Replace
VOLUME_LABELwith your volume label. You should see an output similar to:total 501M -rw-r--r-- 1 root root 23 Mar 14 15:14 file1.txt -rw-r--r-- 1 root root 500M Mar 14 15:51 largefile.binThis confirms that your sample files were created successfully in the Linode Block Storage volume.
Verify the installed Rsync version to use when migrating volumes.
console$ rsync --version
Your output should be similar to the one below.
rsync  version 3.2.7  protocol version 31
...............
Set Up the Vultr Block Storage Volume
In this section, you’ll configure your Vultr Block Storage volume to receive data from the Linode instance.
List all available block devices on the Vultr instance.
console$ lsblkOutput:
NAME   MAJ:MIN RM  SIZE RO TYPE MOUNTPOINTS
sr0     11:0    1 1024M  0 rom
vda    253:0    0   25G  0 disk
├─vda1 253:1    0  512M  0 part /boot/efi
└─vda2 253:2    0 24.5G  0 part /
vdb    253:16   0   40G  0 disk
In this output,
vdbis the Vultr Block Storage volume. The emptyMOUNTPOINTcolumn shows that it's not mounted and has no filesystem.Create an
EXT4filesystem on the volume.console$ sudo mkfs.ext4 /dev/vdb
Output:
mke2fs 1.47.0 (5-Feb-2023)
Discarding device blocks: done
Creating filesystem with 10485760 4k blocks and 2621440 inodes
Filesystem UUID: f14b343c-6520-4c0b-a0d1-f4bc8d4e24e7
Superblock backups stored on blocks:
        32768, 98304, 163840, 229376, 294912, 819200, 884736, 1605632, 2654208,
        4096000, 7962624

Allocating group tables: done
Writing inode tables: done
Creating journal (65536 blocks): done
Writing superblocks and filesystem accounting information: done
Create a mount point. Replace
<VULTR_STORAGE>with your storage label.console$ sudo mkdir /mnt/<VULTR_STORAGE>
Mount the volume to the directory you created.
console$ sudo mount /dev/vdb /mnt/<VULTR_STORAGE>
Reload
systemdto recognize mount changes.console$ sudo systemctl daemon-reload
Verify the volume is mounted and check its size.
console$ df -h
Output:
Filesystem      Size  Used Avail Use% Mounted on
tmpfs            96M  1.3M   95M   2% /run
efivarfs        256K   19K  233K   8% /sys/firmware/efi/efivars
/dev/vda2        23G  6.3G   16G  29% /
tmpfs           478M     0  478M   0% /dev/shm
tmpfs           5.0M     0  5.0M   0% /run/lock
/dev/vda1       511M  6.2M  505M   2% /boot/efi
tmpfs            96M   12K   96M   1% /run/user/0
/dev/vdb         40G   24K   38G   1% /mnt/vultr-storage
You should see
/dev/vdbmounted on/mnt/<VULTR_STORAGE>.Grant full ownership to your user for access. By default, a mounted block storage volume is owned by root, which can restrict access for non-root users.
console$ sudo chown -R <USER>:<USER> /mnt/<VULTR_STORAGE>/
Replace
<USER>and<VULTR_STORAGE>accordingly.respectively.Get the UUID of the mounted volume.
console$ sudo blkid /dev/vdb
Output:
/dev/vdb: UUID="ea527cb1-81c4-469d-a697-b219af936a86" BLOCK_SIZE="4096" TYPE="ext4"Take note of the UUID, which is
ea527cb1-81c4-469d-a697-b219af936a86, in this example.Open the fstab file to enable persistent mounting.
console$ sudo nano /etc/fstab
Add the following entry to the bottom of the file.
/dev/disk/by-uuid/<VULTR_STORAGE_UUID> /mnt/<VULTR_STORAGE> ext4 defaults 0 2/dev/disk/by-uuid/<VULTR_STORAGE_UUID>: Specifies the block storage device identifier./mnt/<VULTR_STORAGE>: Defines where the volume will be mounted.ext4: Defines the type of filesystem, which isext4in this case.- The mount option
defaults: Uses default mount options such as read/write and allows execution. - The dump option
0: Determines if dump should back up the filesystem.0means the backup is disabled. - The filesystem check order
2: Runs the filesystem check on boot, after the root filesystem.
Save the file, then apply the changes:
console$ sudo mount -a
Migrate the Linode Block Storage Volume to Vultr Block Storage
With both storage volumes configured, you can now transfer data from the Linode volume to the Vultr Block Storage using rsync over SSH. This method encrypts the data in transit and efficiently syncs only the necessary files.
On your Linode instance, run the following command to start the migration. Replace the placeholders with your actual values:
<LINODE_VOLUME_LABEL>: Linode volume label<VULTR_USER>: Username on the Vultr instance<VULTR_INSTANCE_IP>: Vultr instance’s IP address<VULTR_STORAGE>: Vultr volume mount point
console$ sudo rsync -avz --progress --exclude="lost+found" /mnt/<LINODE_VOLUME_LABEL>/ <VULTR_USER>@<VULTR_INSTANCE_IP>:/mnt/<VULTR_STORAGE>/
From the above command, the options used with
rsyncare:-a: Preserves file attributes (archive mode)-v: Enables verbose output-z: Compresses data during transfer--progress: Displays real-time progress--exclude="lost+found": Skips the system-generatedlost+founddirectory
Depending on the volume of data and your network speed, this process may take some time. TheNote--progressoption helps you monitor it.When prompted, enter your Vultr instance's user password.
sending incremental file list ./ sample-dir/ sample-dir/file1.txt 23 100% 0.00kB/s 0:00:00 (xfr#1, to-chk=1/4) sample-dir/largefile.bin 524,288,000 100% 631.31MB/s 0:00:00 (xfr#2, to-chk=0/4) sent 16,267 bytes received 65 bytes 1,555.43 bytes/sec total size is 524,288,023 speedup is 32,101.89If the transfer fails or gets interrupted, simply rerun the sameNotersynccommand. It will resume by copying only the remaining files.After the transfer completes, compare the directory sizes on both instances to confirm that all data was migrated.
On the Linode instance:
console$ sudo du -sh /mnt/<VOLUME_LABEL>/
Output:
501M /mnt/sample-volume/On the Vultr instance:
console$ sudo du -sh /mnt/<VULTR_STORAGE>/
Output:
501M /mnt/vultr-storage/
Test the Migration
While comparing directory sizes helps confirm the data transfer, using checksums offers a more reliable method to verify data integrity. In this section, you'll generate and compare checksum files on both Linode and Vultr instances.
Generate checksums on the Linode volume. Replace
<VOLUME_LABEL>with your Linode volume label.console$ sudo find /mnt/<VOLUME_LABEL>/ -type f -exec md5sum {} \; | sort -k 2 > linode_checksums.txt
From the above command:
find /mnt/<VOLUME_LABEL>/ -type f: Locates all files in the mounted block storage.-exec md5sum {} \;: Computes the MD5 checksum for each file.sort -k 2 > linode_checksums.txt: Sorts the output by filename and writes it tolinode_checksums.txt.
For stronger cryptographic integrity checking, you can replaceNotemd5sumwithsha256sumin both checksum generation and comparison steps. This provides enhanced protection against rare collision scenarios.Transfer the checksum file to the Vultr instance. Replace
<USER>and<VULTR_INSTANCE_IP>with your Vultr instance's SSH username and IP address.console$ rsync -avz linode_checksums.txt <USER>@<VULTR_INSTANCE_IP>:~
Enter the SSH password when prompted.
Output:
sending incremental file list
linode_checksums.txt

sent 228 bytes  received 35 bytes  21.04 bytes/sec
total size is 152  speedup is 0.58
Generate checksums on the Vultr volume. Replace
<VULTR_STORAGE>with your Vultr block storage label.console$ sudo find /mnt/<VULTR_STORAGE>/ -type f -exec md5sum {} \; | sort -k 2 > vultr_checksums.txt
Compare both checksum files.
console$ diff linode_checksums.txt vultr_checksums.txt
If the files differ only in mount paths but not checksums, the migration was successful. For example:
Output:
1,2c1,2 < a60319cd0397d5c9bcc0652f9a54c56c /mnt/sample-volume/sample-dir/file1.txt < d8b61b2c0025919d5321461045c8226f /mnt/sample-volume/sample-dir/largefile.bin --- > a60319cd0397d5c9bcc0652f9a54c56c /mnt/vultr-storage/sample-dir/file1.txt > d8b61b2c0025919d5321461045c8226f /mnt/vultr-storage/sample-dir/largefile.binFor stronger cryptographic integrity checking, you can replace md5sum with sha256sum in both checksum generation and comparison steps. This provides enhanced protection against rare collision scenarios.Note
Cutover to Vultr Block Storage
Once you’ve verified that all data has been migrated successfully, follow these final steps to complete the transition to Vultr.
Update your DNS records to point to the public IP address of your Vultr instance.
Stop any applications or services still using the Linode Block Storage volume.
Detach the Linode volume from your Linode instance to avoid conflicts.
Update your application's configuration files to reference the new storage location on the Vultr instance.
Test your application thoroughly on the Vultr instance to ensure everything works as expected.
Decommission any unused Linode resources, including block storage volumes and compute instances.
Conclusion
In this guide, you migrated data from a Linode Block Storage volume to a Vultr Block Storage volume using rsync over SSH. You validated the integrity of the transfer using checksums and configured the Vultr volume for persistent access. This process enables you to take full advantage of Vultr’s fast, reliable block storage for your workloads.
For additional configuration options or advanced usage, refer to the official Vultr Block Storage documentation.