
How to Check Disk Space and Usage in Linux
Managing disk space is a critical responsibility for Linux system administrators and users. A full disk can degrade system performance, cause services to fail, and can even prevent users from logging in or accessing essential directories. Whether you manage a local machine, a bare metal server, or a cloud server such as a Vultr Compute Instance, understanding disk usage helps ensure system stability and avoid unexpected outages.
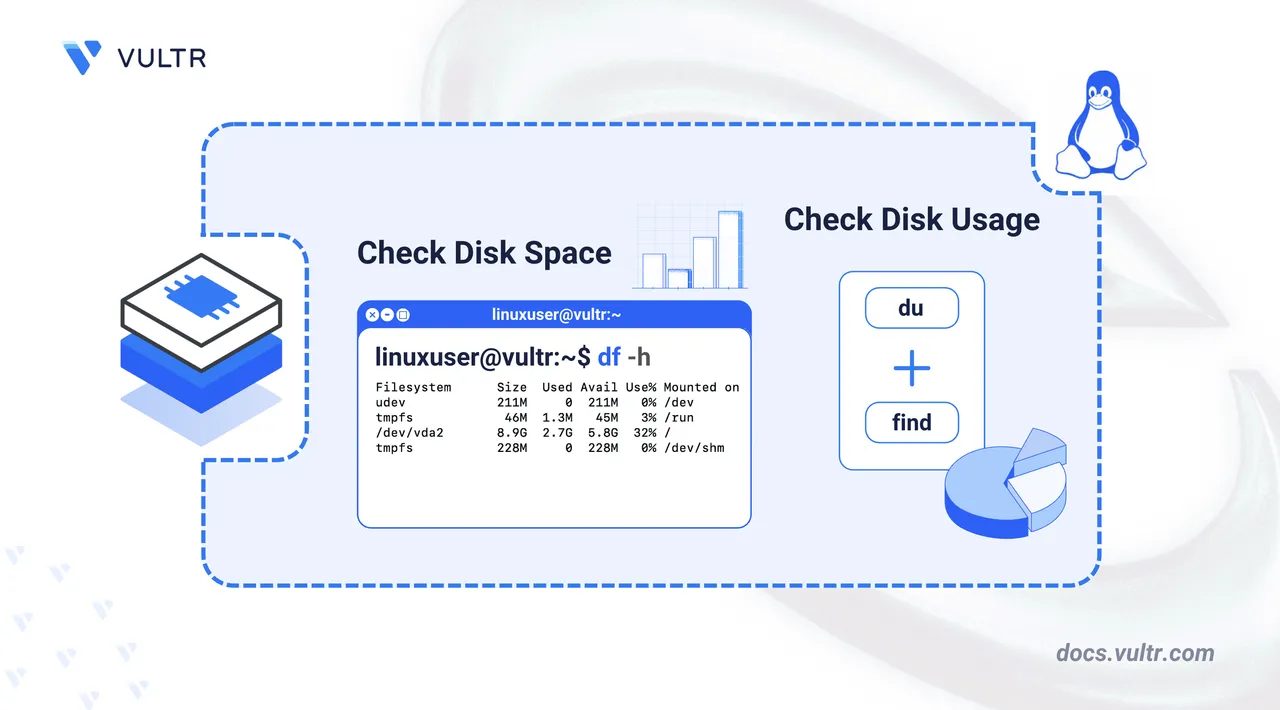
This article explains how to check disk space and usage on a Linux system using built-in command-line tools. You will learn how to identify large files, analyze mounted file systems, and troubleshoot disk-related issues efficiently.
Commands to Check Disk Space and Usage
Linux includes several essential command-line tools that help monitor and manage disk space efficiently. These tools offer insight into the amount of storage used, available space, and which files or directories are consuming the most disk space. Regular use of these tools helps prevent system slowdowns, service interruptions, and data loss due to full partitions.
Common Disk Related Commands
| Command | Description | Typical Use Case |
|---|---|---|
df |
Displays available and used disk space on mounted filesystems. | Get a high-level overview of all disk partitions. |
du |
Summarizes disk usage of directories and files. | Identify which directories are consuming the most space. |
find |
Searches for existing files and directories based on criteria such as size, name, type, or modification time. | Locate large or old files with specific flags like -size, -mtime, or -type. |
How to Check Disk Space
The df command provides a quick overview of disk usage across all mounted file systems. Use it to identify partitions with low free space and act before system performance is degraded.
df Command Syntax
The basic syntax for the df command is as follows:
df [OPTION]... [FILE]...Within the command:
- [OPTION]: Represents the options or flags passed to the
dfcommand. - [FILE]: Specifies a file or directory. If not provided,
dfwill display the disk space for all mounted file systems.
Common df Command Options
| Option | Description |
|---|---|
-h, --human-readable |
Display sizes in human-readable format (for example, 1K, 234M, 2G). |
-B, --block-size=SIZE |
Scale sizes by SIZE (for example, -BM for megabytes). |
-i, --inodes |
Show inode usage instead of block usage. |
-l, --local |
Limit the output to local file systems. |
--sync |
Invoke sync before getting usage info. |
--total |
Show a grand total, omitting insignificant entries. |
-t, --type=TYPE |
Limit listing to file systems of a specific type (for example, ext4, xfs). |
--help, --version |
Show help/version information. |
Examples of Using the df Command
To display the disk usage of all mounted file systems in a human-readable format.
console$ df -h
Your output should be similar to the one below:
Filesystem      Size  Used Avail Use% Mounted on
...
/dev/vda2       150G   12G  132G   9% /
/dev/vda1       260M  7.1M  253M   3% /boot/efi
tmpfs           768M  4.0K  768M   1% /run/user/1000
/dev/vdb1        40G  1.1G   37G   3% /mnt
/dev/vdc1        40G  375M   40G   1% /home
In the above output you have:
- Filesystem: The name of the file system or the device (for example, partition, virtual file system).
- Size: The total size of the file system or partition.
- Used: The amount of disk space currently in use on the file system.
- Avail: The amount of free (available) disk space on the file system.
- Use%: The percentage of disk space that is currently used.
- Mounted on: The directory where the file system is mounted.
To check disk usage of a specific mount point such as
/mnt, use the below command.console$ df -h /mnt
Your output should be similar to the one below:
Filesystem      Size  Used Avail Use% Mounted on
/dev/vdb1        40G  1.1G   37G   3% /mnt
This command displays the disk space information of
/dev/vdb1partition mounted on/mntdirectory.To check the disk space information for a specific file system type, such as
ext.console$ df -h -t ext4
This command displays disk usage only for file systems of type
ext4in a human-readable format.Your output should be similar to the one below:
Filesystem      Size  Used Avail Use% Mounted on
/dev/vda2       150G   12G  132G   9% /
/dev/vdb1        40G  1.1G   37G   3% /mnt
In the above output, both
/dev/vda2and/dev/vdb1areext4partitions. The Size, Used, and Avail columns help monitor disk usage for these specific file systems.To exclude certain file system types, such as
tmpfs, from the output.console$ df -h -x tmpfs
Your output should be similar to the one below:
Filesystem      Size  Used Avail Use% Mounted on
...
/dev/vda2       150G   12G  132G   9% /
/dev/vda1       260M  7.1M  253M   3% /boot/efi
/dev/vdb1        40G  1.1G   37G   3% /mnt
/dev/vdc1        40G  375M   40G   1% /home
To include the type of each file system in the output.
console$ df -hT
This command displays disk space information along with the type of each file system, helping identify the file system format used for each mount point.
Your output should be similar to the one below:
Filesystem     Type      Size  Used Avail Use% Mounted on
...
tmpfs          tmpfs     1.5G   29M  1.5G   2% /run
/dev/vda2      ext4      150G   12G  132G   9% /
/dev/vda1      vfat      260M  7.1M  253M   3% /boot/efi
/dev/vdb1      ext4       40G  1.1G   37G   3% /mnt
/dev/vdc1      xfs        40G  375M   40G   1% /home
To display inode usage, which is useful for monitoring the number of files and directories.
console$ df -i
Your output should be similar to the one below:
Filesystem       Inodes  IUsed    IFree IUse% Mounted on
...
/dev/vda2      41611680 123735 41487945    1% /
/dev/vdb1       2621440     12  2621428    1% /mnt
/dev/vdc1      20971008   2755 20968253    1% /home
In the above output:
- Inodes: The total number of inodes available in the file system (an inode is a data structure that stores metadata about files and directories).
- IUsed: The number of inodes that are being used.
- IFree: The number of free inodes available for new files or directories.
- IUse%: The percentage of inodes that are being used.
How to Check Disk Usage
The du (disk usage) command in Linux is used to estimate and display the disk space used by files and directories. It's an essential tool for monitoring disk usage, helping you identify large files or directories that may need to be cleaned up to free space.
du Command Syntax
The basic syntax for the du command is as follows:
du [OPTION]... [FILE]...Within the command:
- [OPTION]: Represents the options or flags passed to the
ducommand. - [FILE]: Specifies the file or directory for which disk usage is calculated. If not provided,
dushows the usage of the current directory.
du Command Options
| Option | Description |
|---|---|
-h, --human-readable |
Prints sizes in human-readable format (for example, 1K, 234M, 2G). |
-s, --summarize |
Shows only the total disk usage of the specified directory. |
-a, --all |
Includes the sizes of all files, not just directories. |
-c, --total |
Produces a grand total of the disk usage. |
-d N, --max-depth=N |
Limits the depth of directory traversal to N levels. |
--help |
Displays help information. |
--version |
Shows version information. |
Examples of Using the du Command
To check the disk usage information of a specific directory in a human-readable format, use the
-shoptions.console$ sudo du -sh /path/to/directory
It's recommended to use
sudowith this command, as some files or directories may require elevated permissions.In the above command:
-s: Shows only the total disk usage (summary).-h: Prints sizes in a human-readable format.
To include hidden files (those starting with a dot) in the disk usage report, use the
-aoption.console$ sudo du -ah /path/to/directory
In this command:
-a: Includes all files, not just directories, in the output.
This is useful for identifying the disk usage of all files, including configuration files that are typically hidden.
To exclude certain files or directories from the disk usage calculation, use the
--excludeoption.console$ sudo du -ah --exclude='*.log' /path/to/directory
In this command:
--exclude='*.log': Excludes all files with the .log extension from the report.
This is useful for ignoring temporary or log files that are not relevant to the analysis.
To list the disk usage of all subdirectories within a specific directory (for example,
/var), use the--max-depth=1flag. This limits the display to the top-level subdirectories.console$ sudo du -h --max-depth=1 /var
Your output should be similar to the one below:
...
22M     /var/log
97M     /var/lib
4.0K    /var/yp
4.0K    /var/preserve
216M    /var
To sort the directories by disk usage, use the
sortcommand in combination withdu. For example, to sort the subdirectories of/varfrom largest to smallest.console$ sudo du -h --max-depth=1 /var | sort -rh
Your output should be similar to the one below:
216M    /var
97M     /var/lib
97M     /var/cache
22M     /var/log
...
In this output, the directories are sorted in descending order by their disk usage, with the largest directory listed first.
Use the
findcommand along withduto locate large files in a directory. For example, to find all files larger than 50MB within the/vardirectory.console$ sudo find /var -type f -size +50M -exec ls -lh {} \;
Your output should be similar to the one below:
-rw-r--r--. 1 root root 65M May 6 20:29 /var/lib/rpm/rpmdb.sqliteThis command lists all files in
/varlarger than 50 MB. The output shows the file size, permissions, and last modification date of each file.
Conclusion
You have now learned how to effectively manage disk space on your Linux system using essential command-line tools like df, du, and find. By monitoring disk usage, you can identify large files, analyze mounted file systems, and prevent potential system slowdowns or outages due to full disks. With the commands and examples provided in this article, you are equipped to keep your system running and avoid disk-related issues.