OpenBSD is known for excellent server security, making it a good choice for a popular content management system (CMS) like WordPress. This guide explains how to run WordPress on OpenBSD 7.0 with the native httpd web server package.
Prerequisites
- Deploy a Vultr OpenBSD 7.0 server
- Configure a domain name for your server's IP address (optional)
- Configure MariaDB on the server
Install PHP
# pkg_add phpSelect your preferred version. WordPress requires PHP 7.4 (option 2) and above.
Ambiguous: choose package for php
a 0: <None>
1: php-7.3.33
2: php-7.4.26
3: php-8.0.13
Your choice: 2
.
Install necessary PHP Modules for WordPress to run well, php-mysqli, php-pdo_mysql allow PHP to communicate with MySQL.
# pkg_add php php-gd php-intl php-xmlrpc php-curl php-zip php-mysqli php-pdo_mysql pecl74-mcrypt pecl74-imagickEnable installed modules.
# cp /etc/php-7.4.sample/* /etc/php-7.4/Enable and Start PHP-FPM.
# rcctl enable php74_fpm

# rcctl start php74_fpm
Configure HTTPD to serve WordPress
Create the main httpd configuration file.
# touch /etc/httpd.confUsing your favorite editor, open the file and enter new configurations for your server.
Install Nano.
# pkg_add nanoEdit the file /etc/httpd.conf.
# nano /etc/httpd.confPaste the following code and replace * with your Vultr Server IP.
 ext_ip="*" #Enter Your Vultr IP Address here

server "default" {
        listen on $ext_ip port 80
        root "/htdocs/"
directory index "index.php"

 location "*.php*" {
            fastcgi socket "/run/php-fpm.sock"
    }

location "/posts/*" {
            fastcgi {
                    param SCRIPT_FILENAME \
                            "/htdocs/index.php"
                     socket "/run/php-fpm.sock"
            }
    }
    location "/page/*" {
            fastcgi {
                    param SCRIPT_FILENAME \
                            "/htdocs/index.php"
                    socket "/run/php-fpm.sock"
            }
    }
   location "/feed/*" {
            fastcgi {
                    param SCRIPT_FILENAME \
                            "/htdocs/index.php"
                    socket "/run/php-fpm.sock"
            }
    }
    location "/comments/feed/*" {
            fastcgi {
                    param SCRIPT_FILENAME \
                            "htdocs/index.php"
                    socket "/run/php-fpm.sock"
            }
    }
     location "/wp-json/*" {
            fastcgi {
                    param SCRIPT_FILENAME \
                            "htdocs/index.php"
                    socket "/run/php-fpm.sock"
            }
    }

}
types {
        text/css css ;
        text/html htm html ;
        text/txt txt ;
        image/gif gif ;
        image/jpeg jpg jpeg ;
        image/png png ;
        application/javascript js ;
        application/xml xml ;
}
 server "www.example.net" {
        listen on $ext_ip port 80
    }
Now, for WordPress core to reach wordpress.org using the server's internet connection, create a new etc directory at /var/www/.
# mkdir /var/www/etcThen, copy /etc/resolv.conf and /etc/hosts to the directory.
# cp /etc/resolv.conf /var/www/etc/.

# cp /etc/hosts /var/www/etc/.
Restart HTTPD.
# rcctl enable httpd

# rcctl restart httpd
Create a new WordPress Database
Initialize MariaDB and start the database server.
# mysql_install_db

# rcctl start mysqld
Now, login to MySQL.
# mysqlCreate the WordPress database and a new user with a strong password.
MariaDB [(none)]> CREATE DATABASE wpdb;

MariaDB [(none)]> CREATE USER 'wpuser'@'localhost' IDENTIFIED BY 'strongpassword';
Grant the user full rights to the database and refresh privileges.
MariaDB [(none)]> use wpdb;

MariaDB [wpdb]> GRANT ALL PRIVILEGES ON wpdb.* TO 'wpuser'@'localhost';

MariaDB [wpdb]> FLUSH PRIVILEGES;
Exit the console.
EXITInstall and Configure WordPress
Download the latest WordPress archive file.
# wget https://wordpress.org/latest.tar.gzExtract the file.
# tar -xvzf latest.tar.gz Move Extracted files to your webroot directory, by default, httpd points to /var/www/htdocs/.
# mv wordpress/* /var/www/htdocs/Grant HTTPD ownership rights to the modified /var/www/htdocs directory.
# chown -R www:www /var/www/htdocs/Now, launch the WordPress web installer by visiting your server's IP Address through a web browser.
http://SERVER_IPClick Let's Go to get started with your WordPress configuration.
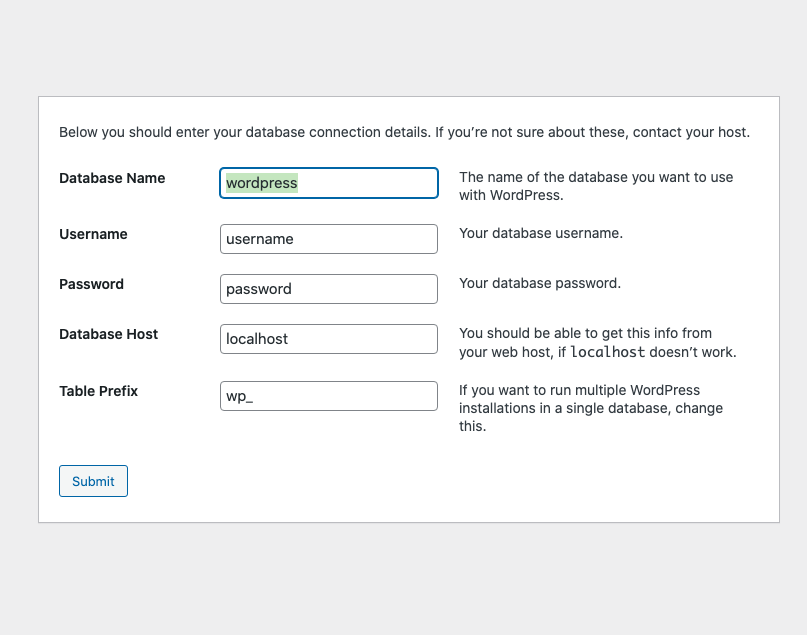
Enter the Database name created earlier, a Username and associated Password. Then, under Database Host replace localhost with 127.0.0.1 or localhost:/var/run/mysql/mysql.sock.

Next, a wp-config.php file will be automatically created. Click Run the Installation to enter your first website title and administrator account details to set up WordPress.
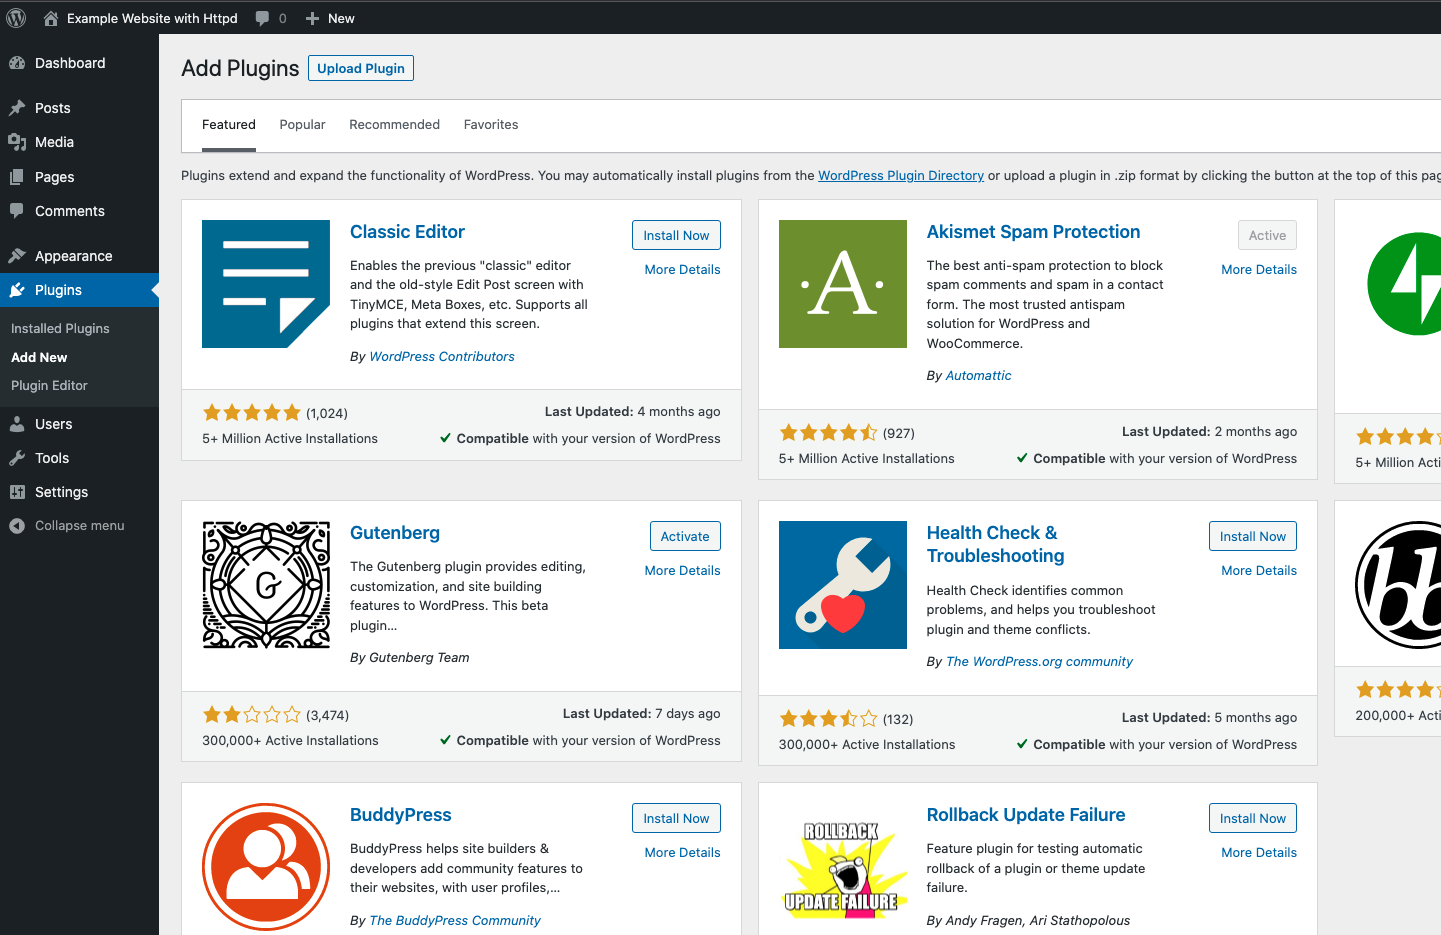
Now, login to your WordPress dashboard, install themes, plugins and create users necessary to develop your websites on the platform.

To limit potential attacks on your WordPress server, you can install security plugins such as Wordfence or Sucuri to limit password guesses and access to the wp-login page.
Also, delete the WordPress installation script to limit any duplicate installations.
# rm /var/www/htdocs/wp-admin/install.phpConclusion
Congratulations, you have successfully installed WordPress on an OpenBSD 7.0 server. You can fine-tune your installation by installing a free let's encrypt SSL certificate and enable `HTTPS access on your server.
No comments yet.