
How to Set Up Automatic Backups with Rsync and Vultr Block Storage
Introduction
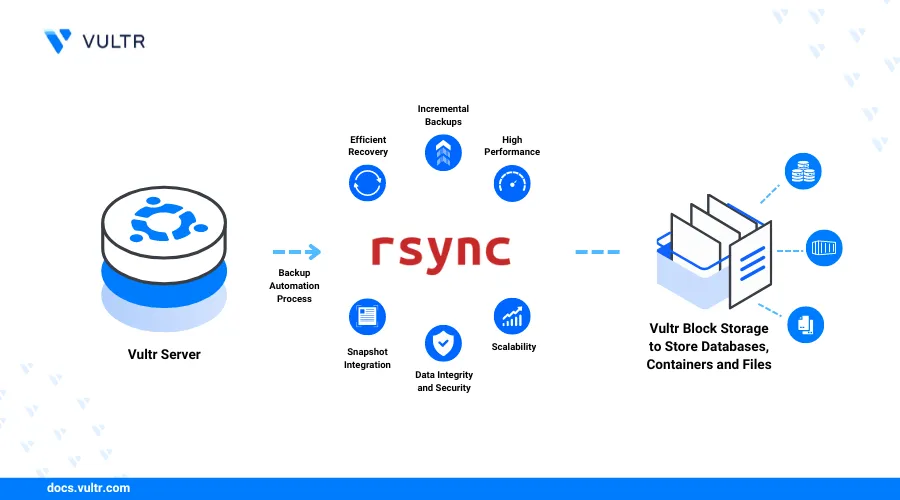
Remote Sync (rsync) is a tool for transferring files across network resources. Rsync is written in C language and supports syncing files to remote repositories such as Vultr Block Storage.
You can use Rsync to back up your Vultr Cloud Compute instance files to a mounted block storage instance. Furthermore, you can automate the entire process using Linux cron Jobs, allowing the backup to run without manual intervention.
This guide walks you through setting up automatic backups with Rsync and Vultr Block Storage on Ubuntu 24.04 Cloud Compute instance.
Prerequisites
Before you begin:
- Deploy Ubuntu 24.04 Cloud Compute Instance.
- Deploy a Vultr Block Storage instance.
- Attach and mount the Block Storage instance to the Cloud Compute instance.
Install Rysnc
By default, Ubuntu ships with Rsync. This is because the tool is popularly used in most unix-based systems. If Rsync isn't available in your system, run the following command to install it.
$ sudo apt install rsync
Run Rsync Manual Manual Backups
The Rsync tool provides the following command that you can use to run backup.
$ sudo rsync [options] source destination
In the above command:
rsync: This is the base command for running the tool.[options]. These are flexible Rsync flags that you can use to customize how Rsync works. Here are the most common flags:
-a: Runs the tool in archive mode and preserves most file attributes including file permissions, symbolic links, and file ownership.-z: Compresses data during transmissions to conserve space.--delete: Deletes extraneous files from destination dirs. This means files that aren't on the source (sending side).If you delete a file in the source location and run theNotersynccommand specifying the--deleteflag, Rsync also deletes the file in the remote destination. Therefore, to avoid accidentally deleting your backups, omit the--deleteflag. For best results, always follow the 321 backup rule to ensure data redundancy, diversity, and geographic separation:- Always keep three 3 of your critical data.
- Store the data copies on 2 different media.
- Keep 1 copy of your data offsite.
source: This is the local directory that you want to copy.destination: This is the remote directory where you want to send your files for backups.
To run a manual backup and copy the files from your Cloud Compute instance to the Vultr Block Storage, follow the steps below:
Create a new
projectdirectory under your user home directory. You may skip this step in a production environment if you want to back up an already existing directory.console$ mkdir ~/project
Navigate to the new
~/projectdirectory.console$ cd ~/project
Use the
touchcommand to create two sample files under the directory.console$ touch test1.txt $ touch test2.txt
Use the Rsync command to copy the two files above to the Vultr Block storage. Run the command. Replace
/mnt/blockstorage/project/with the actual path where you want to backup the data.console$ sudo rsync -az ~/project/ /mnt/blockstorage/project/
List all files in the directory
console$ ls -ls /mnt/blockstorage/project/
Output:
0 -rw-rw-r-- 1 ... 0 Jun  9 21:02 test1.txt
0 -rw-rw-r-- 1 ... 0 Jun  9 21:02 test2.txt
Edit the
test.txtfile from the source directory.console$ nano ~/project/test1.txt
Enter the following dummy content.
Lorem Ipsum is simply dummy text of the printing and typesetting industry.Save and close the file.
Sync the new changes using the Rsync command.
console$ sudo rsync -az ~/project/ /mnt/blockstorage/project/
Check the Block Storage directory.
console$ ls -ls /mnt/blockstorage/project/
Output:
4 -rw-rw-r-- 1 ...   75 Jun  9 21:03 test1.txt
0 -rw-rw-r-- 1 ...    0 Jun  9 21:02 test2.txt
The above output shows that Rsync has synced the new changes to the backup directory.
Run Rsync Automatic Backups with Cron Jobs
While manual Rsync backups may be ideal for some use cases, they're time consuming and are not efficient for production purposes. This section shows you how to set up automatic Rsync backups using Linux Cron Jobs.
Open the
crontabsettings.console$ sudo nano /etc/crontab
The following settings detail the basic configurations you should make to schedule a Cron Job that runs at a specific time.
.---------------- minute (0 - 59)
|  .------------- hour (0 - 23)
|  |  .---------- day of month (1 - 31)
|  |  |  .------- month (1 - 12) OR jan,feb,mar,apr ...
|  |  |  |  .---- day of week (0 - 6) (Sunday=0 or 7) OR sun,mon,tue,wed,thu,fri,sat
|  |  |  |  |
*  *  *  *  * user-name command to be executed
Linux Cron job provides flexible timings that you can use. Here are some ideal settings for backups.
* * * * * your_user_name rsync command: Runs every minute.0 0 * * * your_user_name rsync command: Runs every day at midnight.0 0 * * 0 your_user_name rsync command: Runs every Sunday at midnight.0 0 1 * * your_user_name rsync command: Runs every first day of the month at midnight.
Refer to the guide on How to Use the Cron Task Scheduler to learn more about customizing the Cron job timings.
Schedule a Cron job to run every minute by adding the following settings at the end of the
/etc/crontabfile. Replaceyour_user_namewith your correct Linux username and/mnt/blockstorage/project/with the correct Vultr Block Storage path.* * * * * your_user_name /usr/bin/rsync -av --delete ~/project/ /mnt/blockstorage/project/Save and close the file.
Add a new file in the local source directory.
console$ touch ~/project/test3.txt
Continously watch the
crontablog file by piping the Linuxtailcommand to thegrepcommand.console$ sudo tail -f /var/log/syslog | grep CRON
Output:
...CMD (/usr/bin/rsync -av ~/project/ /mnt/blockstorage/project/)Press Ctrl + C to exit the previous command. Then, list the Block Storage files after the cron Job runs at least once.
console$ ls -lsa
Output.
4 -rw-rw-r-- 1 ...   75 Jun 10 00:03 test1.txt
0 -rw-rw-r-- 1 ...    0 Jun 10 00:02 test2.txt
0 -rw-rw-r-- 1 ...    0 Jun 10 00:06 test3.txt
The Cron Job is now running as expected and Rsync has successfully synced the new
test3.txtfile with the Block Storage.
Restore Backups
Rsync allows you to restore files from the backup storage to the original source if you delete the files. Use the following syntax:
$ sudo rsync [options] remote_backup_directory original_local_directory
Depending on your business workflow, you can choose to directly restore the backup files to the original source or copy them to a temporary directory.
Delete the original files from the original source directory.
console$ rm ~/project/test1.txt ~/project/test2.txt ~/project/test3.txt
Ensure the local source directory is empty.
console$ ls -ls ~/project
Output
total 0Run the following Rsync command to sync the files from the Block Storage to the source directory. Replace
/mnt/blockstorage/project/with the correct Vultr Block Storage path.console$ sudo rsync -az /mnt/blockstorage/project/ ~/project/
Review the content of the local storage directory.
console$ ls -ls ~/project
Output
4 -rw-rw-r-- 1 francis francis 75 Jun 10 00:17 test1.txt
0 -rw-rw-r-- 1 francis francis  0 Jun 10 00:17 test2.txt
0 -rw-rw-r-- 1 francis francis  0 Jun 10 00:18 test3.txt
Conclusion
This guide took you through setting up automatic backups with Rsync and Vultr Block Storage. You have learned using the Rsync command and applying common flags to run manual backups. Then, you have automated the backups using the Linux crontab jobs and restored the files.